Are you a DIYer who has been wanting to learn or master upholstery? Do you want to know how to refresh and reimagine a piece of furniture in your home? Here are 10 Tips for upholstering your own furniture at home. Below, you will not only find tips to get started, but links to further reading and topics on our site!
Tip 1: Start With a Simple Project
When learning something new it is always a good idea to start with something simple to gain confidence as you perfect your skills. In this video, I discuss how to choose your first upholstery project. While you might have a specific piece of furniture you are eager to work on, it might not be the best place to start learning. Furniture pieces like dining room chairs are usually a good place to start when you are learning. You can see my full explanation and recommendations for your first few projects in the video above.
Tip 2: Use The Right Tools
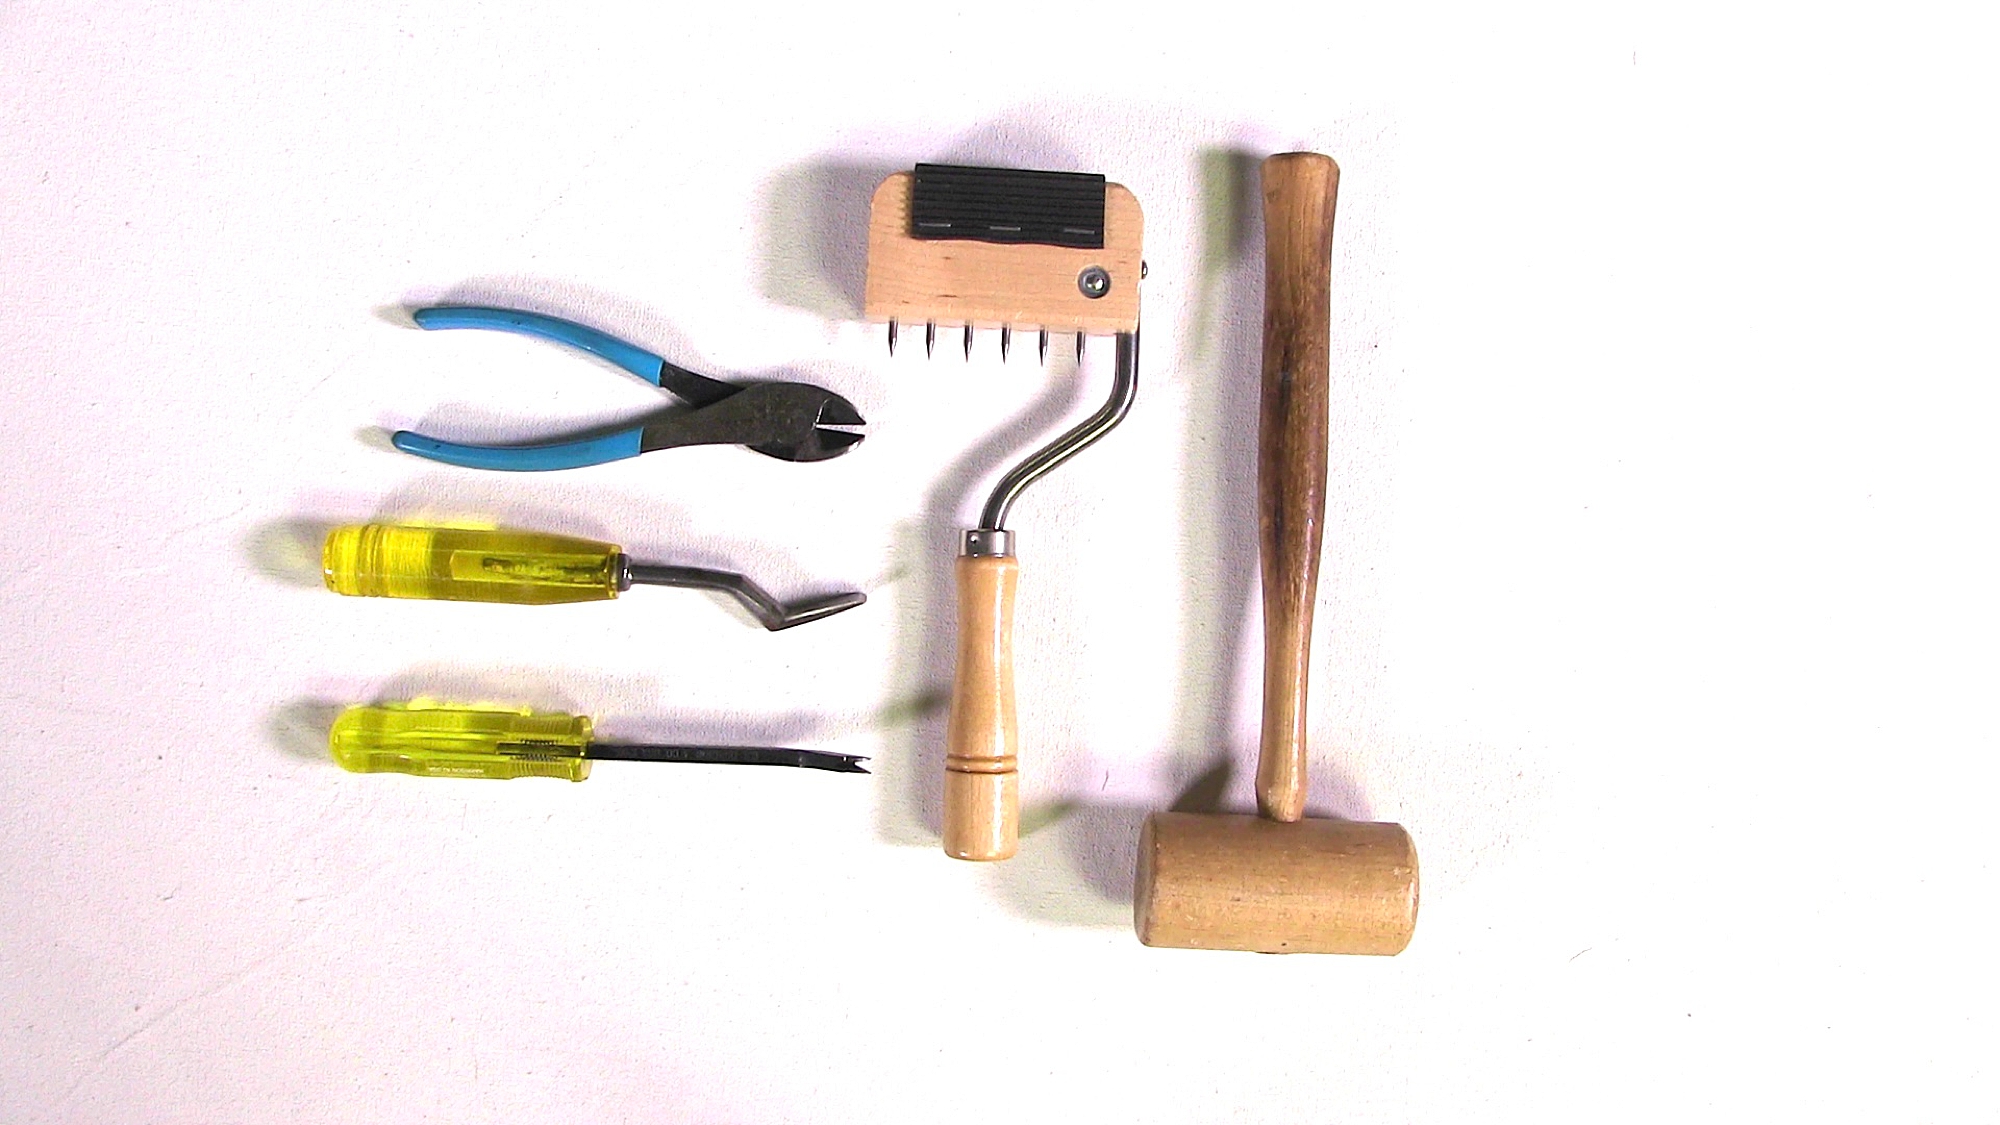
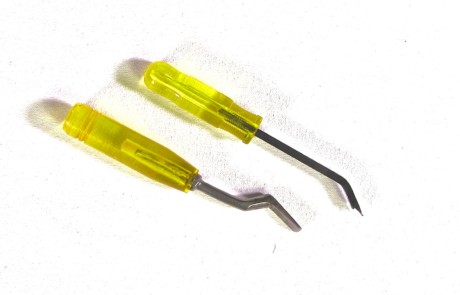
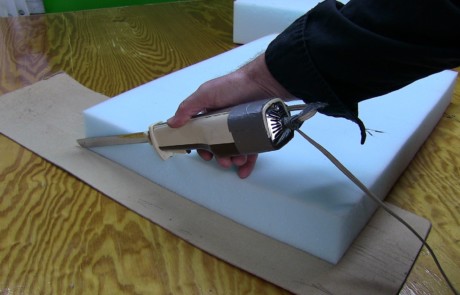
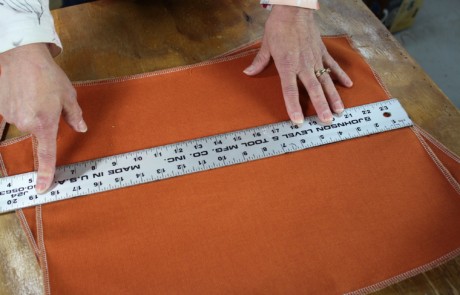
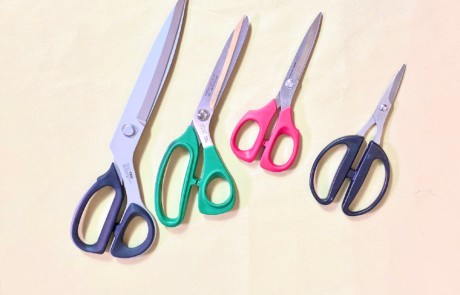
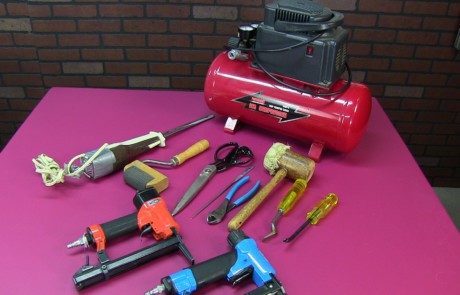
Everyone can agree that having the right tool for the job makes the job 10 times easier! However, when you are just starting out, sometimes finding the right tools can be a bit of trial and error. We have this blog to help you find the right tools for upholstery projects.
It is also important to note that sometimes the “right tool” might cost a little more. As a result of the higher cost, you might think a similar tool will work just as well, but experience has taught us that it is worth the time and investment to have the right tools on hand. You will not only save time, but much frustration.
For more information on the tools and supplies needed and the total investment cost for basic upholstery projects read this article: How much will it cost to reupholster my chair or couch as a DIYer?
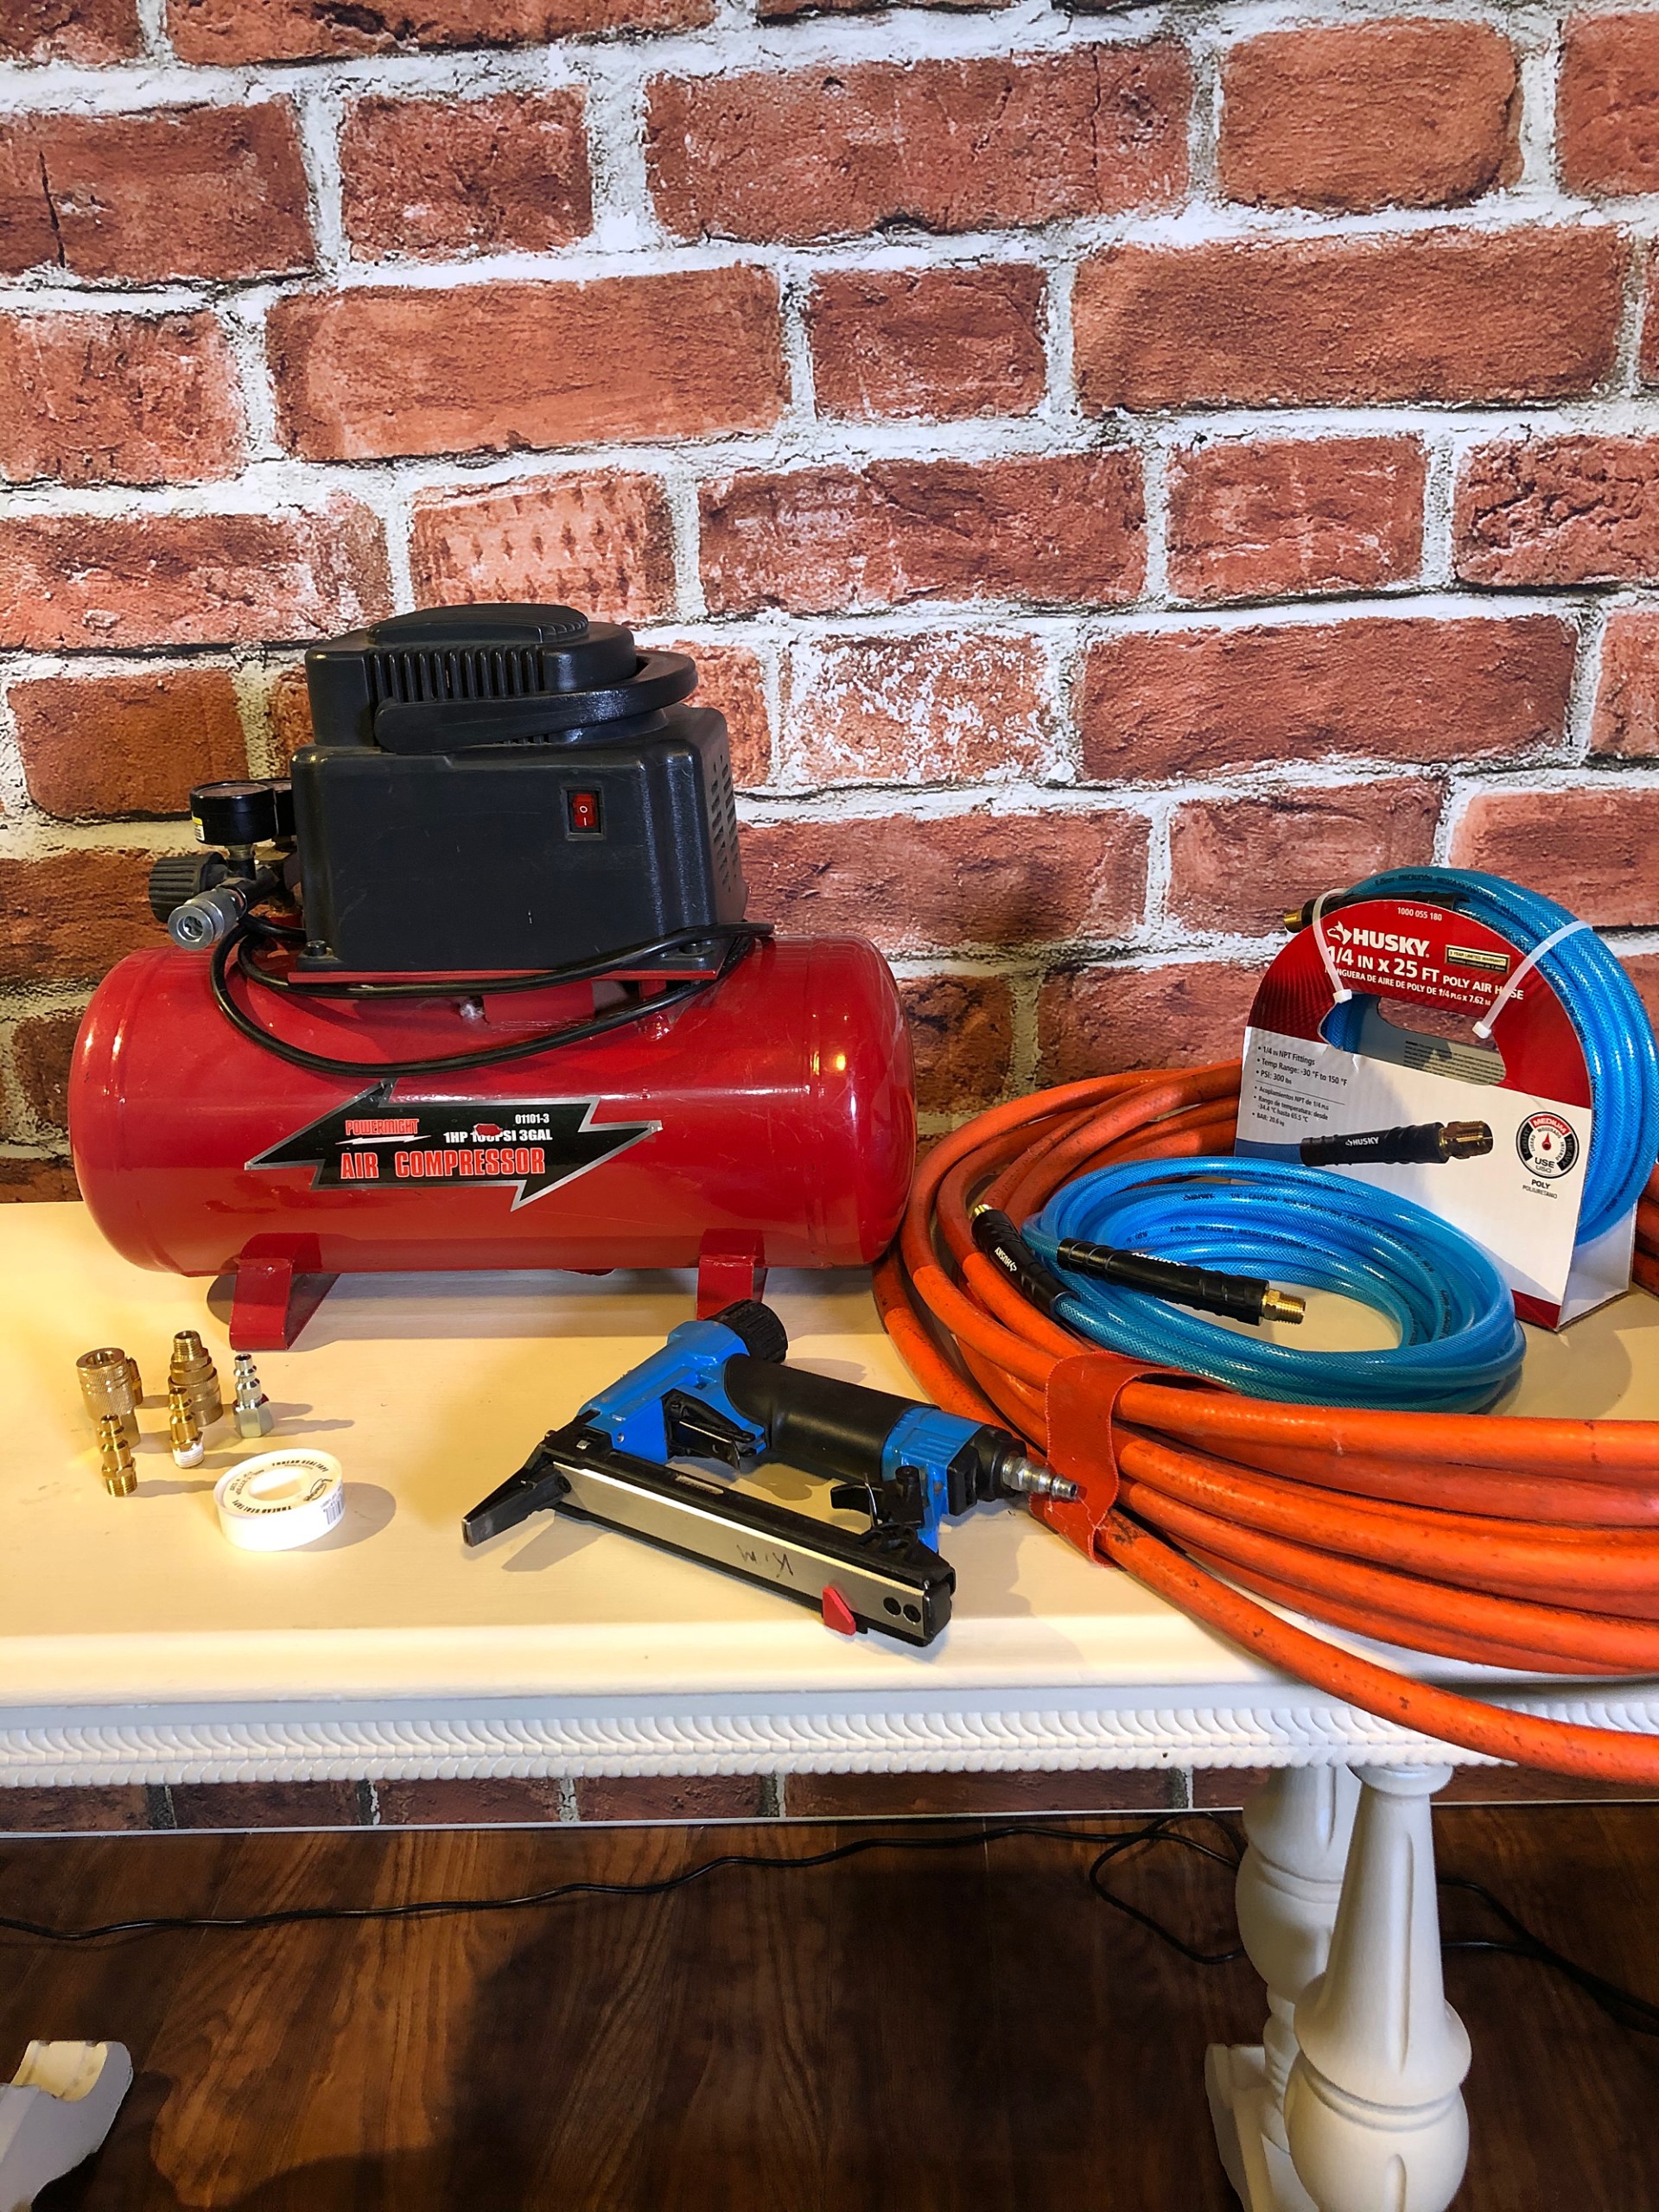
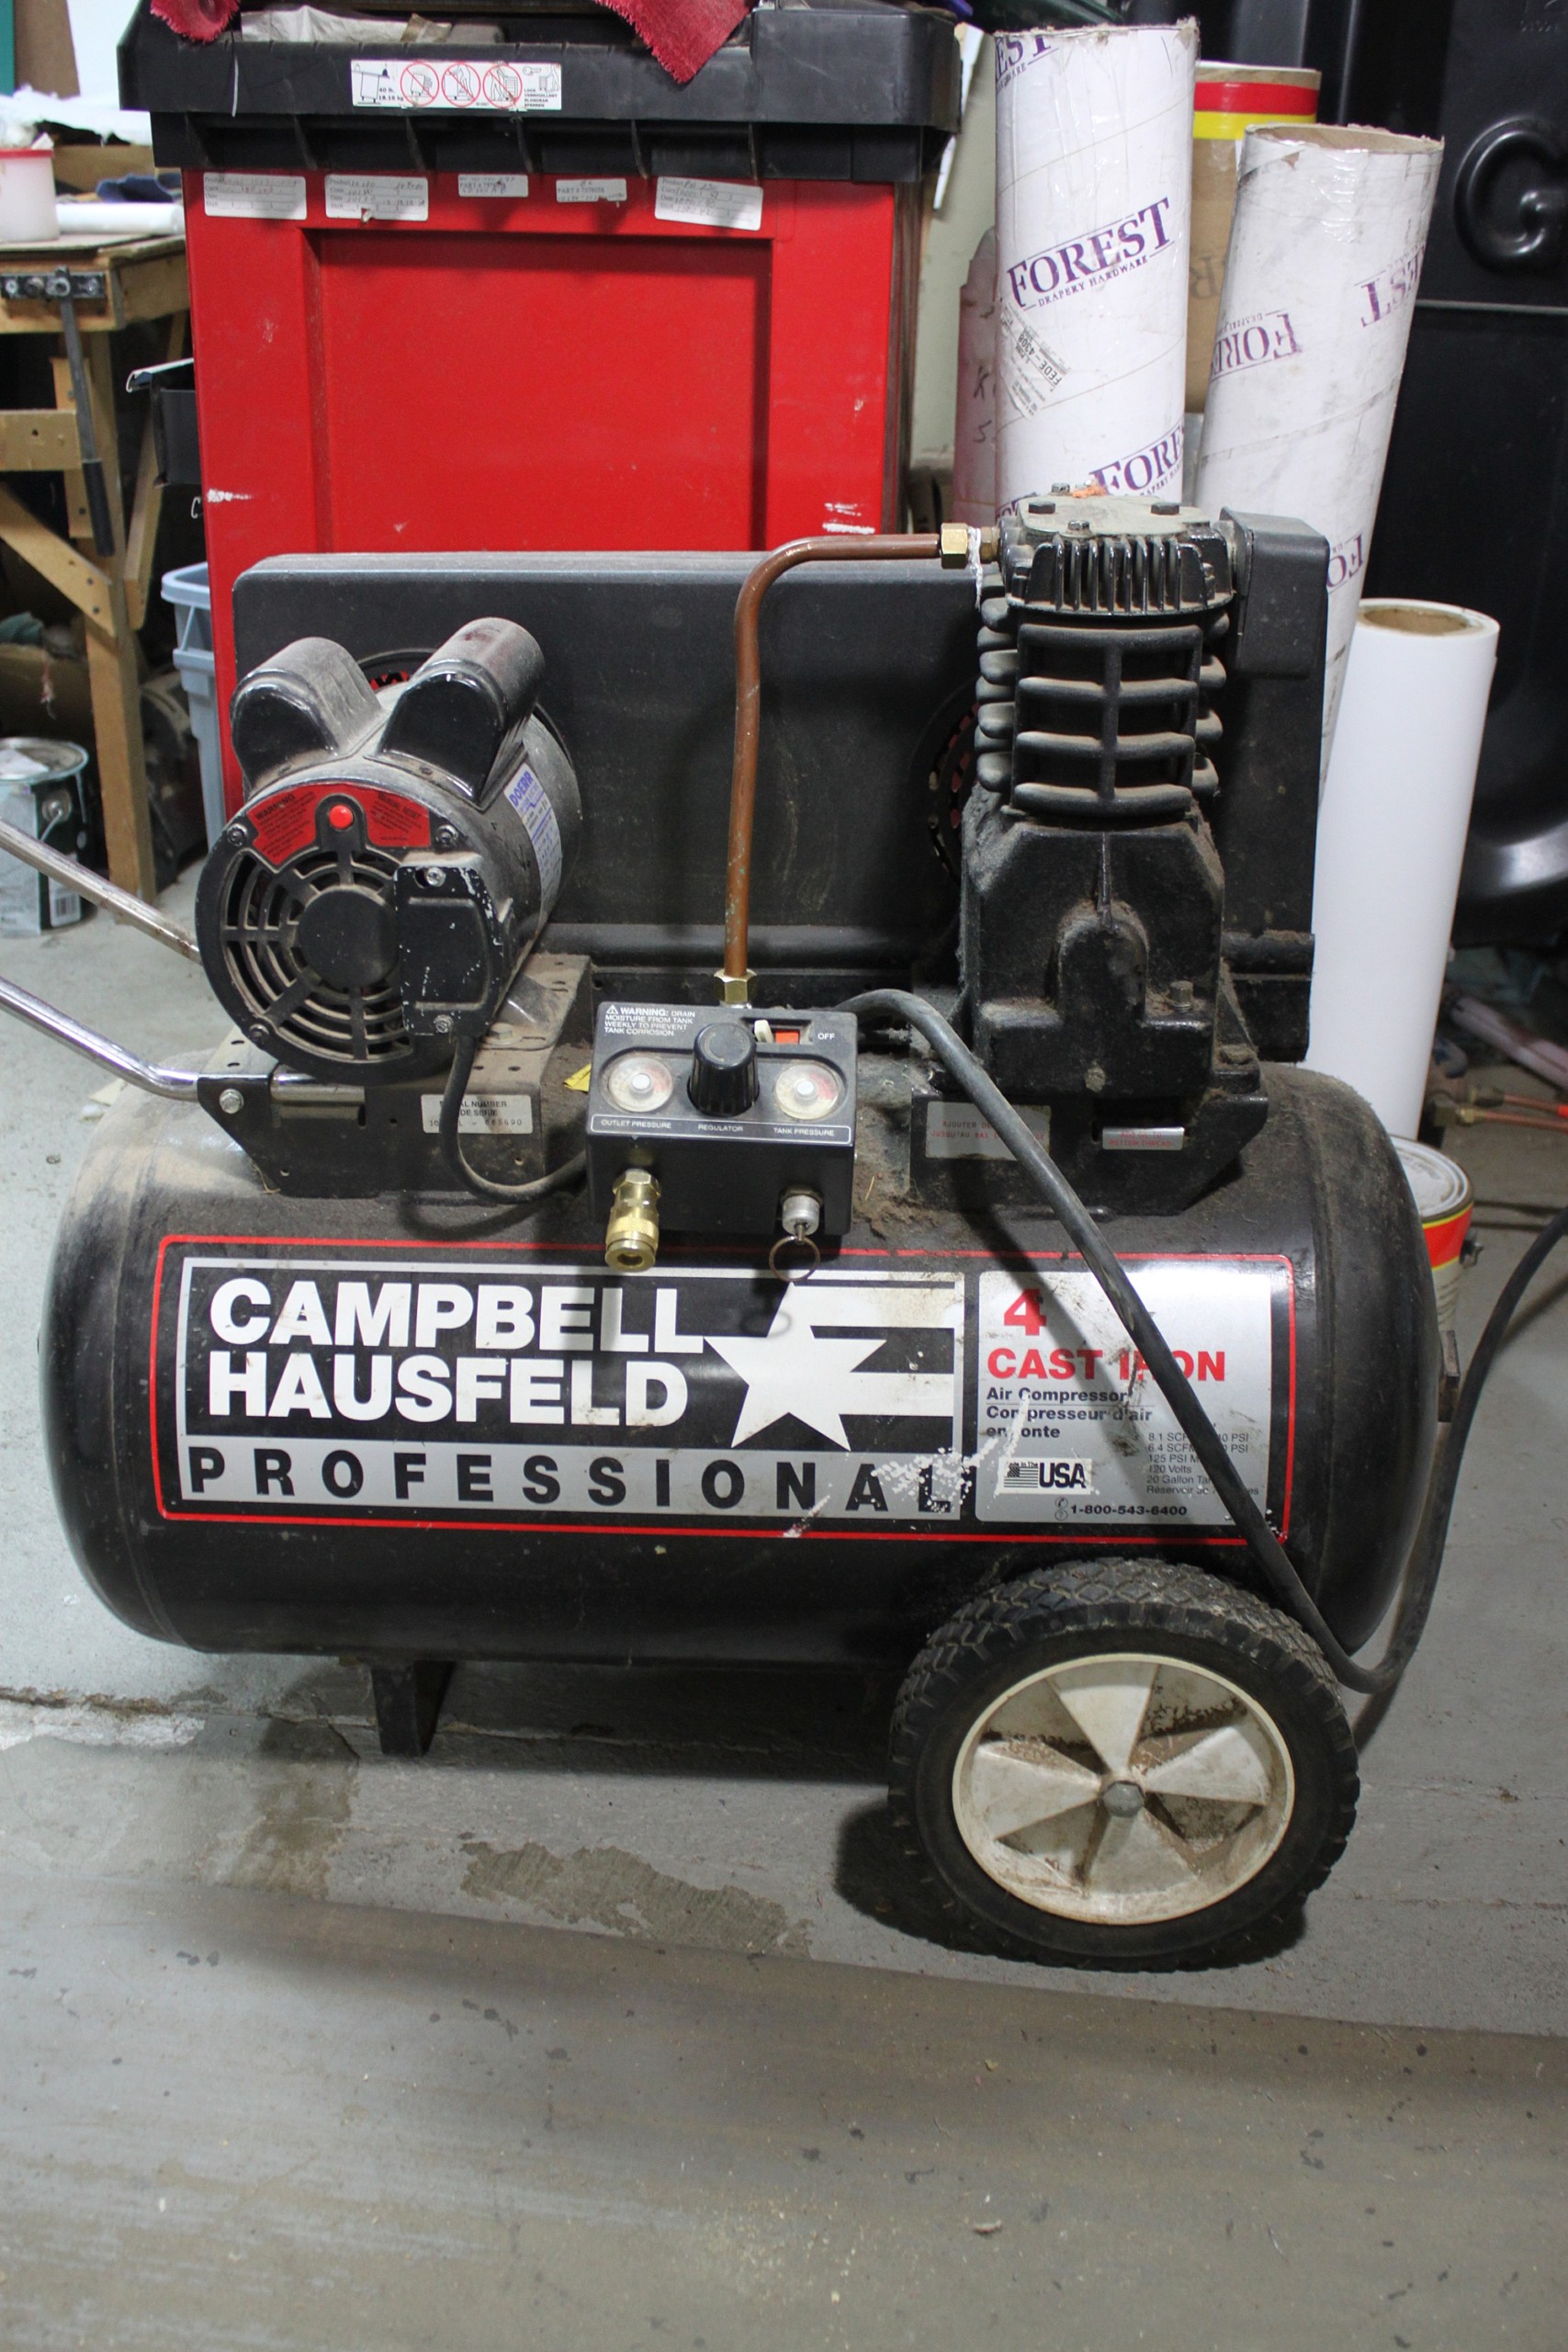
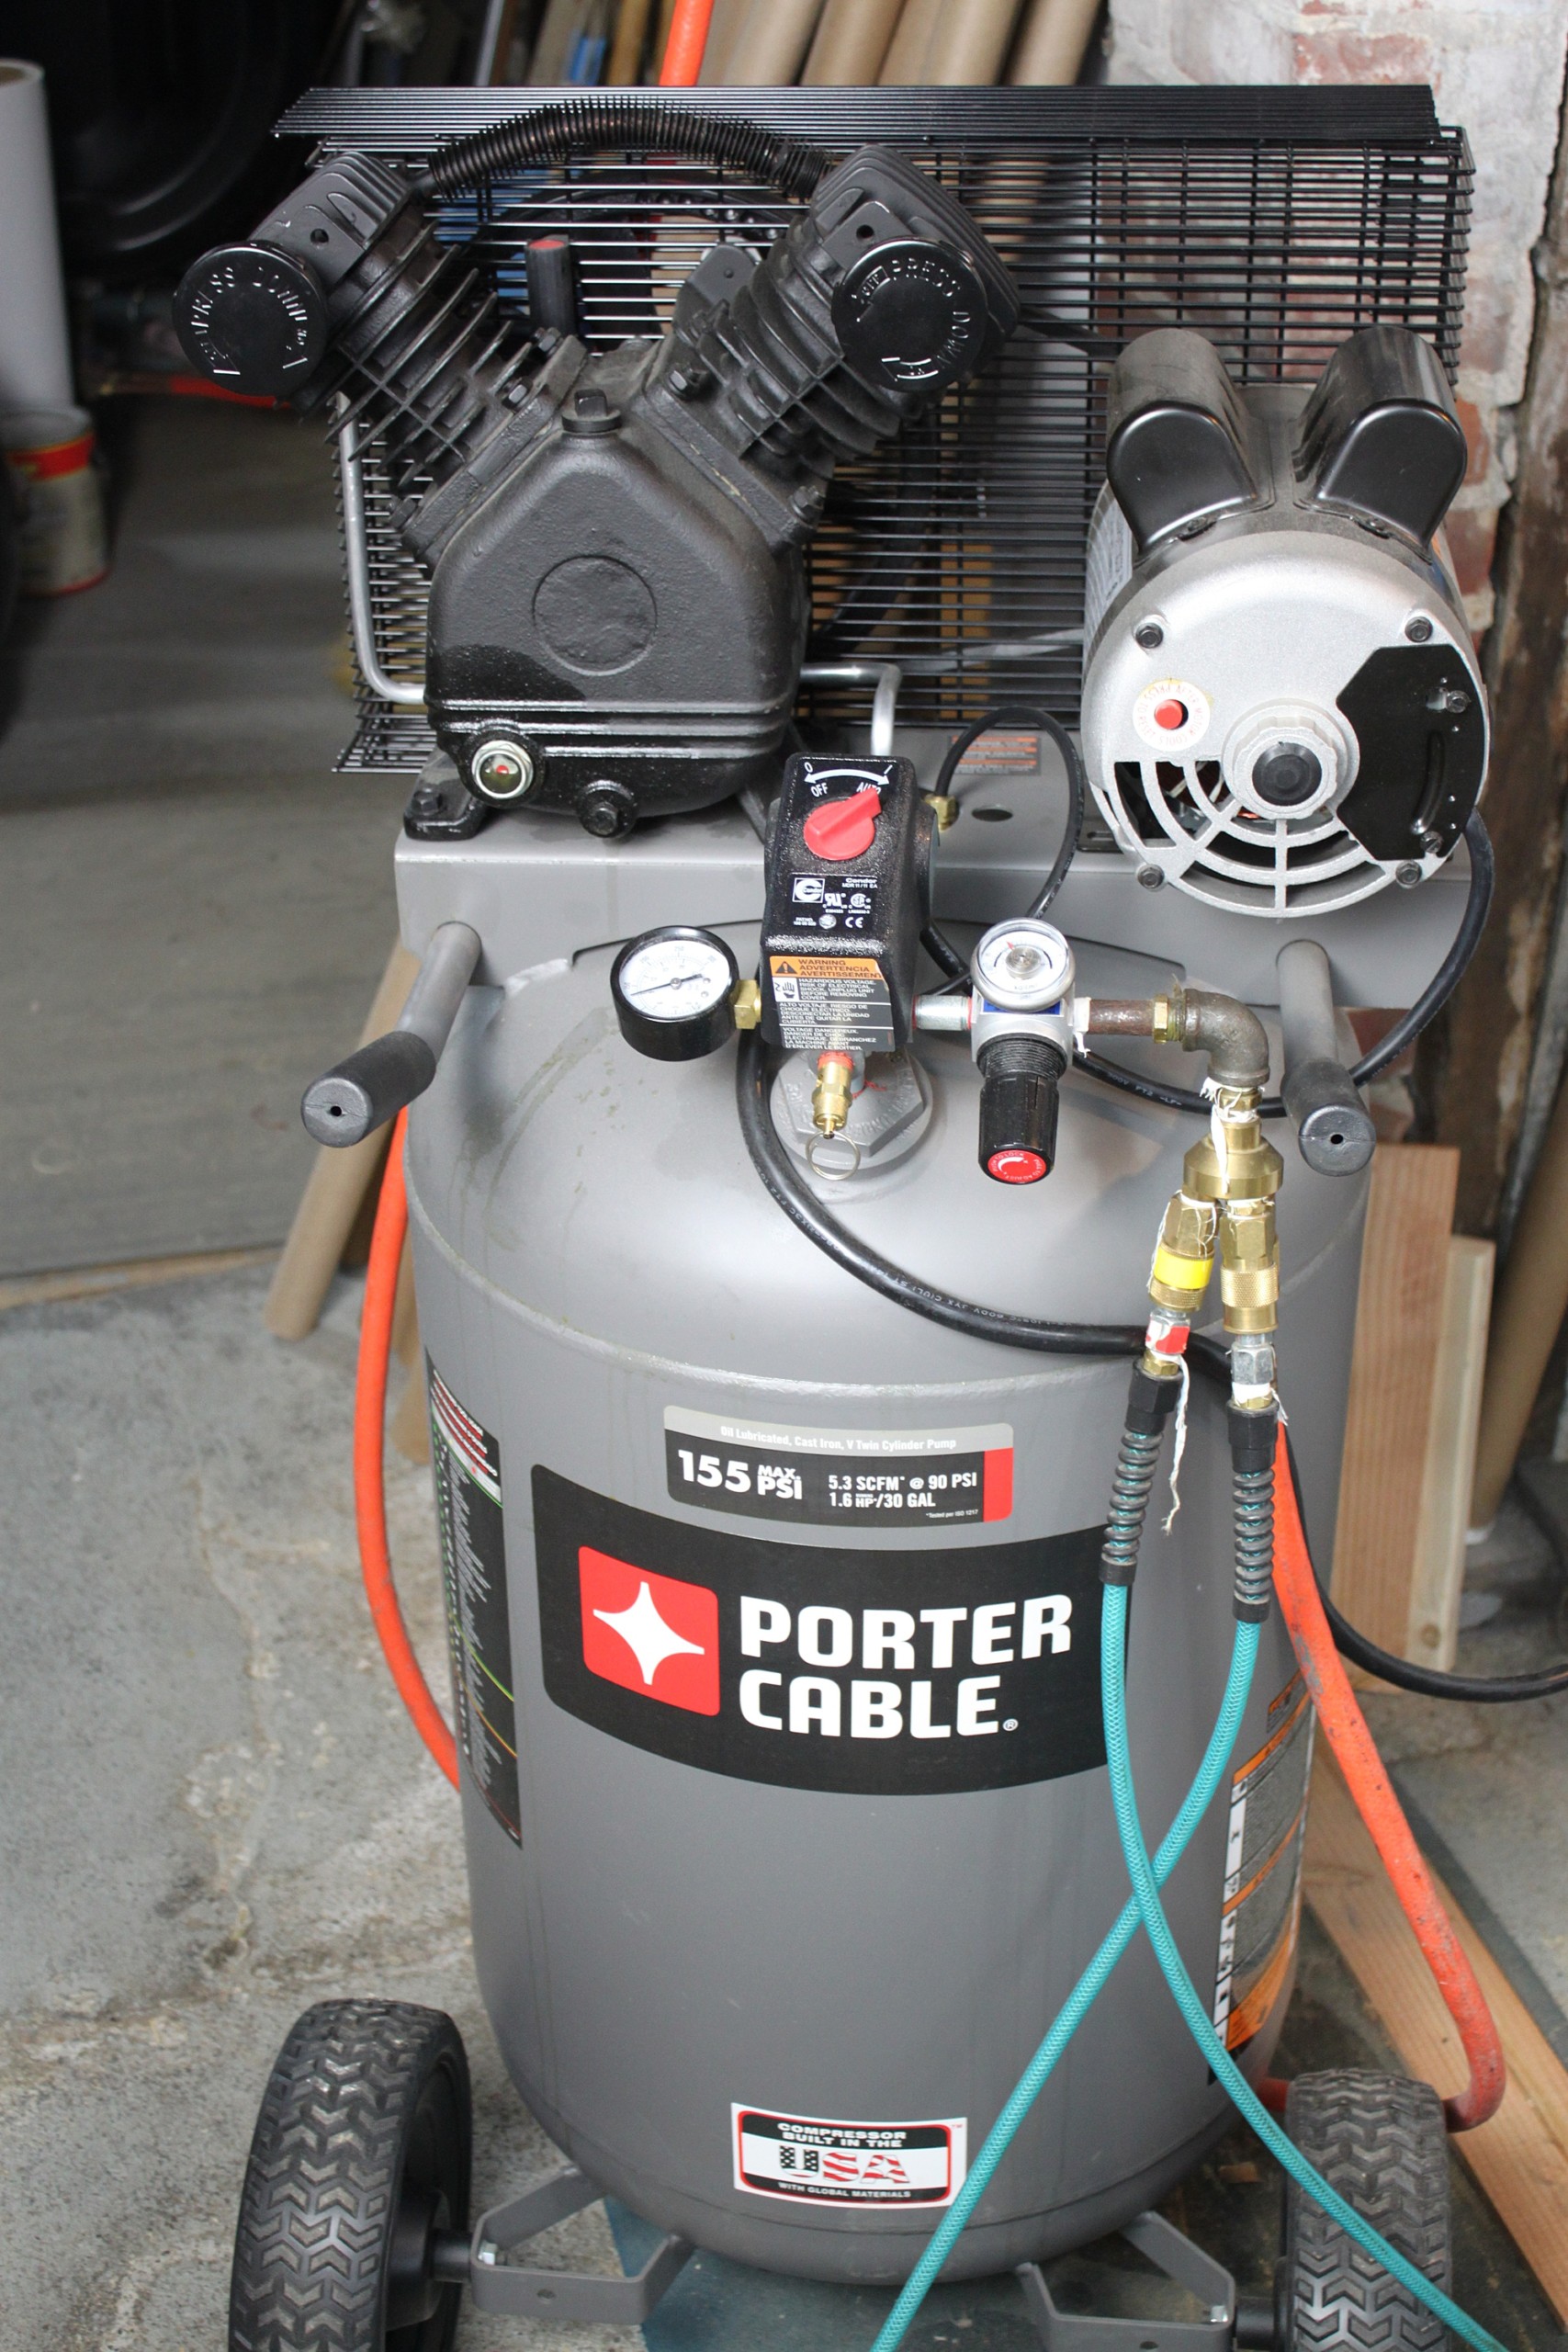
Tip 3: Invest in an Air Compressor and Pneumatic Staple Gun
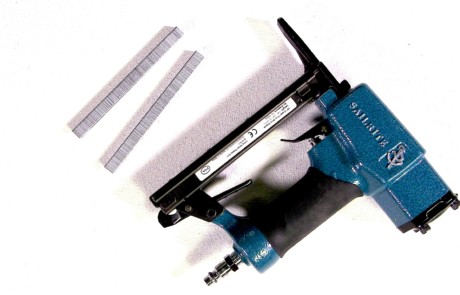
While a traditional staple gun might get the job done, you will be thankful you invested in these time-saving tools! The difference is the pneumatic staple guns have more power than a hand held staple gun. As I discuss in this video, the pneumatic staple guns are more consistent, and the staple goes all the way into the wood.
Oftentimes, handheld and electric staple guns don’t have enough power to get the staples all the way into the hardwood frames.
Related Articles:
If you need help connecting your air compressor, staple gun, and hoses, see this video: Connecting Air Compressor, Staple Guns and Hoses
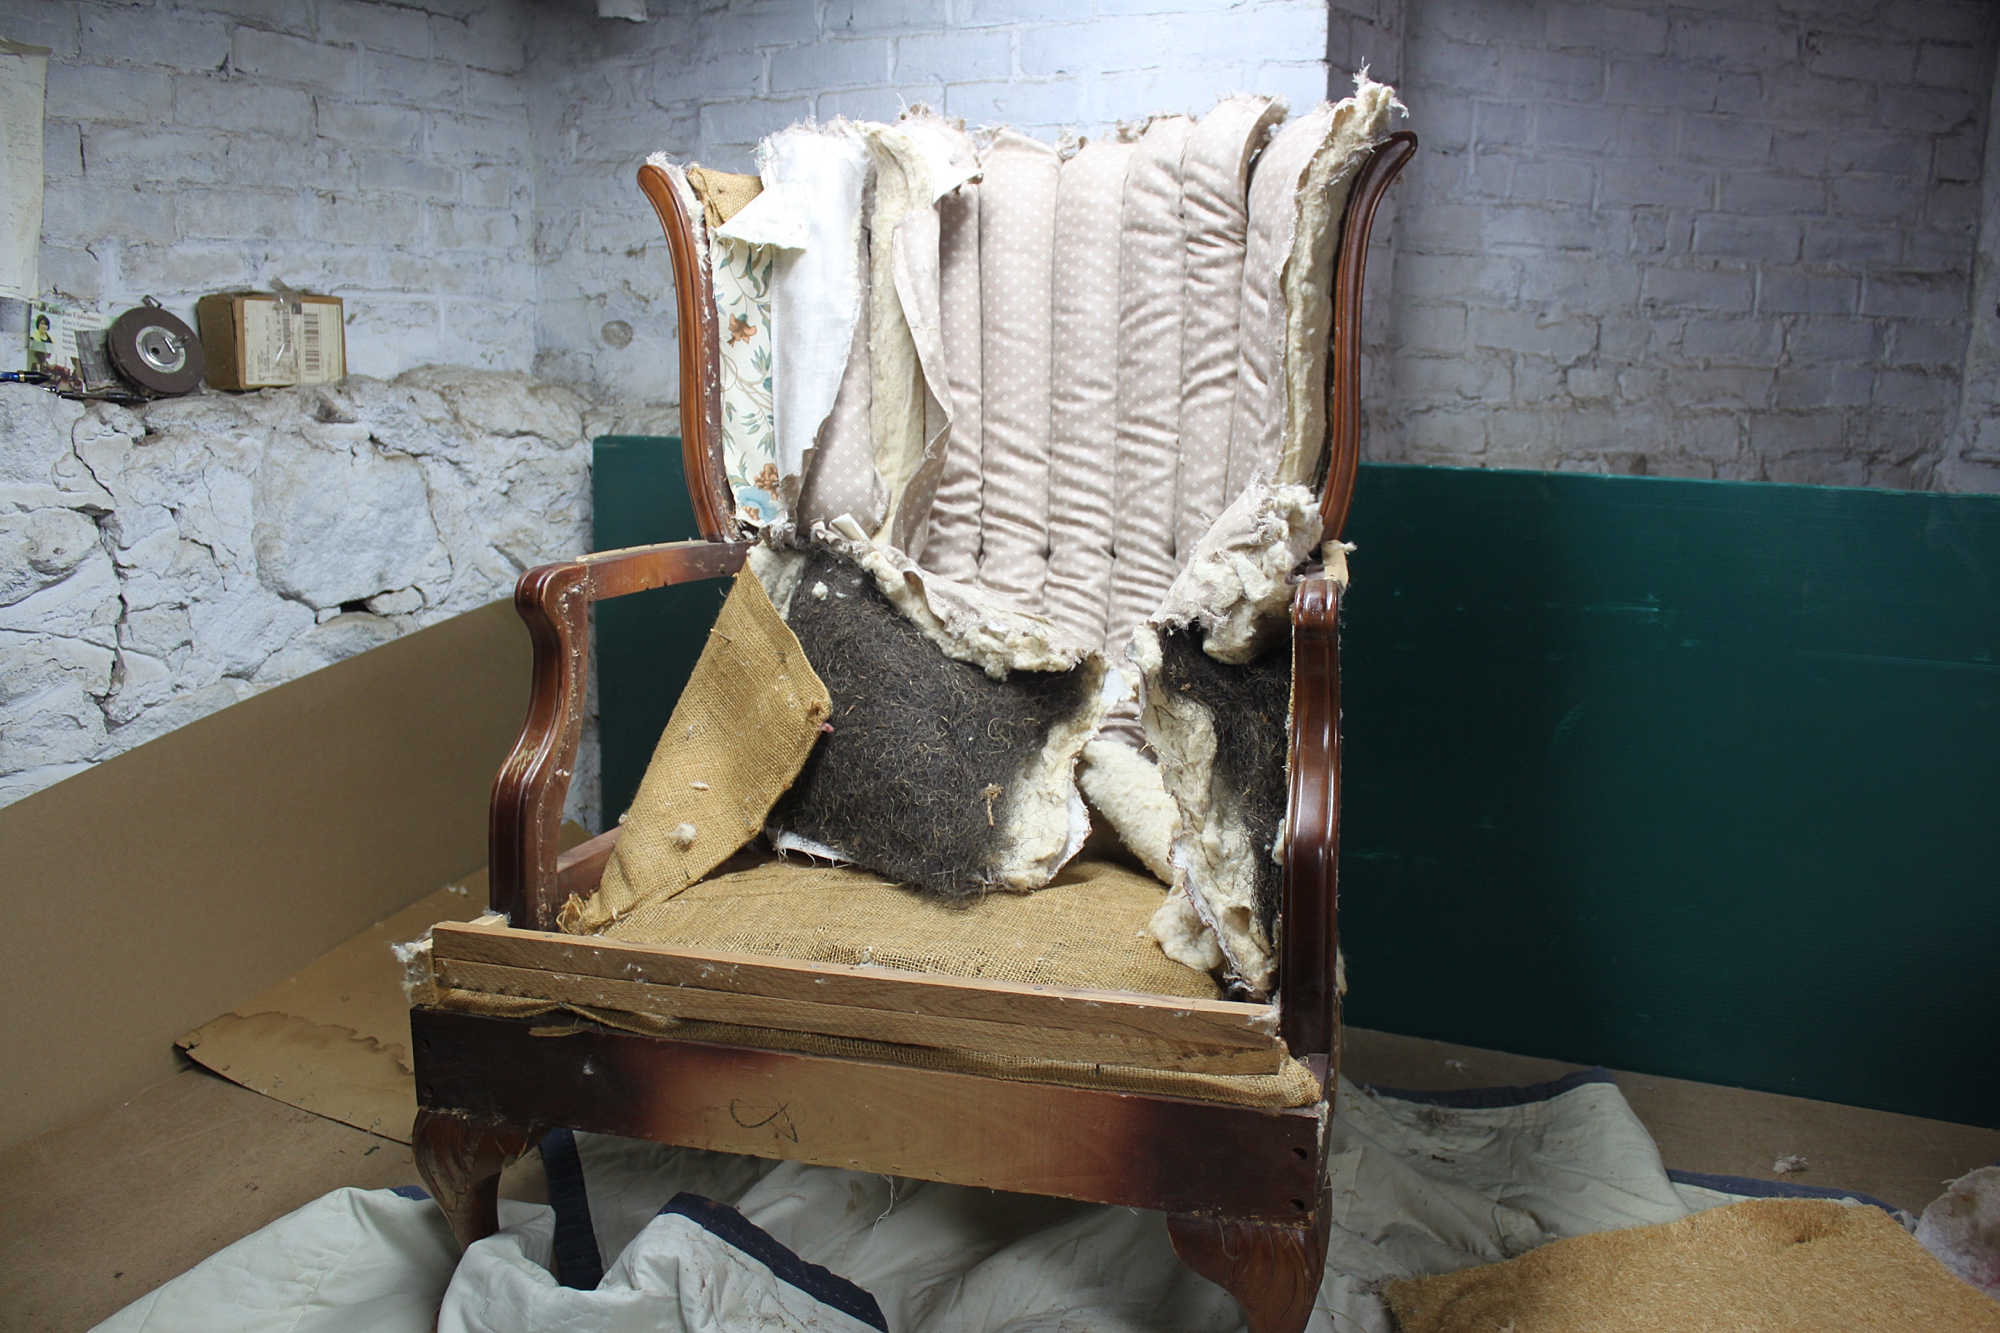
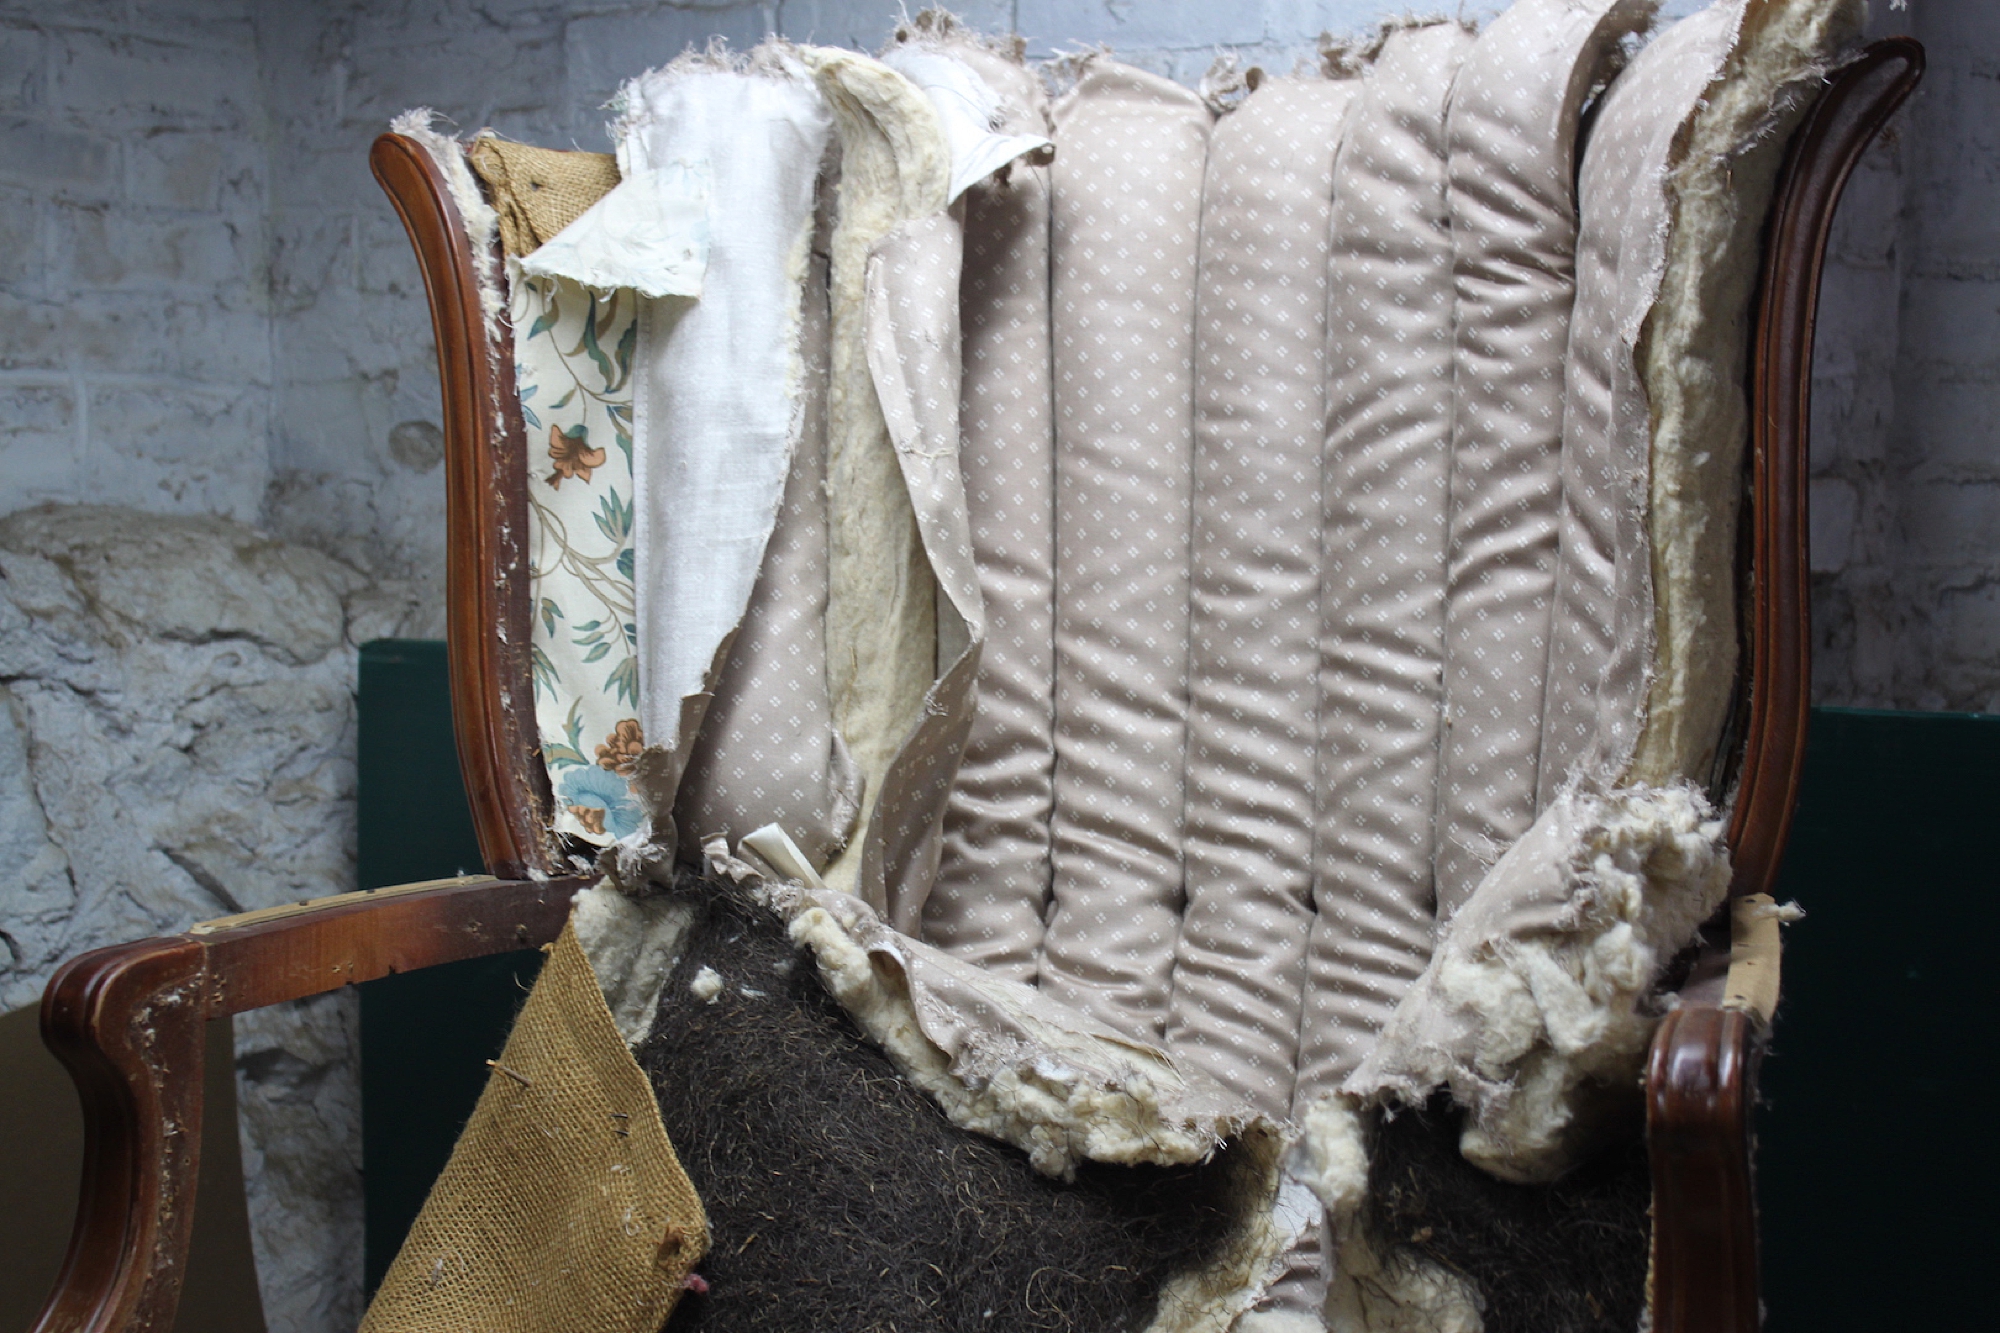
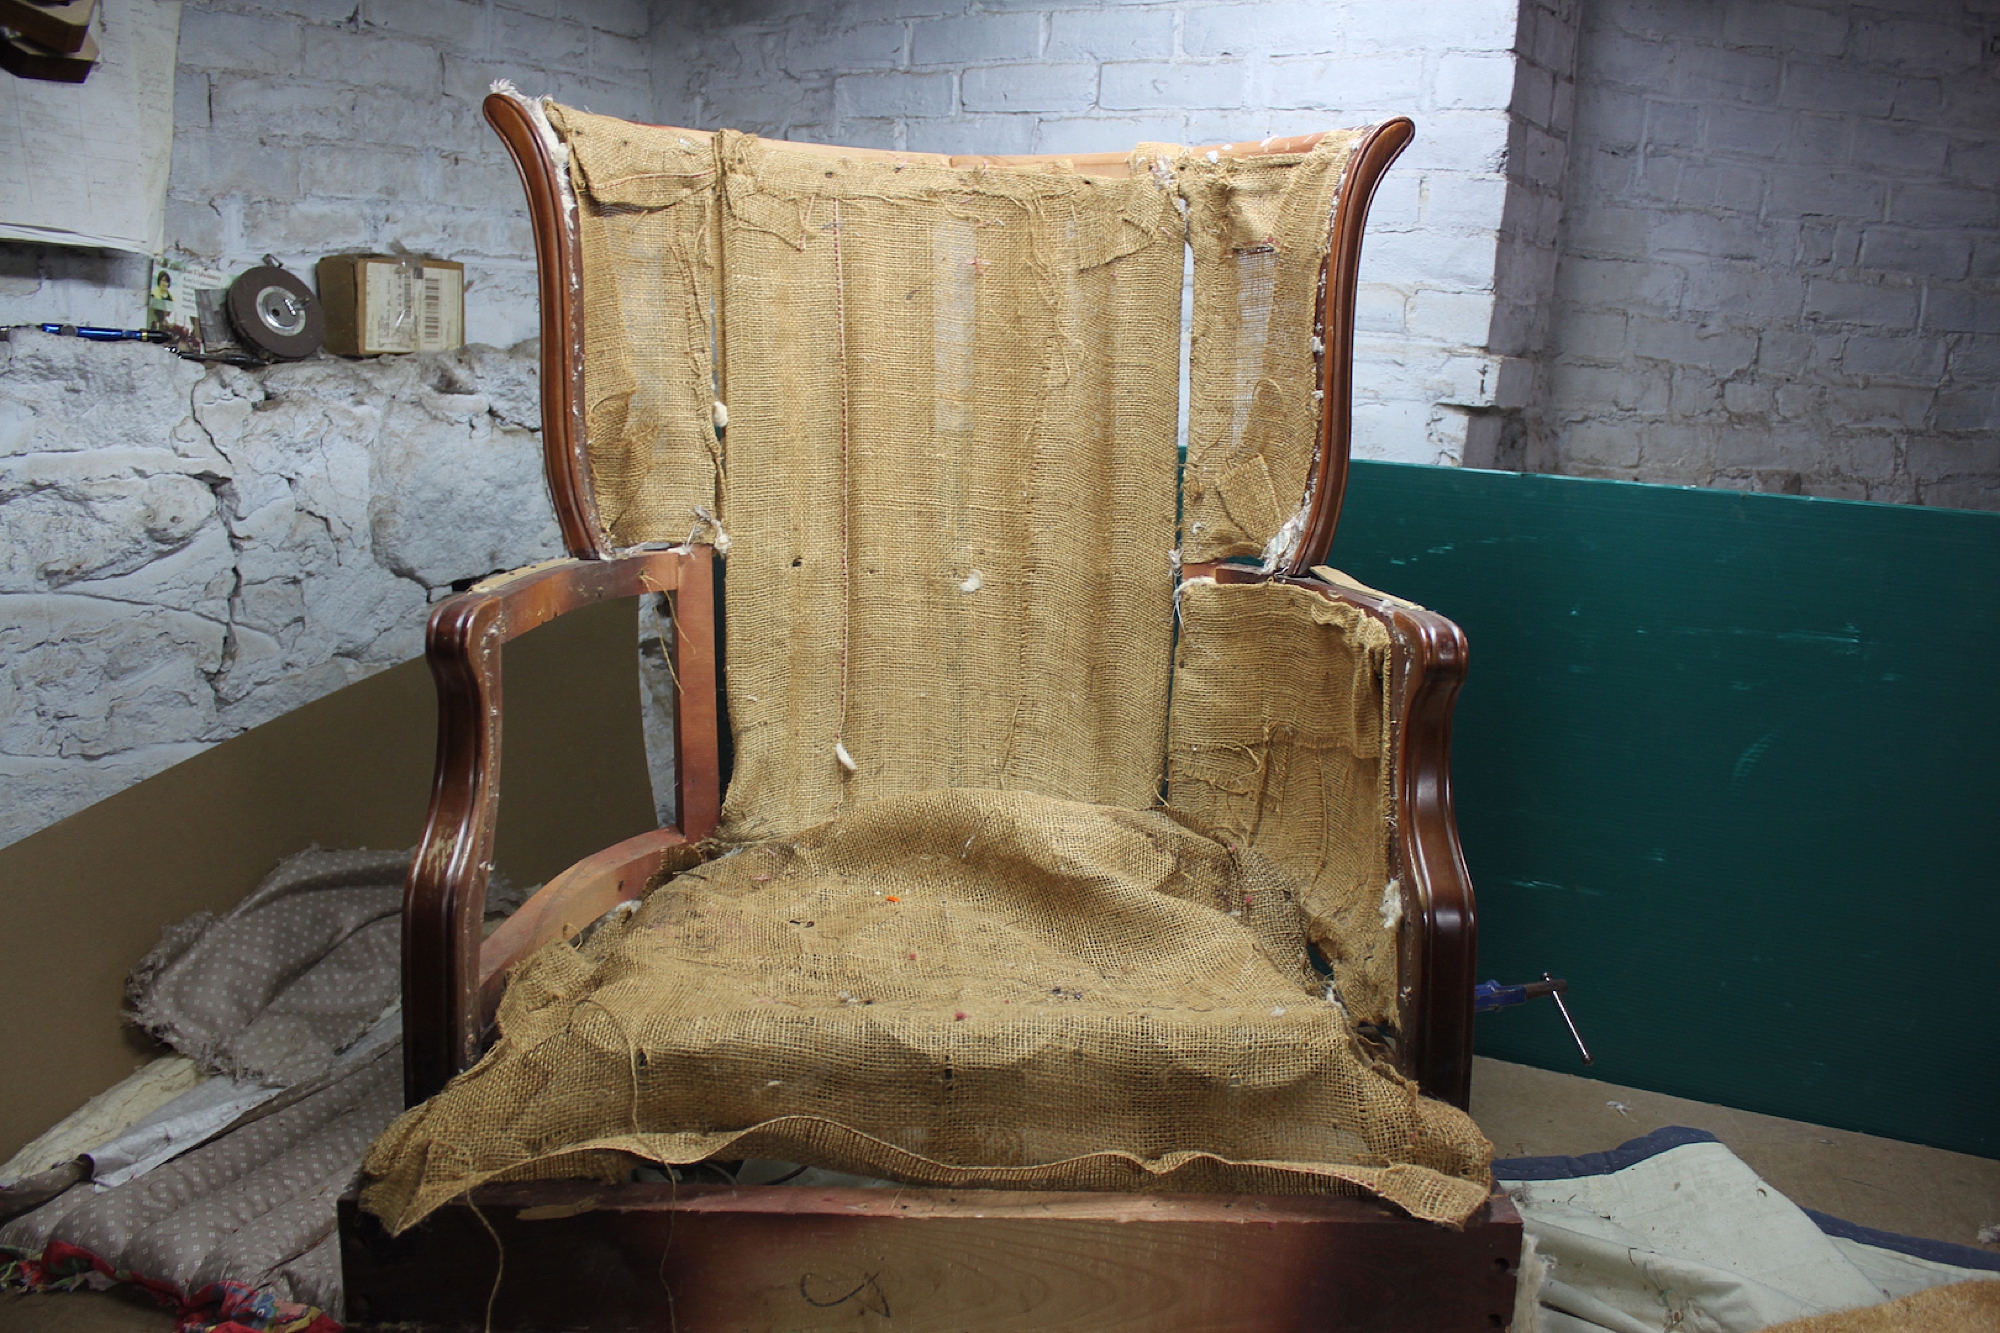
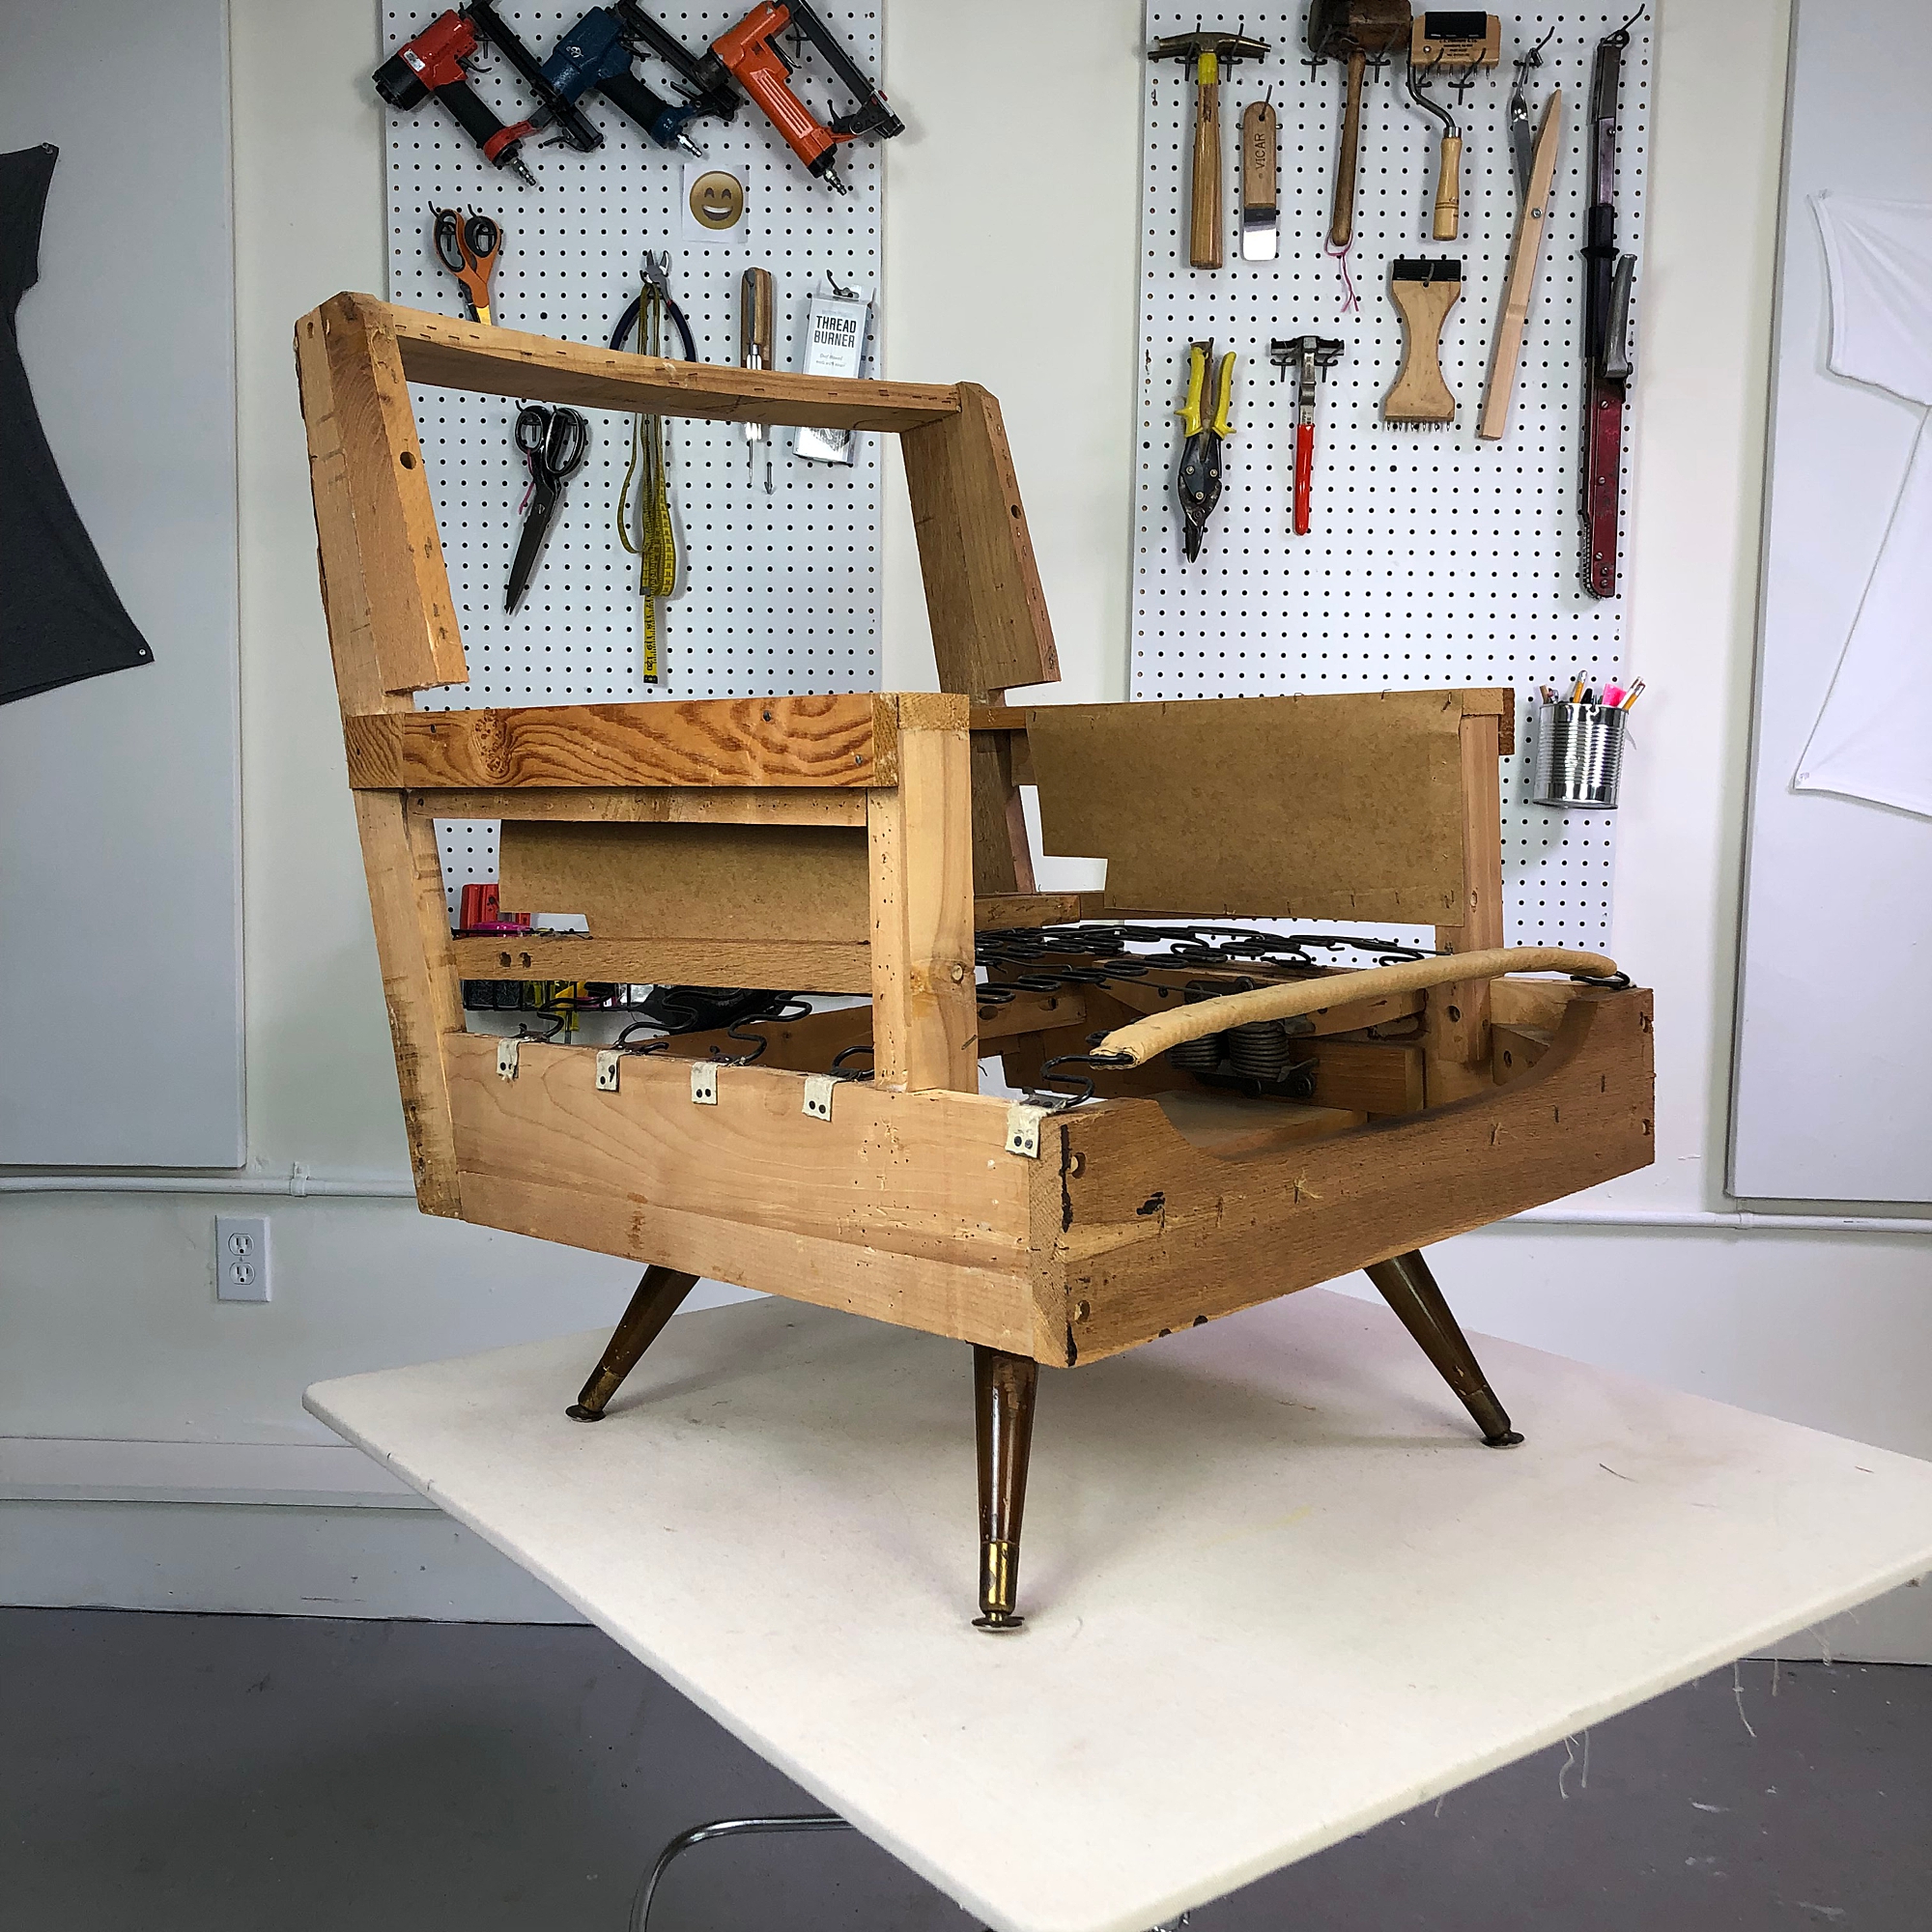
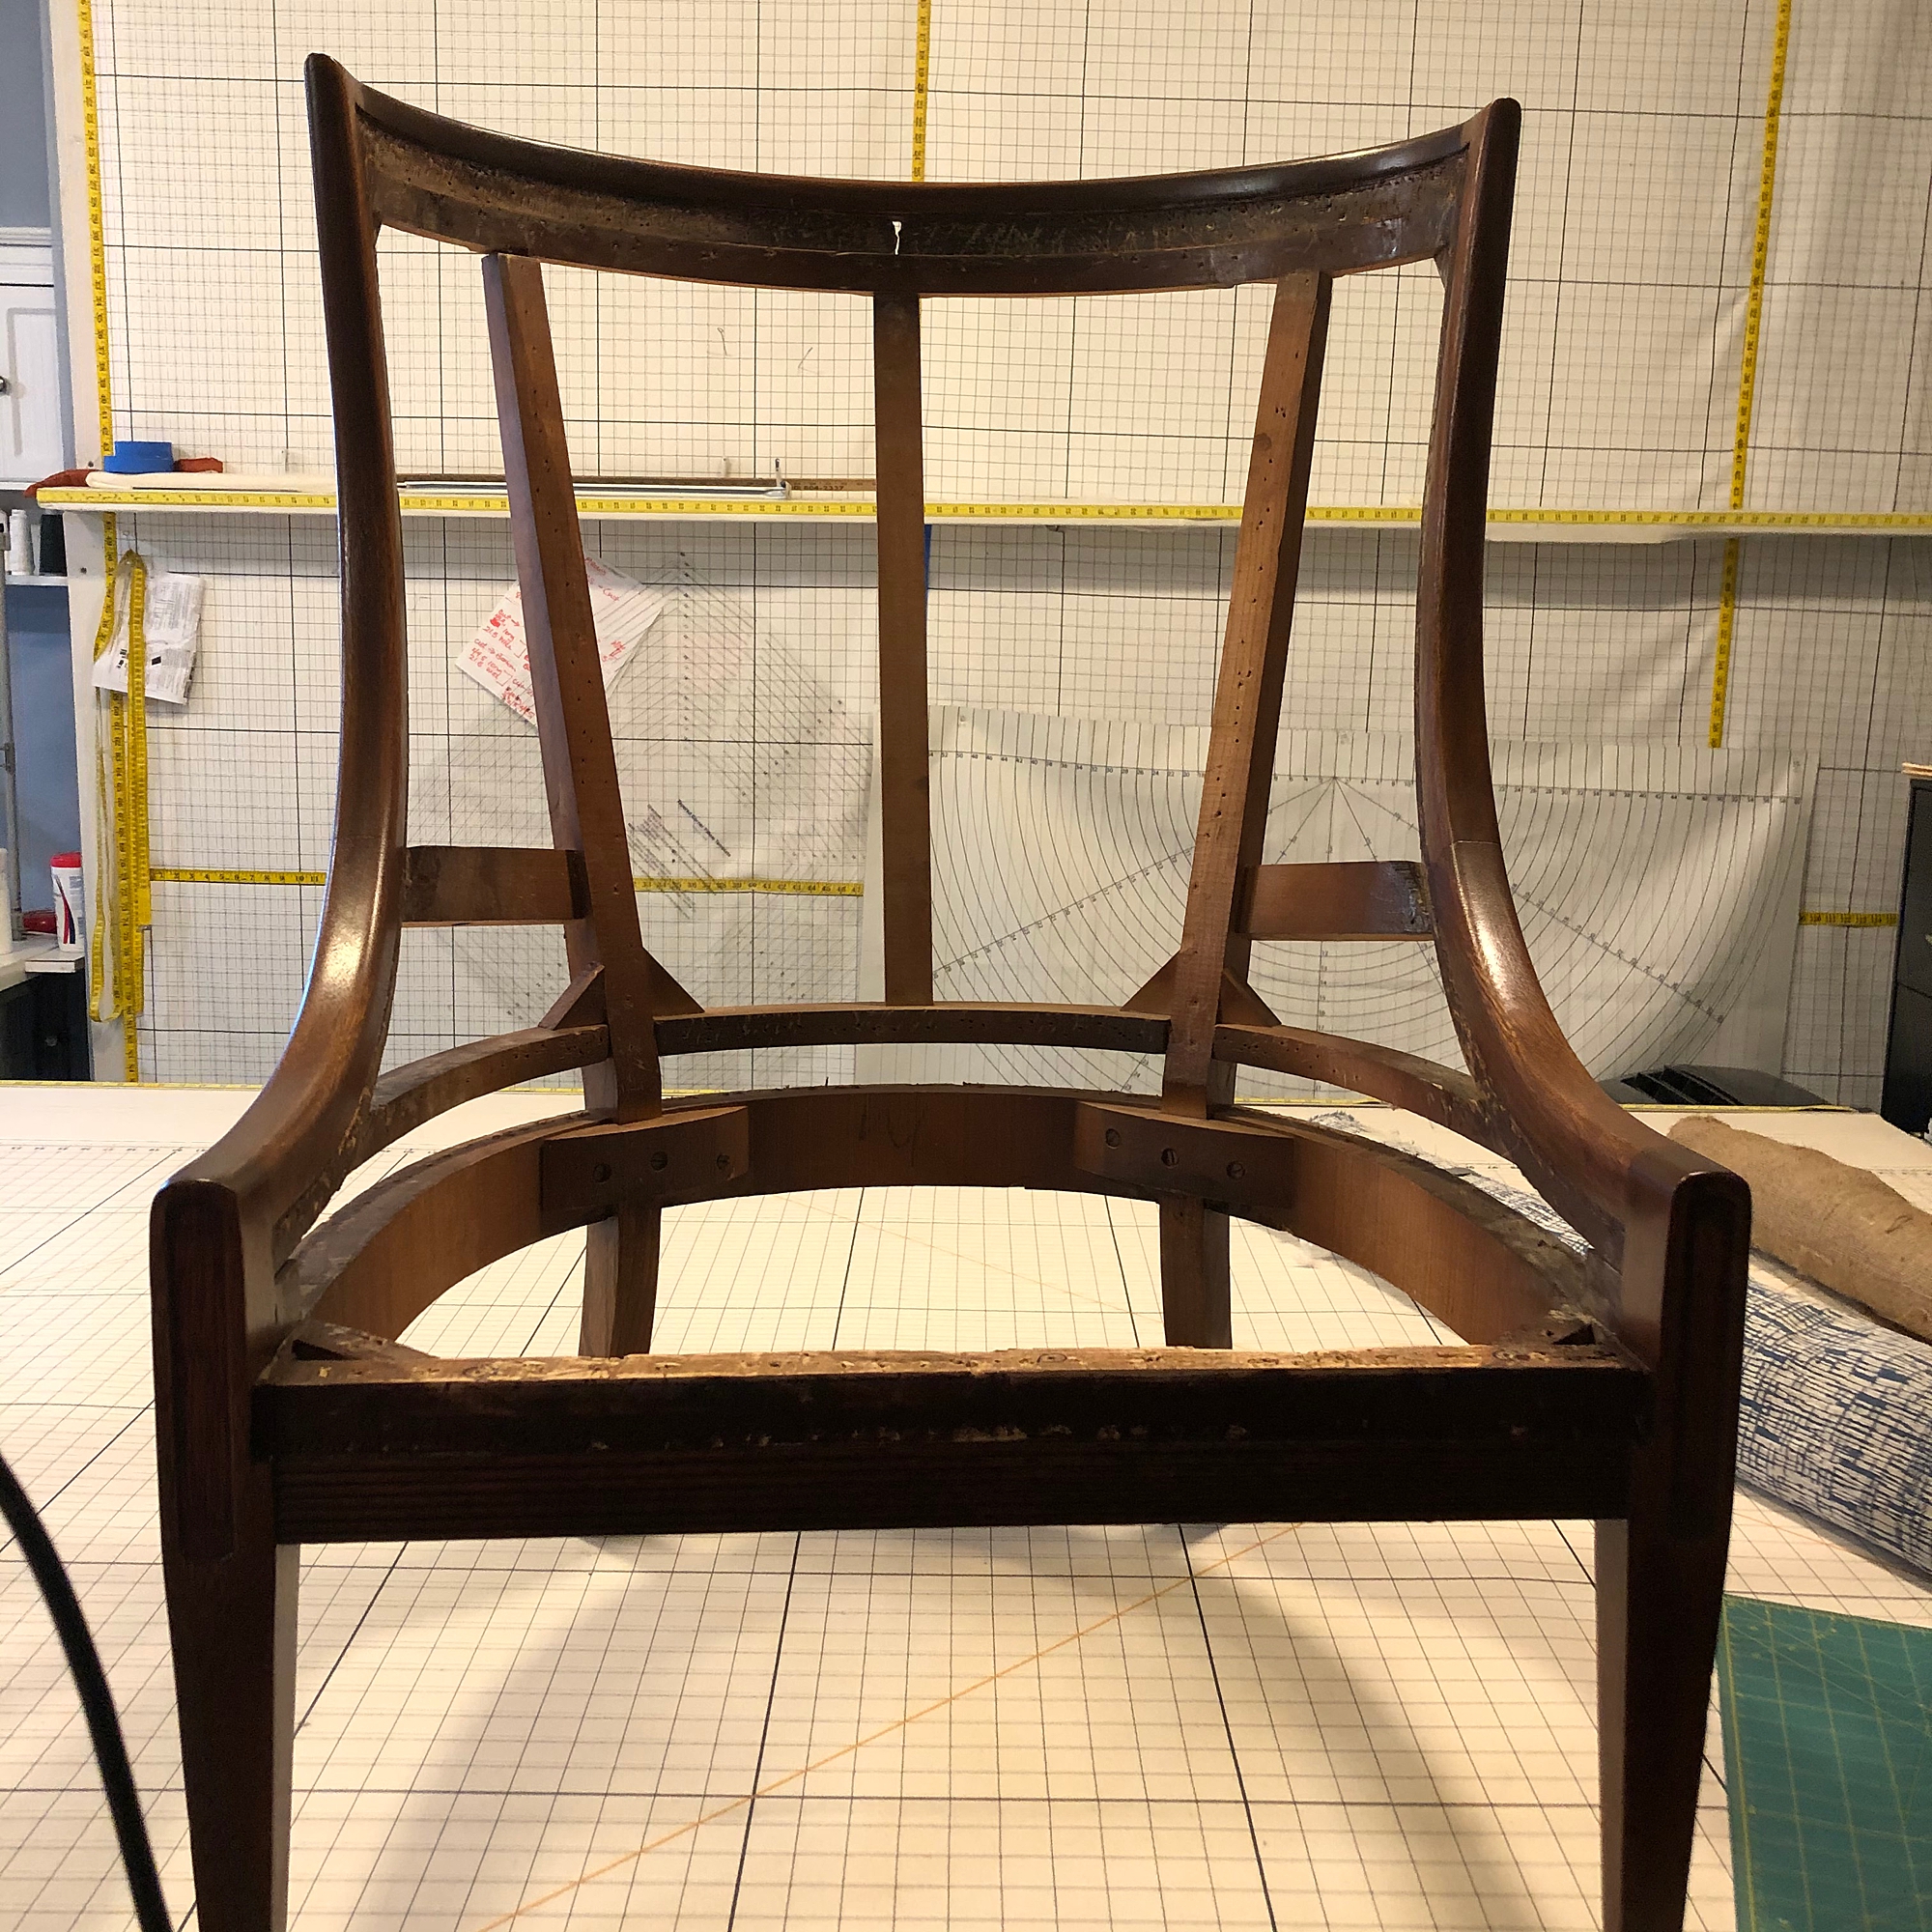
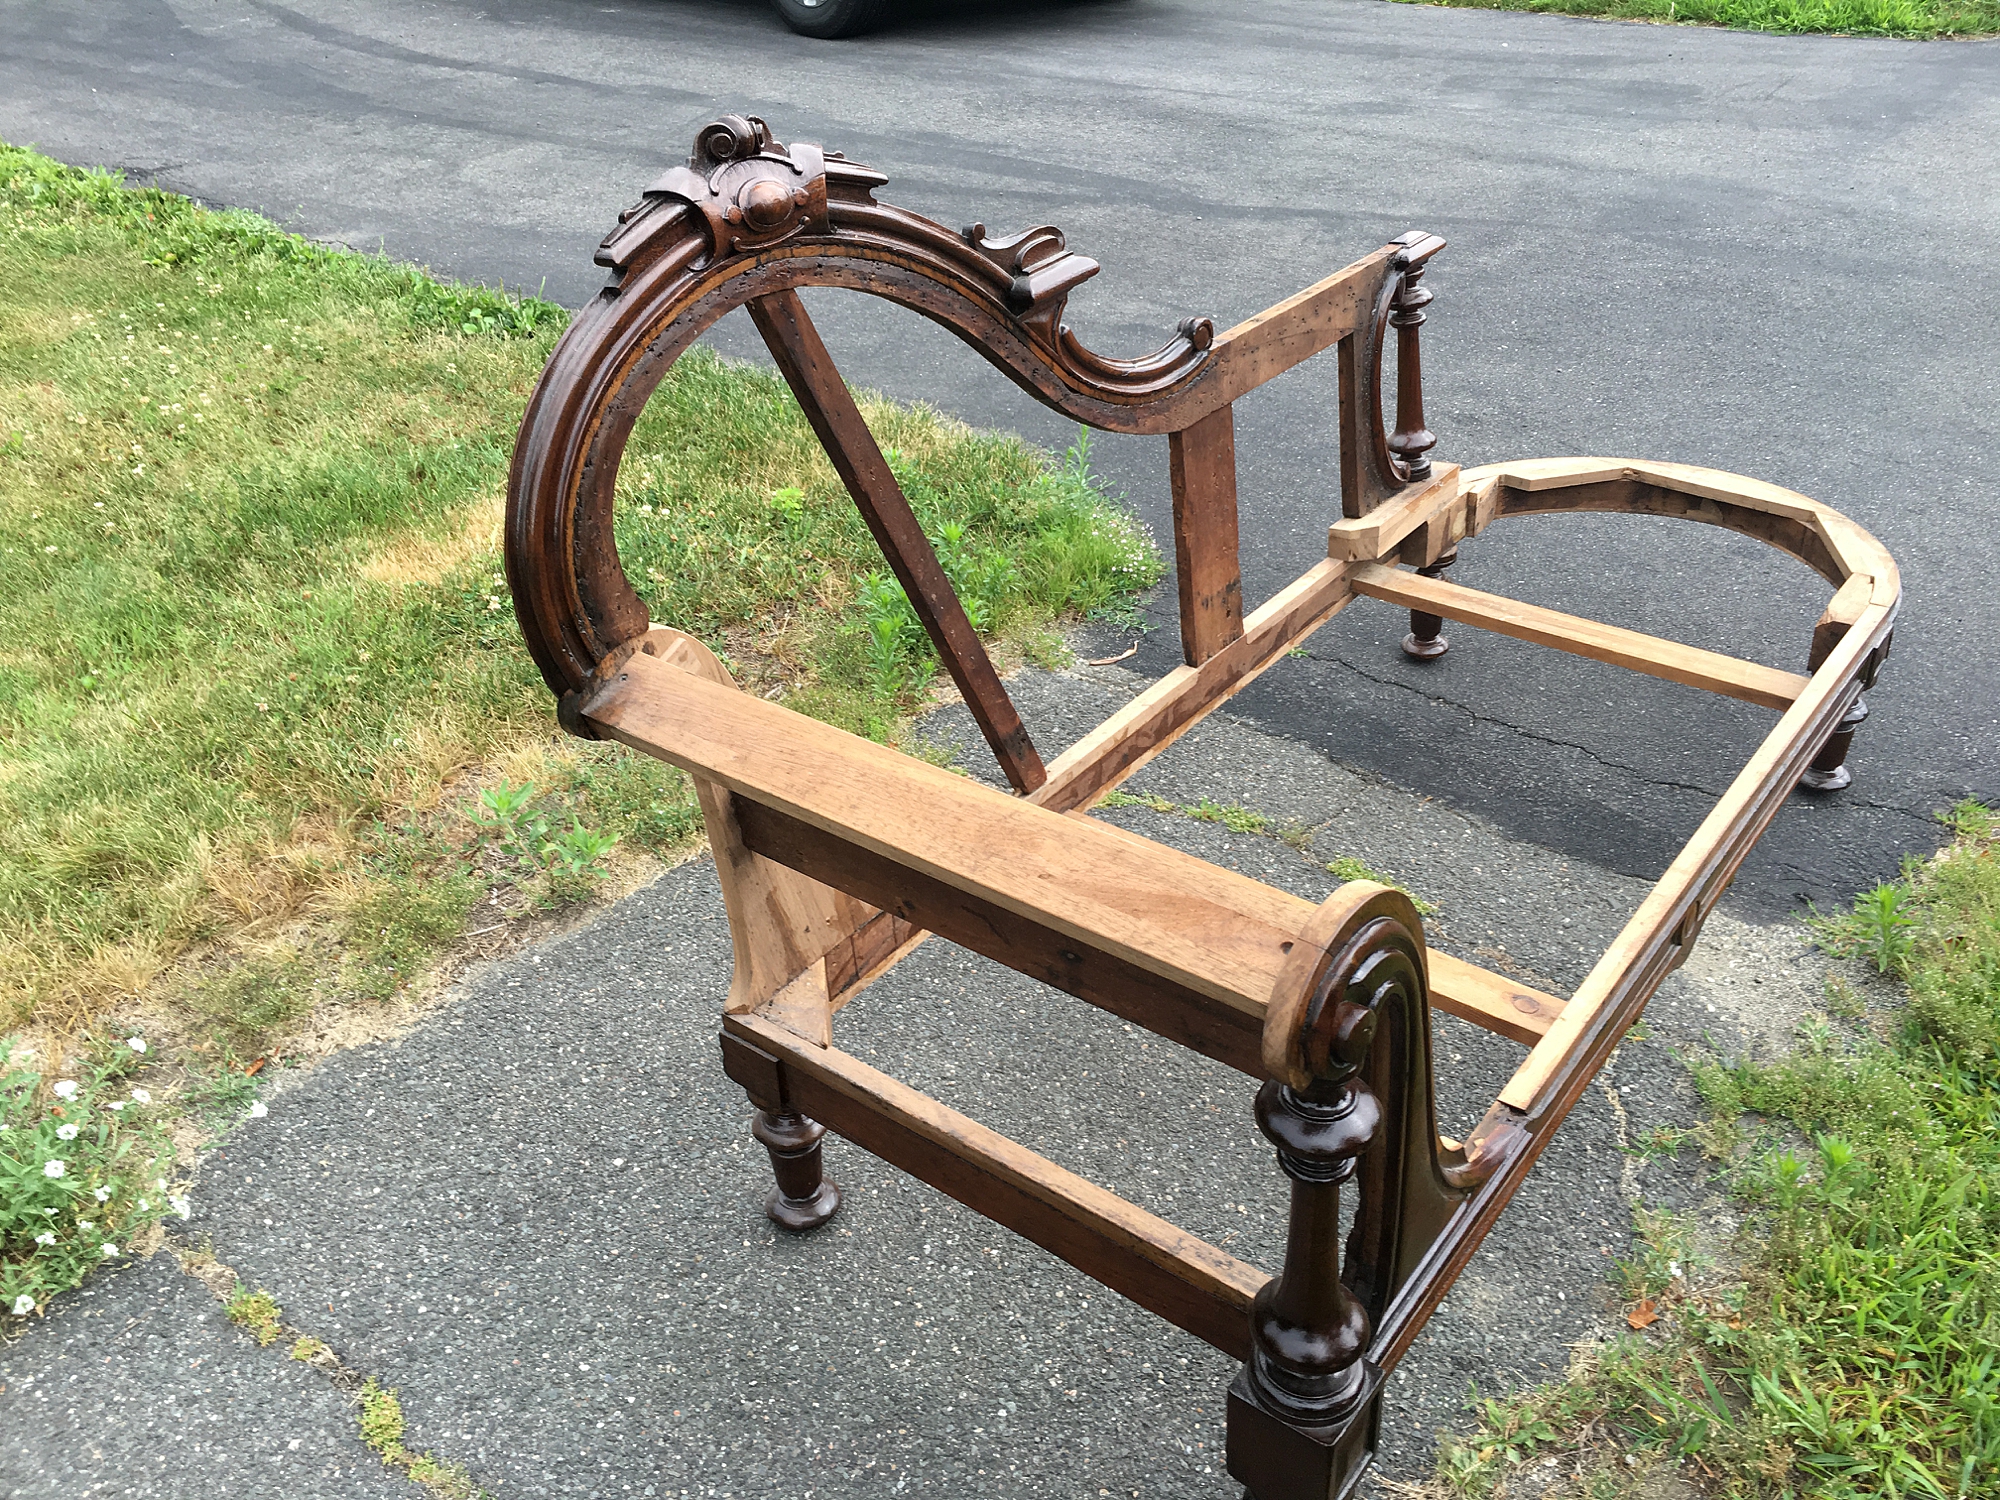
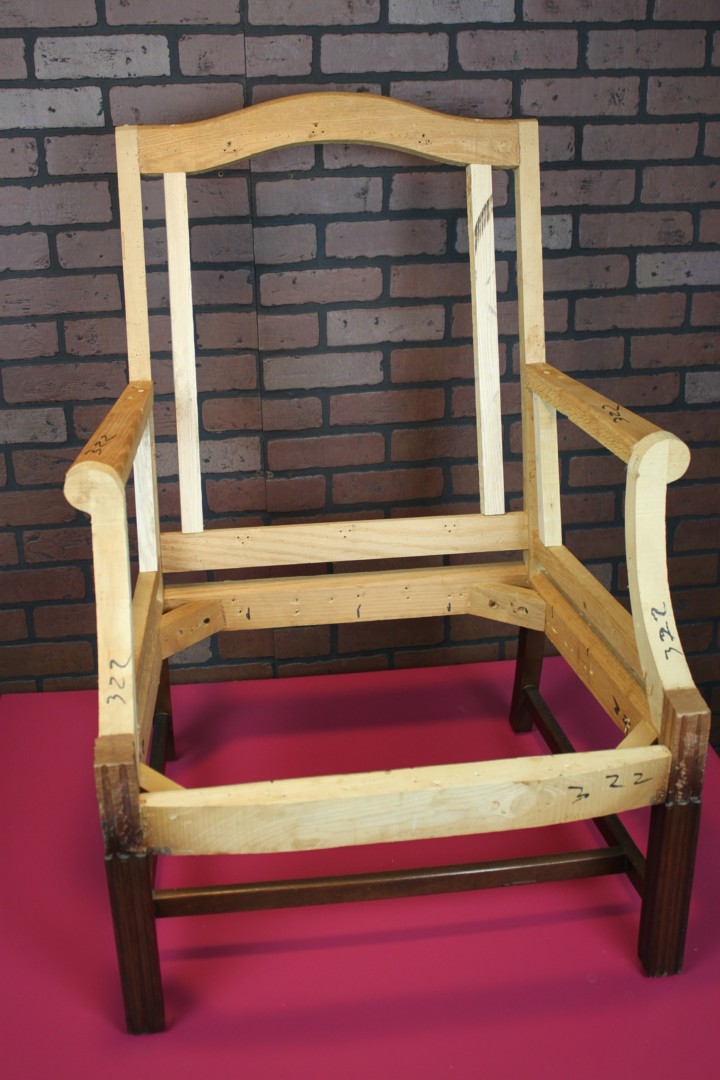
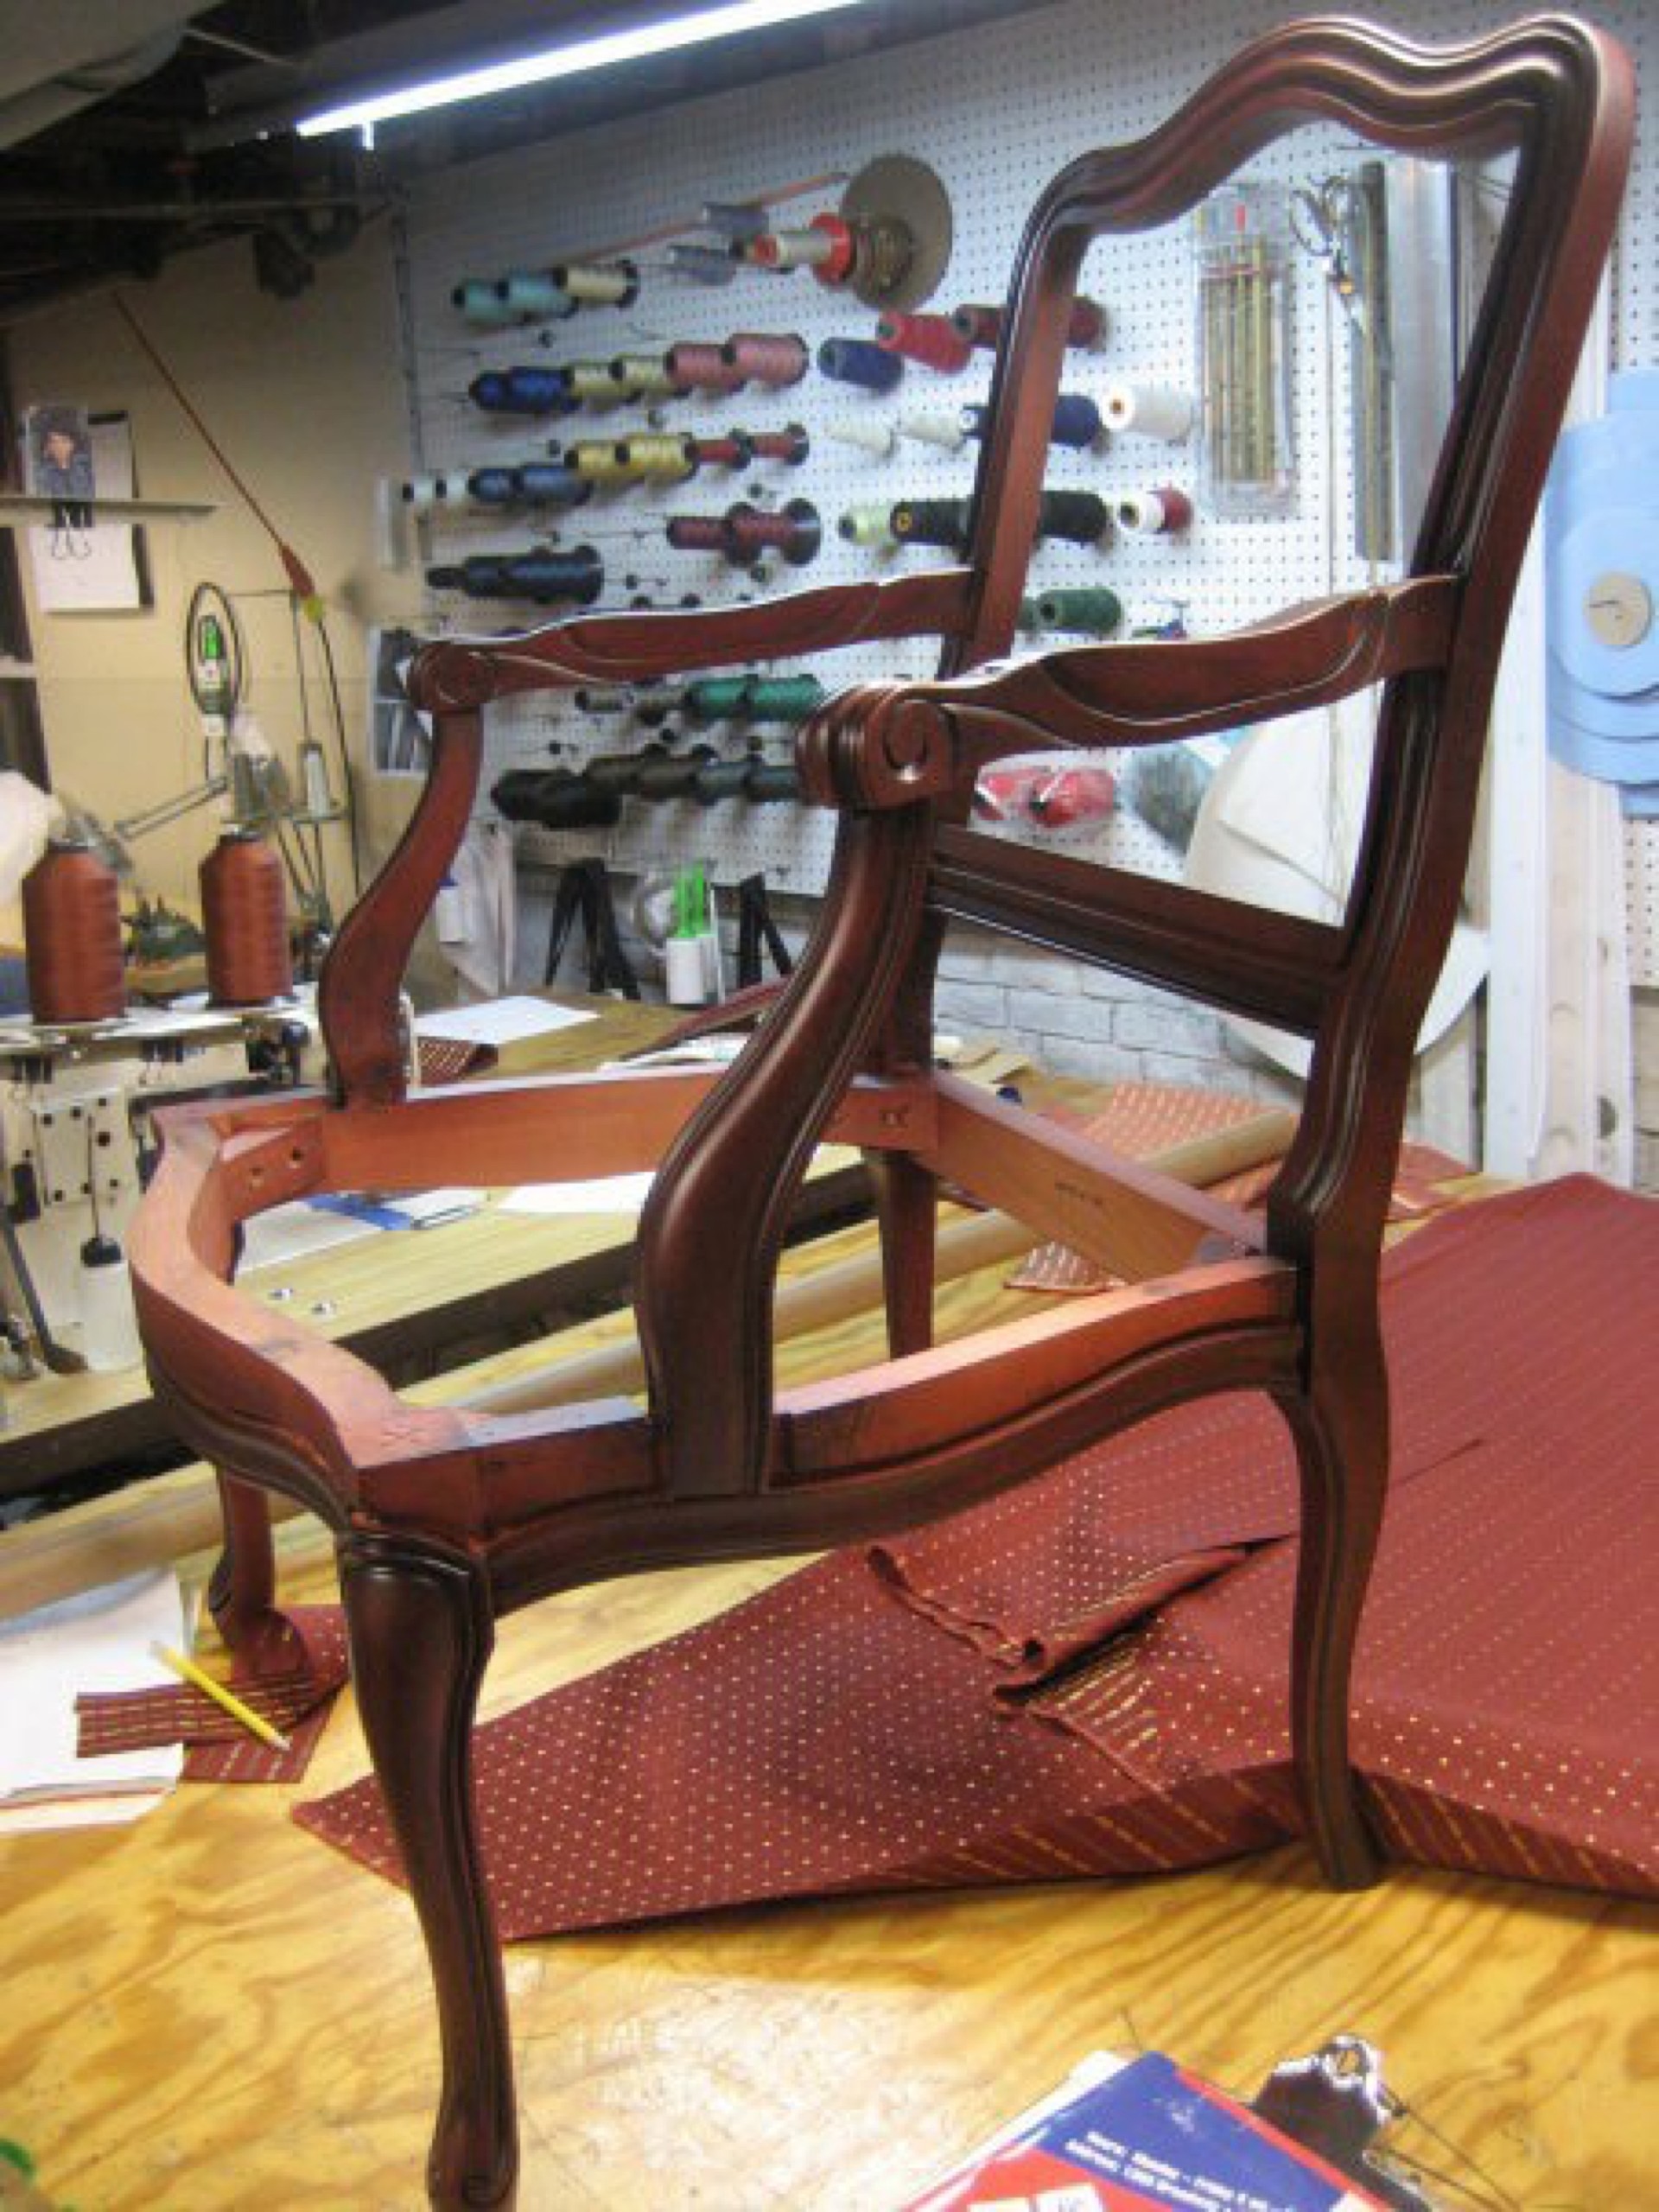
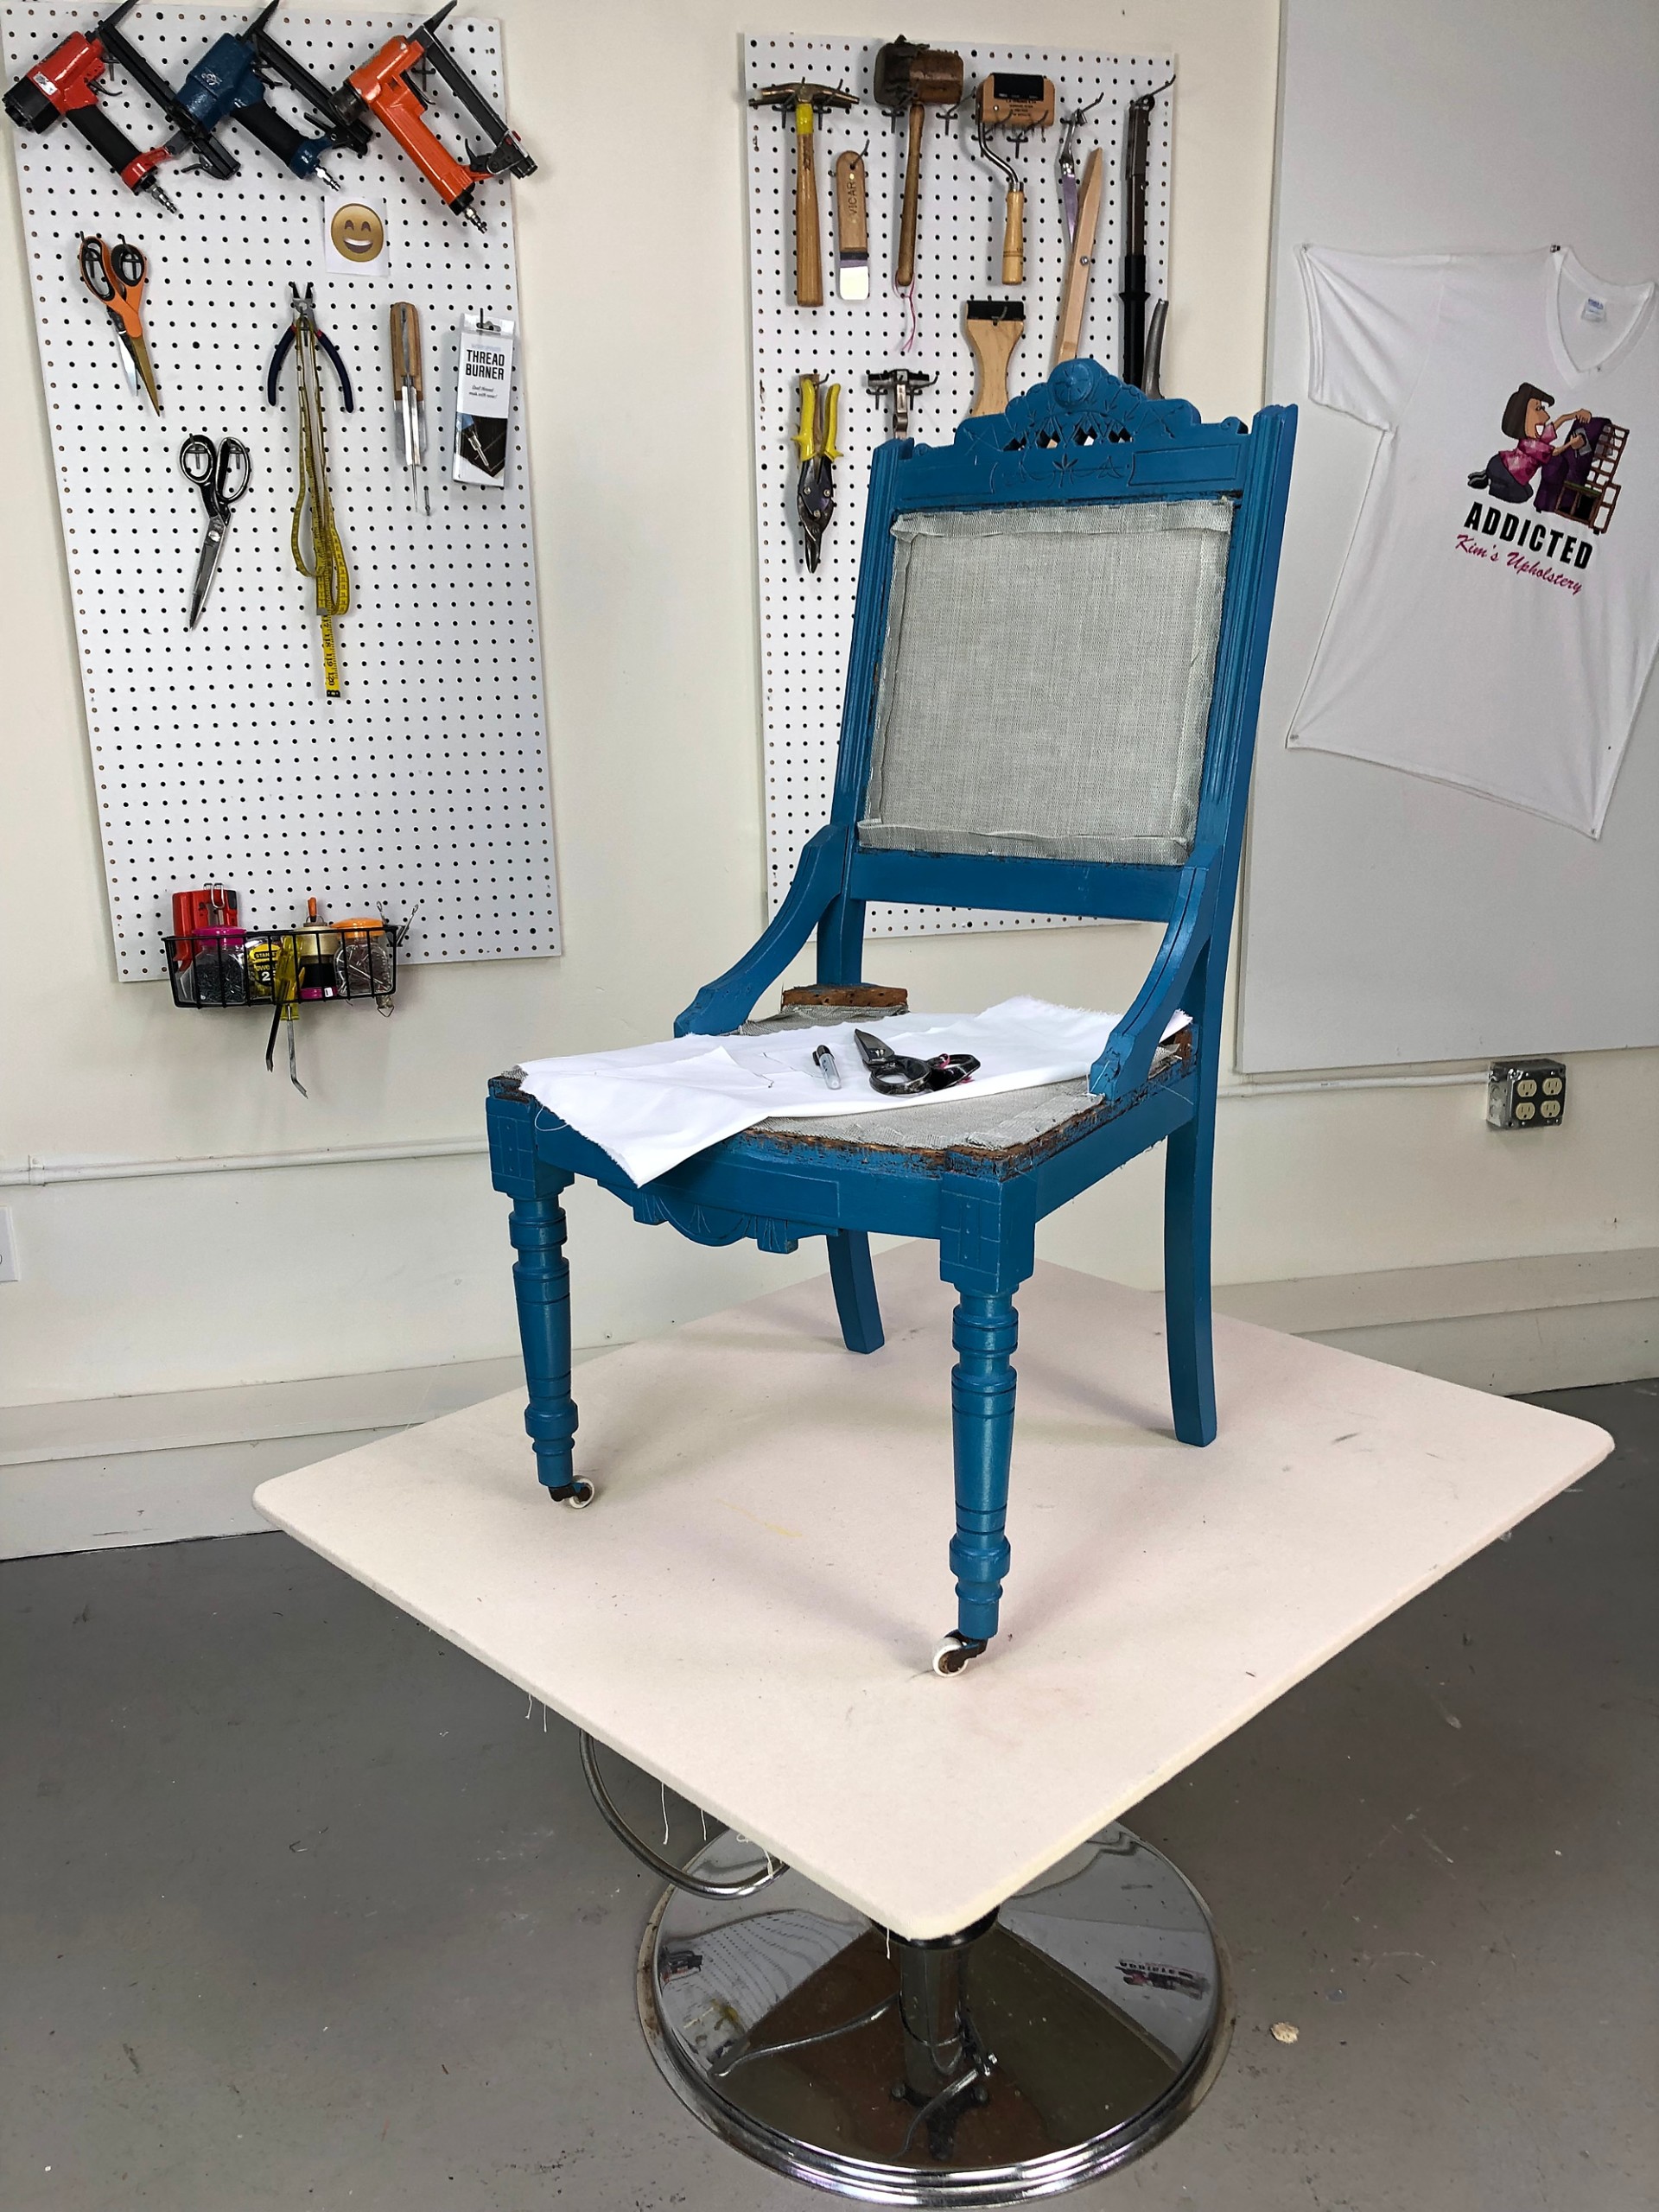
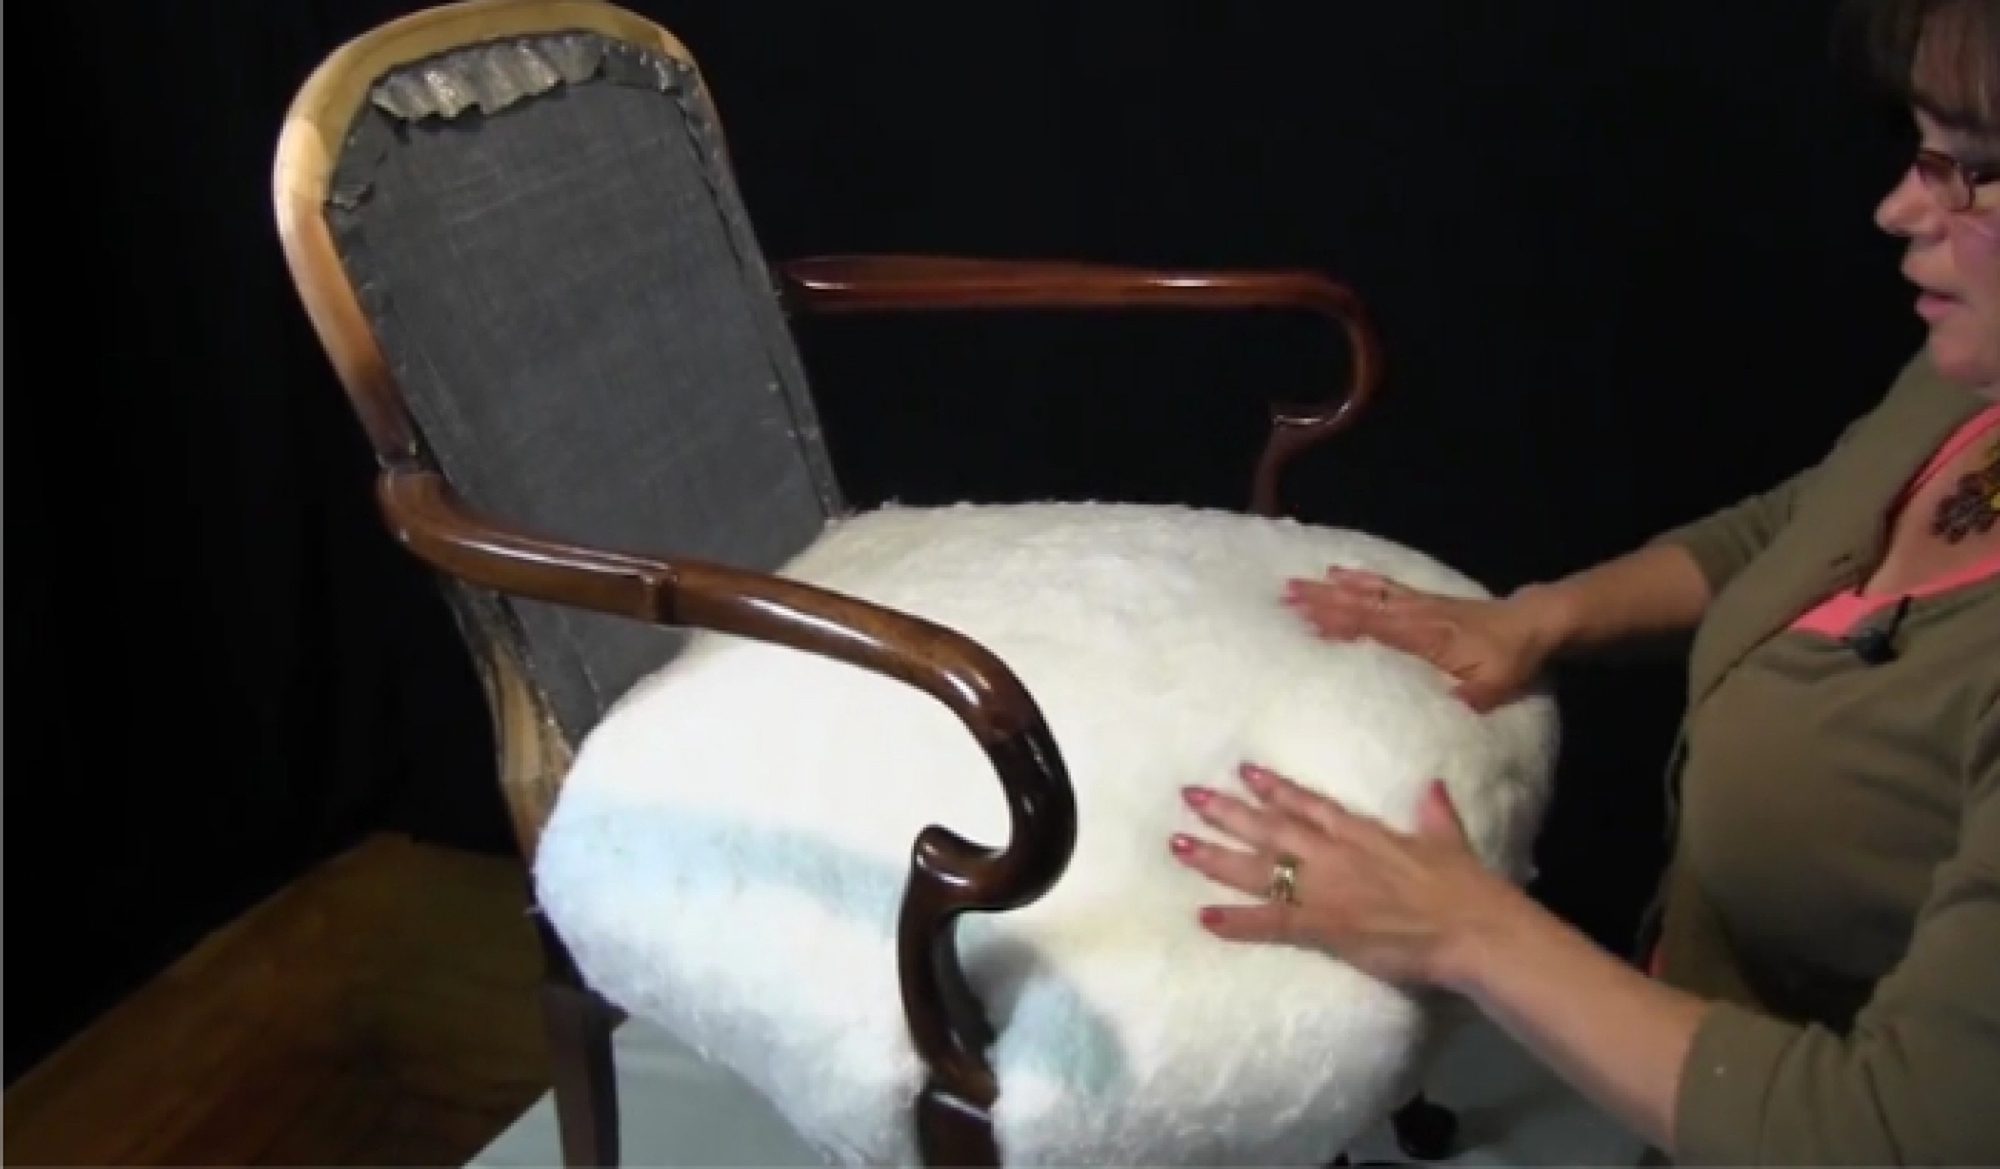
Tip 4: Tear your Chair Down to the Frame
This is an important step and many underestimate the amount of time it can take. The right tools also help move along the process faster and more efficiently.
Related Upholstery Teardown Videos and Articles:
Tip 5 : Take Pictures as you Teardown for Reference
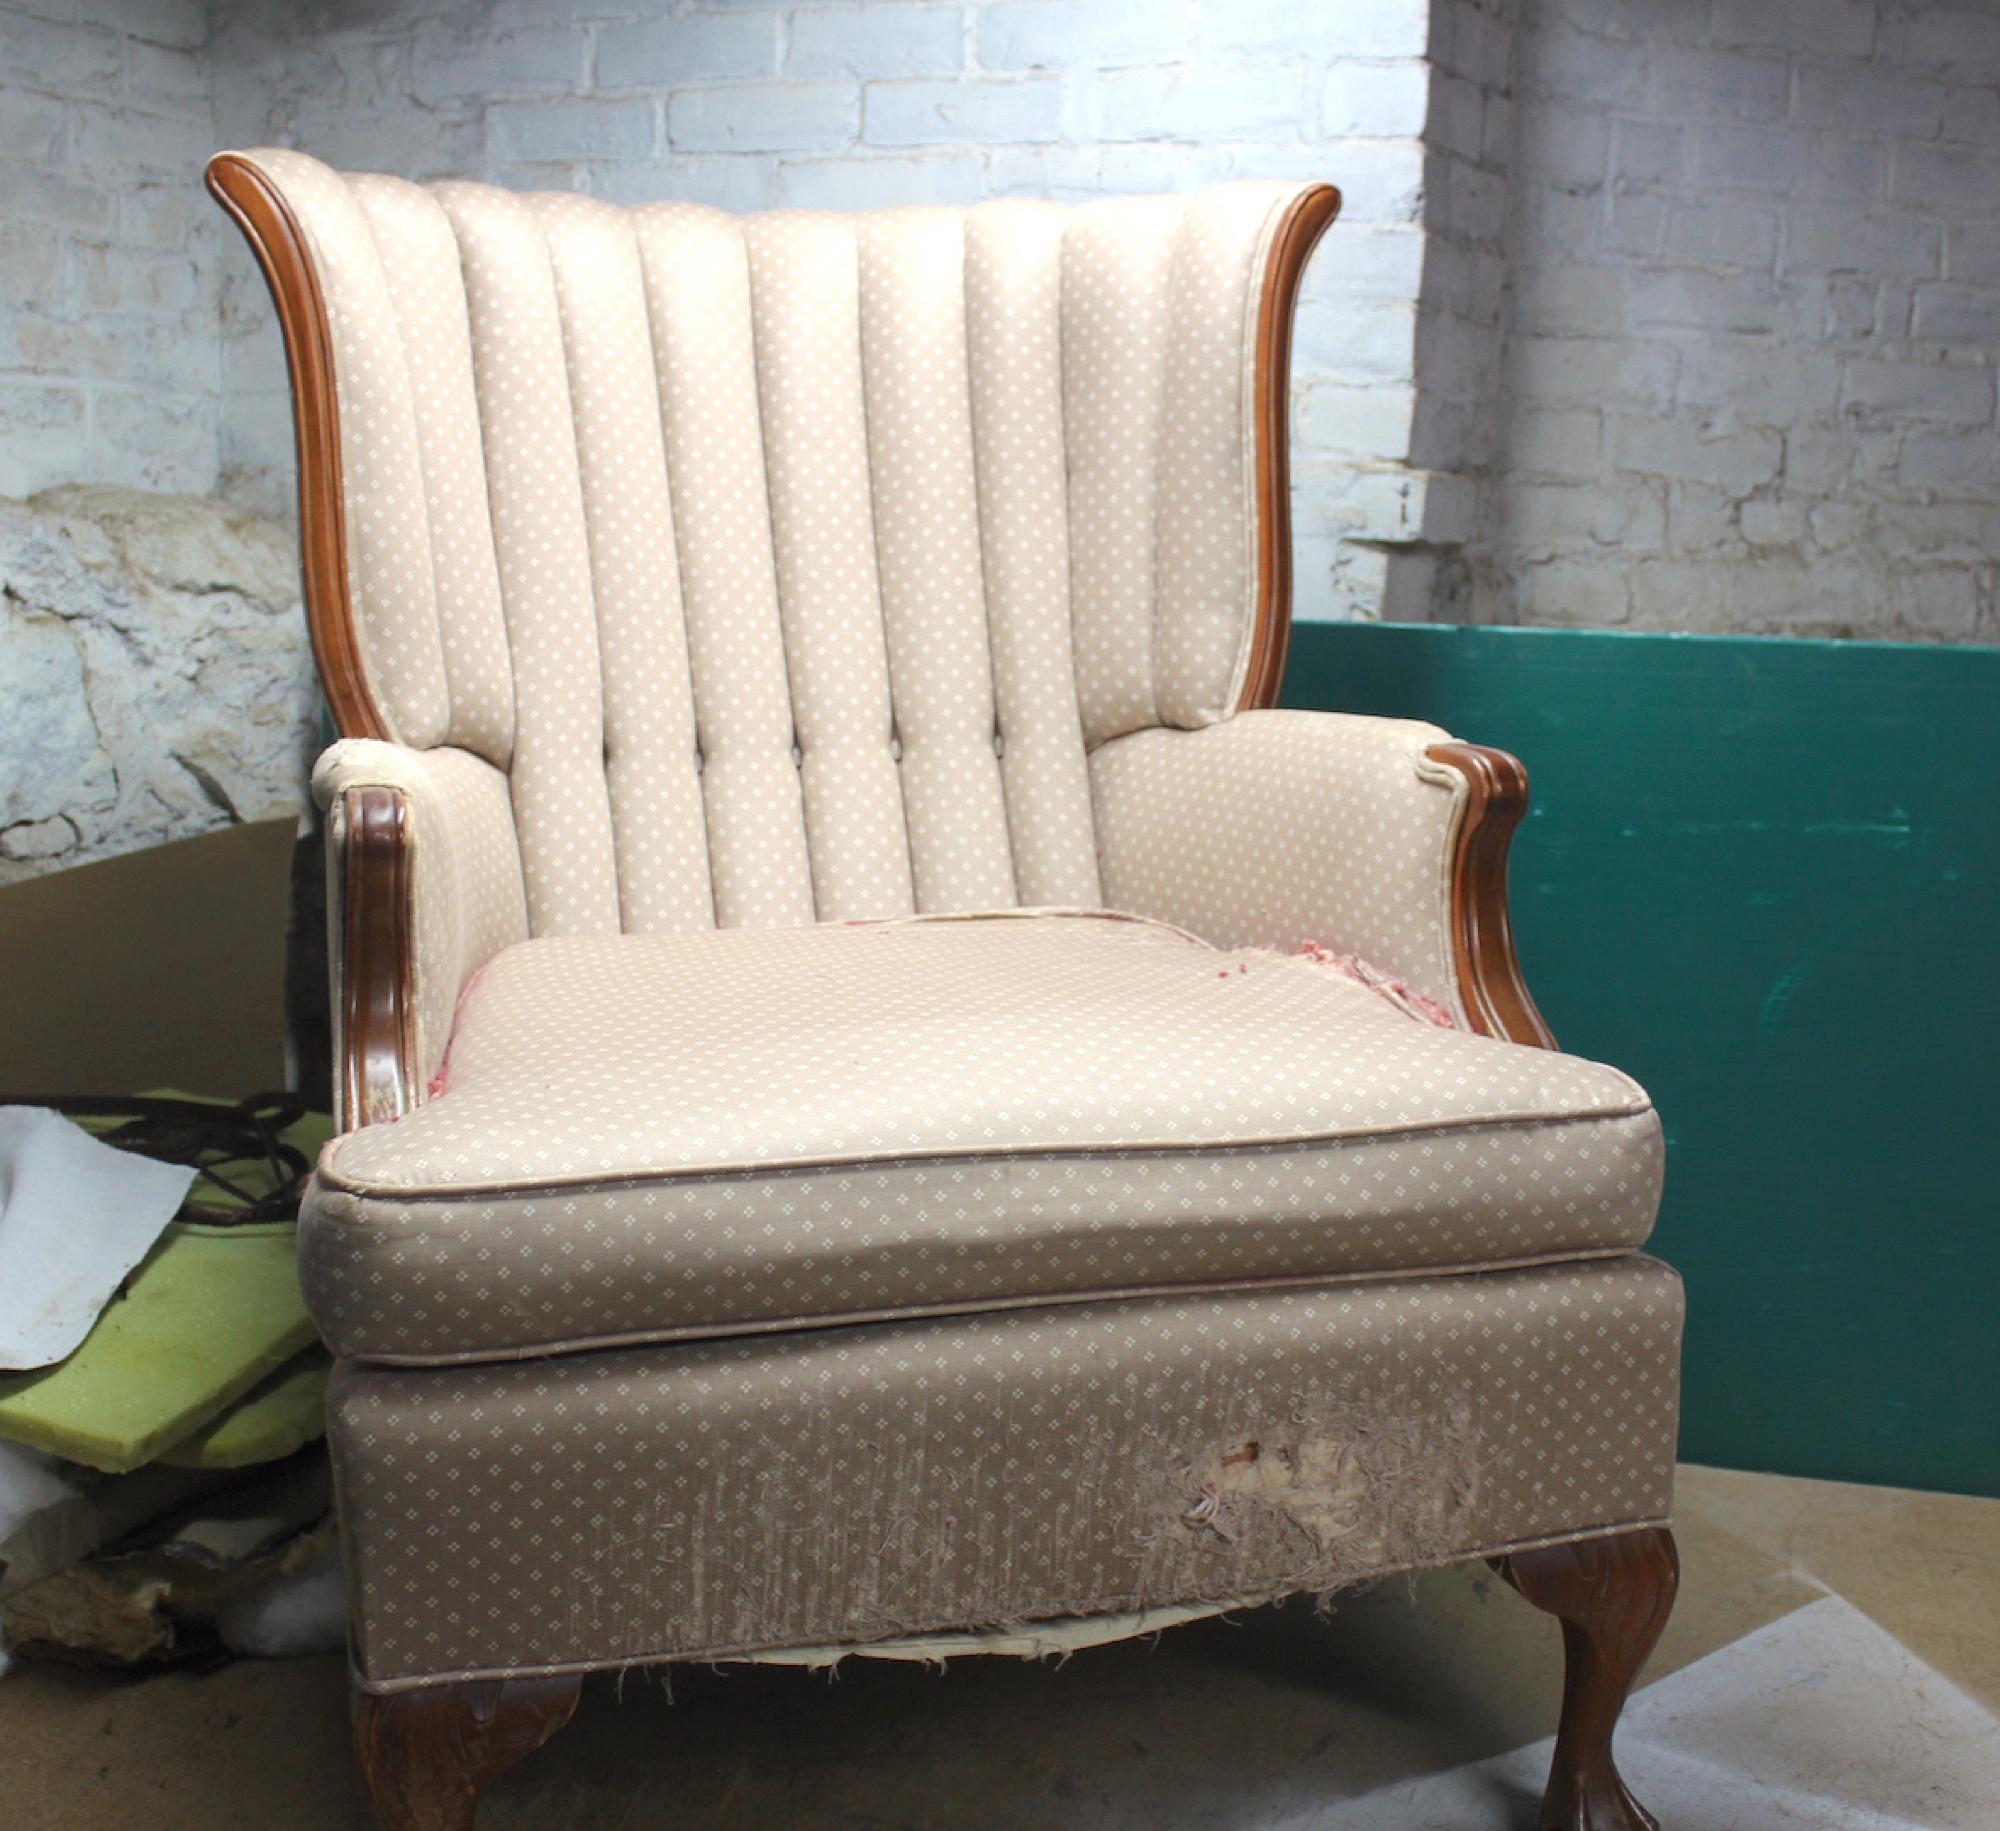
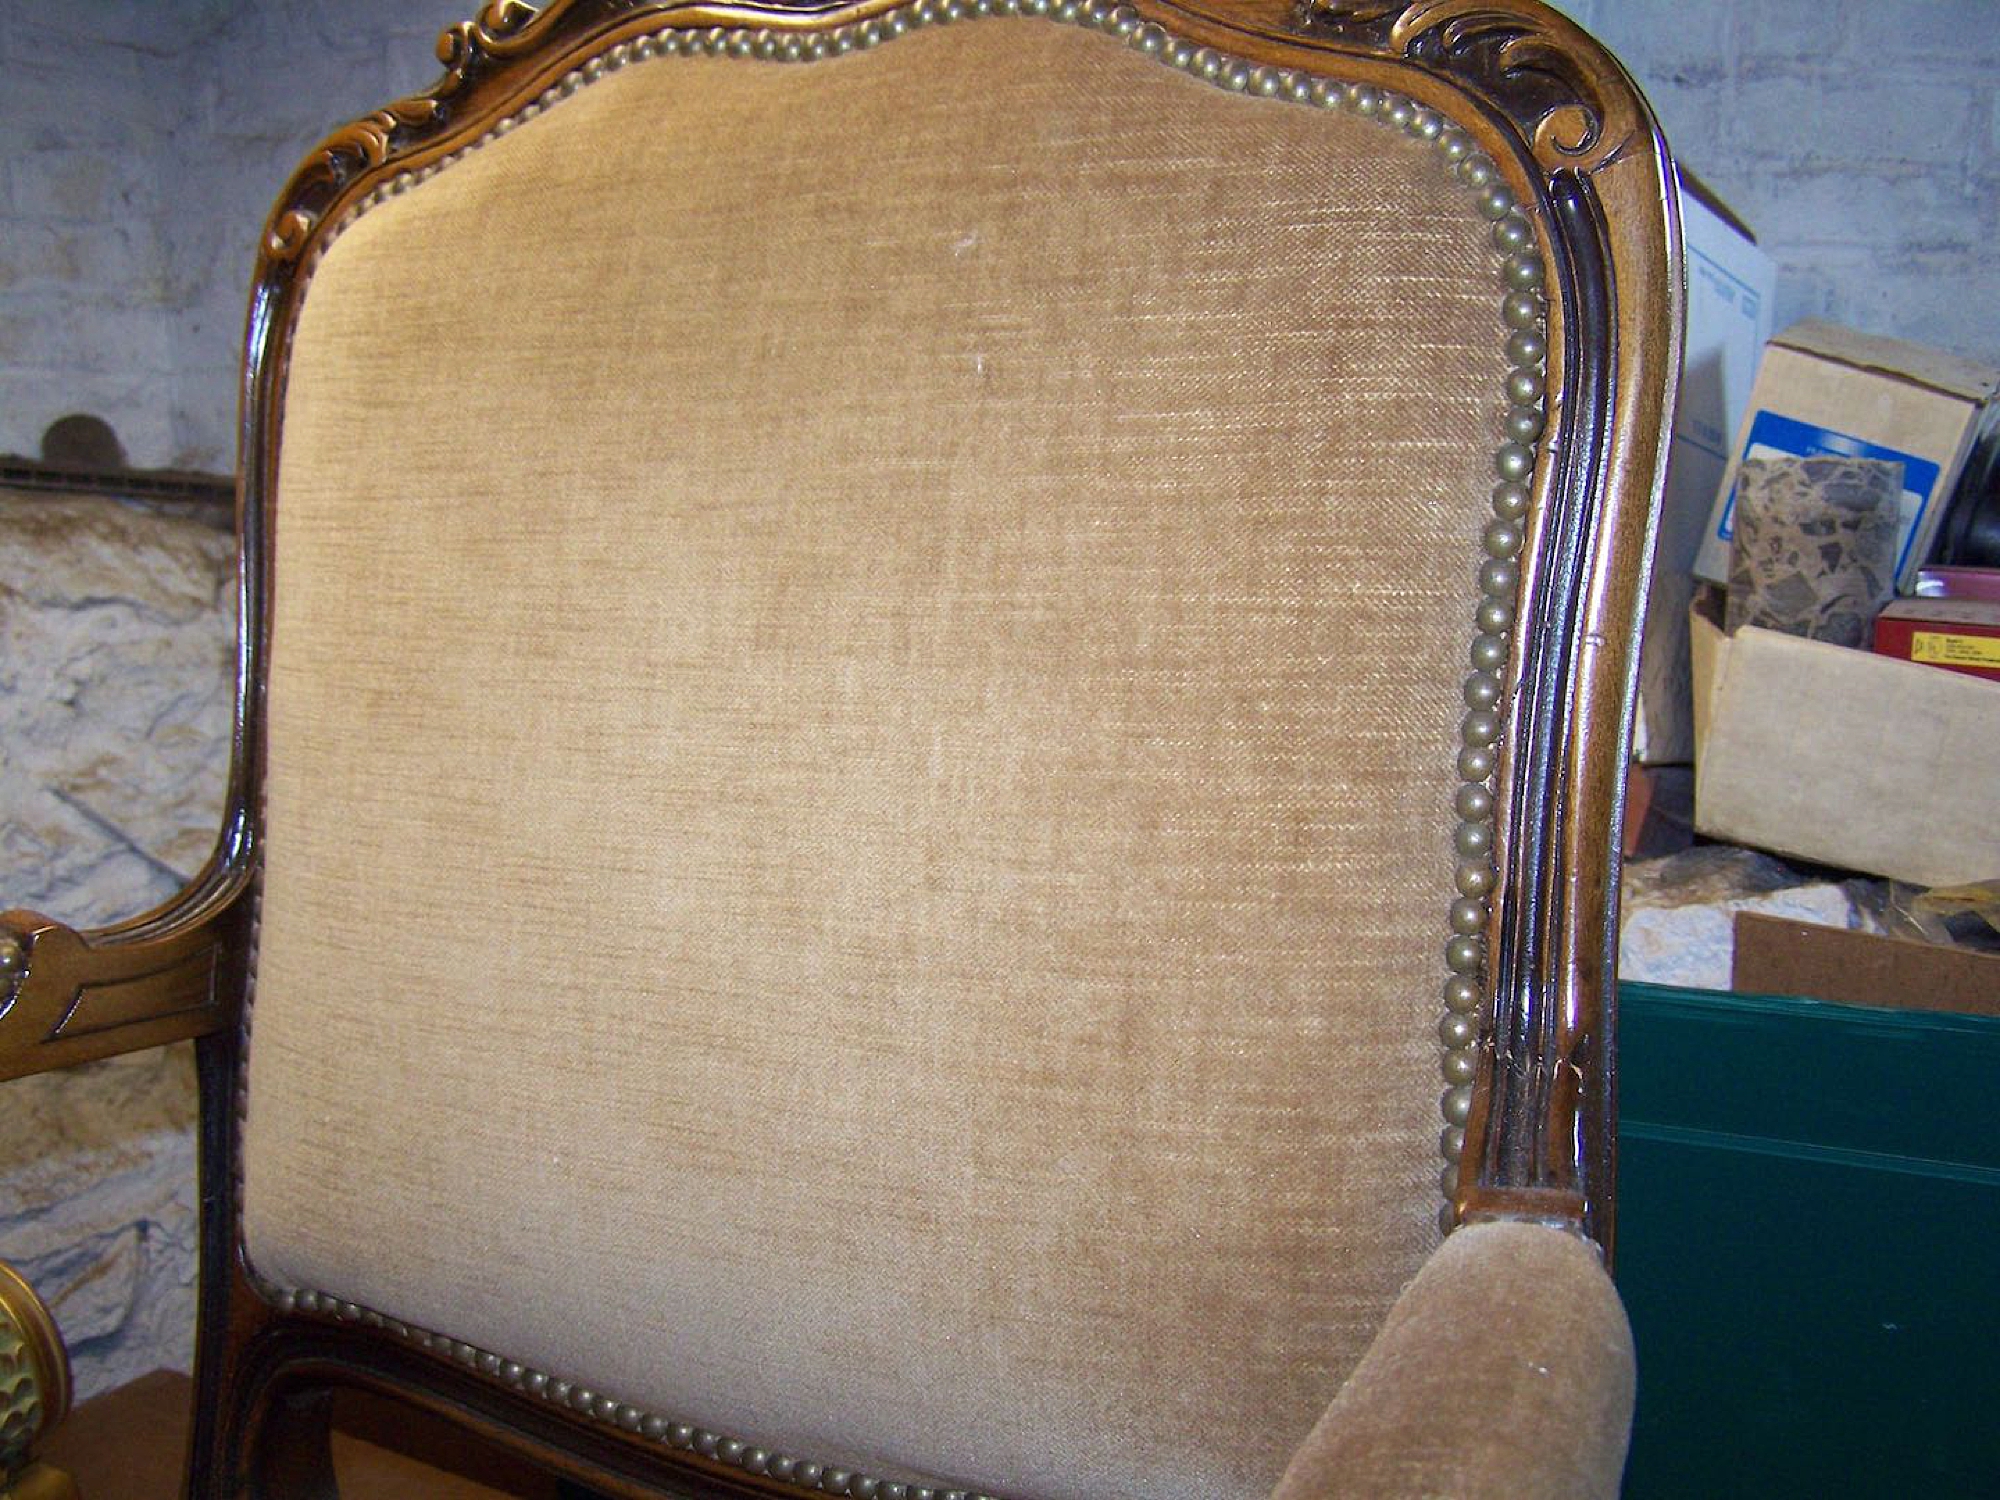
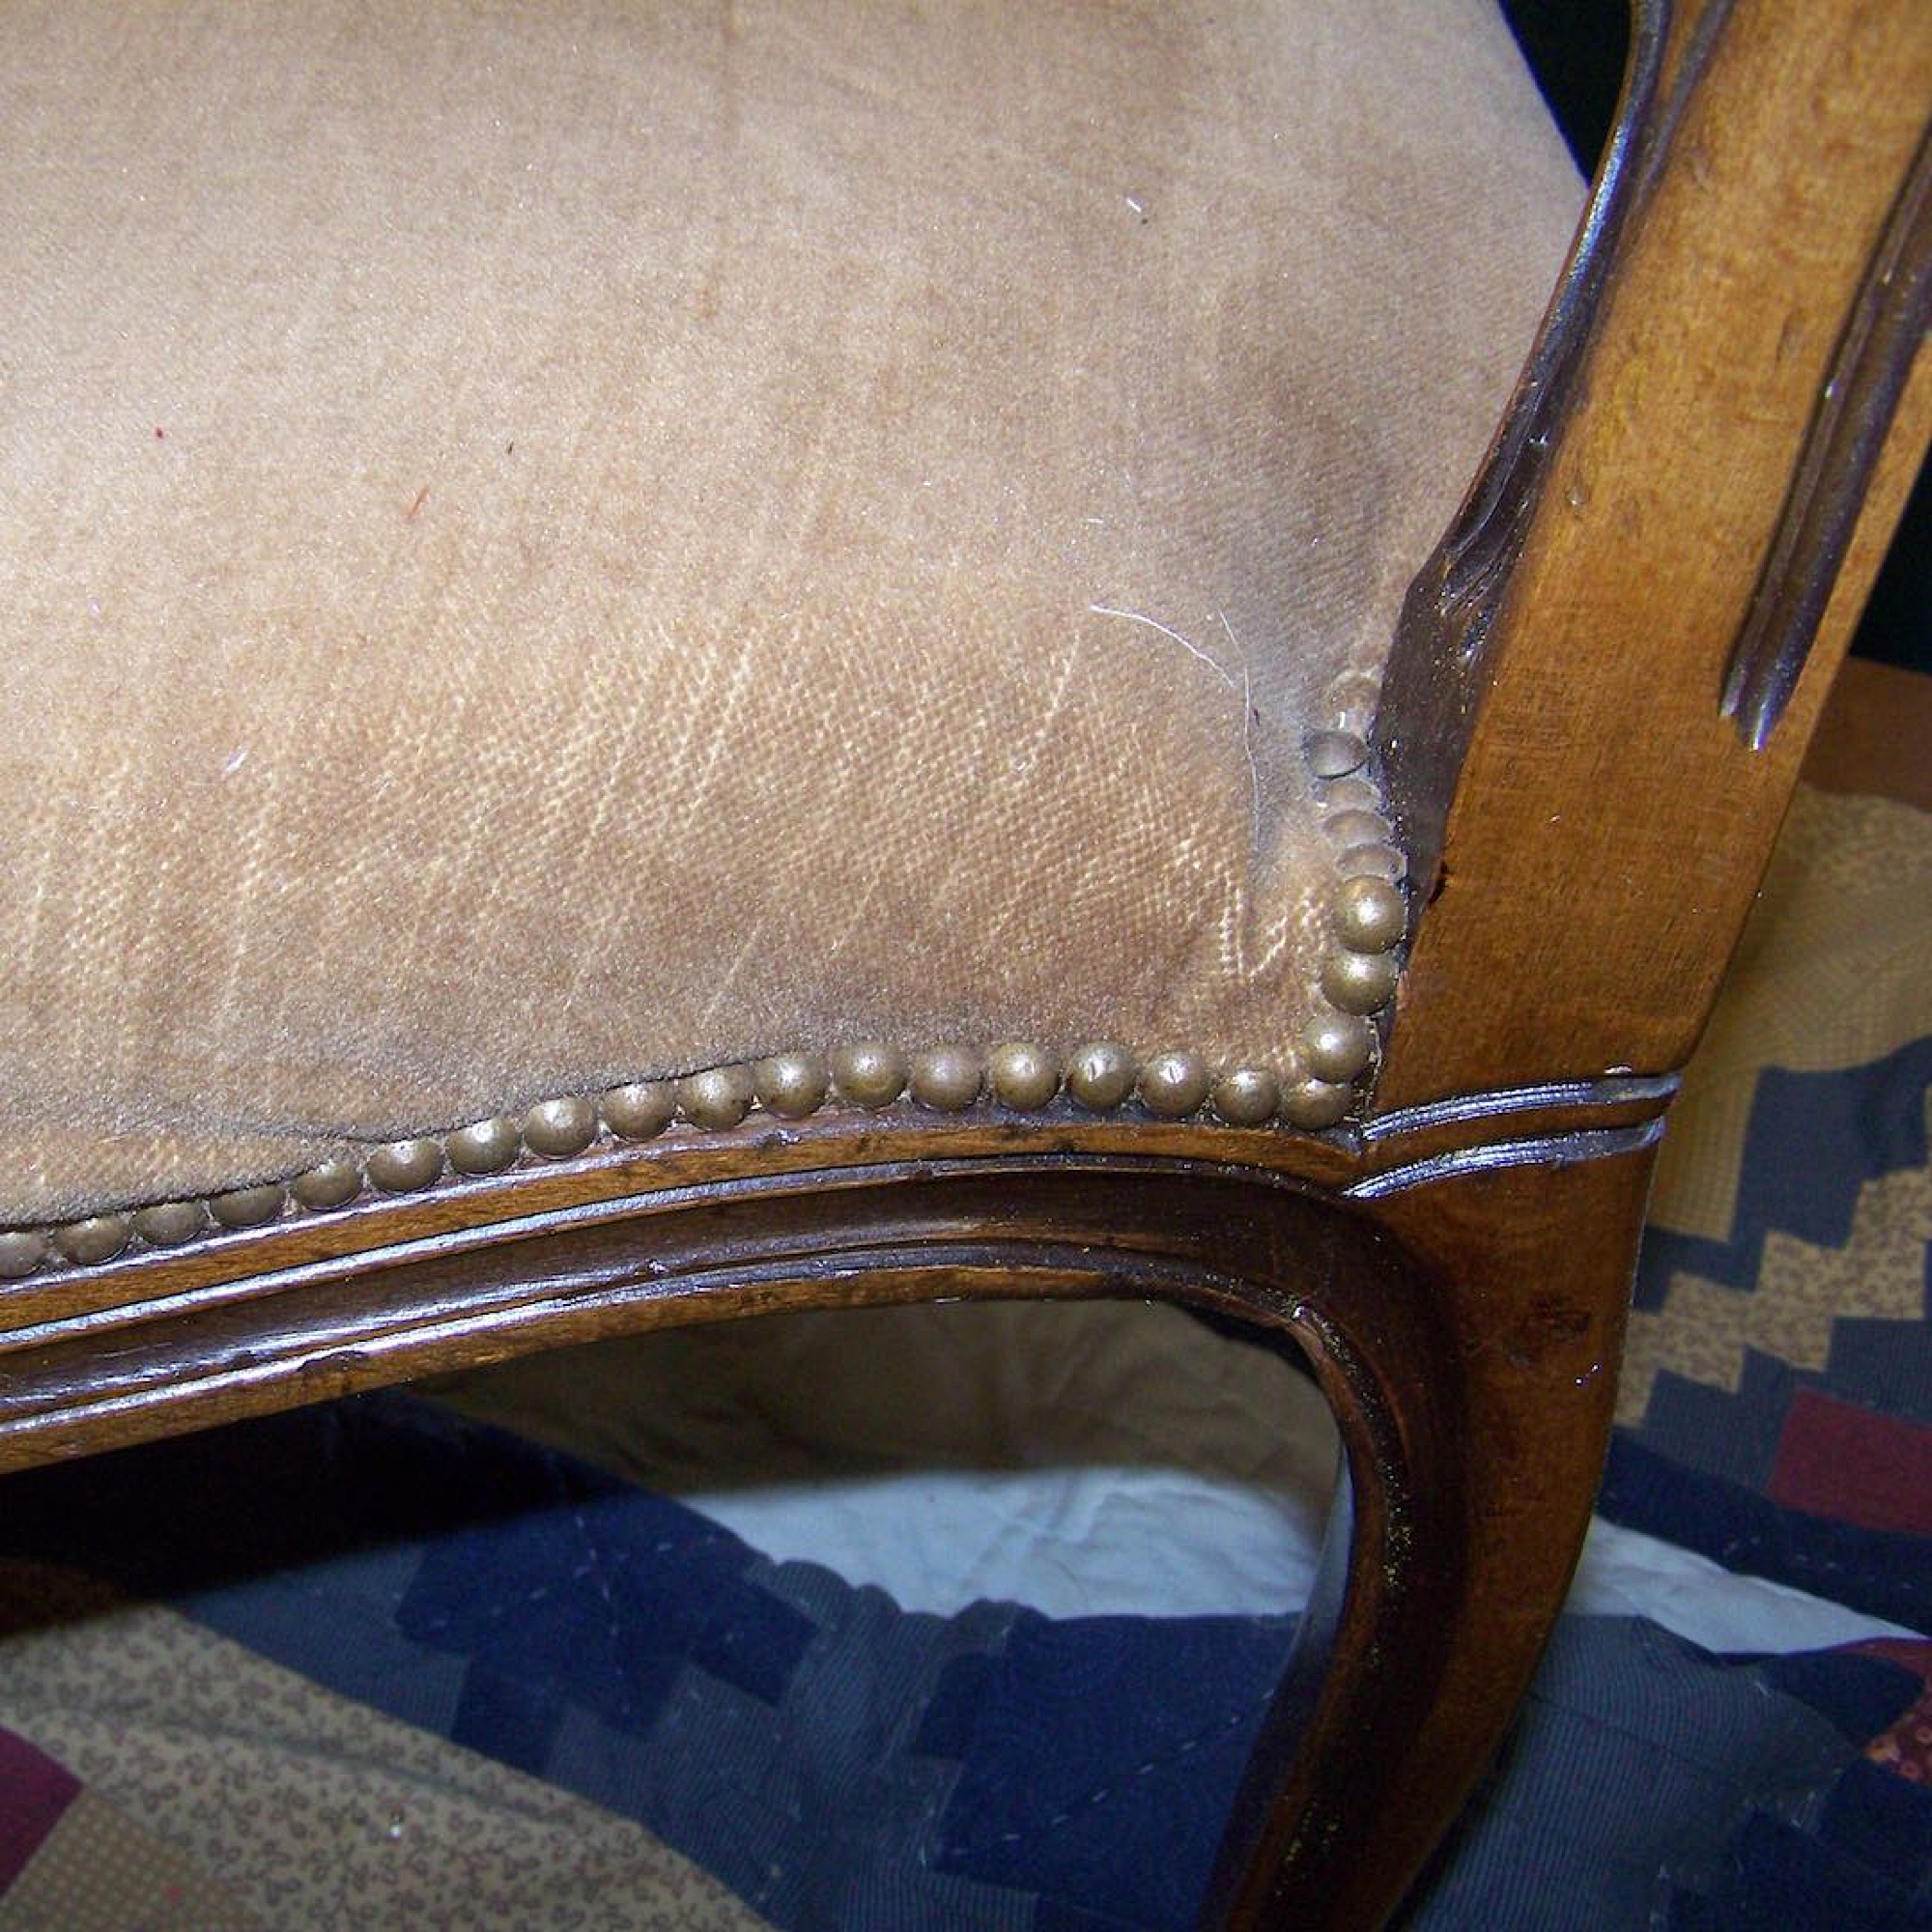
DON’T SKIP THIS STEP! Many underestimate the importance of taking before pictures on their upholstery projects. This is helpful whether it is your first or hundredth project. Not only is it fun and rewarding to look back and compare before and after pictures, but it can help you improve your skills, and see how far you’ve come.
Pictures are also important to help you remember details about the project that you may forget later. The pictures are a good reference point to help you capture every little detail of your project.
View this related video and article: Take Before Pictures Of Your Upholstery Project
Tip 6: Build a Set of Workhorses to Make it Easier on Your Body
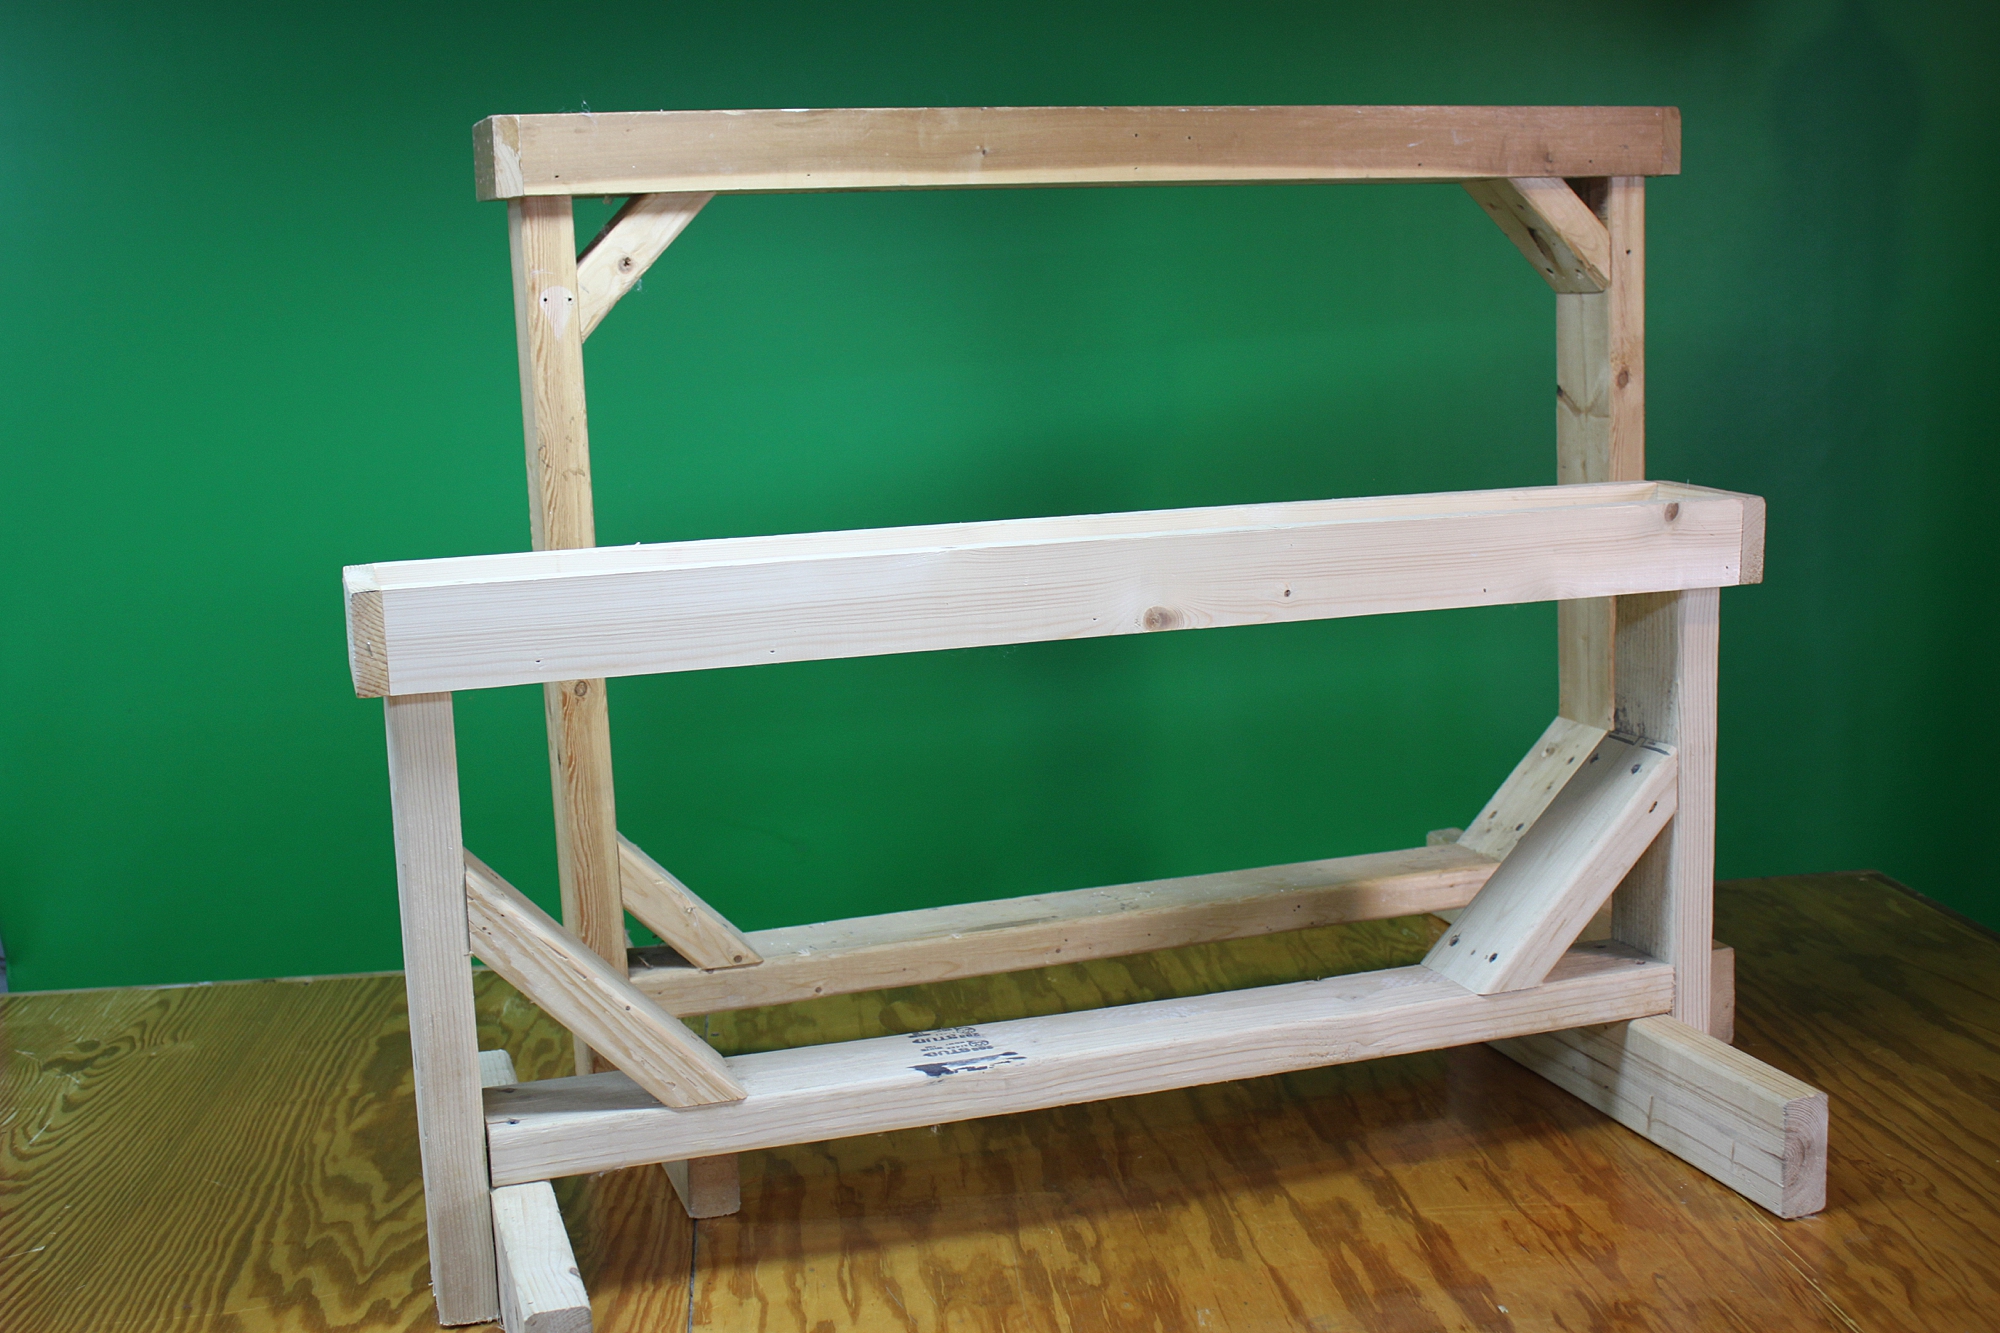
You will thank me later! Workhorses make life so much easier and your body, mainly your back, will thank you! As you measure, cut, and staple, you will not want to be hunched over on the ground during the entirety of your project. The workhorses allow you to bring your project to a standing-working level. They also allow you to move around your project more freely and easily.
Here is a step-by-step guide on How To Build A Pair of Workhorses for Your Workroom!
Tip 7: Don’t try to Pattern Match Your Fabrics
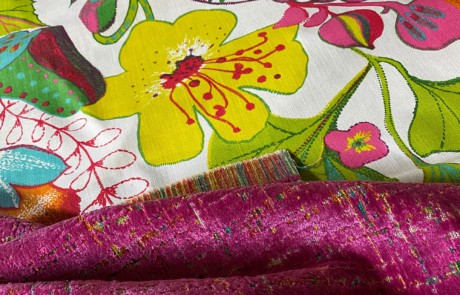
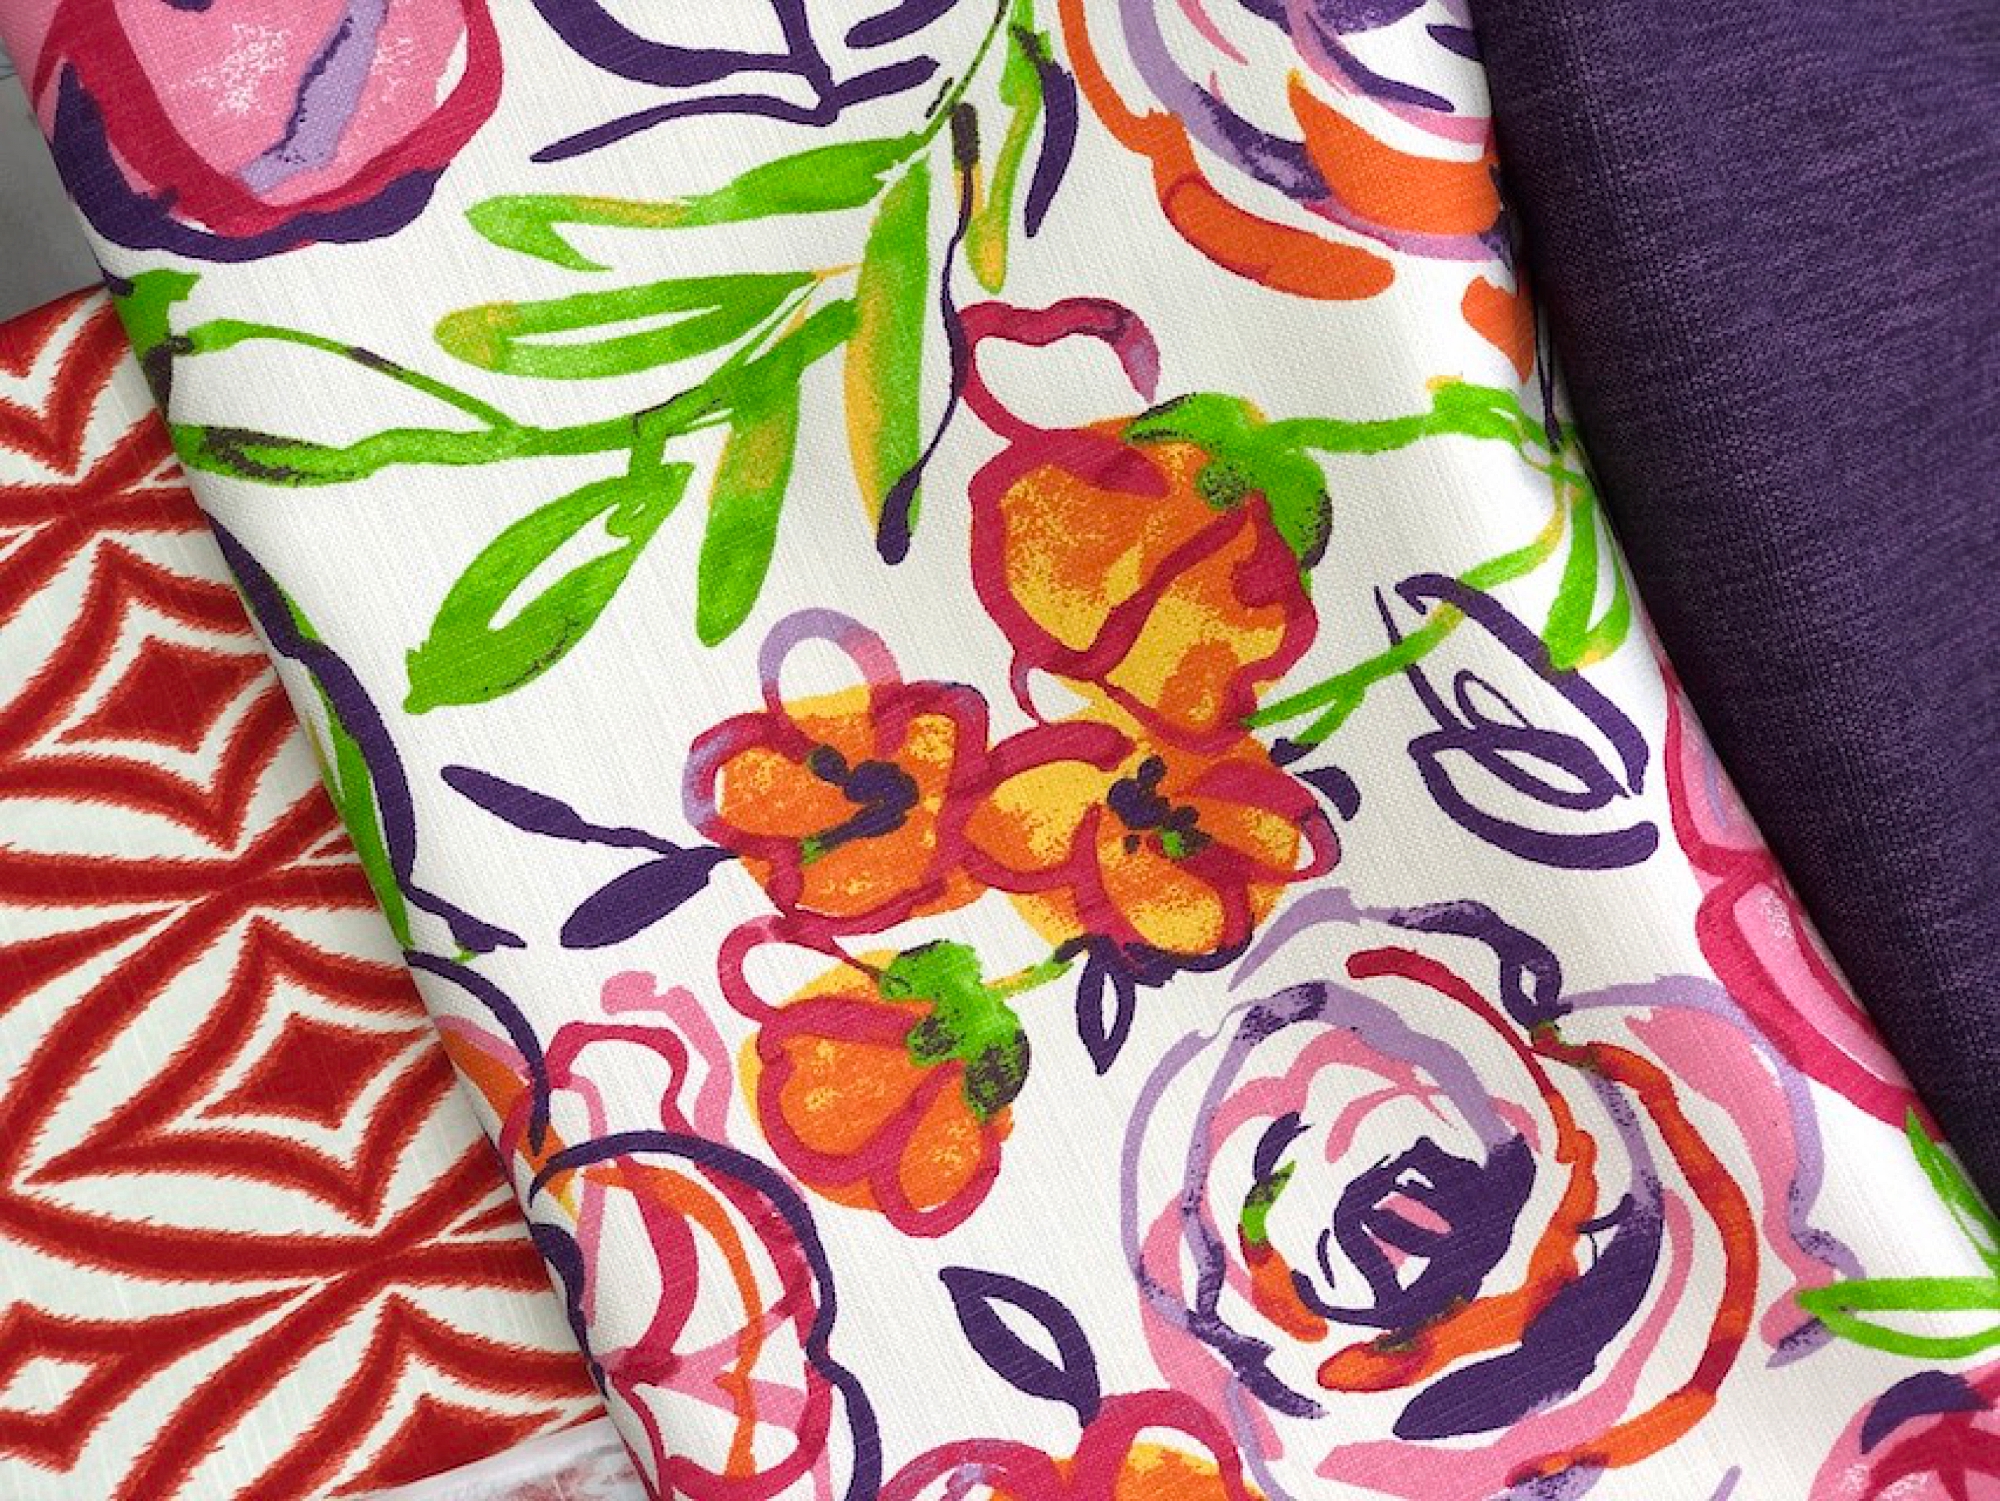
On your first upholstery project, you should concentrate more on your skills. To avoid any issues, select solid fabrics or multiple fabrics to deliberately eliminate pattern matching.
If choosing the right fabric feels overwhelming, view this article: Upholstery Fabric: Making The Right Fabric Choice
Not sure how much fabric you will need for your upholstery project? View this article to help you figure out how much fabric you need and how to properly measure.
Tip 8: Buy the Right Supplies for your Project
Before starting on your project, make sure you gather all the supplies you’ll need to complete your project. Review the instructions thoroughly and purchase all the supplies. Similar to tools, some supplies are better than others.
When you are first starting out, shopping for supplies might feel overwhelming. The names are unfamiliar and it can be confusing. In this article, “Which Upholstery Supplies Should I Use?“, I go over all the common supplies used in general upholstery, as well as which ones I recommend.
Tip 9: Be Prepared to Make Mistakes and Redo Your Work
It happens to everyone and is a normal part of the process. Don’t let it drag you down or stop you from starting! Accept that mistakes will happen and commit to learning from them! The mistakes you make as a beginner provide valuable lessons that will help you grow into a better upholsterer.
Tip 10: Watch Our Online Classes and Membership Videos
Our membership area features tons of classes and videos that will teach you various projects with step-by-step instruction, provide resources to help you along the way, and tons of tips and advice to support you as you learn and grow.
Kim’s Upholstery is all about helping and equipping others to learn the art of upholstery for pleasure, and if they want, enabling them to create an income for themselves – all on their own schedule!
If you are someone who has been wanting to learn upholstery, I invite you to view all the classes included in our membership here and contact me with any questions!










Leave A Comment