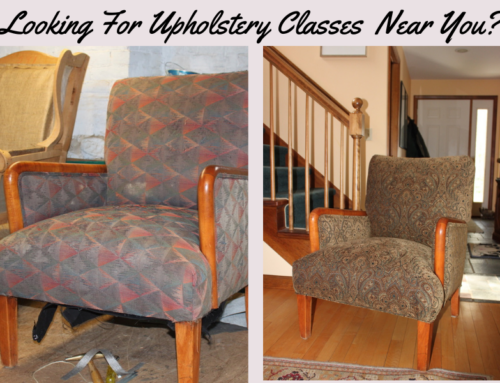
Kim and I were hired to re-upholster an antique rolled arm chair.
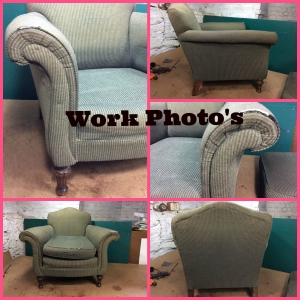
I got the chair on my tear down bench and began taking work pictures, a label I always use to identify project pictures to be printed for Kim to use as reference for reupholstering any piece.
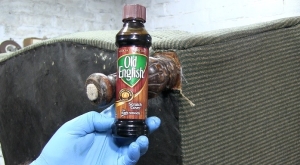 One of the first things I like to do after pictures is to touch up any exposed wood. My favorite product for this is Old English Scratch Cover. Put a little on a rag, wipe it on to the wood, let it dry a bit and wipe off the excess.
That’s all there is to it. The scratch cover colors the scratches nicely and blends them with the rest of the wood. Old English comes in two colors, light for light wood and dark for dark wood. As always, be sure to test any product on the wood in an inconspicuous place on the piece you are working on.
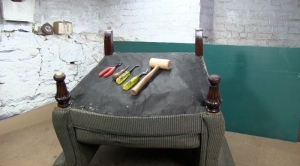 When I am finished with the wood touch-up I am ready to start the actual teardown. I start with the chair upside down on my bench. The tools I use most often to tear down furniture are, a very dull pair of wire cutters, an Osborne 120 1/2 Staple Lifter, an Osborne Ripping Chisel, and a small wooden mallet. These tools can all be found on our new Shop page under Shop Tools. I begin by taking the staples out of the dust cover and then move on to the first layer of fabric which is the outside arms and front and back panels. Once the staples are out it’s an easy task to grab a pair of bent nose pliers and rip off the outside back panel.
The next step is to remove the staples from anything you see attached to the back of the chair frame. The fabrics attached here usually includes the inside back, inside arms, inside of the seat or deck. Once I have the staples removed from the outside back I move on to the outside arm.
At this point you should be able to pull down the fabric and remove any padding and begin removing any stapled down items you find here.
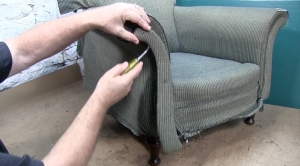
Next we turn the chair upright and take off the front arm panels whatever they may be, in this case they are pre-made wooden arm panels. The wood arm panels are usually attached with some sort of nail whether it is a small finish nail or a panel nail designed for this purpose.
The rest of the fabric attached to the outside arm panel can be removed now. This will expose the attachment of the inside arm fabric at the top of the arm.
Now it’s time to finish up removing fabric from the opposite arm. Once all the fabric has been released from the two sides and the back it’s time to start on the front of the chair.


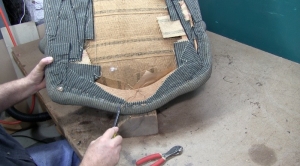
On the front of the chair under the decorative fabric we find whatever fabric was used to cover the spring system or other support system put in place. In this case we have what looks like left over fabric the previous upholsterer had on hand.
Attached to this fabric and the spring system under it is a piece of burlap edge roll that has been hand sewn in place. Now with all the fabric released we can begin lifting off the decorative fabric and padding that was placed under it. Now we can see the webbing and burlap that was used to support the padding and fabric for the inside arm.
Once all of this material has been removed we will be able to see the coil springs in the seat and the spring unit that was used in the back of the chair. At this point you may want to take pictures of the layout of the springs for future reference. Next we can remove the spring system from the frame bottom, and last we can remove the Marshall unit consisting of 42 – 4″ Muslin covered springs from the back of the chair.
This particular chair frame was built in 1944. What a quality piece! The next time you decide you need new furniture and you see an old chair on the side of the road , stop and check it out. The frame may be of better quality than what you can buy in stores today. Think about grabbing that piece and having it reupholstered. Remember ‘Recycle, Restyle, Reupholster’. Join the movement.
See you on the inside,
– Bill