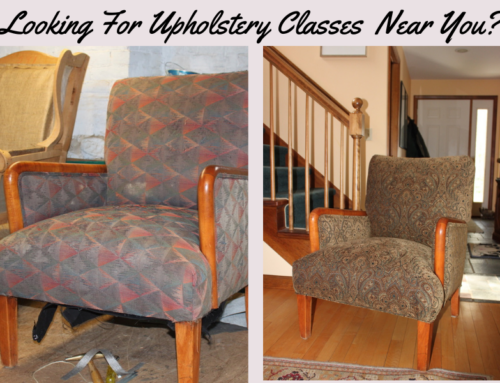
You’ve made the decision to learn how to upholster furniture. Tired of looking at that worn-out upholstered piece in the living room and determined to bring it back to life? First off, Good for you!
I get many emails each week asking for advice on upholstering that first piece of furniture. If you start small and gradually build up to more difficult pieces you will probably have less frustration and save money.

Making the wrong cuts in your fabric, putting fabric on in the wrong order or choosing the wrong materials is costly. I can’t stress this enough, as you tear down an old upholstered piece, take lots of pictures. Even after the 26 years that we have been doing this we still use a camera every day.
We take pictures before during and after tear-down. The pictures we take accompany the piece on its way through our shop. Pictures help us to remember any details we want to put back in our new piece. They also help you to remember the order of how things were put on the original piece and more. You can also refer back to pictures to see how the cuts might have been made in certain areas.
When you are picking that first piece of furniture to reupholster you should consider a few things.
- Is the frame solid?
- If it is not, Do I have the skill to repair it or will I need to find someone to help me with that part?
- Am I being a bit to ambitious in my first project??
- Is there a local adult education class I can take to learn the art of upholstery?
If you have no one to help you learn to upholster then go to YouTube and watch all the upholstery videos you can or just become a member of our online classes where you have access to a great community of like minded DIYer’s (A membership to our online classes will give you all the learning you need in one place for only $49/month). Start small. Pick an inexpensive piece to start with and use inexpensive fabrics to cover the piece. Chairs we see at tag sales, auctions, second hand shops and flea markets all the time are wooden arm chairs. However, if you’re looking for outdoor upholstery fabric in Calgary click here for more info!
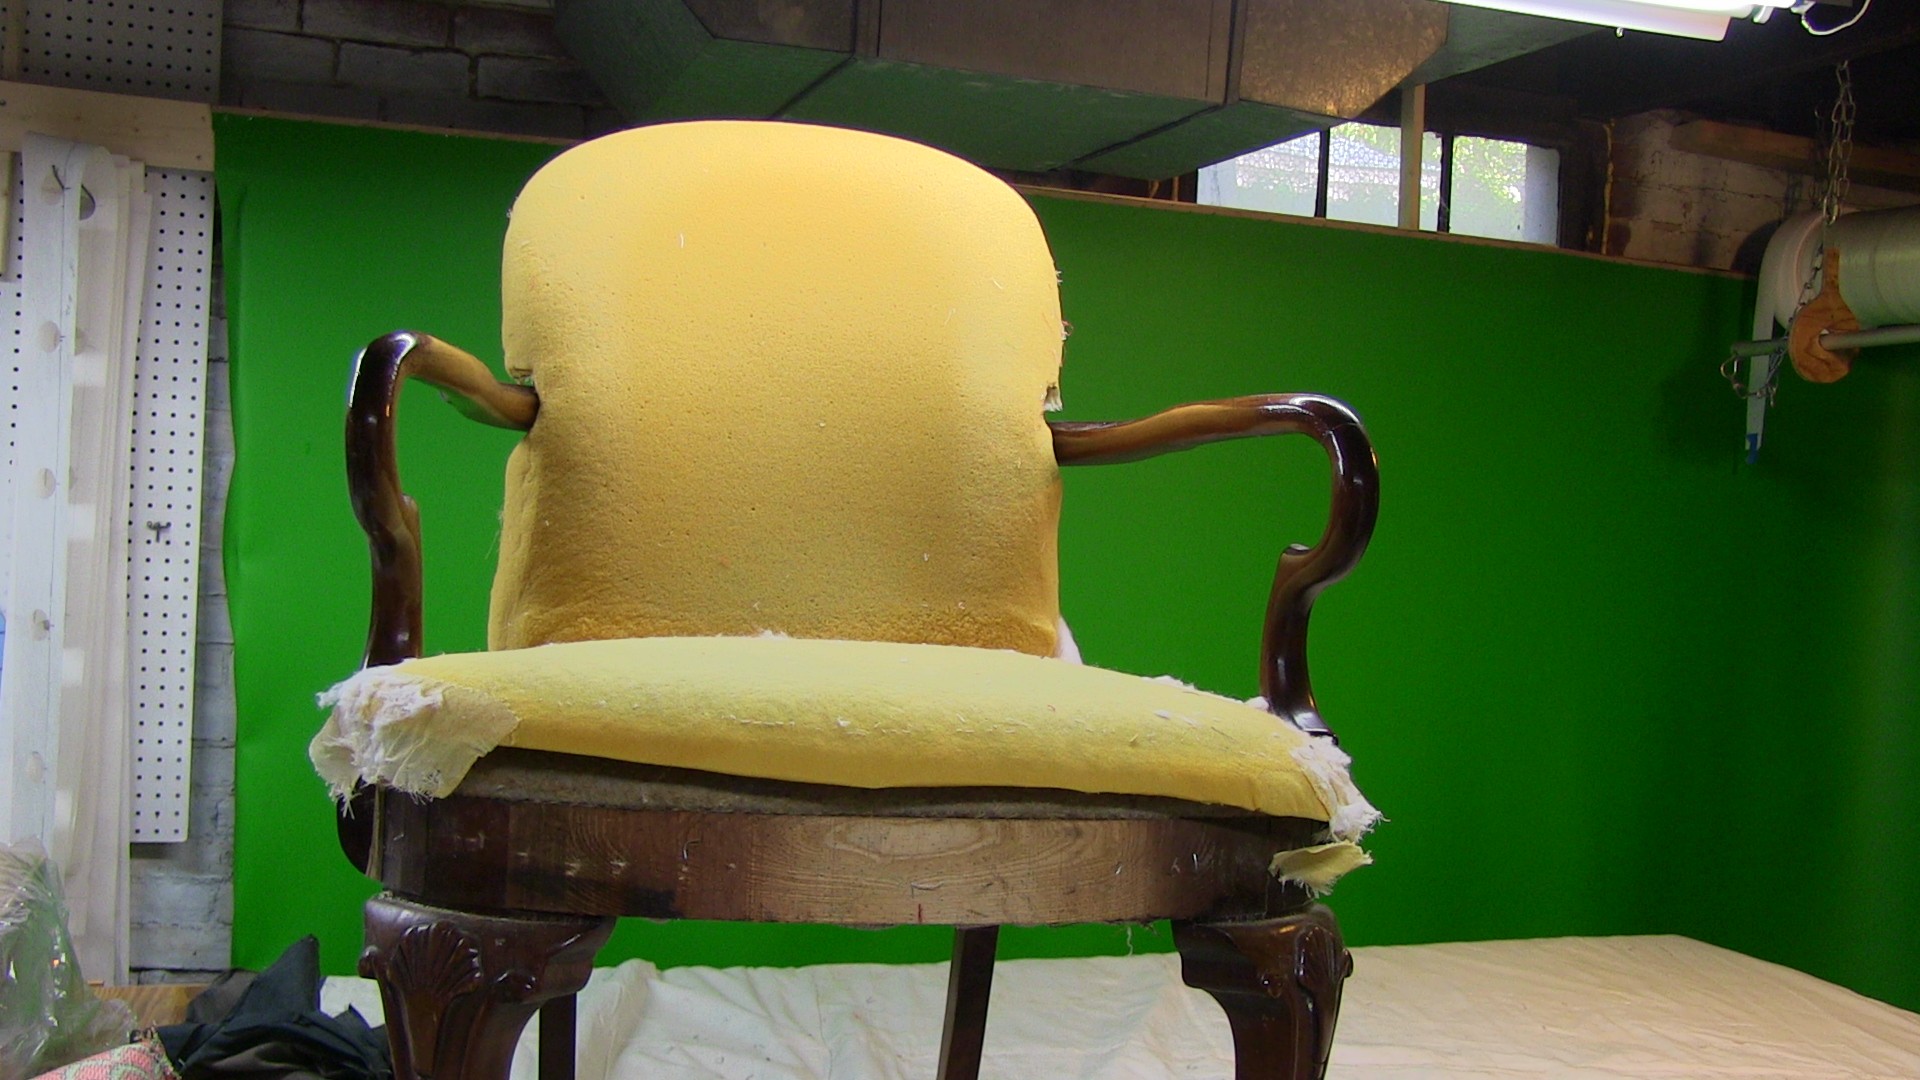
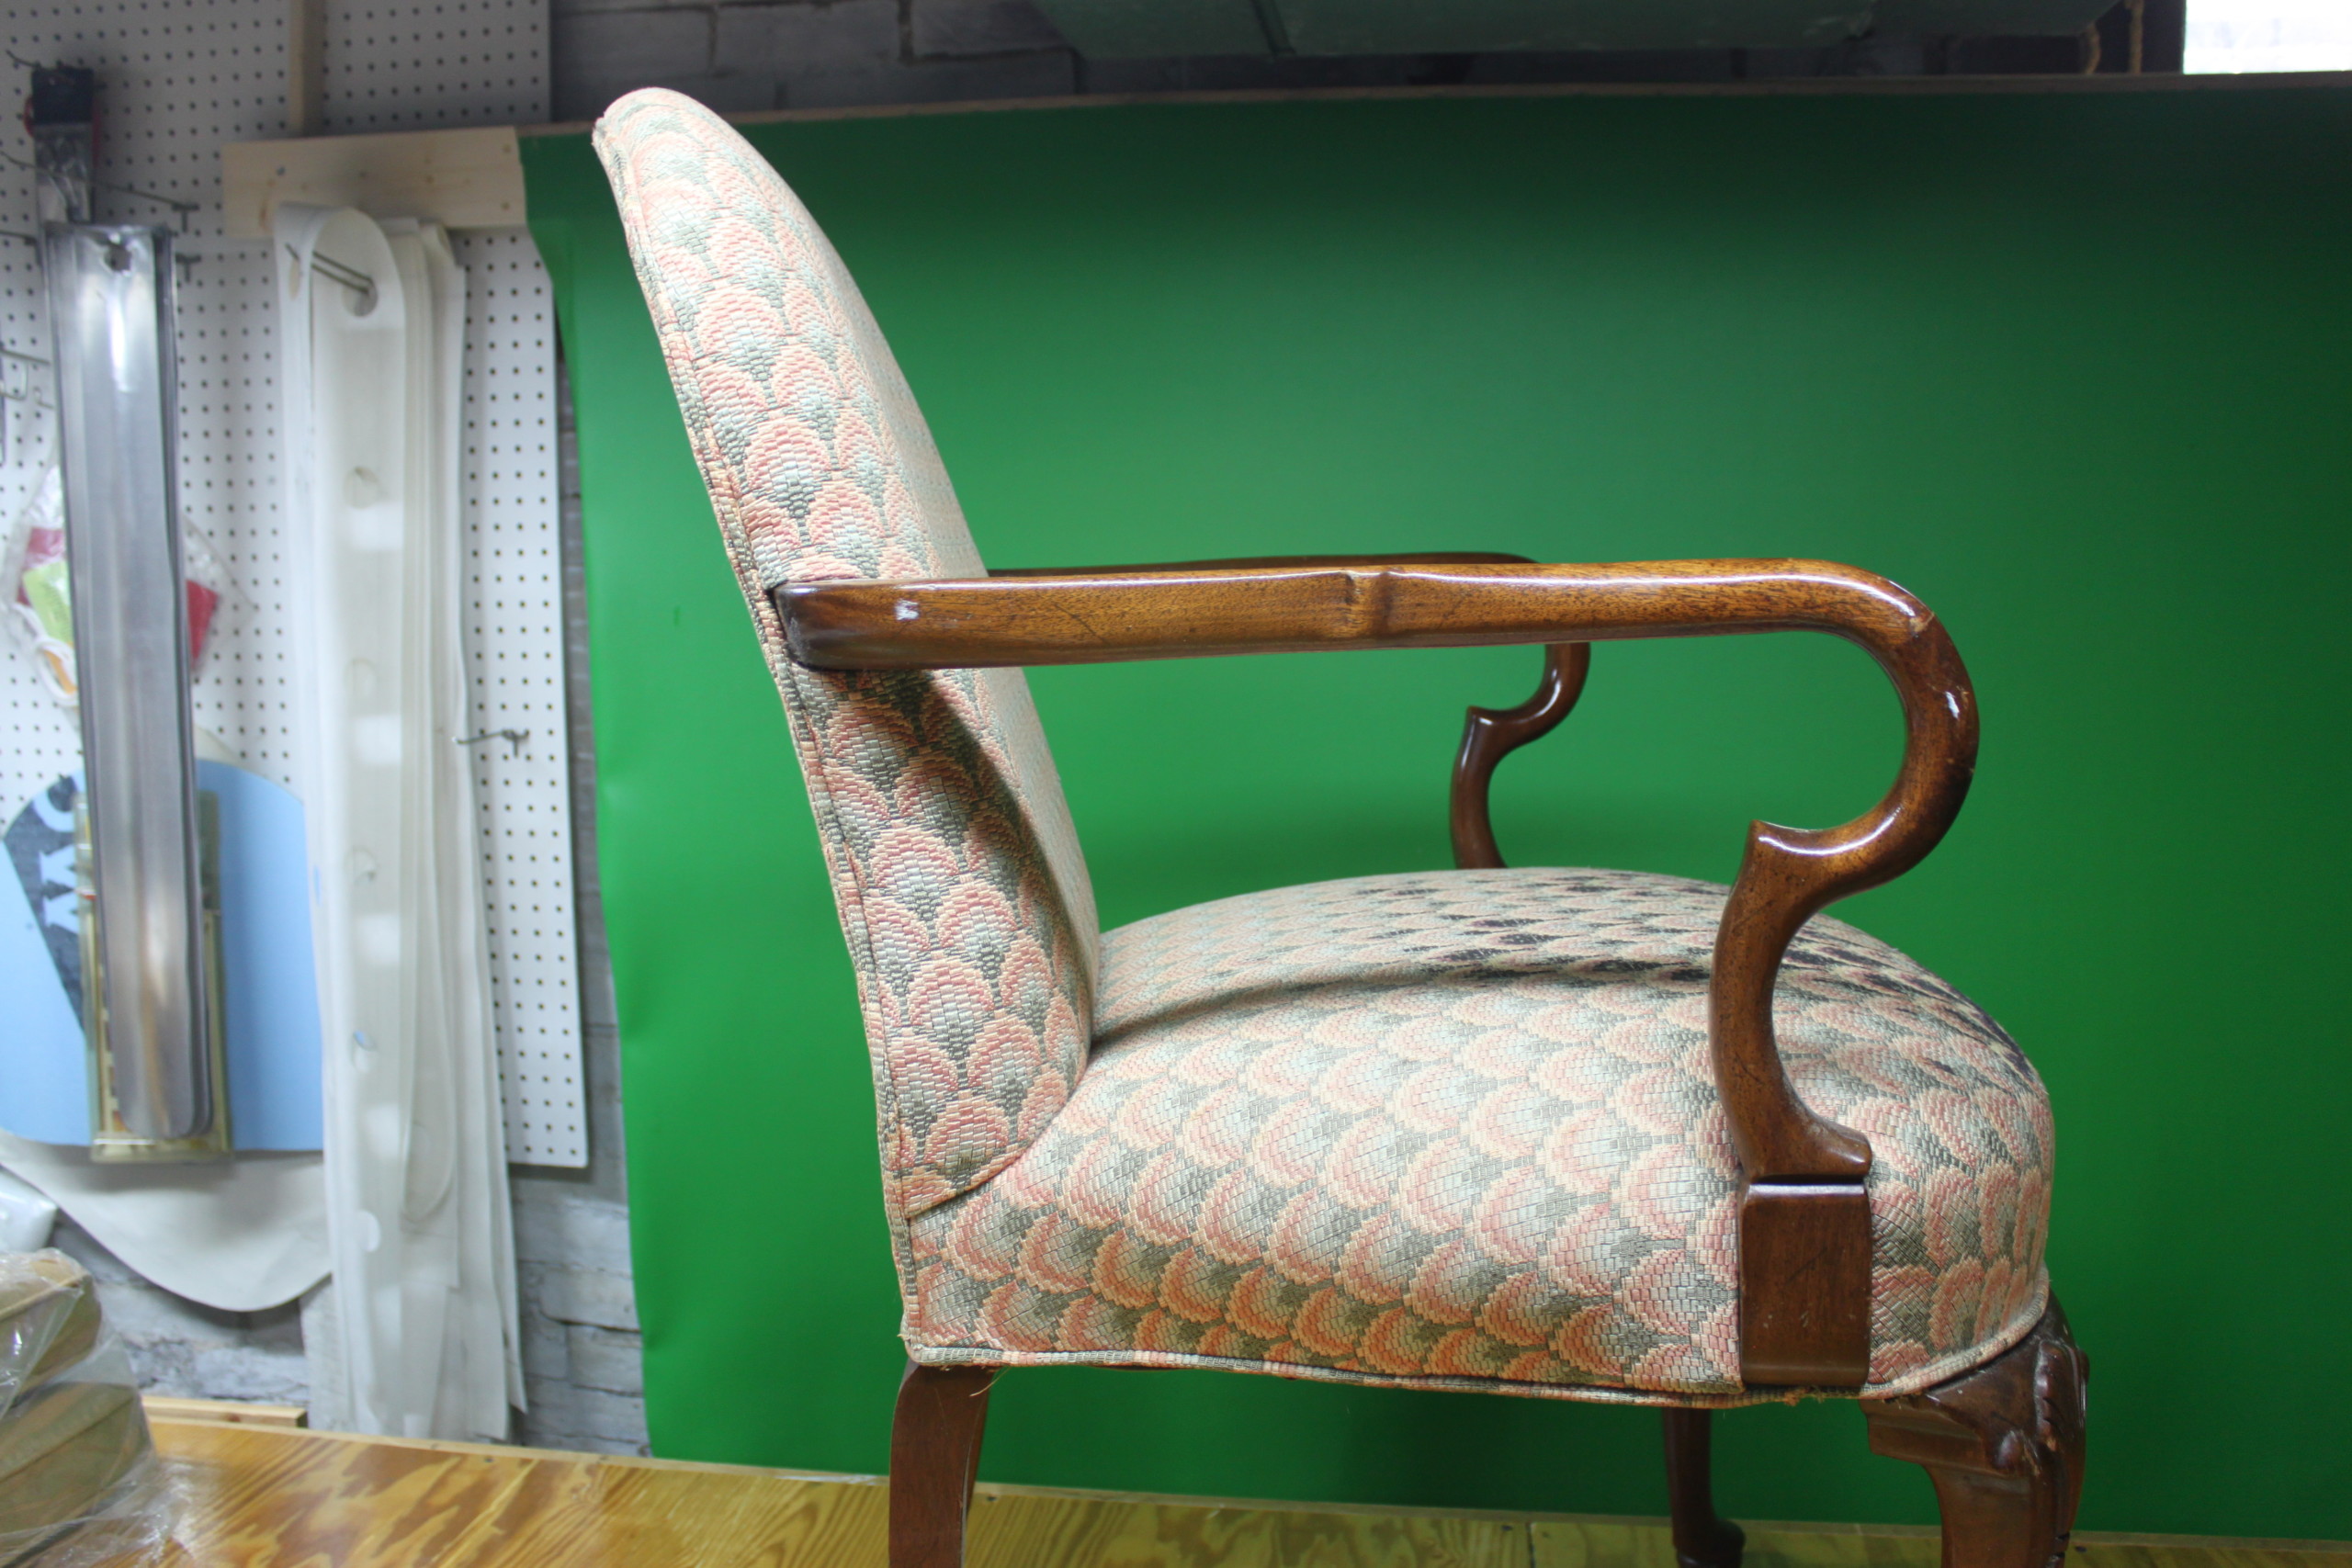
The chair we use in our YouTube video How To Upholster An Arm Chair – For The Upholstery Beginner happens to be a Queen Anne Arm Chair.
 There are many similar chairs out there that would be great for your first upholstery project. While upholstering a chair of this type you will learn to:
- Use upholstery tools.
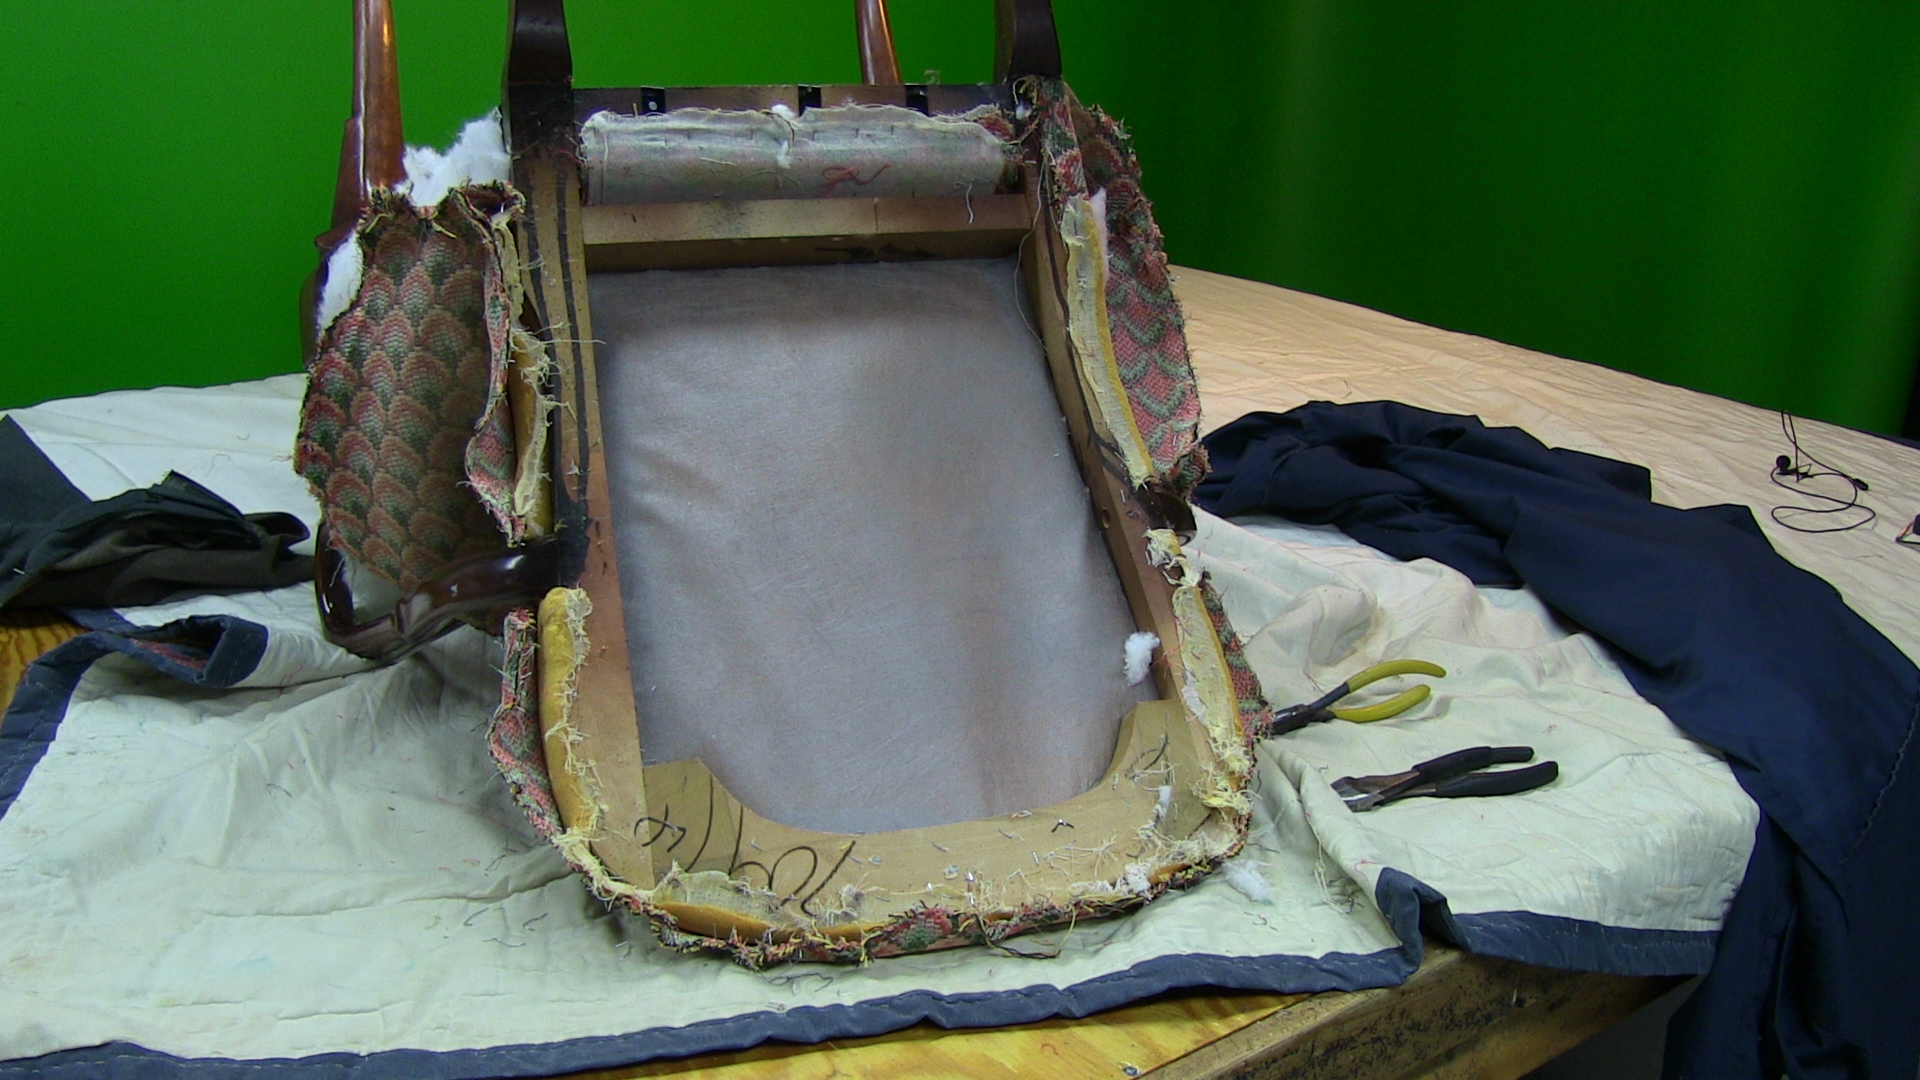
- Tear down.
- Tie Springs.
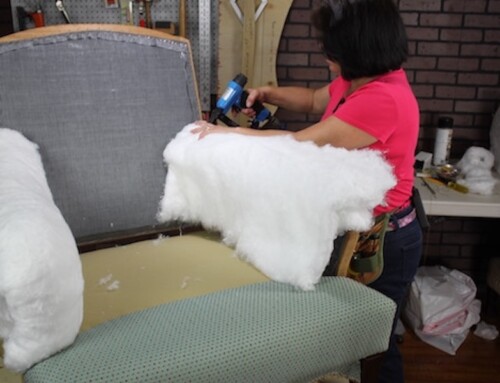
- Pad up your project.
- Measure and cut fabric.
- Center your fabric.
- Attach your fabric.
- Add cording.
- Close the outside back.
- Put on a dust cover
You will need to have the basic tools for upholstering. These can be seen in our video “Upholstery tools“. If you do not have a pneumatic staple gun you could use a hand stapler or an upholsterers tack hammer and upholstery tacks. I wouldn’t suggest holding the tacks in your mouth, although that is exactly how I was taught. There is always some sewing to be done so make sure your sewing machine can handle the layers of fabric you will be working with.
The Queen Anne Arm Chairvideo we have is a great example of a beginner project. It is made up of 3 pieces of fabric, coil springs that need an eight-way tie, and wooden arms that you need to cut around. This type of chair will give you enough of a taste of the upholstering process yet it is a small project so you can see results in a quicker time frame. I know that I like to be able to see results to keep me motivated and not get discouraged. This type of chair will do just that.
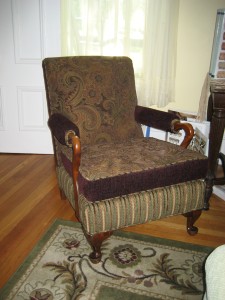
So take it slow, take lots of pictures, pick a great fabric (make sure you can buy more if needed), and just have FUN! Oh, and don’t forget to post your finished project on our Facebook page as I would really enjoying seeing what you’ve done.
Happy Upholstering,