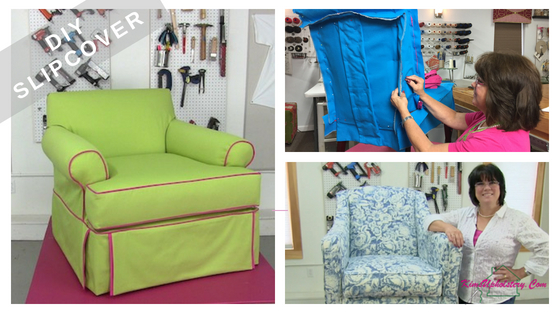
Over the years of making slipcovers I have tweaked my techniques – again and again – perfecting my slipcover methods. Now I am happy to share those skills with you!
Today I am able to get my measurements, cut the fabric according to the measurements, pin fit the fabric on the piece of furniture, then take the pin fit cover to the sewing machine and once the slipcover is sewn, put the cover on the furniture with a perfect fit every time.
No more going back and tweaking the slipcover over and over again!
Ordering an extra yard or two for your slipcover is a good habit to get into
TIP: you can always make pillows with any leftovers.
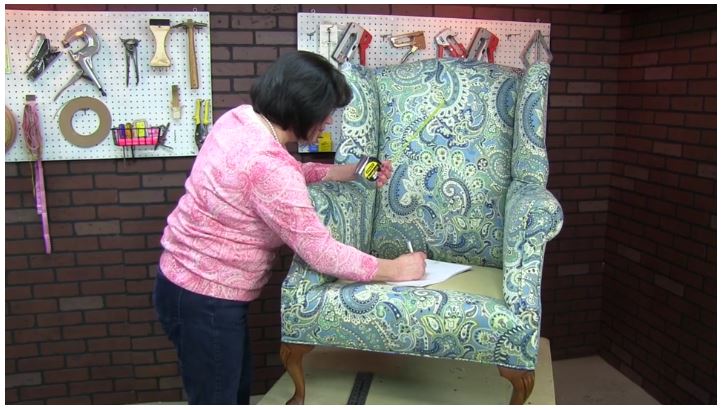
When measuring in a client’s home you want to make sure to mark your widths and heights to ensure you are cutting the pieces the way you intend. If you are railroading your fabric remember that your height cut is selvage to selvage and not up the roll.
It is easy to get yourself confused and mark the fabric incorrectly.
Note: I have created a PDF for keeping track of your fabric cut sizes which you can find on our Freebies page under “Measuring your Chair For Fabric Yardage”. I find this helps to keep your work accurately documented.
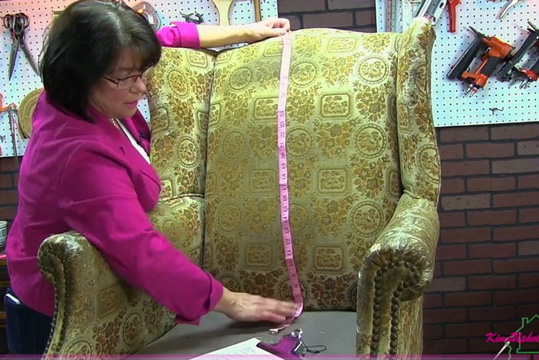
Measure twice and cut ONCE as the saying goes!
Making sure to measure your piece of furniture properly is also very important and will save you time and money from having to order more fabric or make unnecessary trips to your clients home. When you look at your piece you want to notice where the widest spot is for the section you are working on.
For an outside back and outside arms it is often the top of the cut that is your widest point. There are some pieces where the top of the outside arm extends farther back than the bottom but the lower front of the outside arm extends farther than the top and you need to make sure you are paying attention to those details when measuring.
Take your time and get these measures right the first time.
Let your personality shine in your slipcover design!
Add your own style or personality to your slipcovers by creating details that make your slipcover look special, and not like you bought it from a big box store.
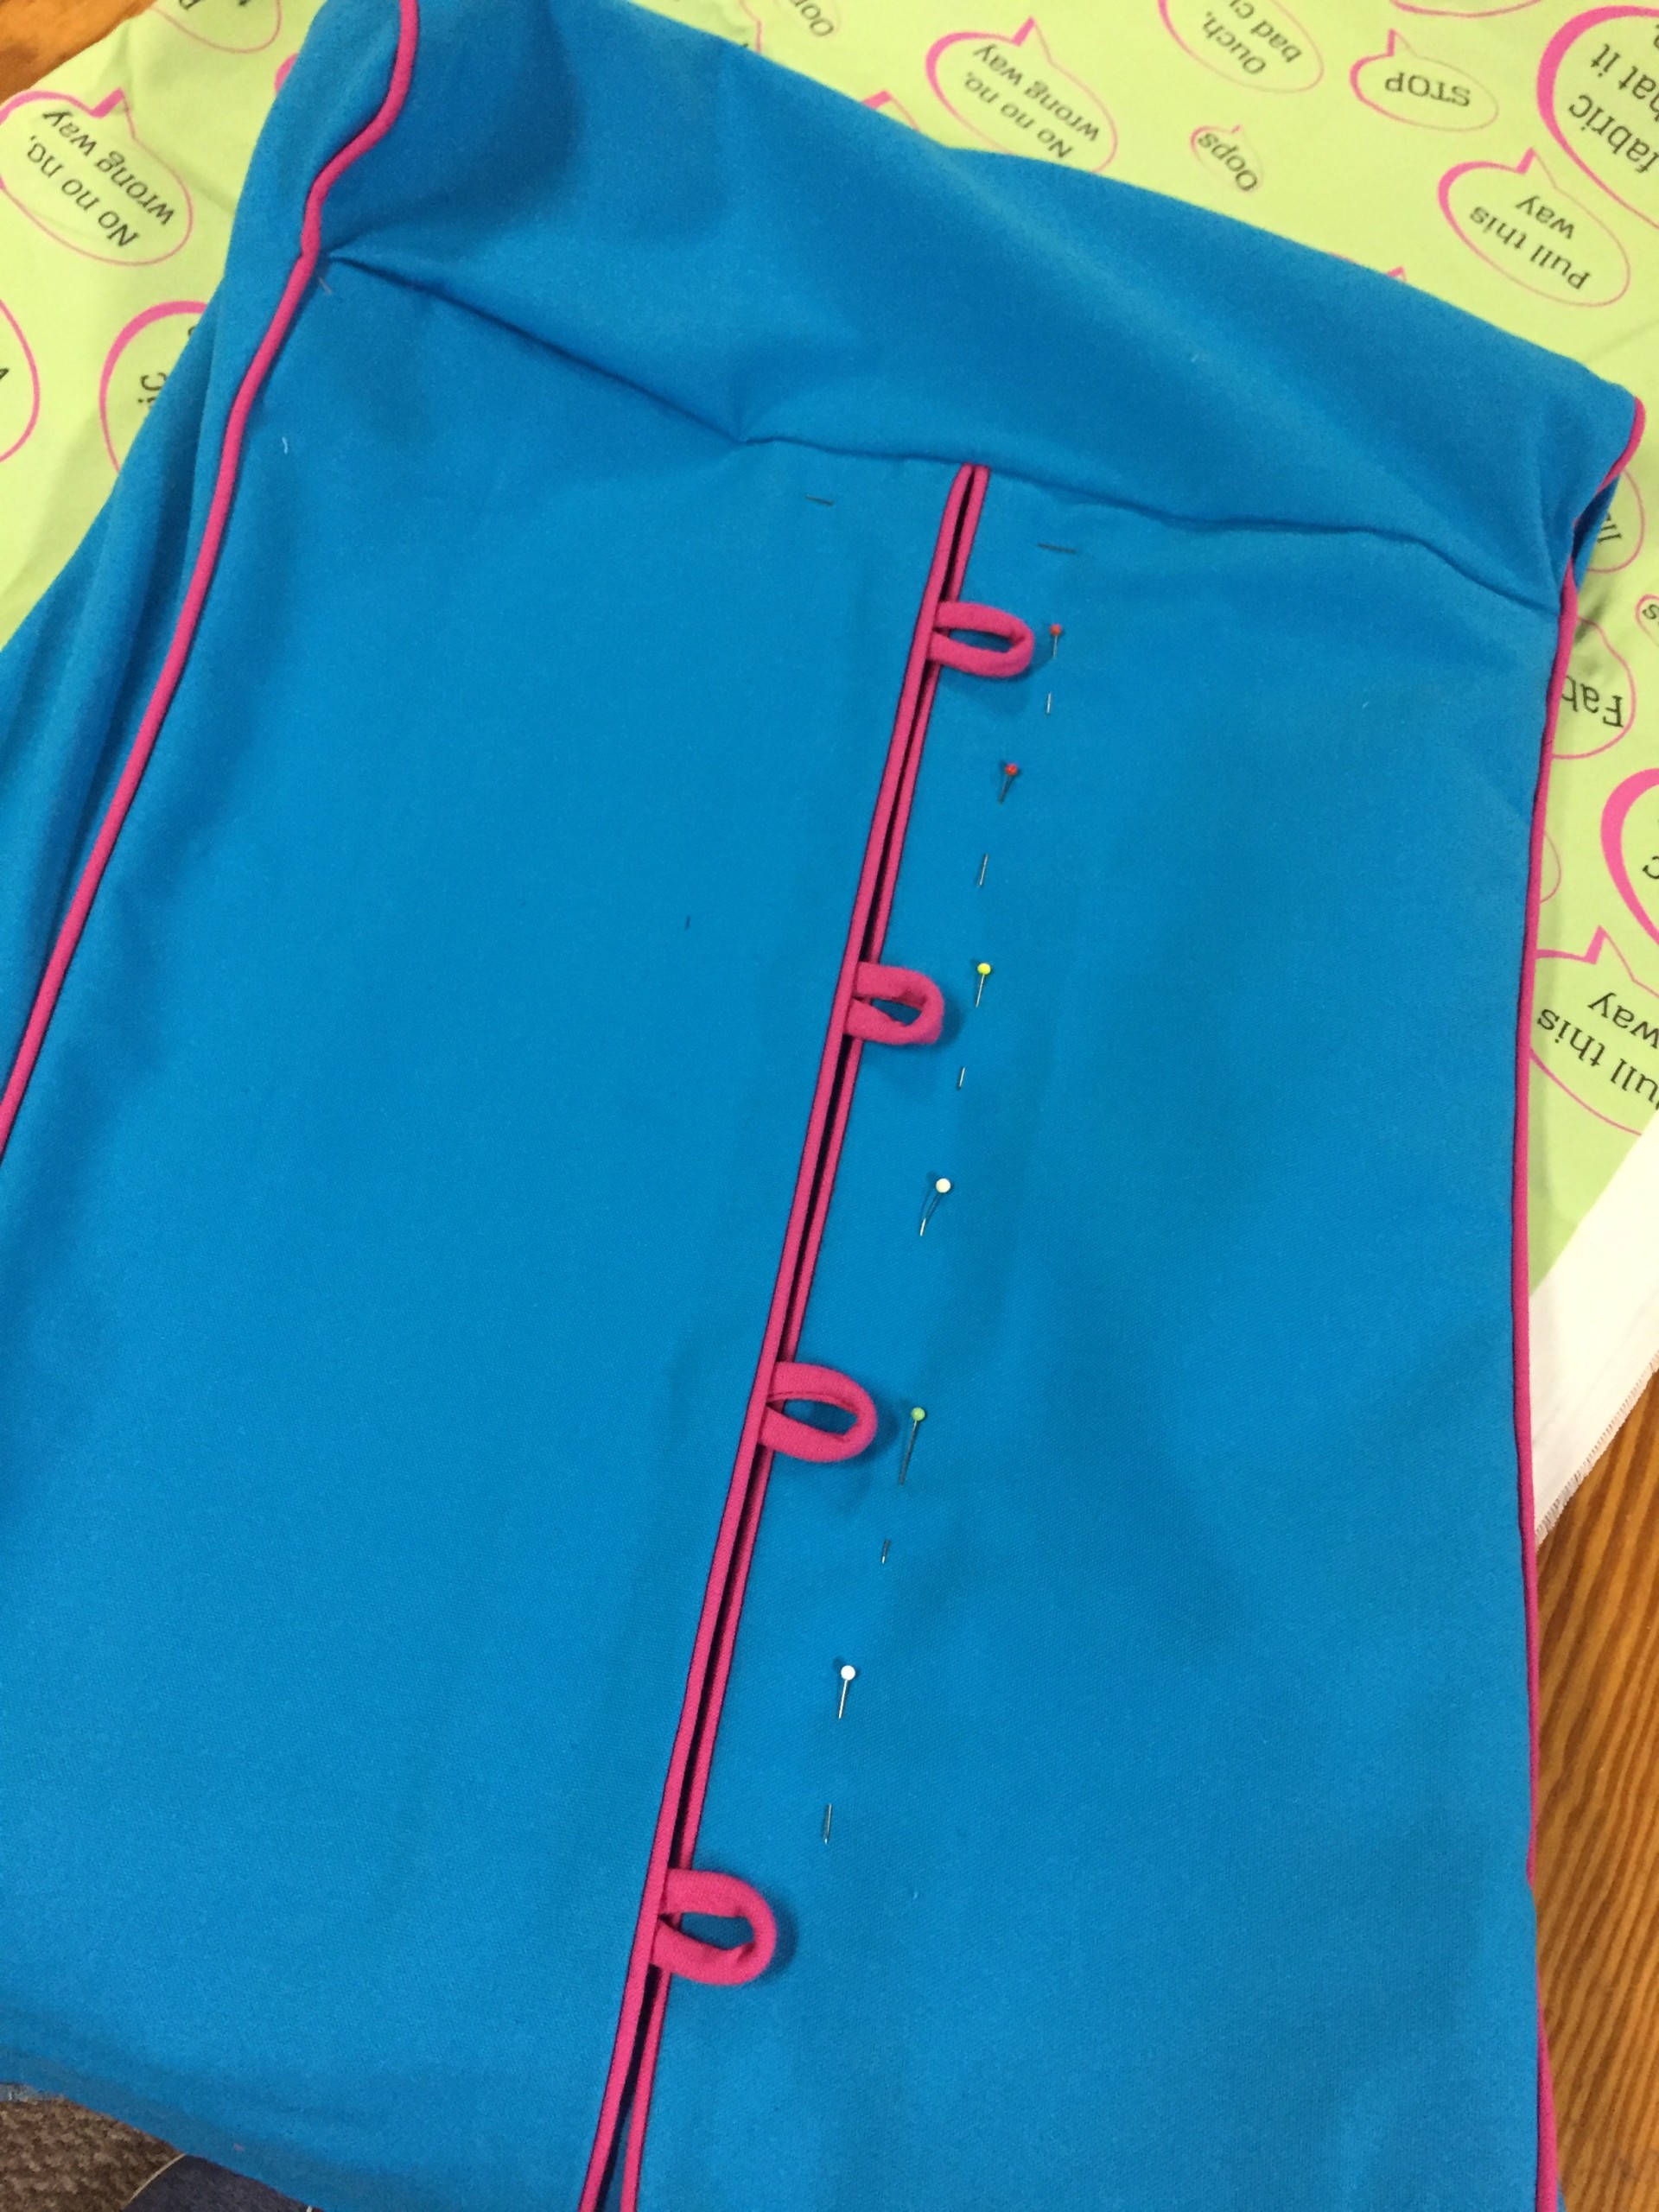
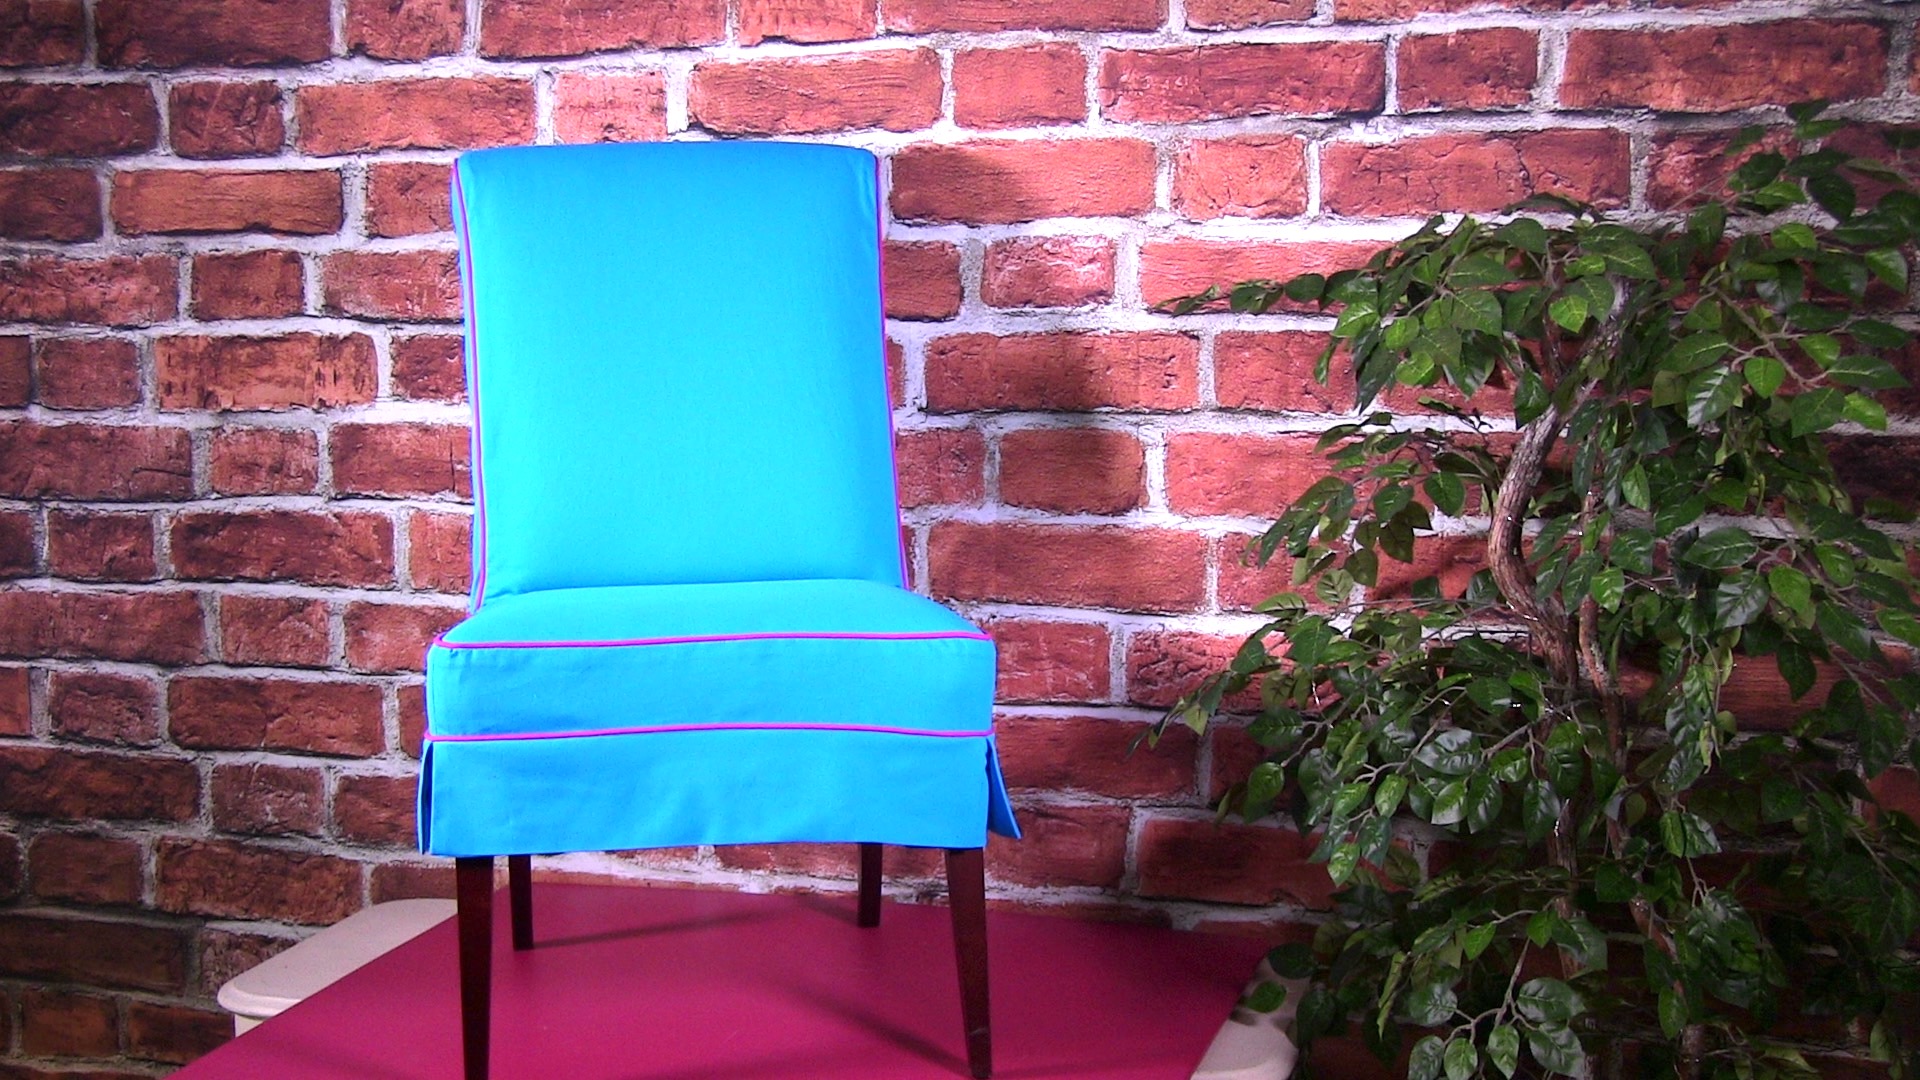
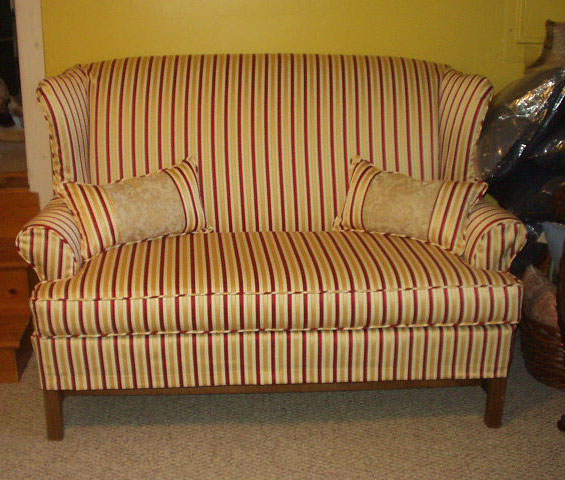
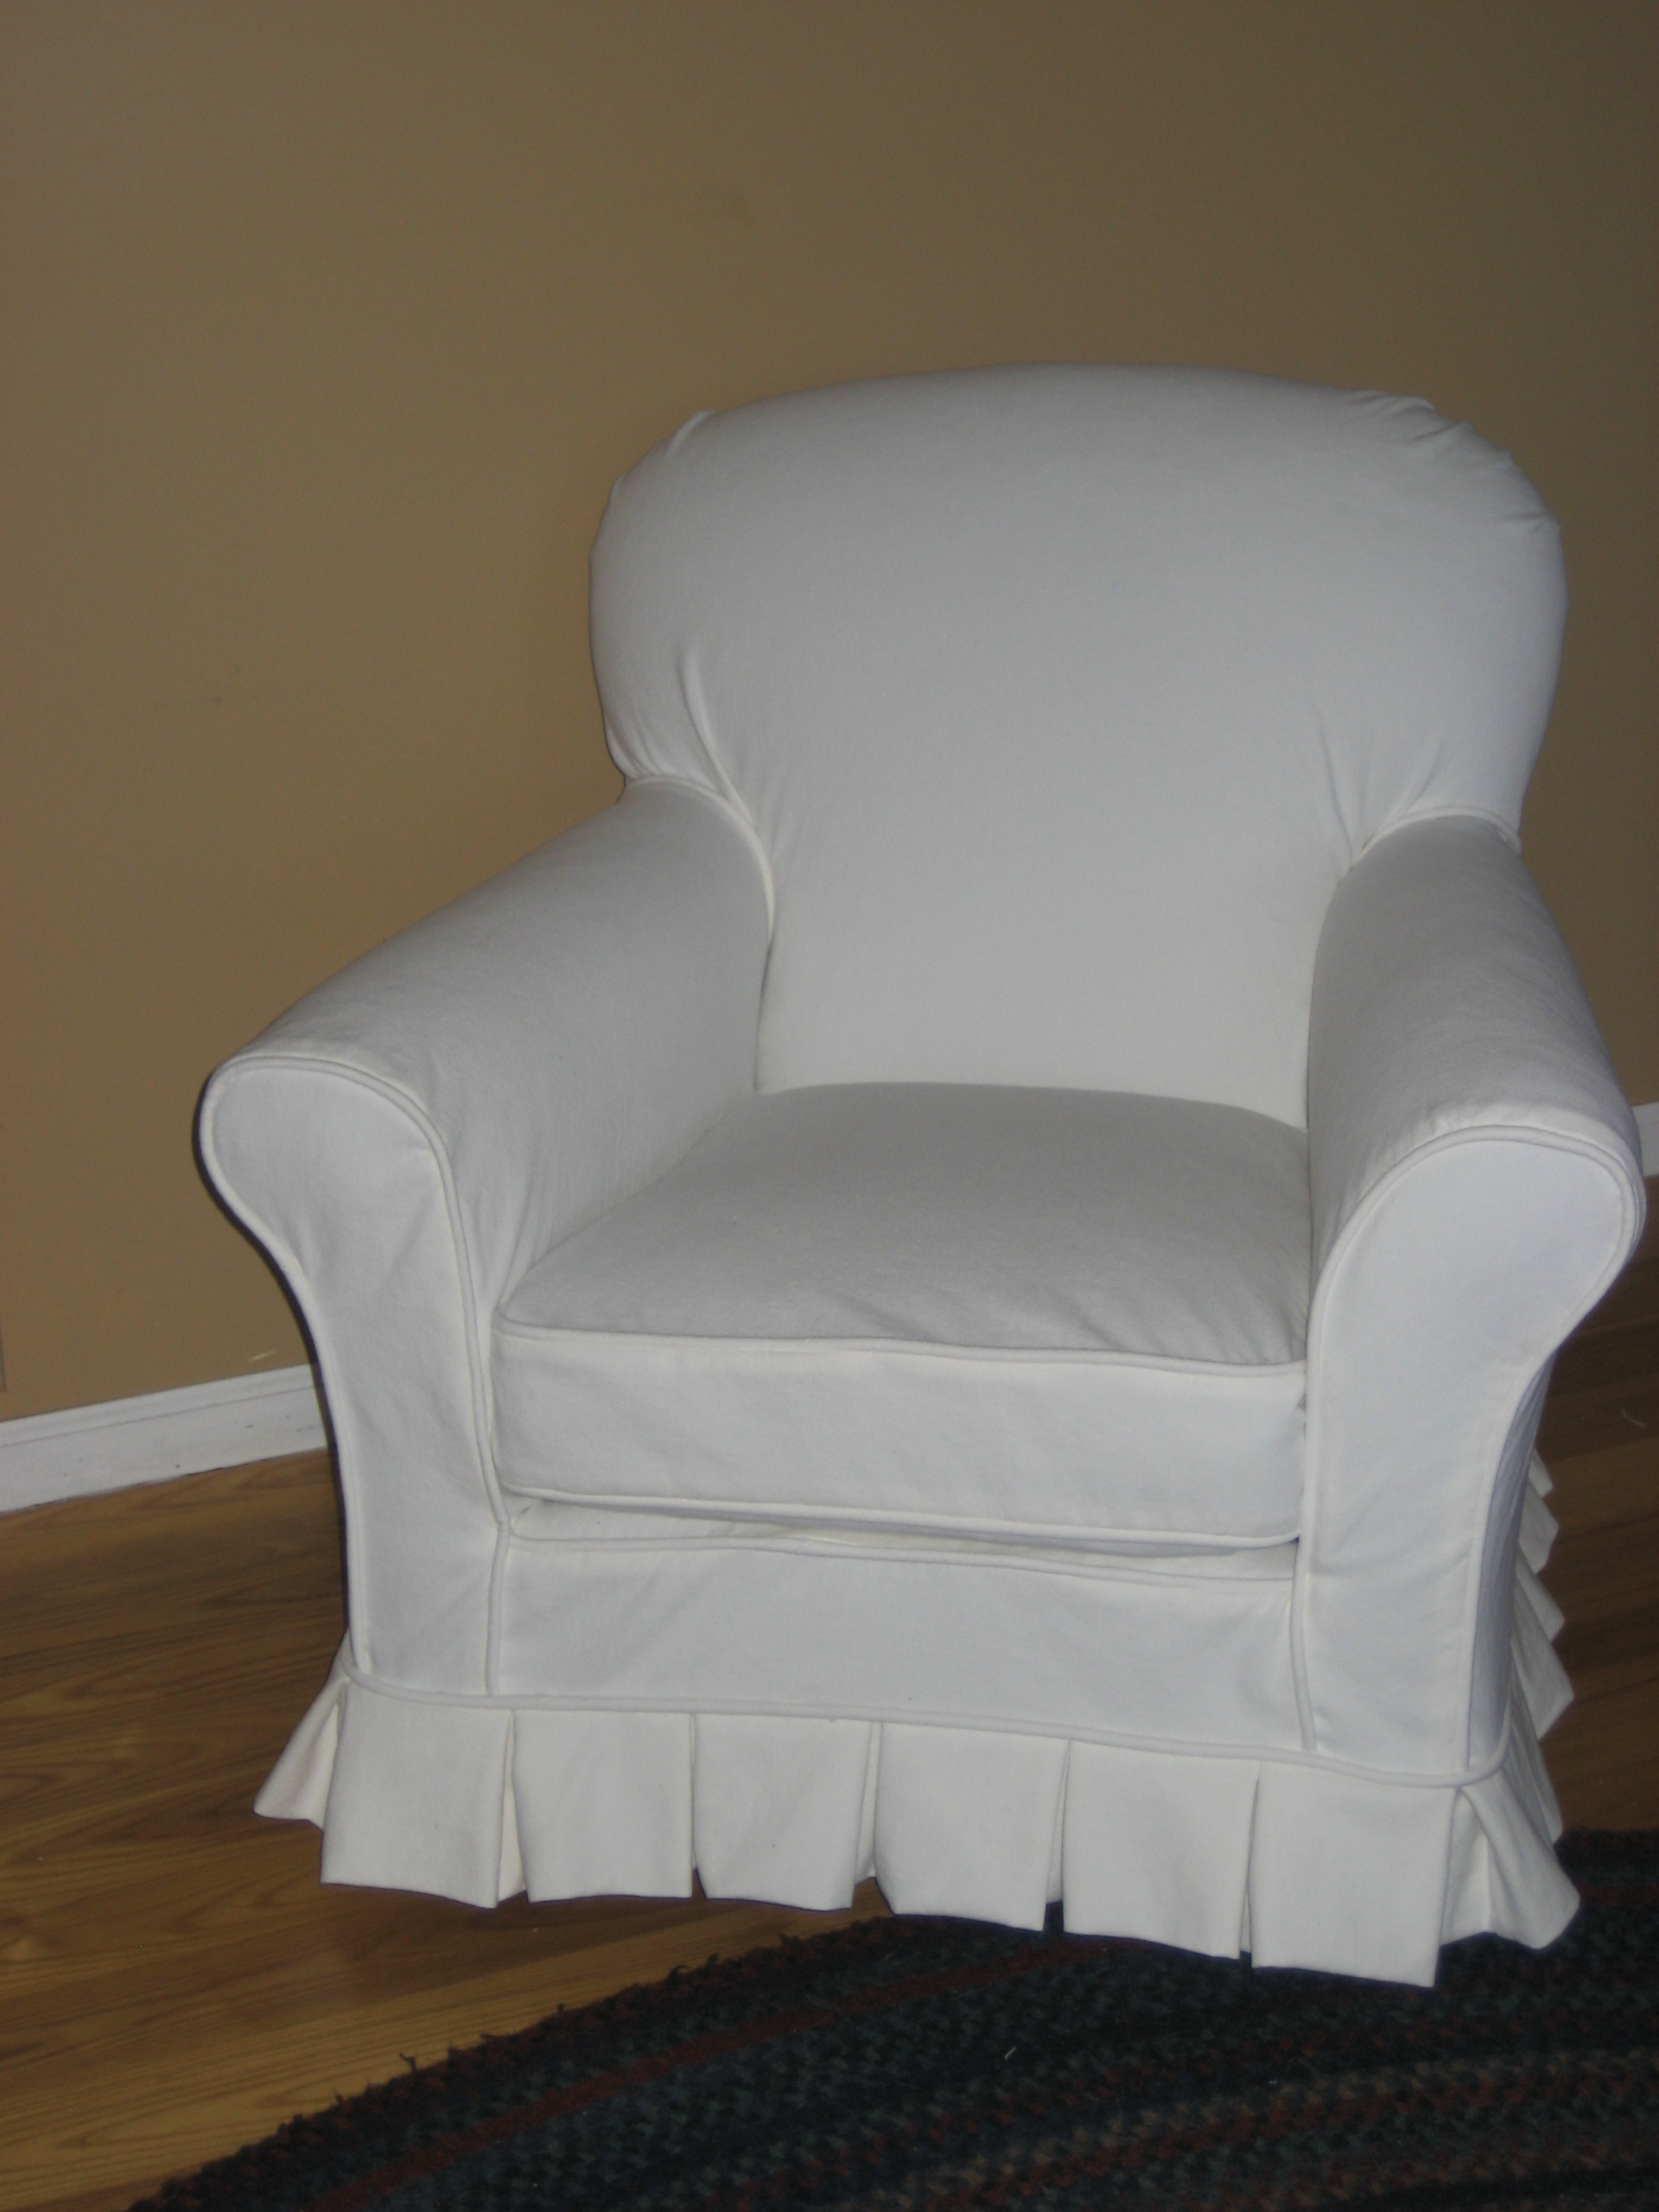
One way to do this is through the type of closure you use whether it be a zipper, velcro, ties or buttons. You can see in this blue parsons chair slipcover I added button details with turn cord as the buttonhole (you can learn how to make turn cord HERE on Live with Sandra V). Skirts are another opportunity to kick your slipcover up a notch. I like self-lining the skirts as I find they drape much nicer and in the case where the slipcovers will be washed the fabric will all behave the same.
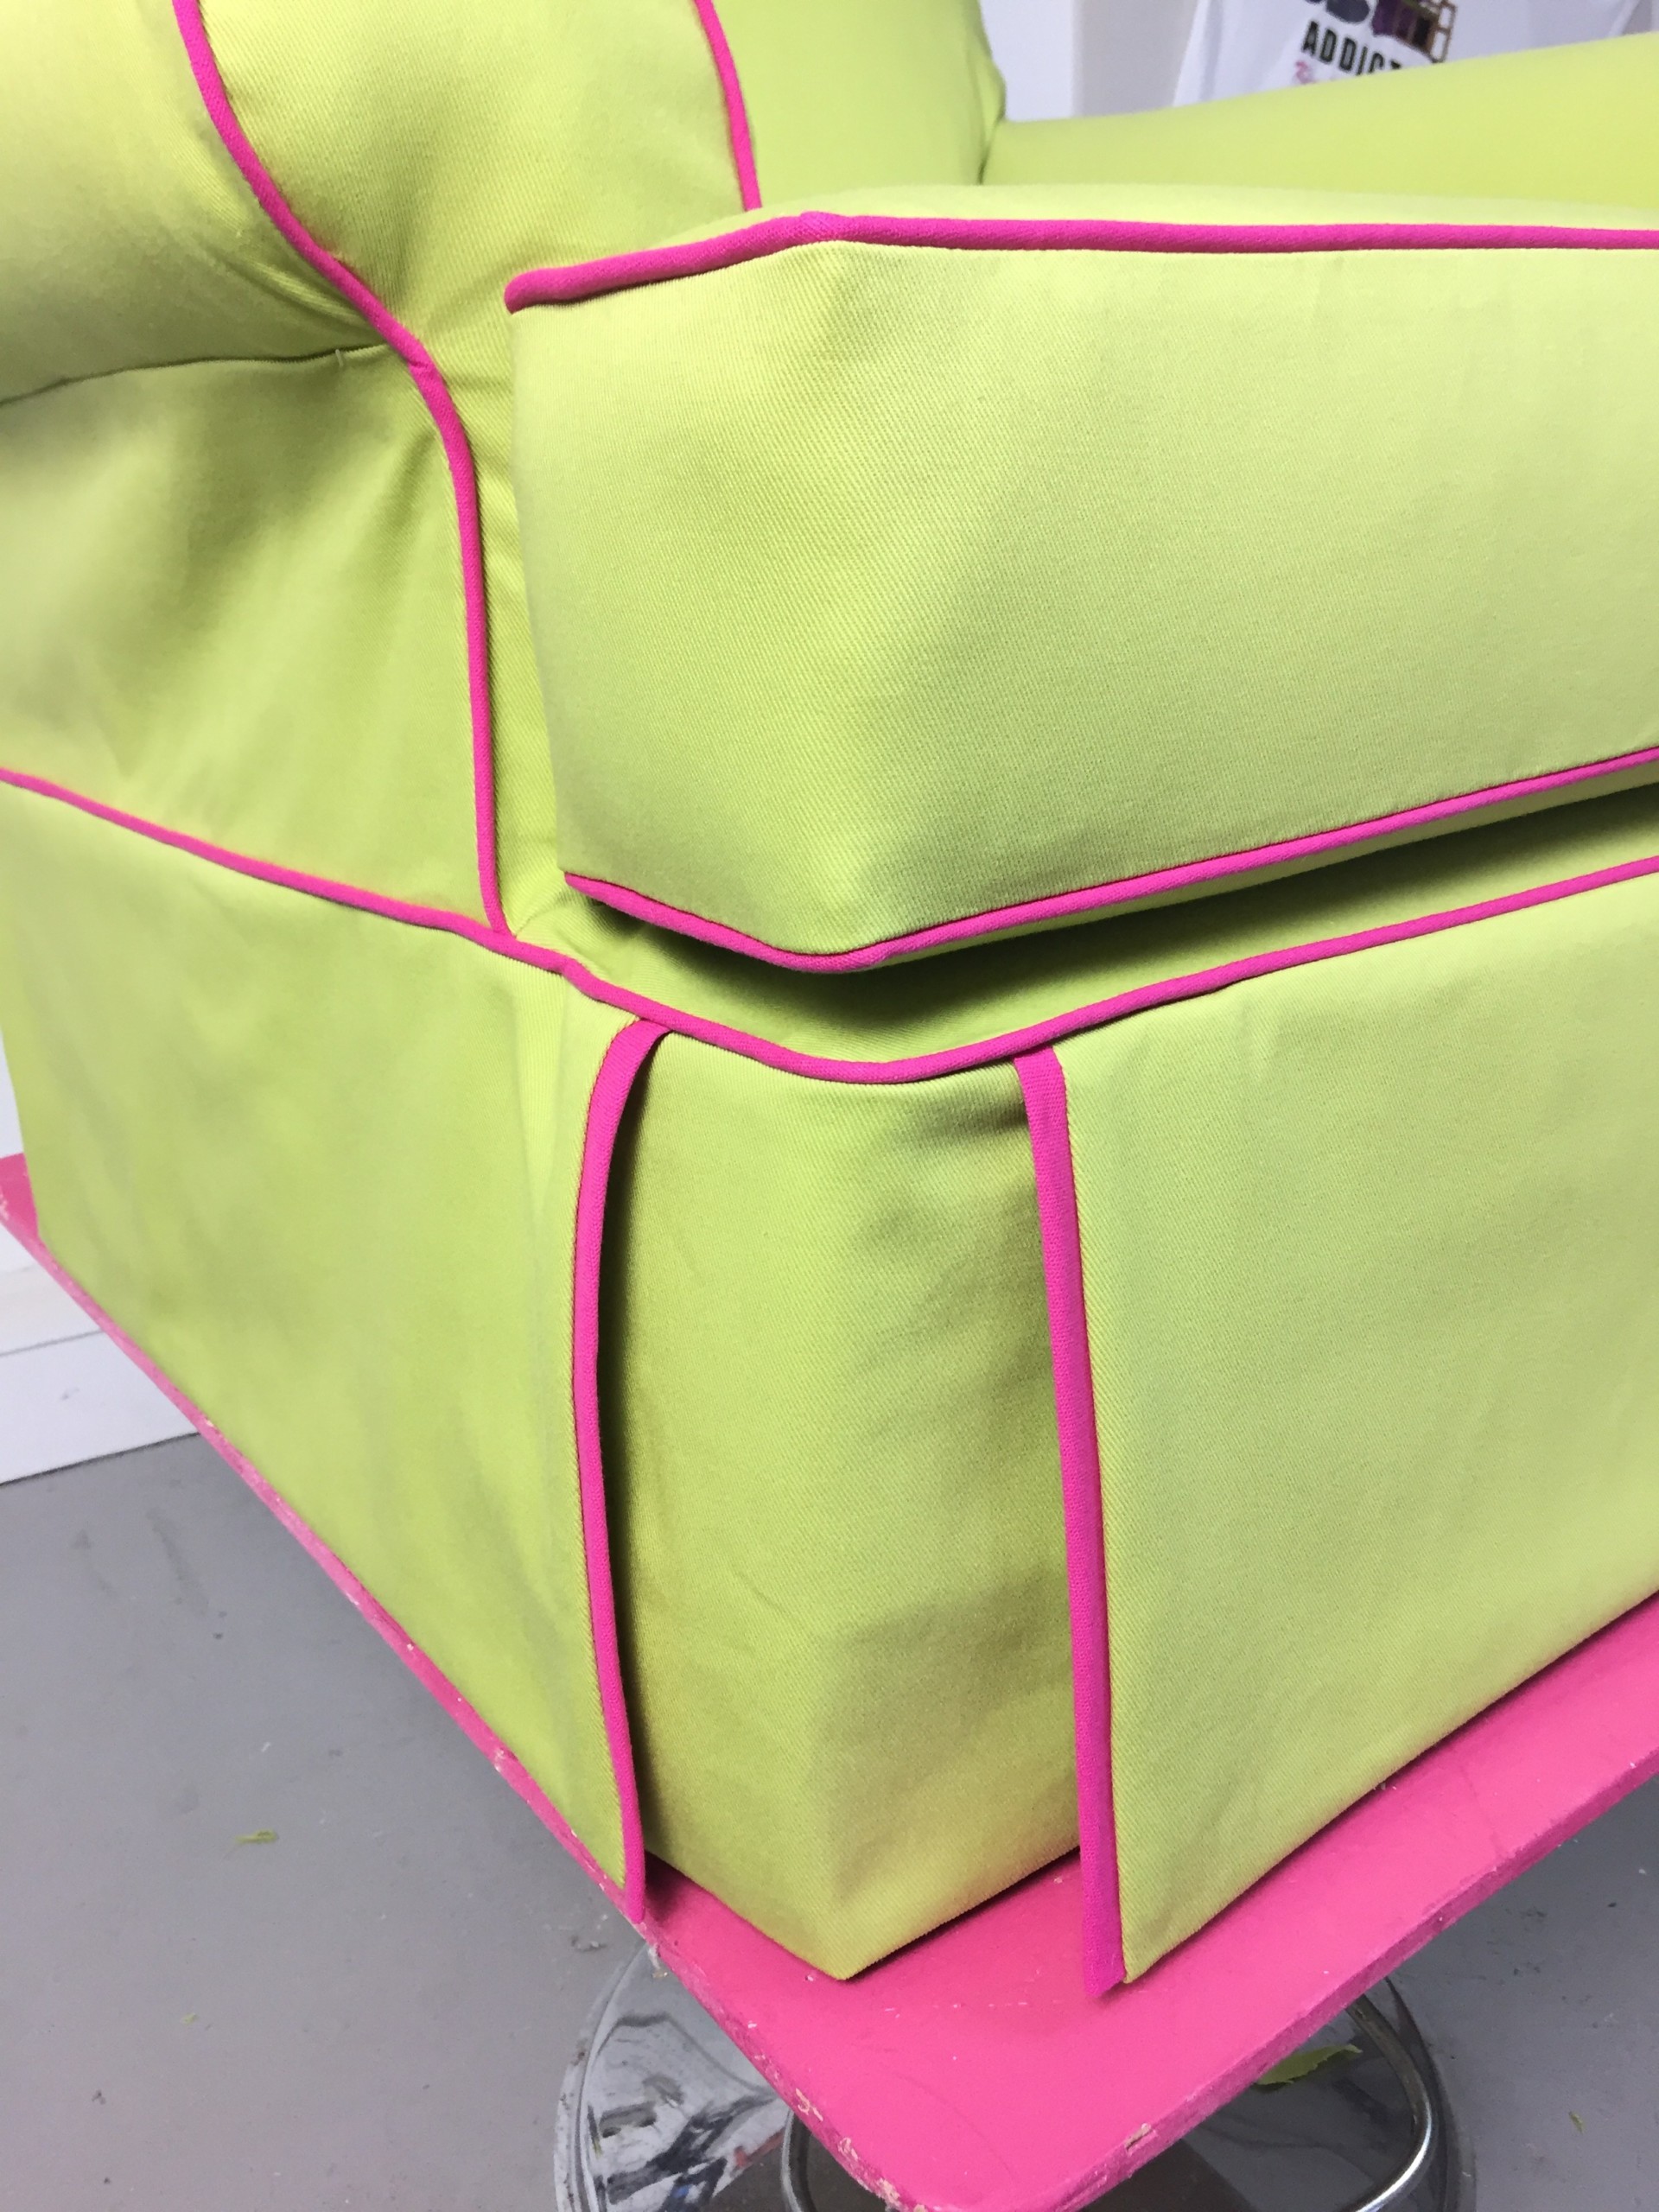
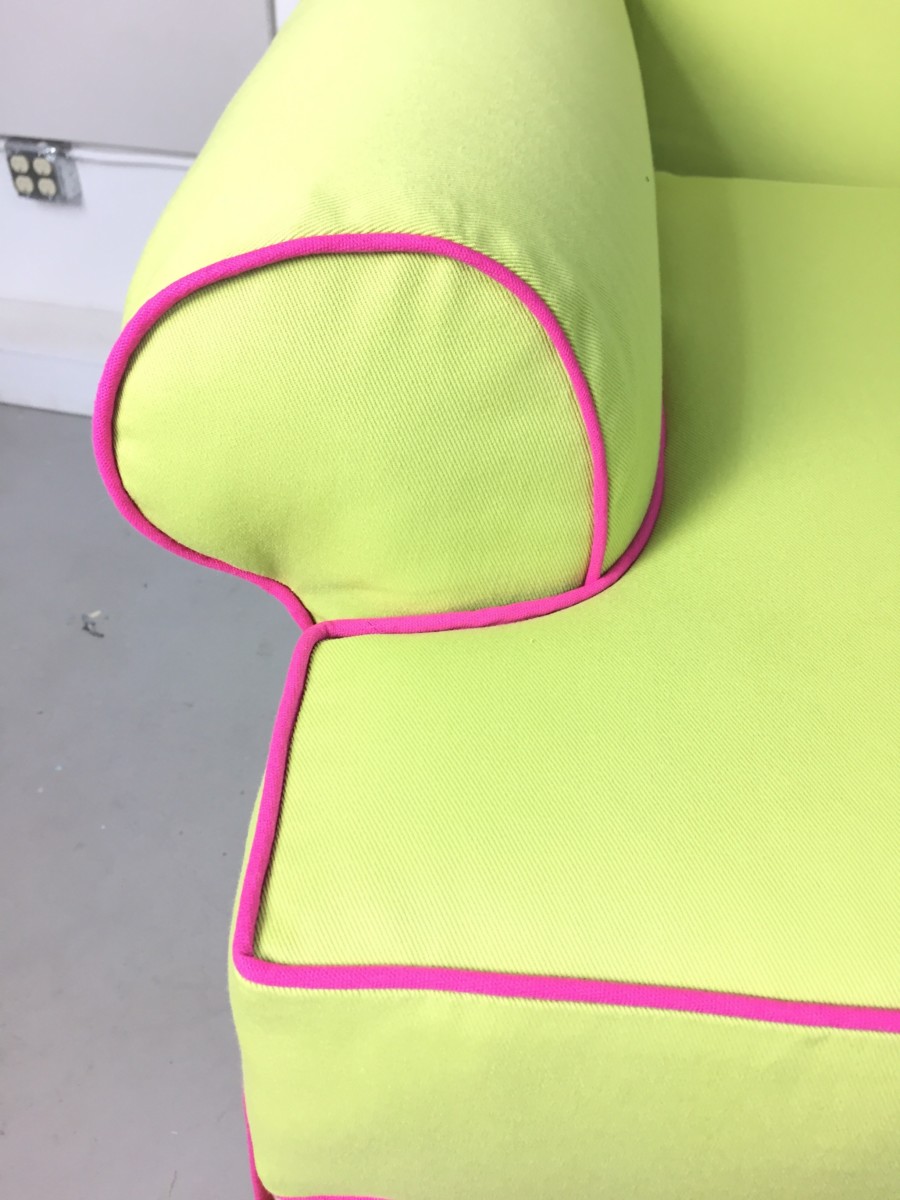
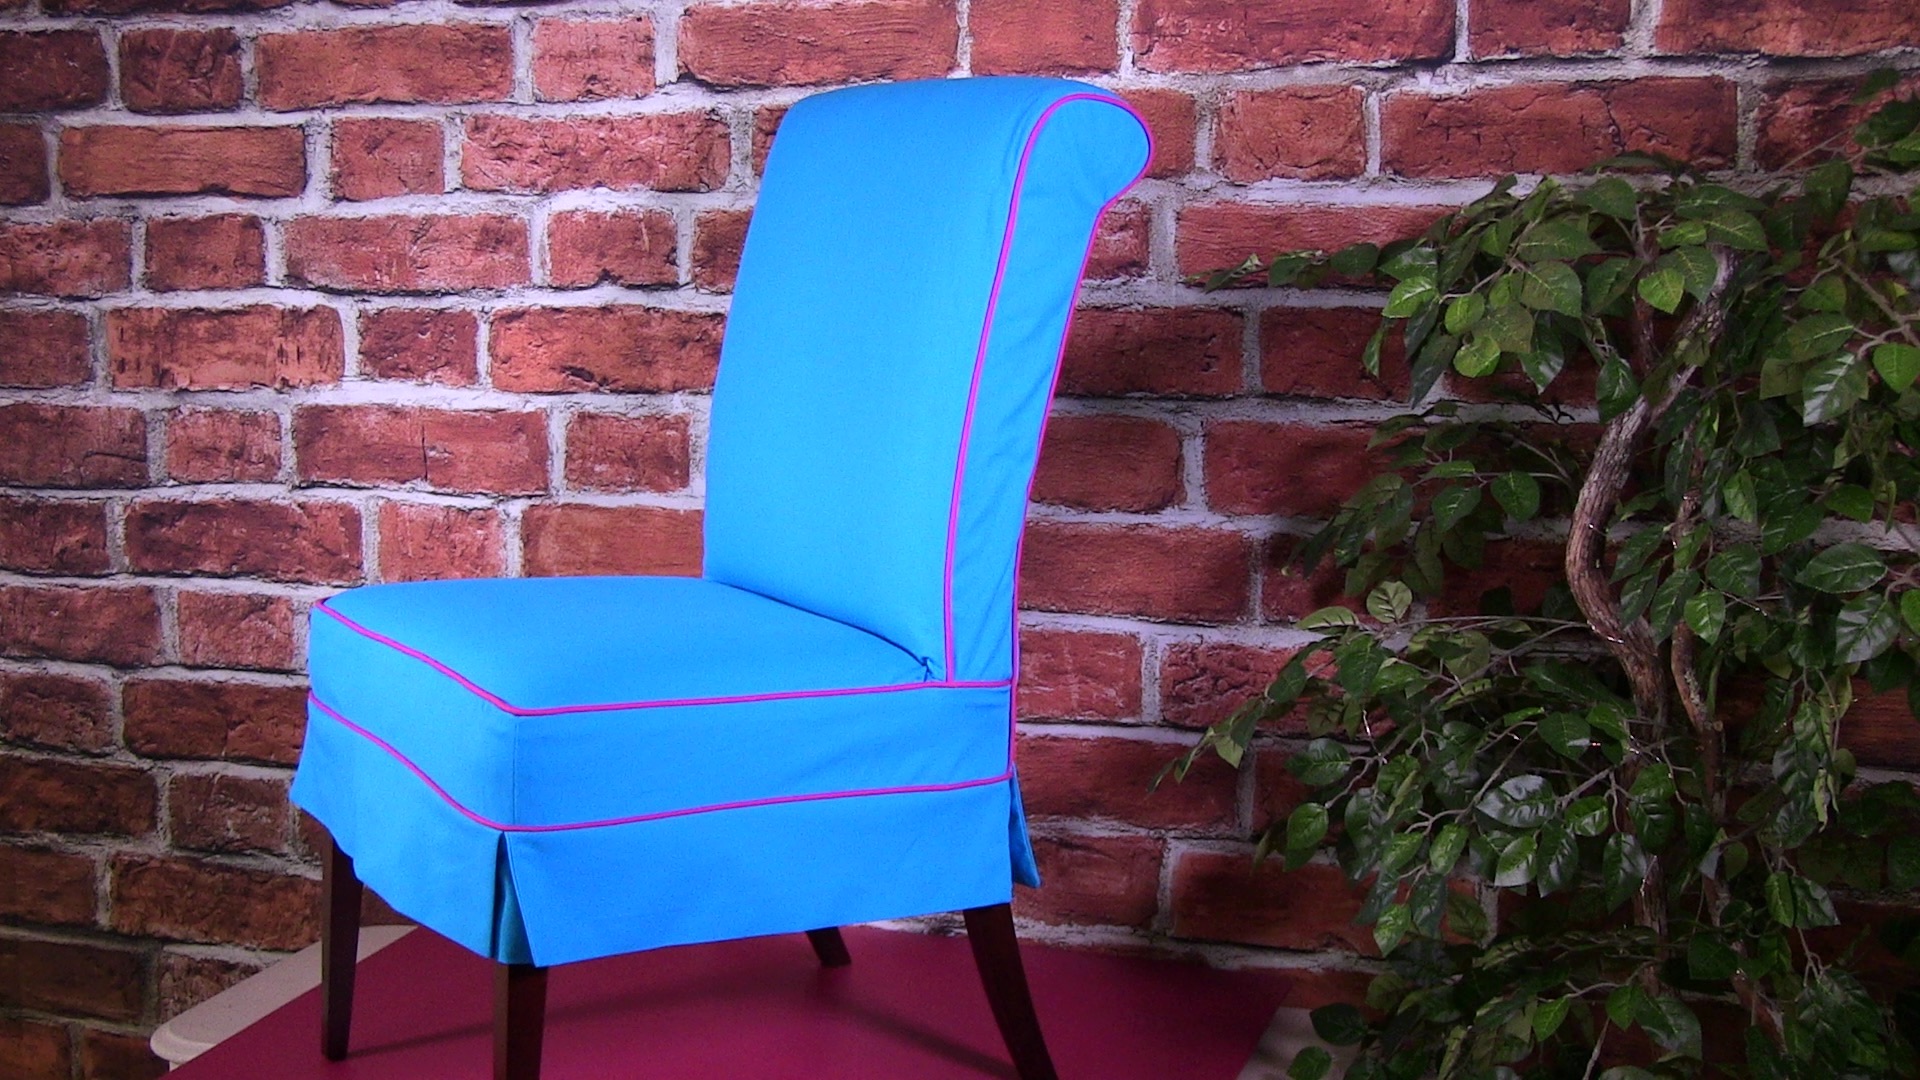
This same principle applies to self-decking your slipcovers as well, a decking fabric is not going to behave the same as your main fabric. On this rolled arm club chair slipcover, when making the skirt I decided to add a fun detail that gives my slipcover a little more of my personality. Adding a contrast welt cord as in these two slipcover examples is another way to spice up your slipcover a bit.
So go ahead and bring a little of you or your client into the project, no more plain Jane slipcovers, (No offense to anyone named Jane lol).
My cushion doesn’t fit right, now what?
Do you know how to create a pattern for your cushion? Getting the right cushion fit is a must for both upholstery and slipcovers. There is nothing more distracting to look at than a cushion cover that is not quite right. You’ve put all this work into your project and UGH how did this happen to my cushion.
Don’t worry we can get you through this hurdle with my tried and true methods to a perfect cushion every time!! Yes, you can do this. Take accurate measures from your piece of furniture and transfer those measures to create a pattern. I use muslin fabric to create templates as it is easy to form the seat area of my projects. Paper can be too stiff and not always give you an accurate measure.
Check out my “Measuring your Chair for a Cushion” tutorial found in the Membership.
What fabric should I use for my slipcover?
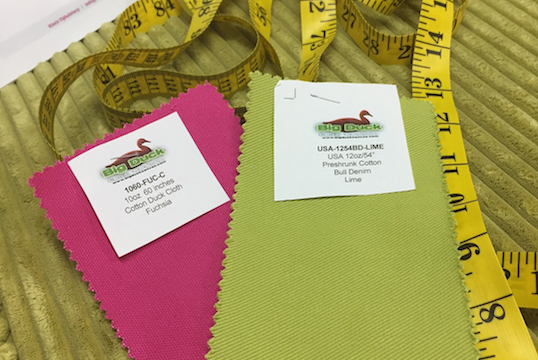
I love a cotton twill or denim for slipcovers. These fabrics tend to wear very well and if a client wants to they can wash them as long as they are NOT put in the dryer. I prefer a 12 oz but there are some really nice 10 oz fabrics as well. For the rolled arm club chair slipcover I used a fabric given to me by Big Duck Canvas. It is their 12 oz, preshrunk Bull Denim in lime green. The contrast cording is their 10 oz. Cotton Canvas in fuchsia. Both were great fabrics to work with. I really liked the body and drape of the bull denim.
This chair will be enjoyed by my cats and the bull denim feels durable and having been preshrunk I know I will be able to wash my cover. The 10 oz also has good weight and worked great to give me that pop of color and the ability to add decorative details that really stand out.
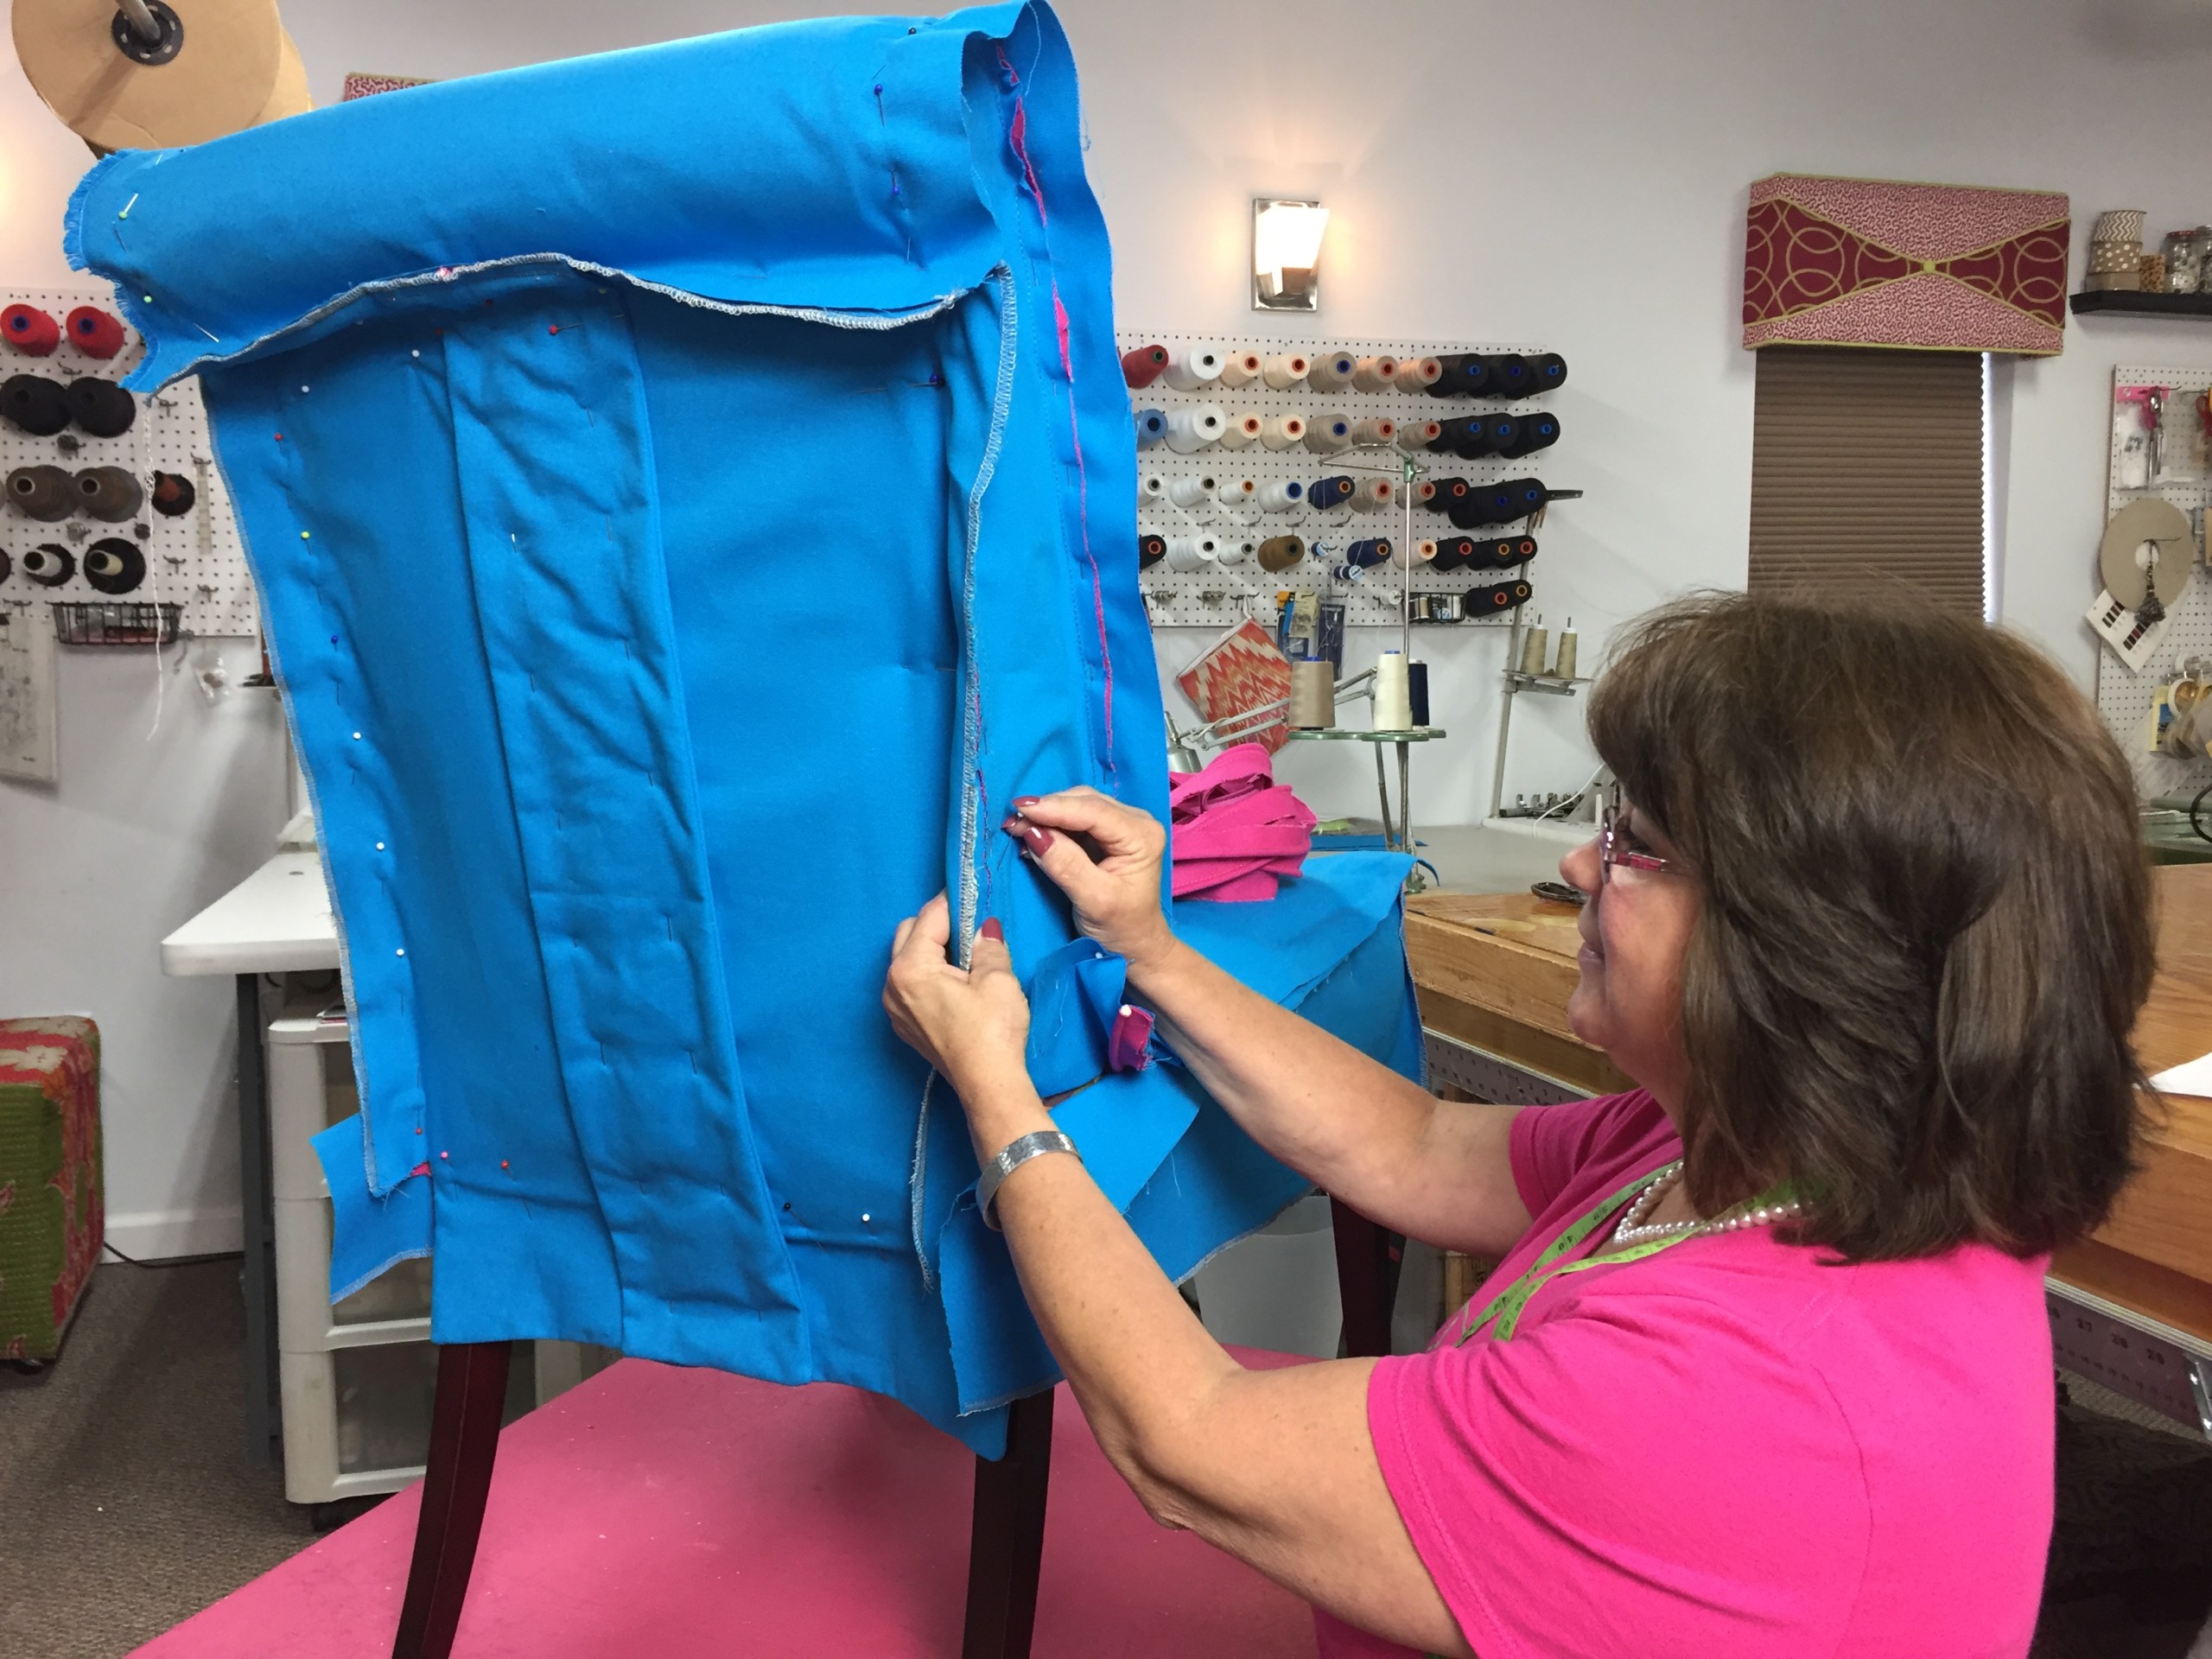
Let’s pin fit our slipcover for a perfect fit!
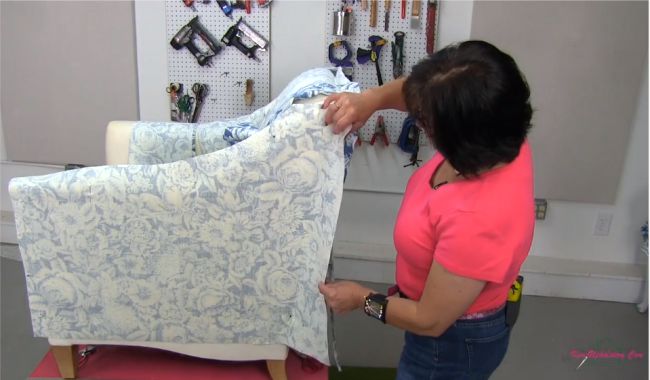
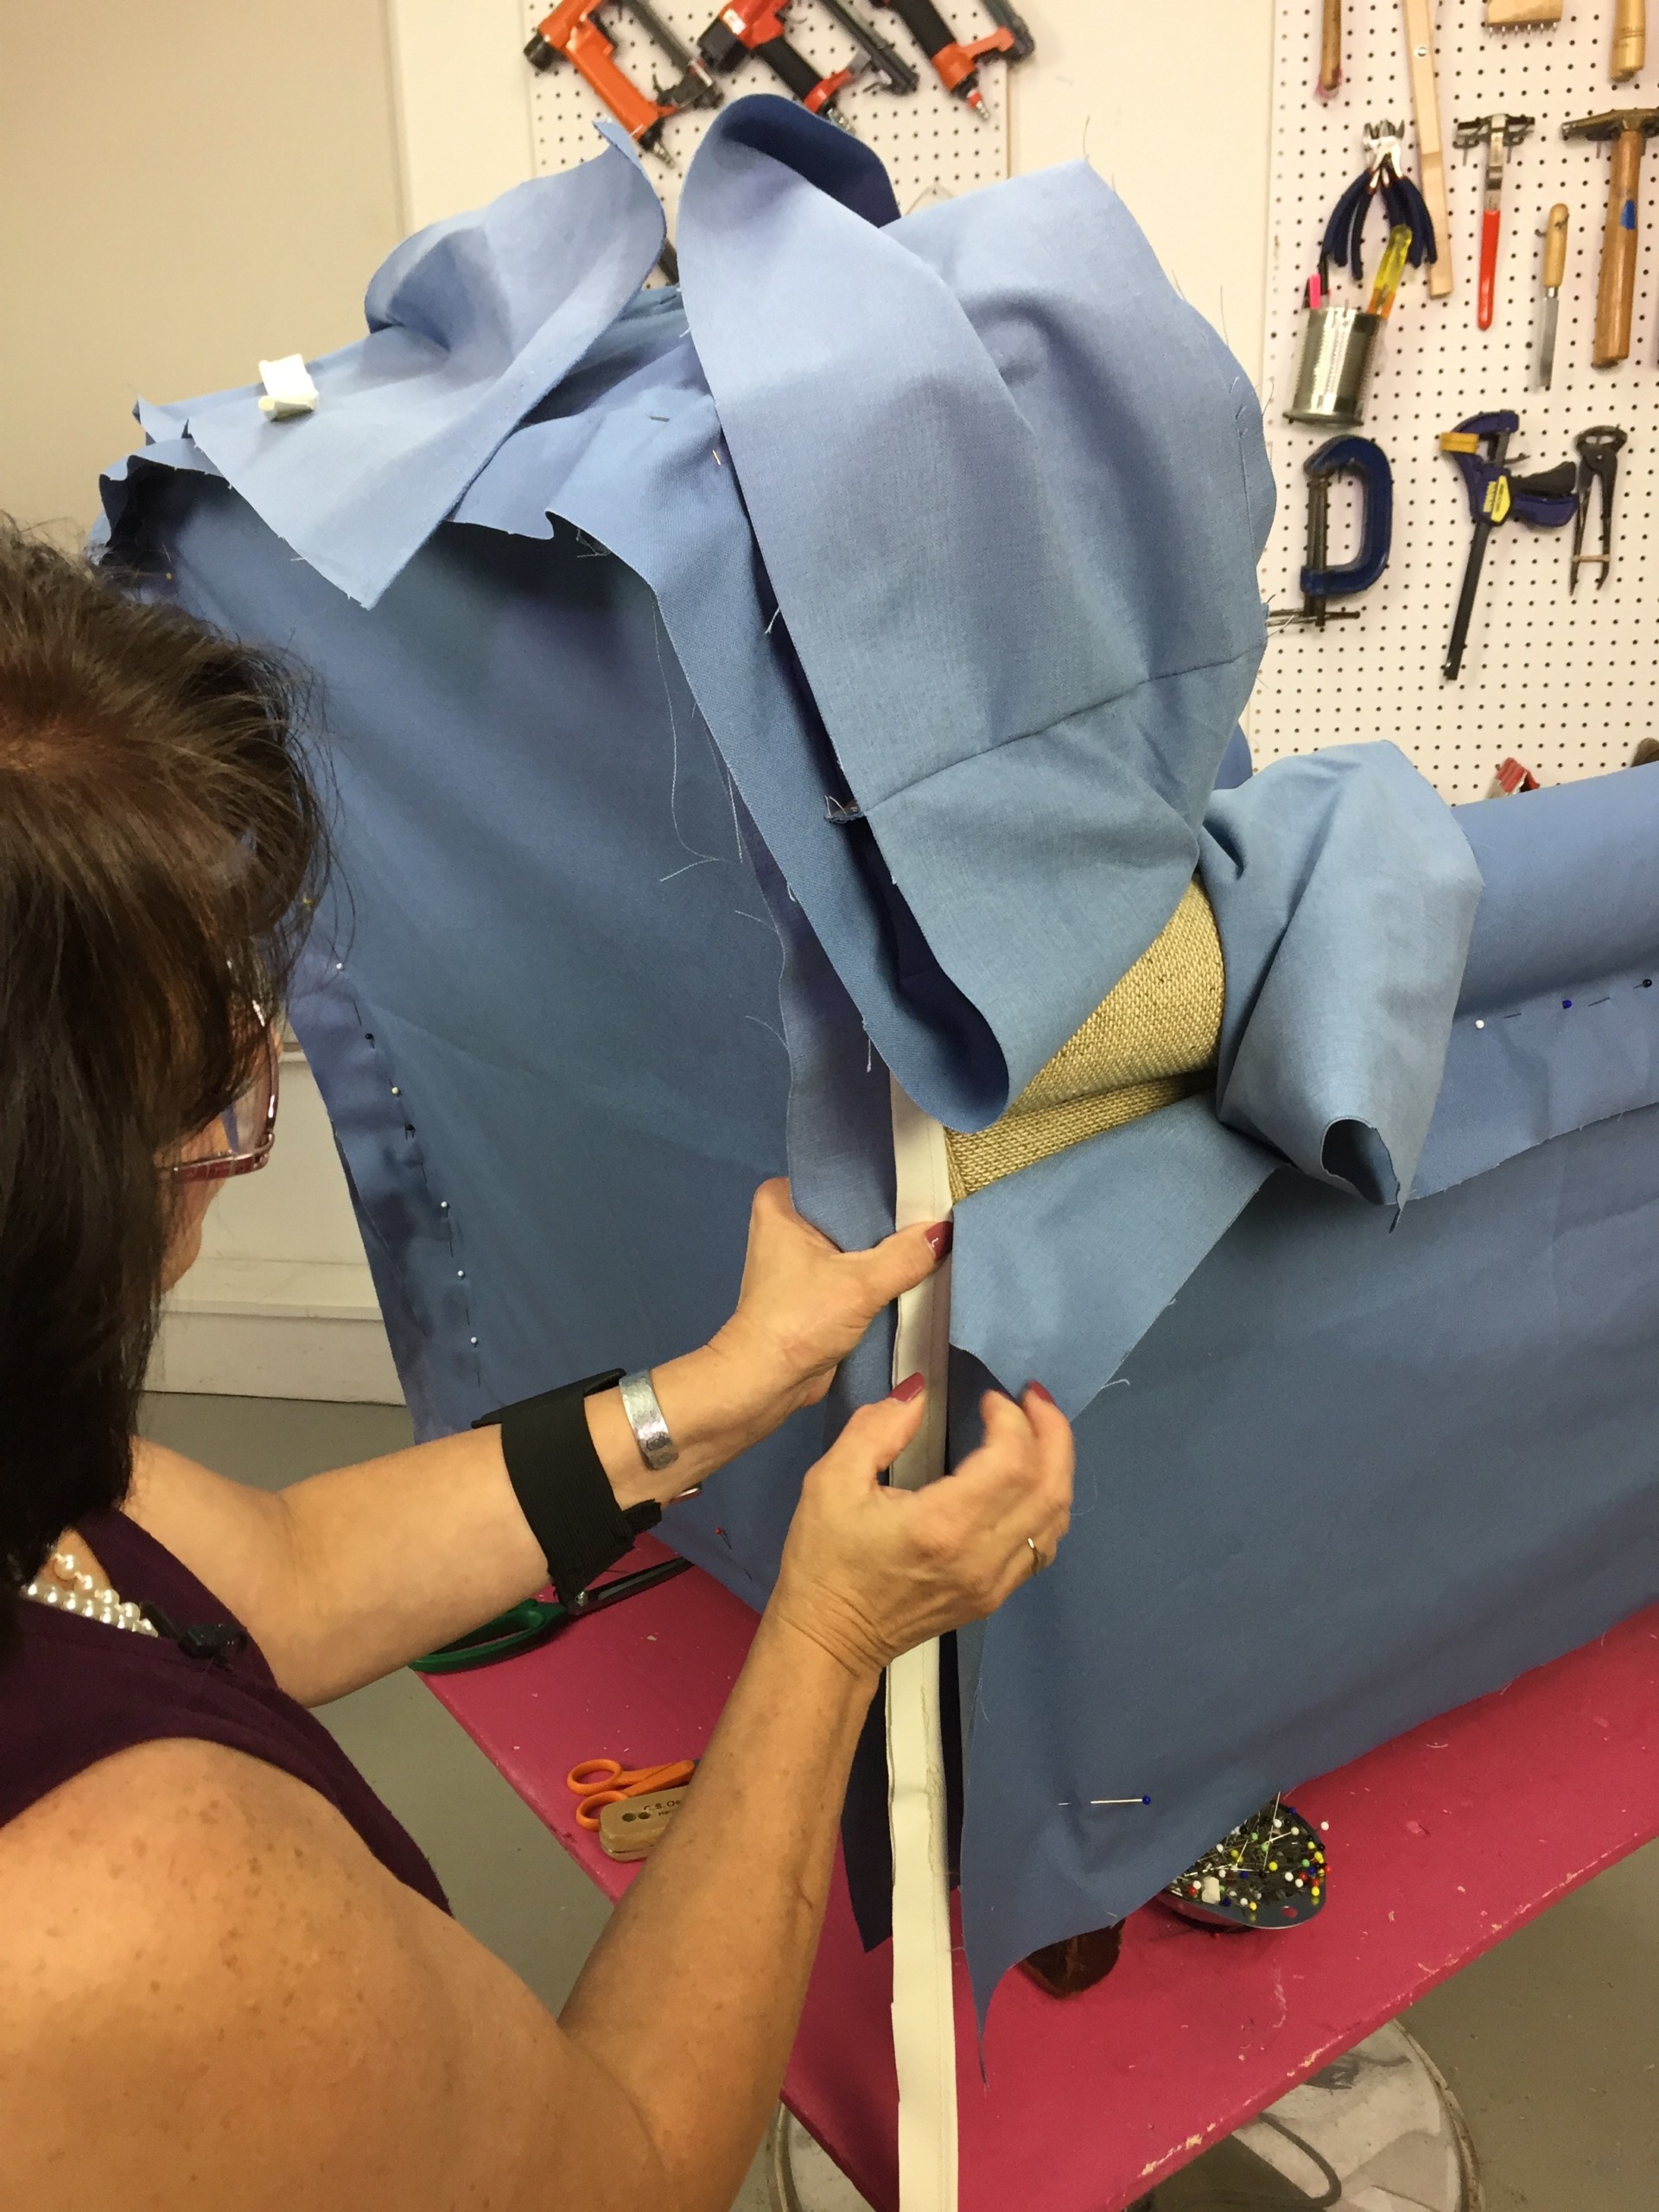
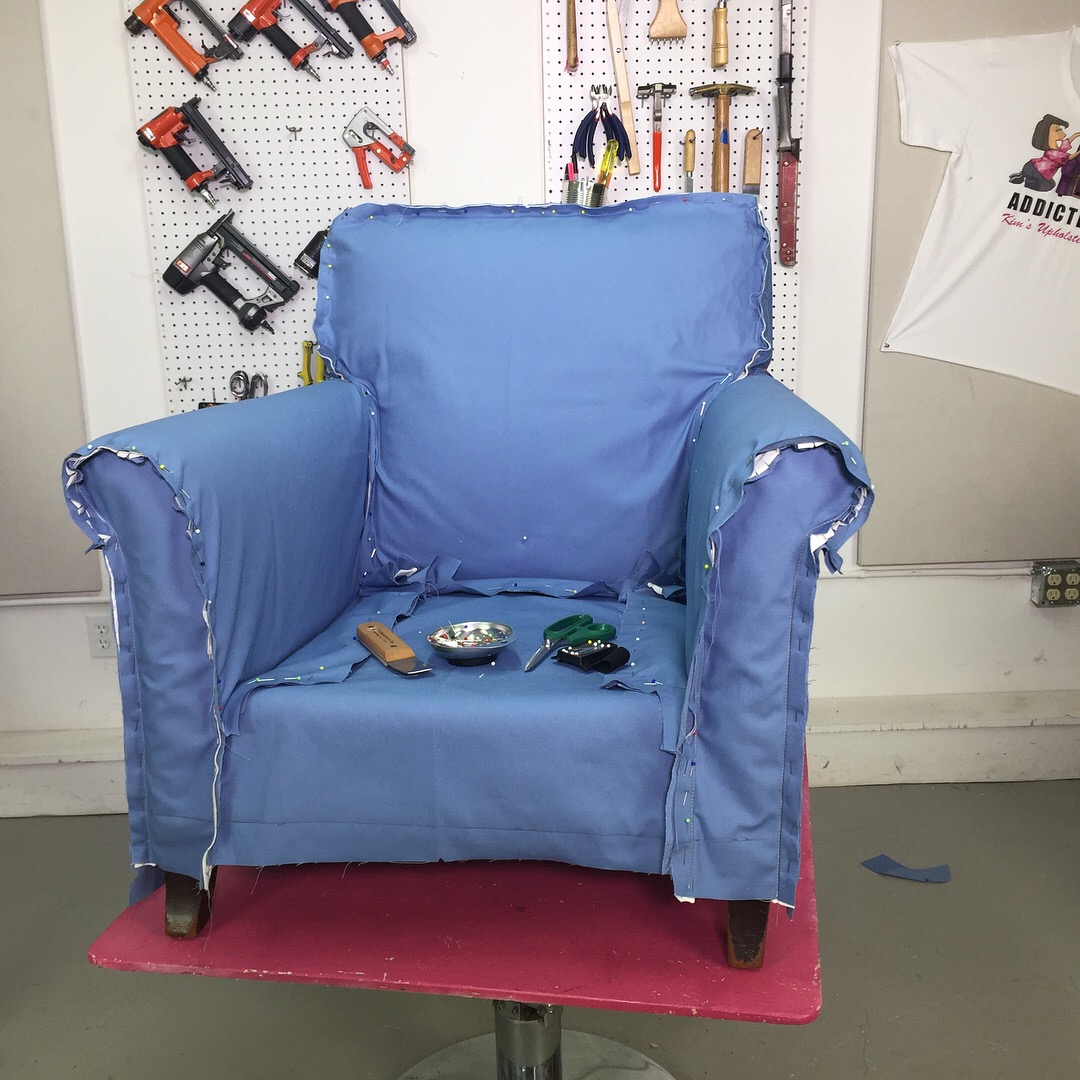
You’ve measured your piece, planned your fun details and now its time to pin the fabric pieces so you can sew this creative slipcover altogether. I start by anchoring my slipcover pieces to the furniture. What I mean by “anchoring” is actually using pins to hold my fabric pieces right on the chair to hold them in place to help me get started. Start pining your main pieces, like the inside back, outside back and deck, together first. Now you can move onto inside and outside arms. Once everything is anchored and your pieces are mostly pinned together, you are ready to start making your relief cuts.
By anchoring, and pinning the large pieces together prior to making my relief cuts I know everything is in the right place and I won’t be short somewhere because I pulled the fabric pieces to far in one direction. I’ve made that mistake and have had to cut a new piece for your slipcover ( hence my caution to add a little extra yardage to your order).
Your slipcover is ready to be sewn!
With all your pieces pinned together your next step is sewing. Make sure to remove the pins as you sew along, and be careful as you are sure to poke yourself once or twice so keep some band-aids handy!! I look forward to seeing your slipcover projects. Please leave comments in section below and let me know what you are working on.
Happy Pinning!
Kim
PS: If you are looking for more detailed instructions we have created a step by step video tutorial which is included in our membership classes.





[…] Click Here […]