Have you ever run short on fabric for an upholstery project? How frustrating!
Imagine you have found the perfect fabric on sale and when you are almost finished with your project you realize you don’t have enough! Most often when this fabric fiasco strikes you know you can’t get more, so now what? How did this happen? You found a chart online and it said you should only need 6 yards!
Grrr! Who created that chart and why wasn’t it the right yardage?
Hold on, they did put the right yardage for the chair they had. There are a bunch of charts out in cyberspace that give you guidelines on fabric yardage, but the only way to be sure you have the amount of fabric you need for your chair is to . . .
MEASURE IT YOURSELF!
I really want to get this point across and no, I am not yelling at you but I don’t want the “running out the perfect fabric” scenario to happen to you. Why? Because I care!
As I said, I care about you and your project, so let me show you how to prevent this from happening.
TIP: You can download this free PDF to help you calculate yardage for your next upholstery project.
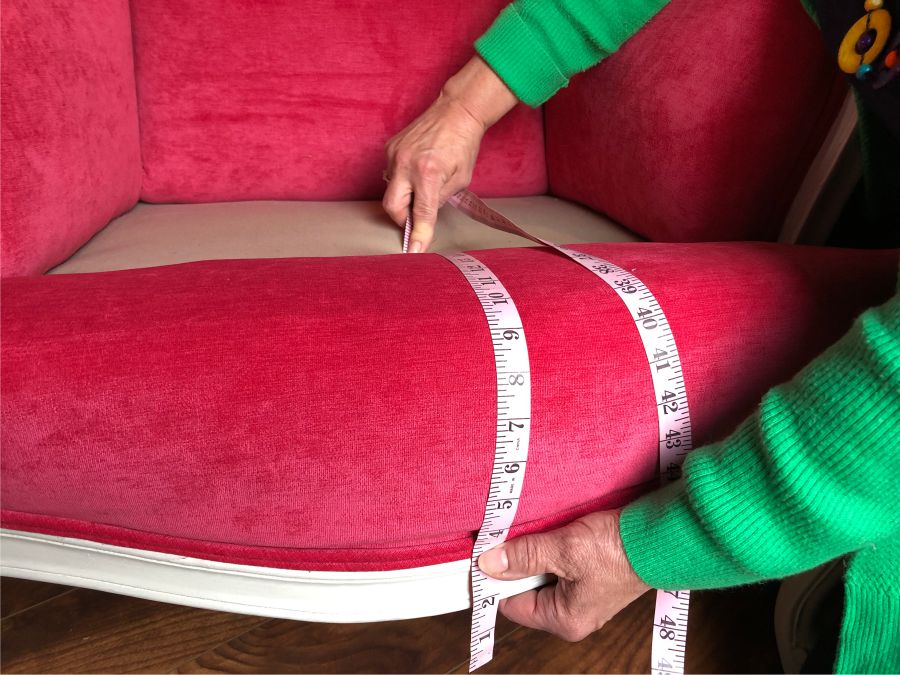
In this example, we will be using a wingback chair. When you are measuring, be sure to not only measure the fabric that will be visible as you will most likely run short. In most cases, you will need several inches more fabric in the areas where the fabric is tucked behind the frame. This will allow you enough fabric to pull as you attach the pieces to your frame.
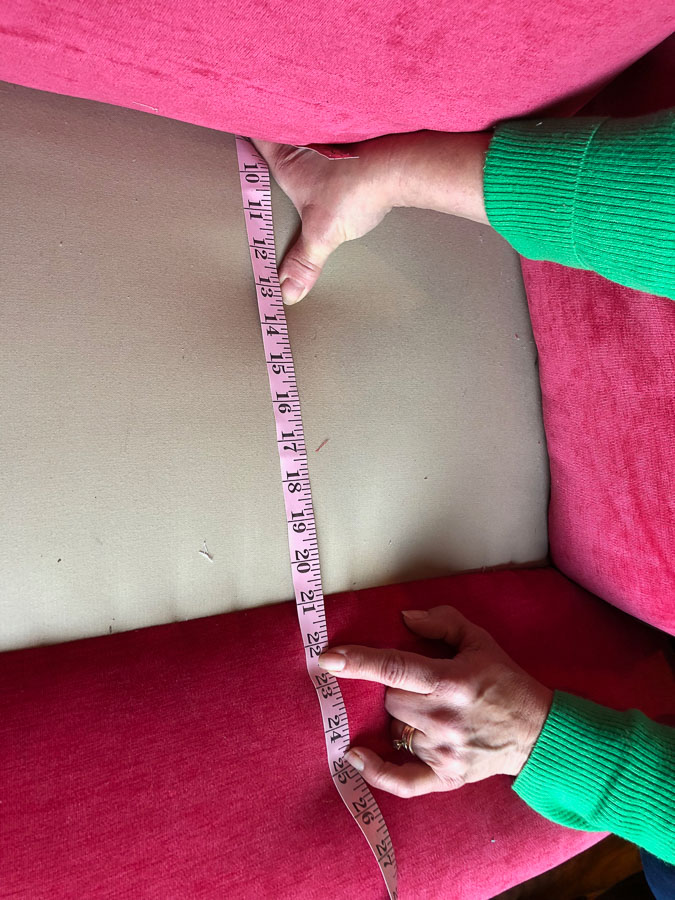
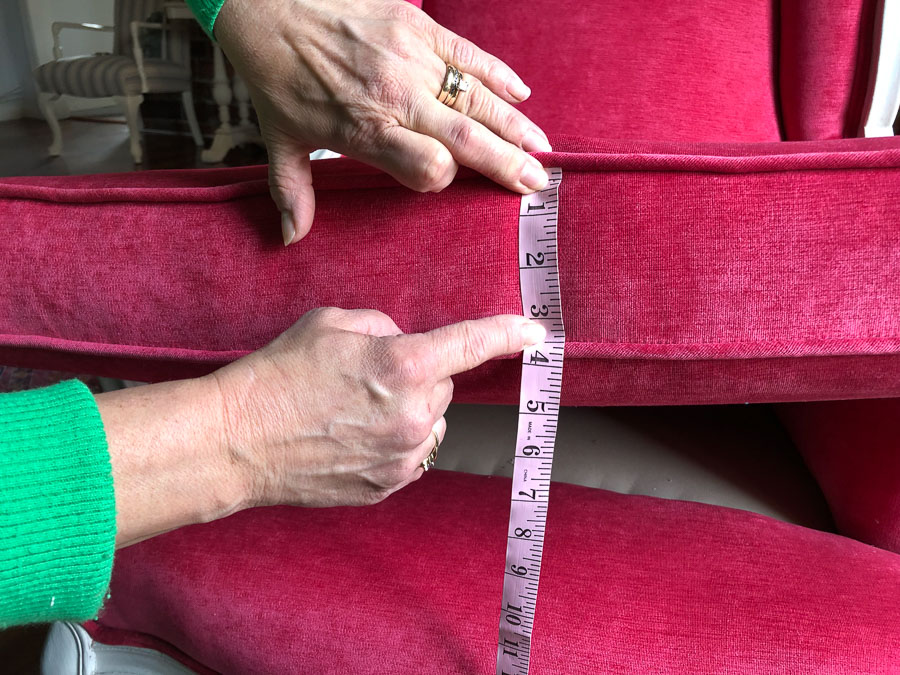
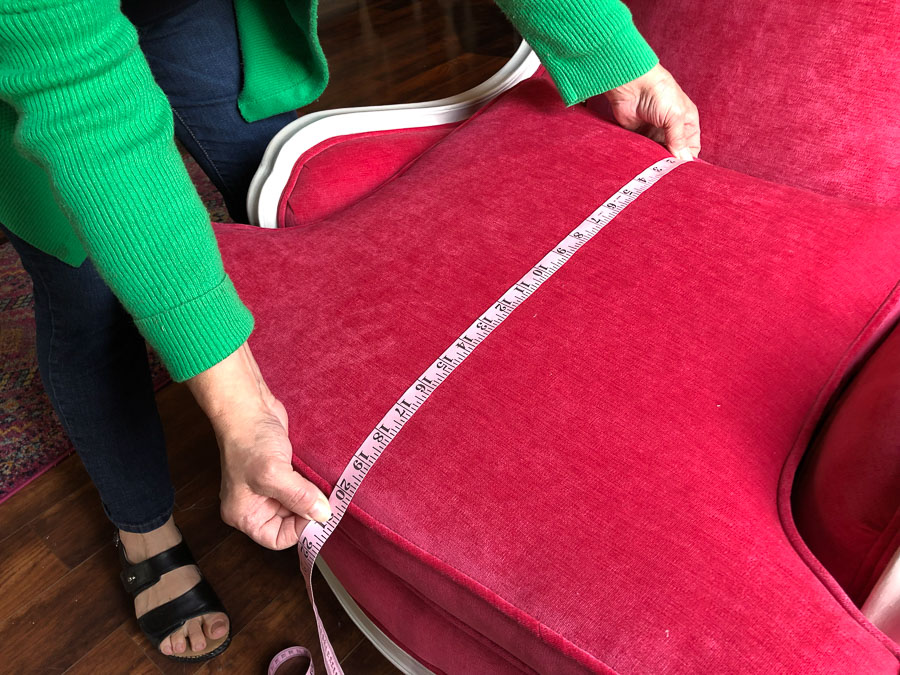
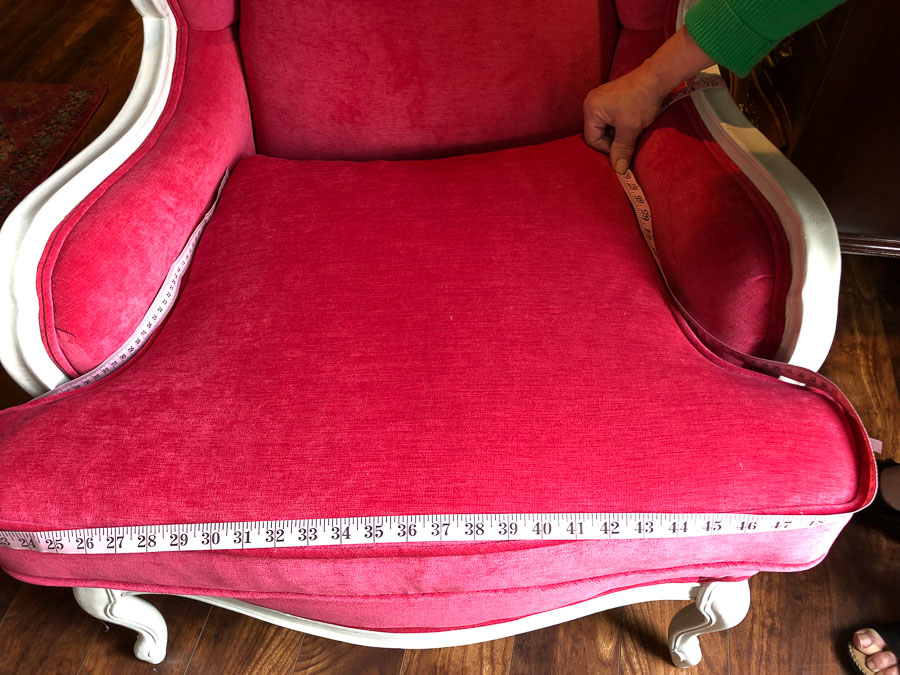
Measuring the deck front height and width
Notice that when I measure to the bottom of the frame around the sides, I add an extra 3” or so for pulling and attaching.
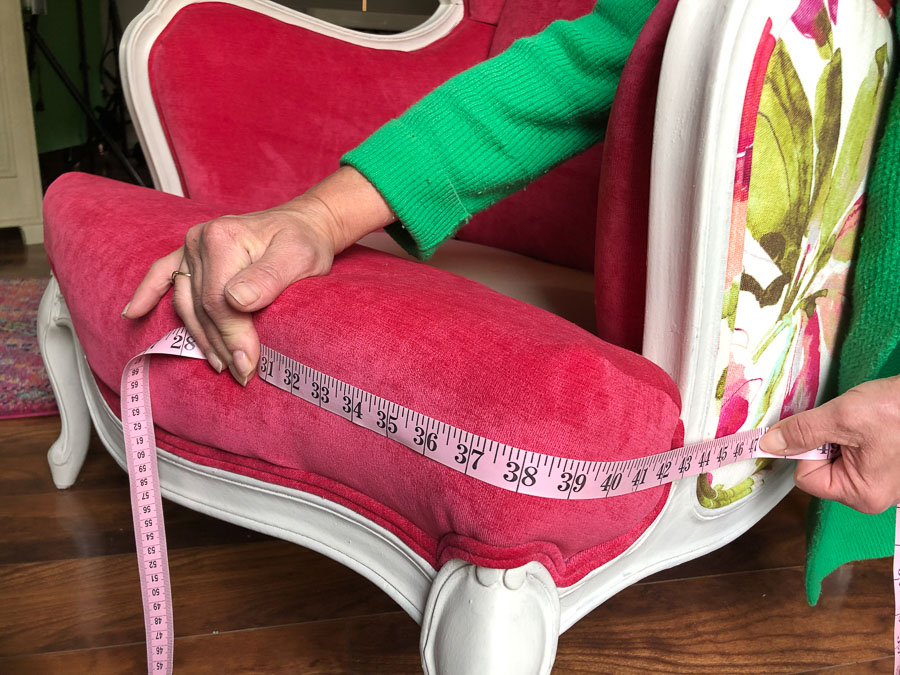
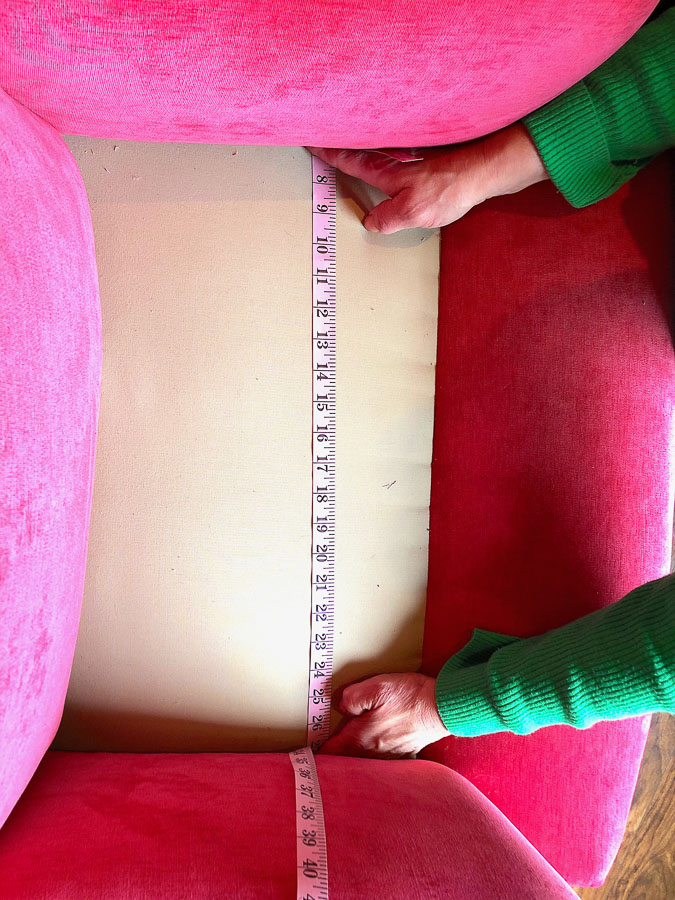
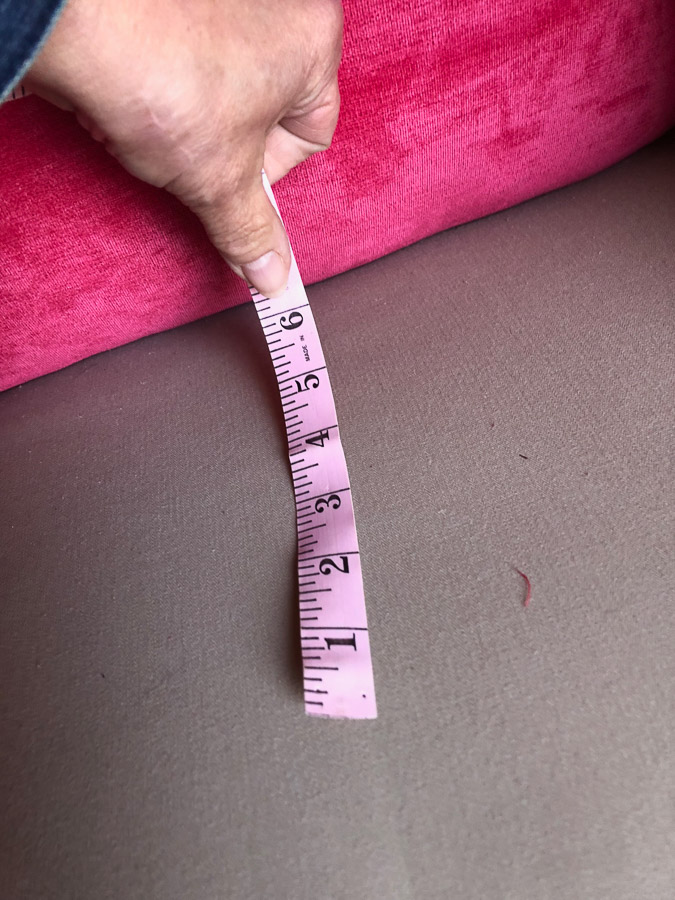
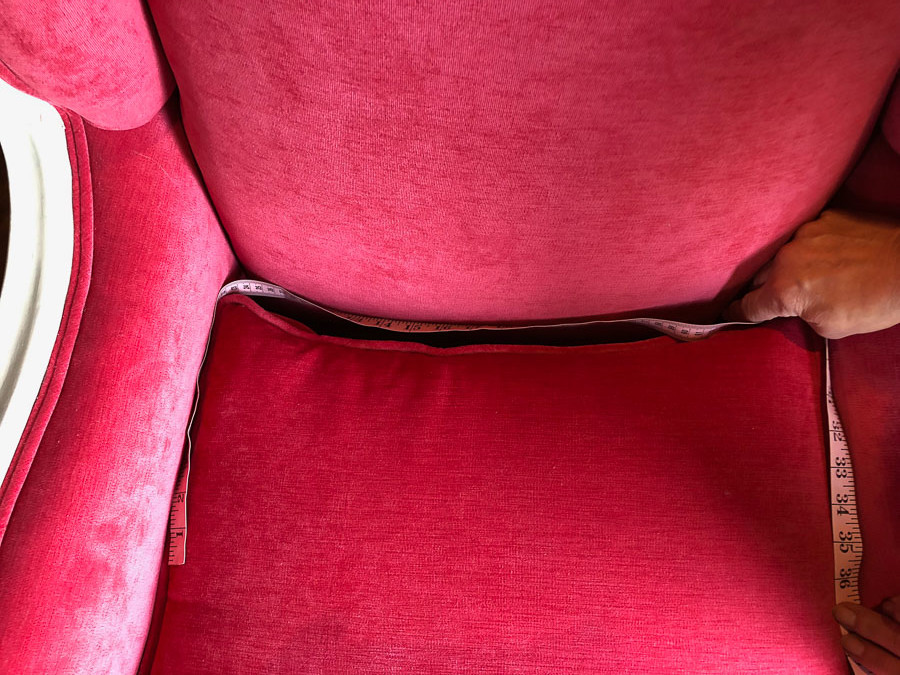
Measuring the deck back depth and width
Again, you will want about 4” extra of fabric to pull under the liner boards (we have a chair frame component video included in the membership videos which explains the different frame parts).
Measuring the height and width of the inside arms
As I measure the inside arm, I am allowing several extra inches for the tuck area. Depending on the depth of your frame, 6 or more inches of extra fabric is a good idea.
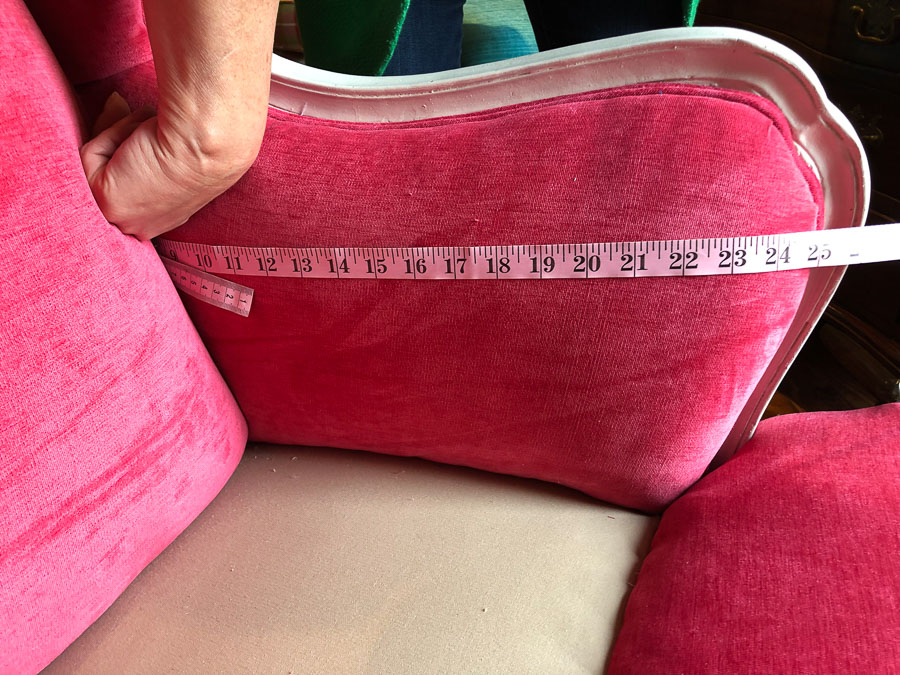
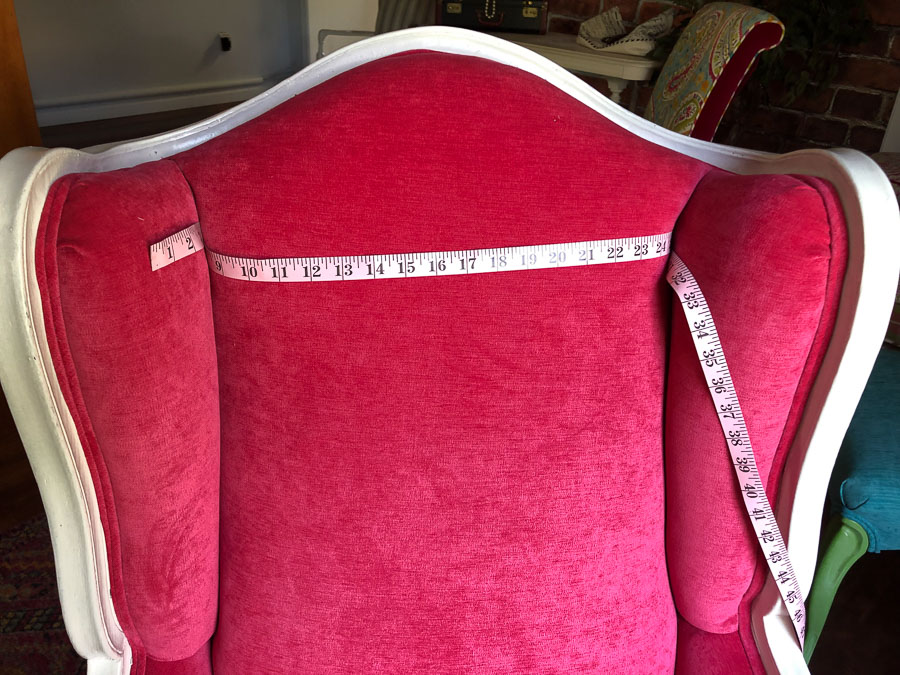
Measuring the heigth and width of the Inside back
How much you add to the bottom will depend on the depth to get from the front of the liner board to the top of the back rail. Some frames can be deceiving so really pay attention to this one.
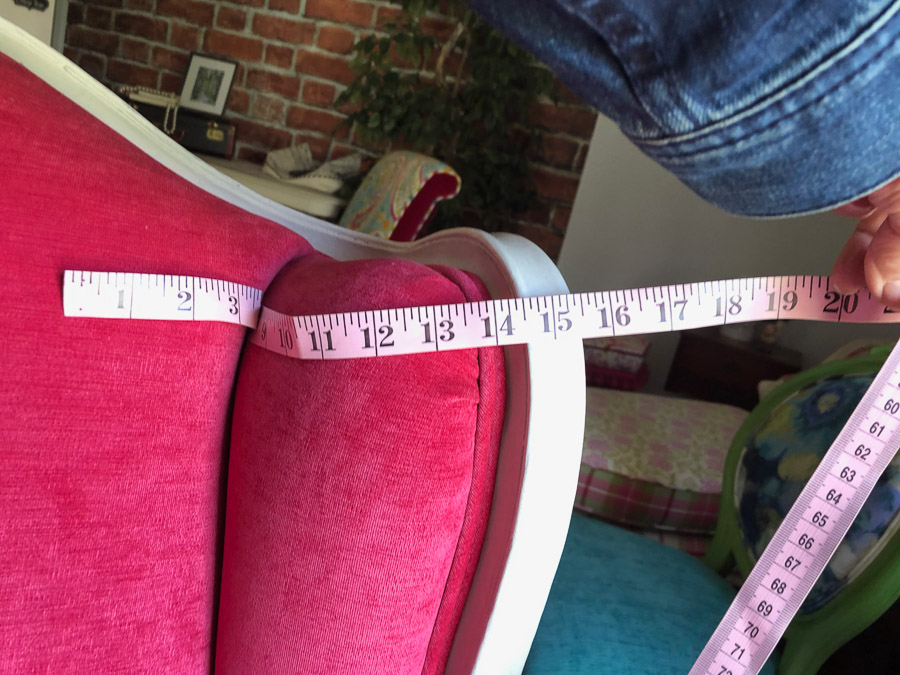
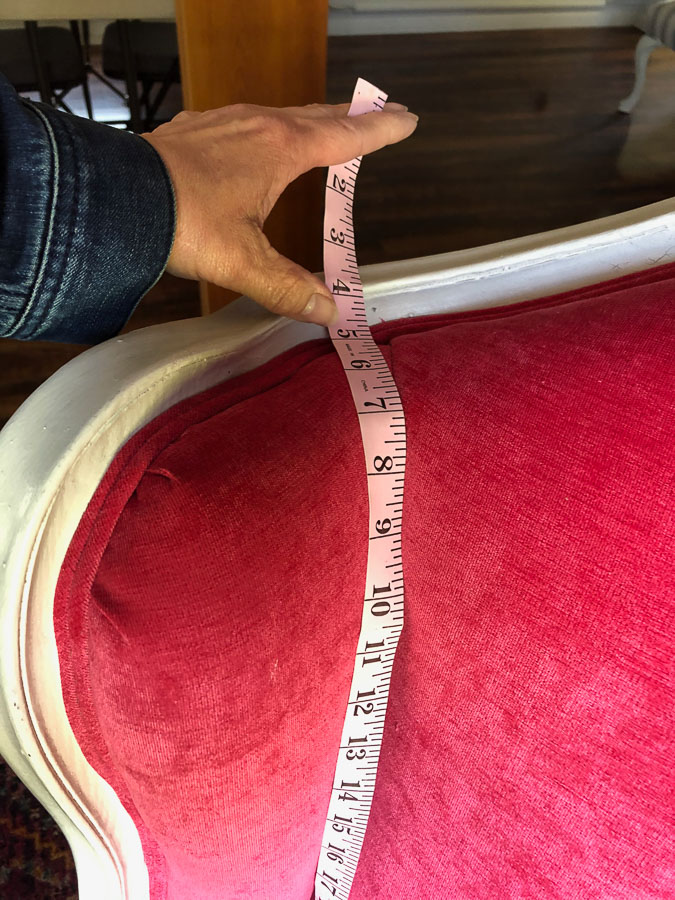
Measuring the heigth and width of the Inside wing
Here you’ll need a few inches on the front and top edge of the wing but more where the fabric goes to the back of the chair. Remember you are attching this to the inside of the upright right posts.
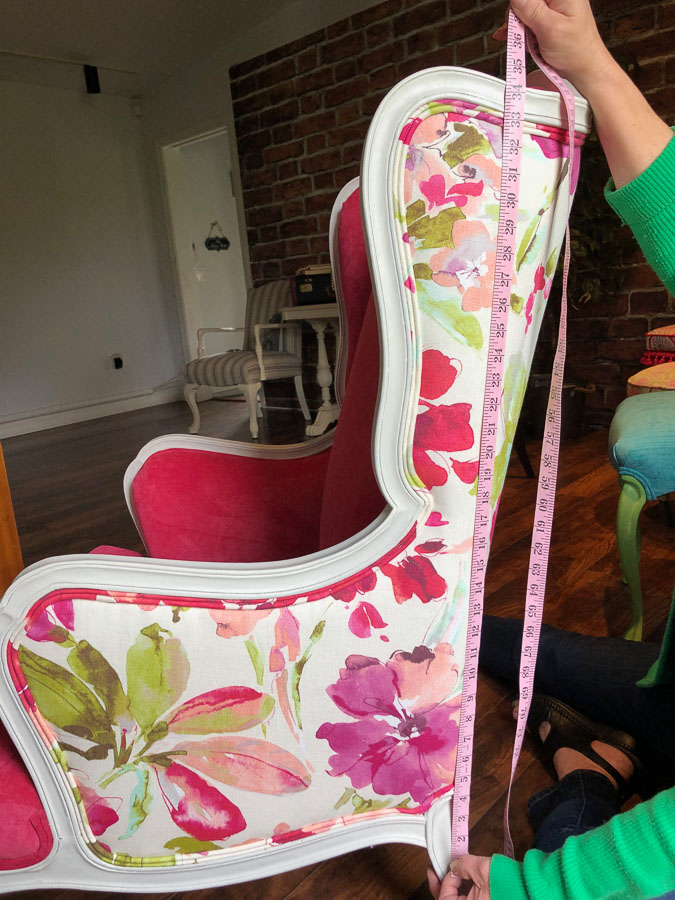
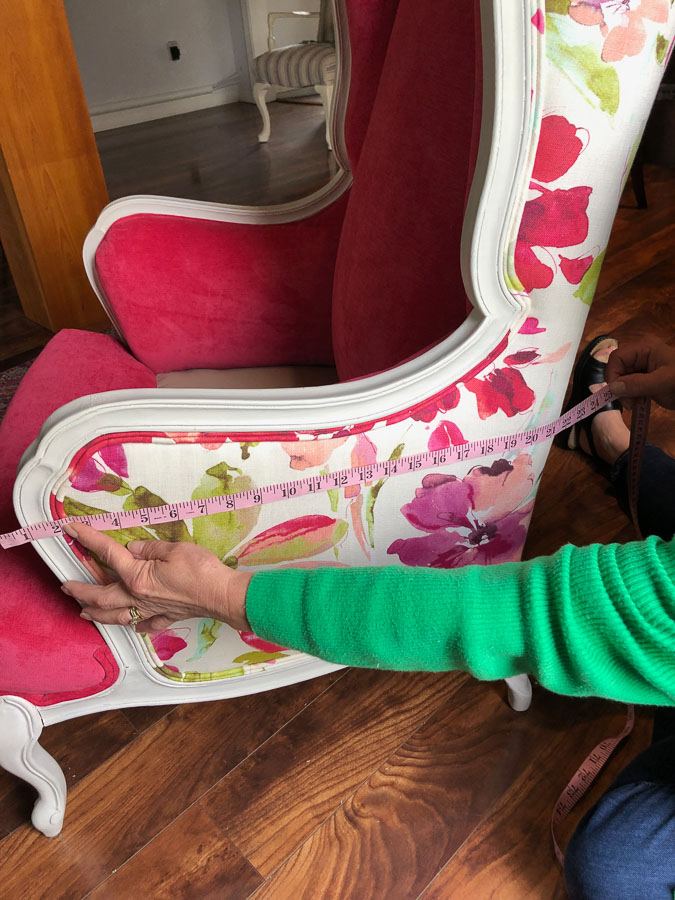
Measuring the heigth and width of the outside arm and wing
When figuring your cuts for the outsides you only need a couple extra inches on each side as well as top and bottom for attaching.
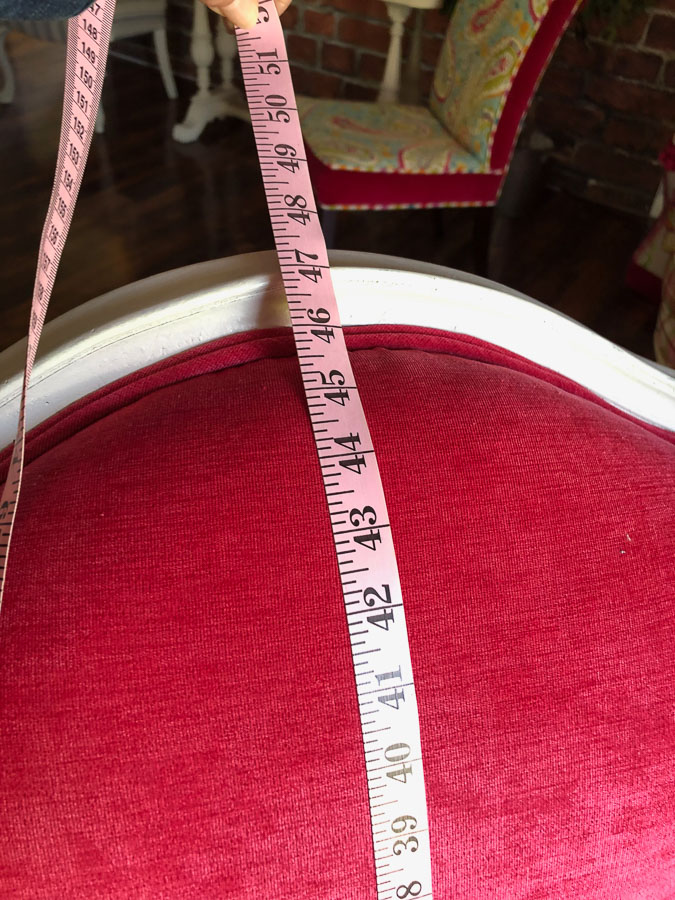
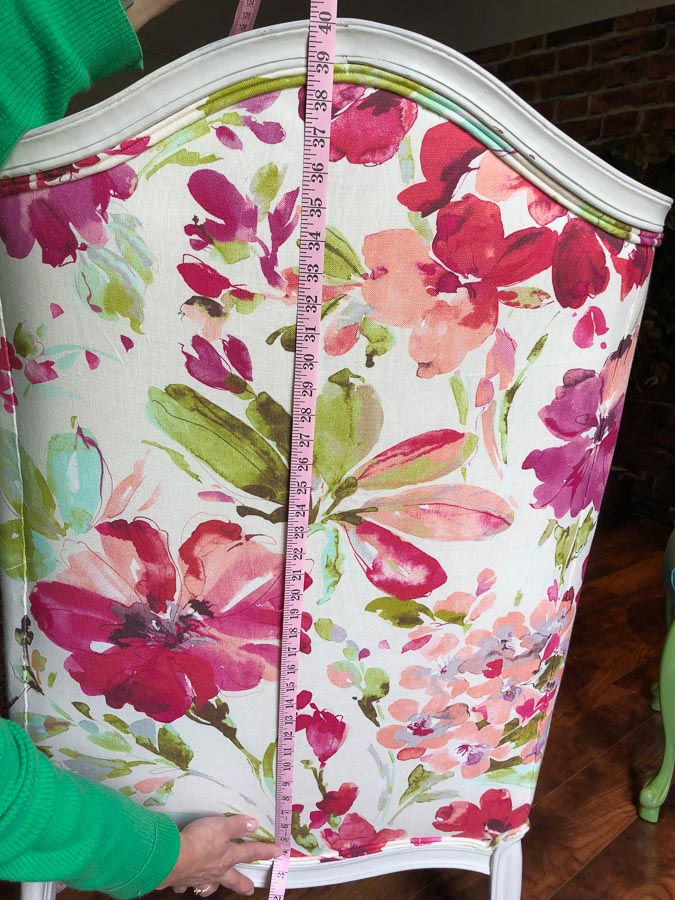
Measuring the heigth and width of the outside back
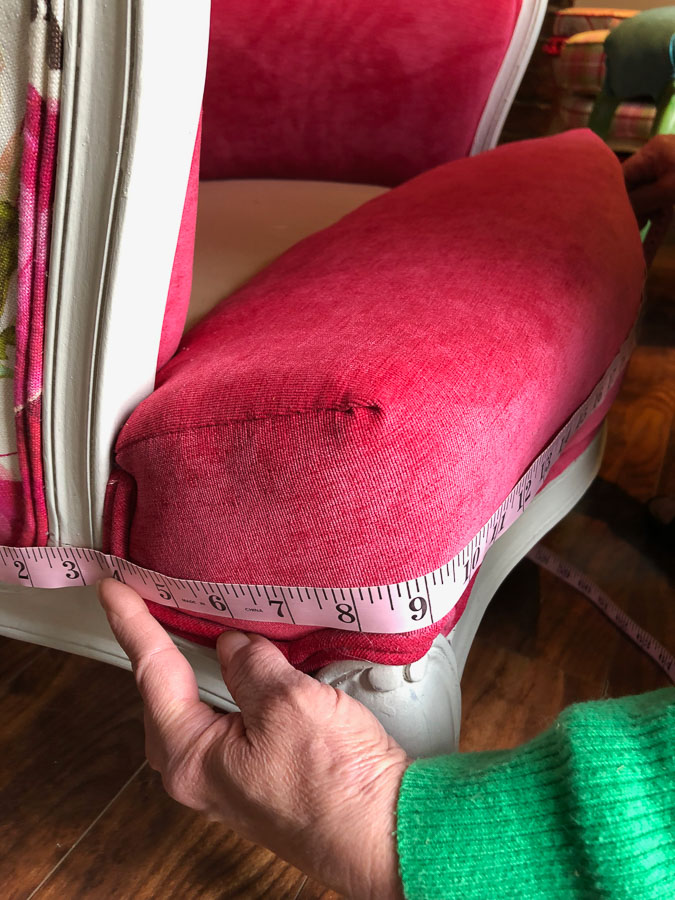
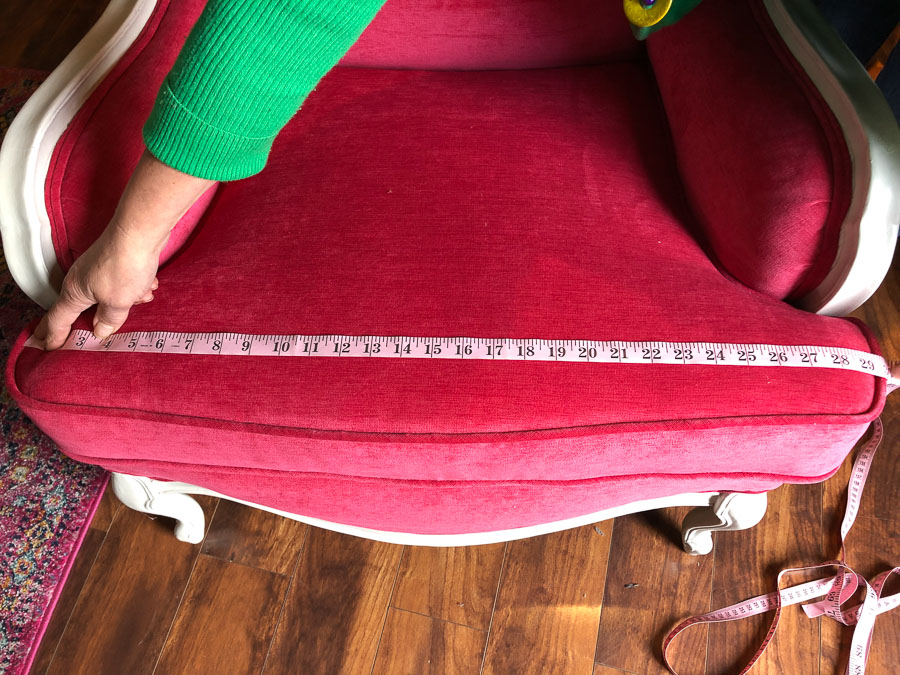
Measuring for your cushion
The cushion will need a seam allowance added to your measures. In my studio, I use a ½ inch seam allowance. If you have a seam allowance you are comfortable with, please feel free to use yours. When measuring the zipper and boxing, I allow enough for a 2” pocket on both ends of the zipper.
If you need to make a template for your new cushion you can find a tutorial for that in our online classes membership “Measuring For A Boxed Cushion”
TIP: Having a pocket where the zipper slide is hidden is not a cosmetic detail, but will actually keep the zipper slide from rubbing on your inside arms and causing a wear hole in the fabric over time. Great tip, right?
Now that you have jotted down the measurements of your project you are ready to total them up and determine just how much fabric is needed. Don’t forget to add 54” of fabric for your bias cut welt cord as well!
Learning to measure for yourself is a skill that will be invaluable to you as you grow in your upholstery training.
You will find shortcuts all over the internet but, measuring your projects is something you should be sure you learn to do so you can avoid running short on that perfect fabric!
I would love to see what projects your working on!






Kim, do you offer advise to correct a obvious error on a cushion? I have a box cushion that the front top edge looks awful!
JoAnn I would suggest joining our Facebook group where you can post a picture so I can be of more help. https://www.facebook.com/groups/kimsdiyupholsteryhangout
See you there,
Kim