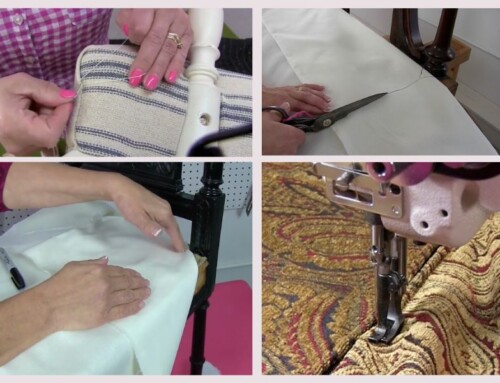
Make your available workspace work!
Blog by Denise Bryan
One of the reasons I joined Kim’s Upholstery was to learn a new skill that would be useful and money-saving for my family. Let’s be honest: I like nice things. If you’re acquainted with the phrase “champagne taste on a beer budget” you speak my language. I have an eye for good quality, vintage things, and I’m constantly remaking my world. This kind of decorative hobby can be very costly if you don’t have some DIY skills, and this is exactly why I joined Kim’s Upholstery’s Membership.
As my skills have grown over the years I’ve been proud to be asked by my adult kids for help with their projects. Recently, before visiting my son in Virginia, I was asked to make a cushion for my two-year-old grandson’s climber. Apparently, when they bought the climber they could have ordered it with a cushion so it could be flipped over and used as a reading nook. They didn’t think they wanted the cushion … until they did. Alas, the cushion is not sold separately.
“Mom,” he said. “Since you’re coming anyway, do you think you can bring a sewing machine and just make a cushion for this climber?” (Just make a cushion. Just. Make. A. Cushion.) Diy cushion here I come!
My kids wanted my grandson to have a reading nook! They want to encourage READING! What self-respecting grandparent would decline to help create a READING nook??
“Well, of course I can! Of course!” I said.


“Make It Work” in any workspace!
So off we trekked from Michigan to Virginia armed with a sewing machine, a nursery fabric remnant, and some tools. I set up my sewing machine on a folding table in their basement, with cardboard on the carpeted floor as a work surface. The climber sat nearby for my reference. My tools were in a shopping bag. I used a yoga ball I found in the basement as a chair. Remember Project Runway? I heard Tim Gunn’s voice in my head, “Make it work!”
What could possibly go wrong?
1) The LIGHTING was poor. It was perfect basement lighting for watching a movie, but NOT so perfect for sewing. My sewing machine is navy blue. The fabric was midnight blue. The thread was black. The basement was shadowy. I literally could not see what I was sewing. I was sewing in the dark. My husband stood over me with his iPhone in flashlight mode aimed at the sewing machine. (Sweet and ridiculous. He’s a good guy.)
2) SEATING – Did I mention I was sitting on a yoga ball? The table was high. The yoga ball was low … and round. Round things roll. Shenanigans ensued. Ever try to stitch a straight line when you can’t see what you’re sewing and your ball
is rolling? I fell off a few times. (“Make it work!”) The yoga ball as a chair complicated the efficiency of this job.
3) There wasn’t quite ENOUGH fabric. I was using a fabric remnant from the crib set I’d made when our grandson was born. It was a Harry Potter print, featuring white owls and hearts that matched his owl-themed bedroom. So stinking cute! Because I wasn’t able to measure the object I was creating the cushion for, and I was working with a remnant … again, in homage to Tim Gunn, “make it work!” If you look carefully at the cushion, the owls are flying the same direction until you get to the right side of the cushion when they all take a strong left turn! I figured the two-year-old doesn’t care which direction the hoo-hoos are flying.
4) I neglected to pack all the MATERIALS AND TOOLS needed. I decided to leave my good fabric scissors at home because I didn’t want to lose them. I did bring an old pair. I could have chewed through fabric more efficiently than those scissors did. While I packed a yardstick, I didn’t bring a measuring tape. The object was curved. I needed a soft cloth tape measure. I needed velcro, a seam ripper, and a grosgrain ribbon. I broke a sewing machine needle and did not have any extras. During the course of this experience I went to the fabric store multiple times.

5) PLAN and PLANNING – The quick project for my grandson that was supposed to take a couple of hours took me 3 afternoons to complete. I started with one plan in mind, but the plan morphed when I realized the size of the climber and my lack of fabric. The time spent ballooned with every ripped seam (sewing in the dark) and every trip to the fabric store. Most of the extra time was caused by my change in plans, lack of appropriate workspace, and lack of the correct materials and tools
I suspect this experience, sewing in the dark is not unique. We all make do with what we have for our first workspace.
STARTING WHERE YOU ARE
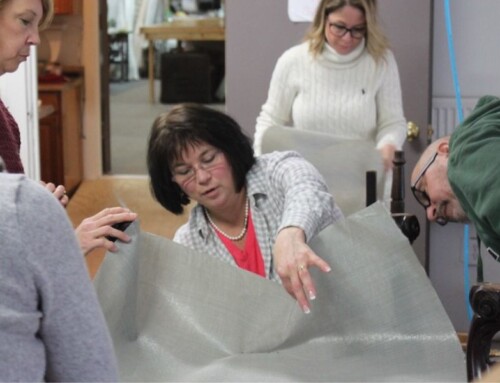
In conversation with Kim, and several others at Kim’s Upholstery, many have similar stories. When I started upholstering I was using a manual hand stapler I found in the garage and my old vintage 1973 Singer home sewing machine. Over the course of my upholstery journey, I got a pneumatic stapler and hijacked my husband’s air compressor. I moved from the living room floor to a guest bedroom, and then to the basement. We work where we can. We begin with what we have.
Kim’s first workspace was her dining room. This is the armoire she used as her sewing cabinet. (“ I could put everything including my domestic sewing machine hidden away in the armoire when I wasn’t working on a project. The dining room table worked for me to sew on and the floor was a not-so-great cutting table. “ said Kim) She still has it today and it transformed into a nice piece in her dining room that is no longer for sewing lol.
Over time, as your interest in upholstery grows your stash of tools will grow. You’ll find different ways to organize your space. You might haunt Pinterest for ideas for fabric storage, cutting surfaces, and tool storage.

THINGS TO HAVE IN YOUR WORKSPACE


LIGHTING is key. If the space you’re working in is dimly lit or has shadows, invest in some additional lighting. There are add-on sewing machine lights you can get here, and here. You can also get additional task lighting for a cutting table. I used a desk lamp on my dining room table for many years. I find this magnifier light really helpful for hand stitching on a piece of furniture. Don’t underestimate how important simply seeing what you’re doing can be to your efficiency and success.
WORKTABLE – we don’t all have room for a 14 ft. worktable, but maybe you can put folding tables side by side in your basement or garage? Perhaps you have a ping-pong table in your basement? Or an old pool table? Maybe your dining room table is your workplace? Having a table you can stand next to while you cut will save your back and knees. Upholstery requires wide fabric rolls and large cut pieces. Think about where that place could be for you.
TOOLS – Having the tools is one thing. Having tools and materials organized so you can efficiently find them is another thing that can make upholstery so much easier. Early in my upholstery experience, my tools were kept in one large canvas bag. This meant I dug through that bag every time I needed something, and once I’d dug tools out I left them scattered all over the floor. Now I have a peg board system for my larger tools. I have a rolling cart from IKEA for the smaller ones. (photo) Consider a small drawer unit, or bins to organize and store smaller items. (photo) Michaels has the set I use. You can often find these storage options used on FB Marketplace, garage sales, or thrift shops. I have labeled each drawer with what it contains.
SEATING – We all make do, but one of the best investments you can make when you’re ready, is a chair that’s just right for the task. Dining chairs are perfect for dining, but not always for sewing. The yoga ball certainly didn’t cut it for me. In my current workroom, I have a low-rolling stool for upholstering and an adjustable-height chair that I use for sewing.

The cube ottoman below is what Kim uses for sitting at the sewing machine. You can download her Free PDF for the cut materials list and fabric yardage supplies to make your own.


All the items at the links above make great gifts for your next holiday or birthday.
Few of us have an optimal workspace, but there are things you can do to make the space you have now work better. Don’t let your space or your tools become barriers to starting your upholstery journey. With some intentional planning, you can adapt the space you have to make it work. Perhaps leave the yoga balls for yoga, though.
Here’s to NOT sewing in the dark! Thanks for reading, Denise Bryan
I hope you enjoy reading our blogs. I don’t know about you but Denise had me laughing with the image of her rolling off her yoga ball!


Leave A Comment