Have you ever wanted to upholster your own round ottoman but felt intimidated by the process? You are not alone! Upholstering can seem like a daunting task for the first-time DIYer, but with the right instructions and a little bit of determination, it is easier than you think. This DIY Round Ottoman guide will take you step-by-step through the entire process, from selecting the materials to completing the final touches. This guide will look at two round ottomans with two completely different styles, a tufted round ottoman in leather and a round ottoman that has a smooth top and no tufting.
The steps below will help you create a unique and stylish ottoman that is perfectly suited to your home décor. So grab your tools and get ready to learn how to upholster a round ottoman like a pro!
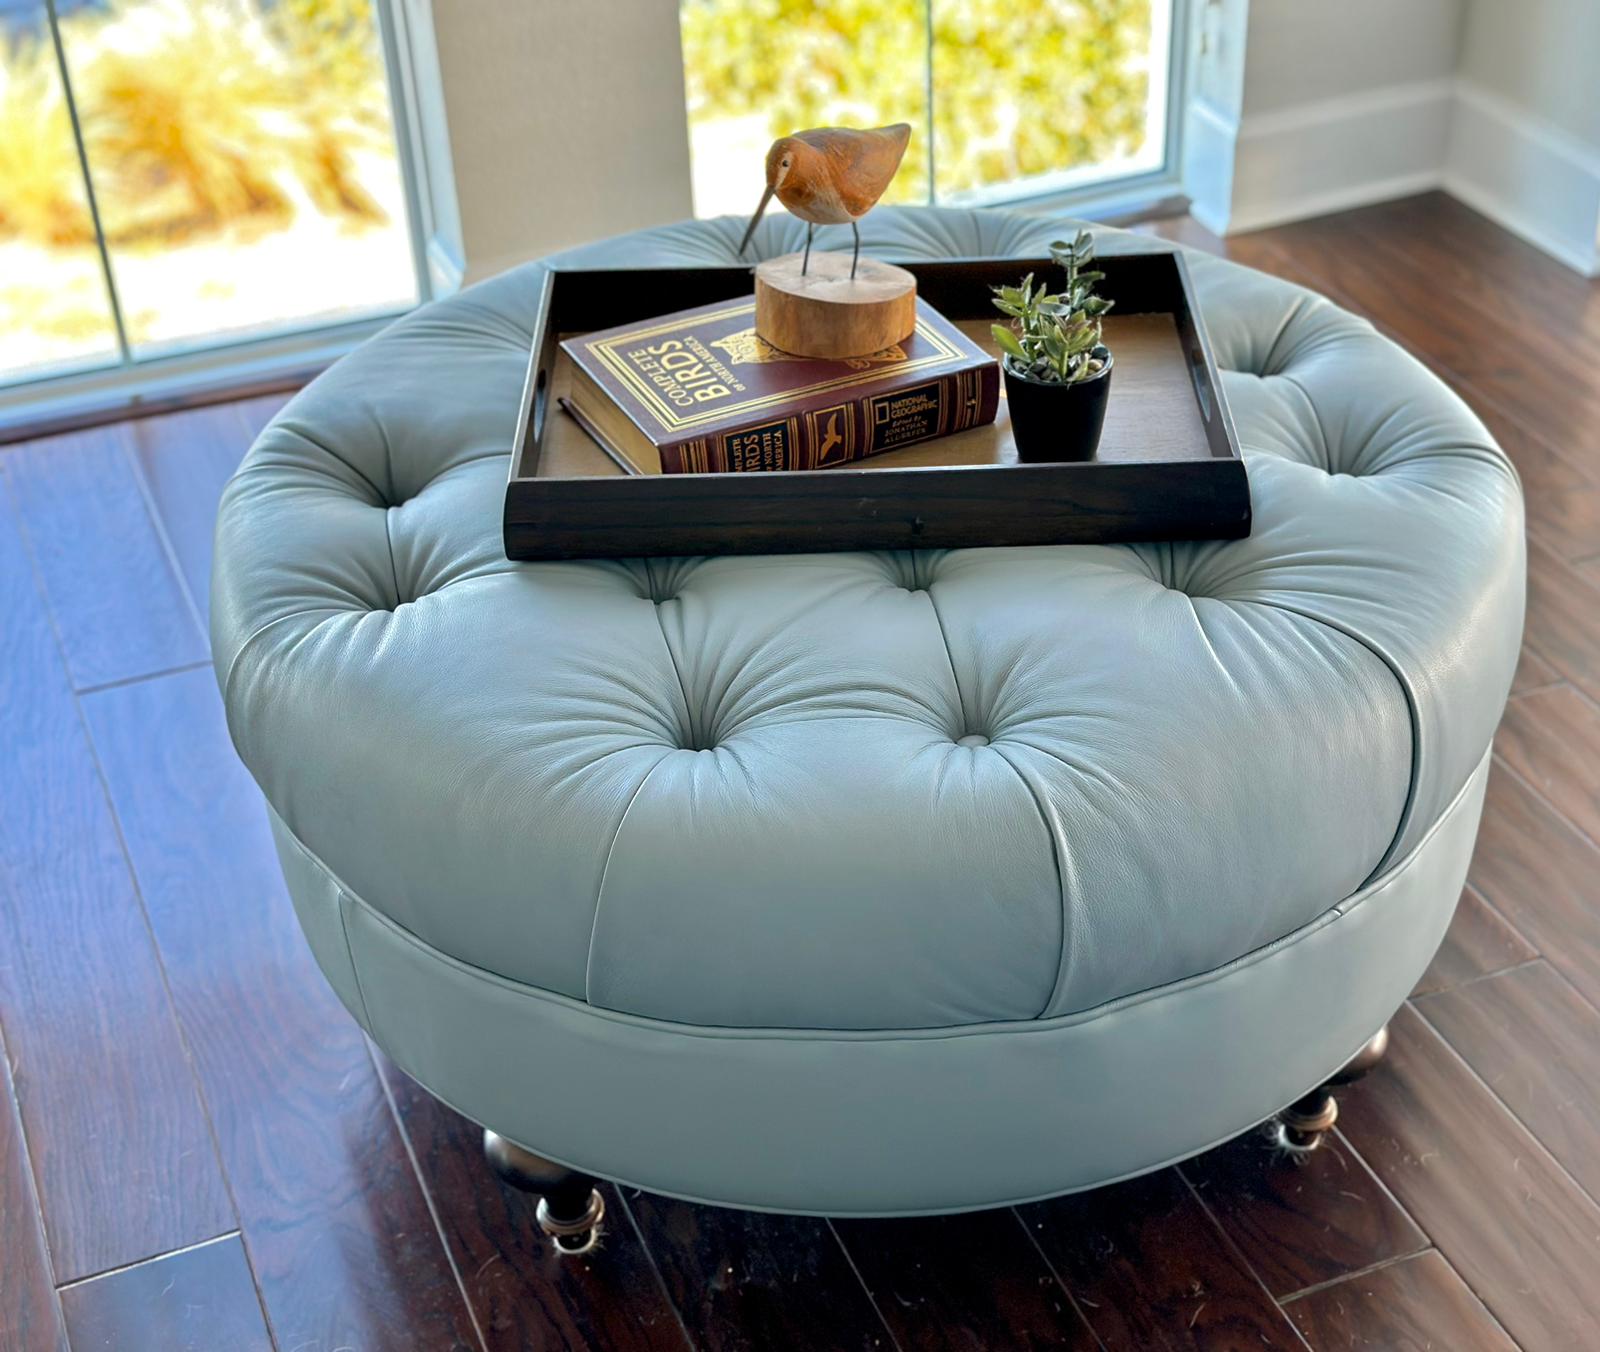
Tufted Round Ottoman
The first step in upholstering a round ottoman is to select and gather the right materials. This is important as the materials you choose will determine the appearance and durability of your finished project. You will need some basic supplies and materials to complete this project. I suggest gathering everything you need prior to starting the project, which will make the process go more smoothly!
Supplies Used for this Project:
- 34” Diameter Frame from Chervan.com
- Frame # 6374 Frame Filler 2 ⅛” to add the height
- Leg Style #6449
- Synthetic Sagless ⅜”, 9/16”
- Staples 6/32”
- Fiber Flex Welt Cord
- 2 leather hides approximately 100 Sq.Ft. from Roden Leather
- 5” Ultra Medium high-density foam
- 1 oz Dacron
- 12” Button Needle
- #30 Crimp Buttons
- Button Twine
- Matching Thread
- ½” Cardboard Tack Strip
- Cambric Dust Cover
Tools Used for this Project:
- Sagless Stretcher
- Pneumatic Staple gun
- Osborne 120 ½ staple puller
- Wire Cutters
- Scissors
- Button Press
- Button die and cutter size 30
- Cordless Drill and 1” hole cutter
Choosing the Right Upholstery Materials
When selecting fabric, it is important to choose a durable material that can withstand wear and tear. You should also consider the pattern and color of the fabric, as these will have a major impact on the overall look of the ottoman. For a more traditional look, consider a solid color, while a bold pattern can add a fun and unique touch to any room. We used a solid color leather from Roden Leather in a light color that was both stylish and provided long lasting durability
When selecting foam, make sure to purchase one that is dense enough to provide a comfortable seating surface. The foam should also be thick enough to provide adequate cushioning, but not so thick that it makes the ottoman too bulky.
Preparing the Ottoman for Upholstering
Once you have selected the materials, you can start to prepare the ottoman for upholstering by going through the teardown process if this is an existing piece of furniture. You will need to remove the old fabric from the ottoman and discard it. Then, you should remove any staples or other fasteners that are holding the old fabric in place. You should also inspect the ottoman for any signs of wear and tear or other damage, and make any necessary repairs before proceeding.
In our case, we started with a new frame from Chervan, not an existing piece of furniture!
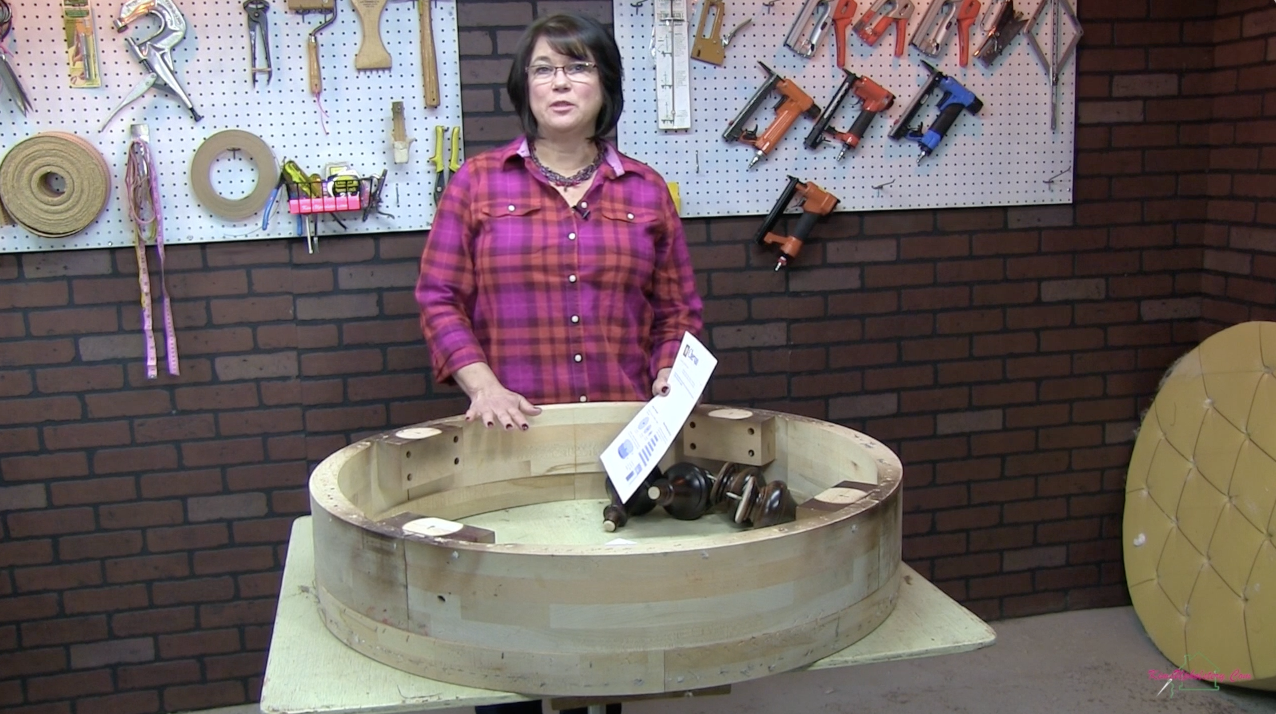
Once you have your frame ready to go, it is time to add support for the foam to rest on. We used Synthetic Sagless for support, but you could also use Jute webbing! After securing the support system, you must decide how thick you want your foam, based on the finished height of your ottoman. Don’t forget to take the leg height into account when making your decision.
For our ottoman, we used 5” Ultra Medium high density foam (or 2635) and a layer of bonded 1” Dacron. Your finished ottoman height might be different and will depend on your use for the ottoman. For instance, a coffee table ottoman will need to be as tall as your furniture seat, whereas a footrest can be an inch or so lower than your seating height.
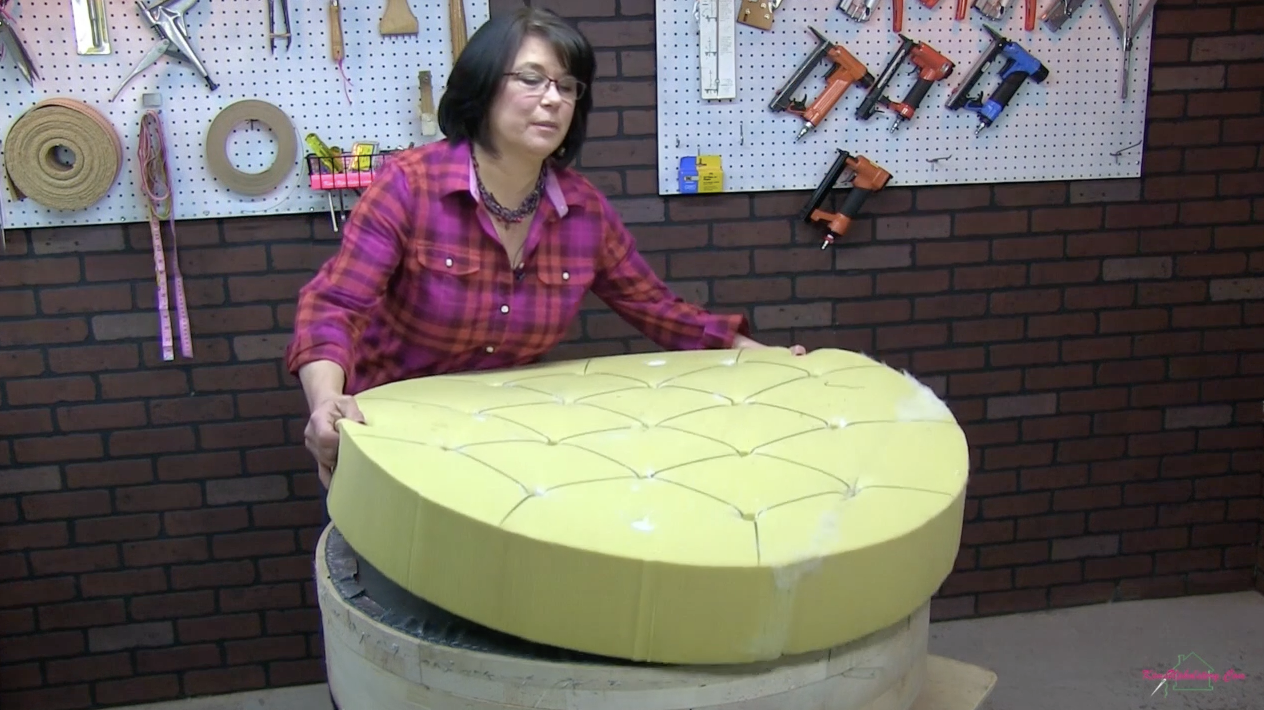
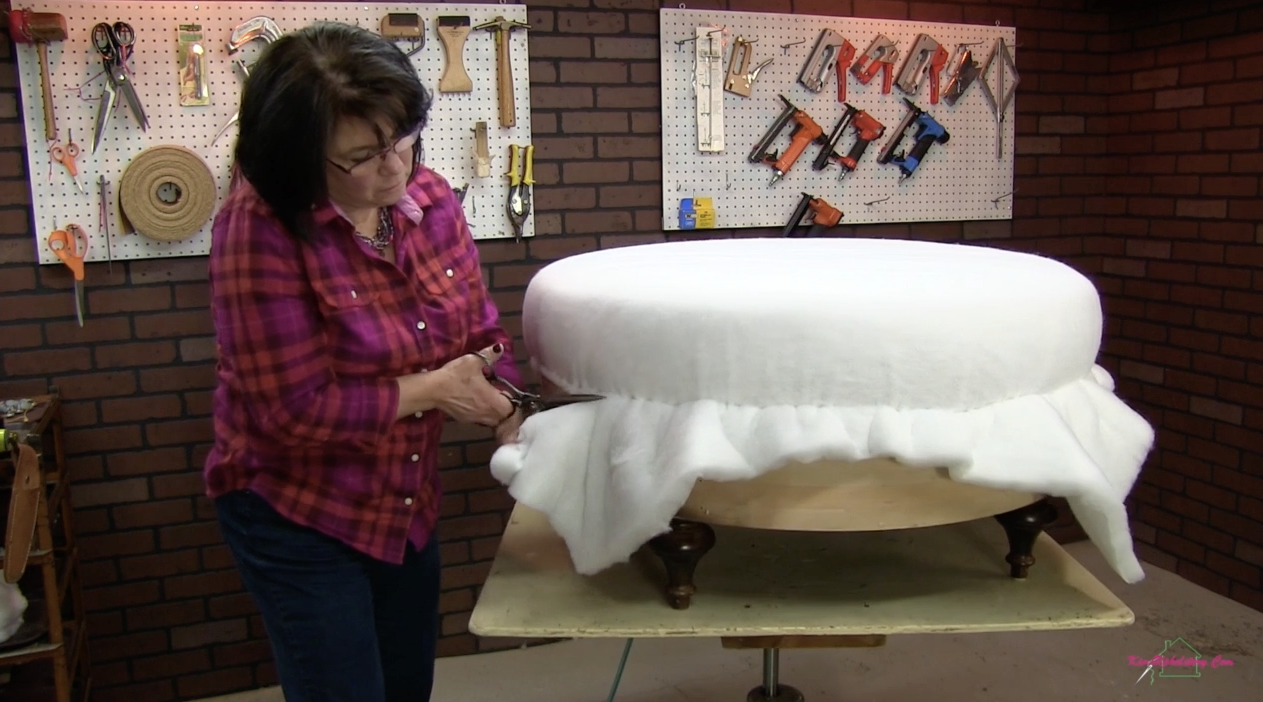
Determine Tufting Pattern
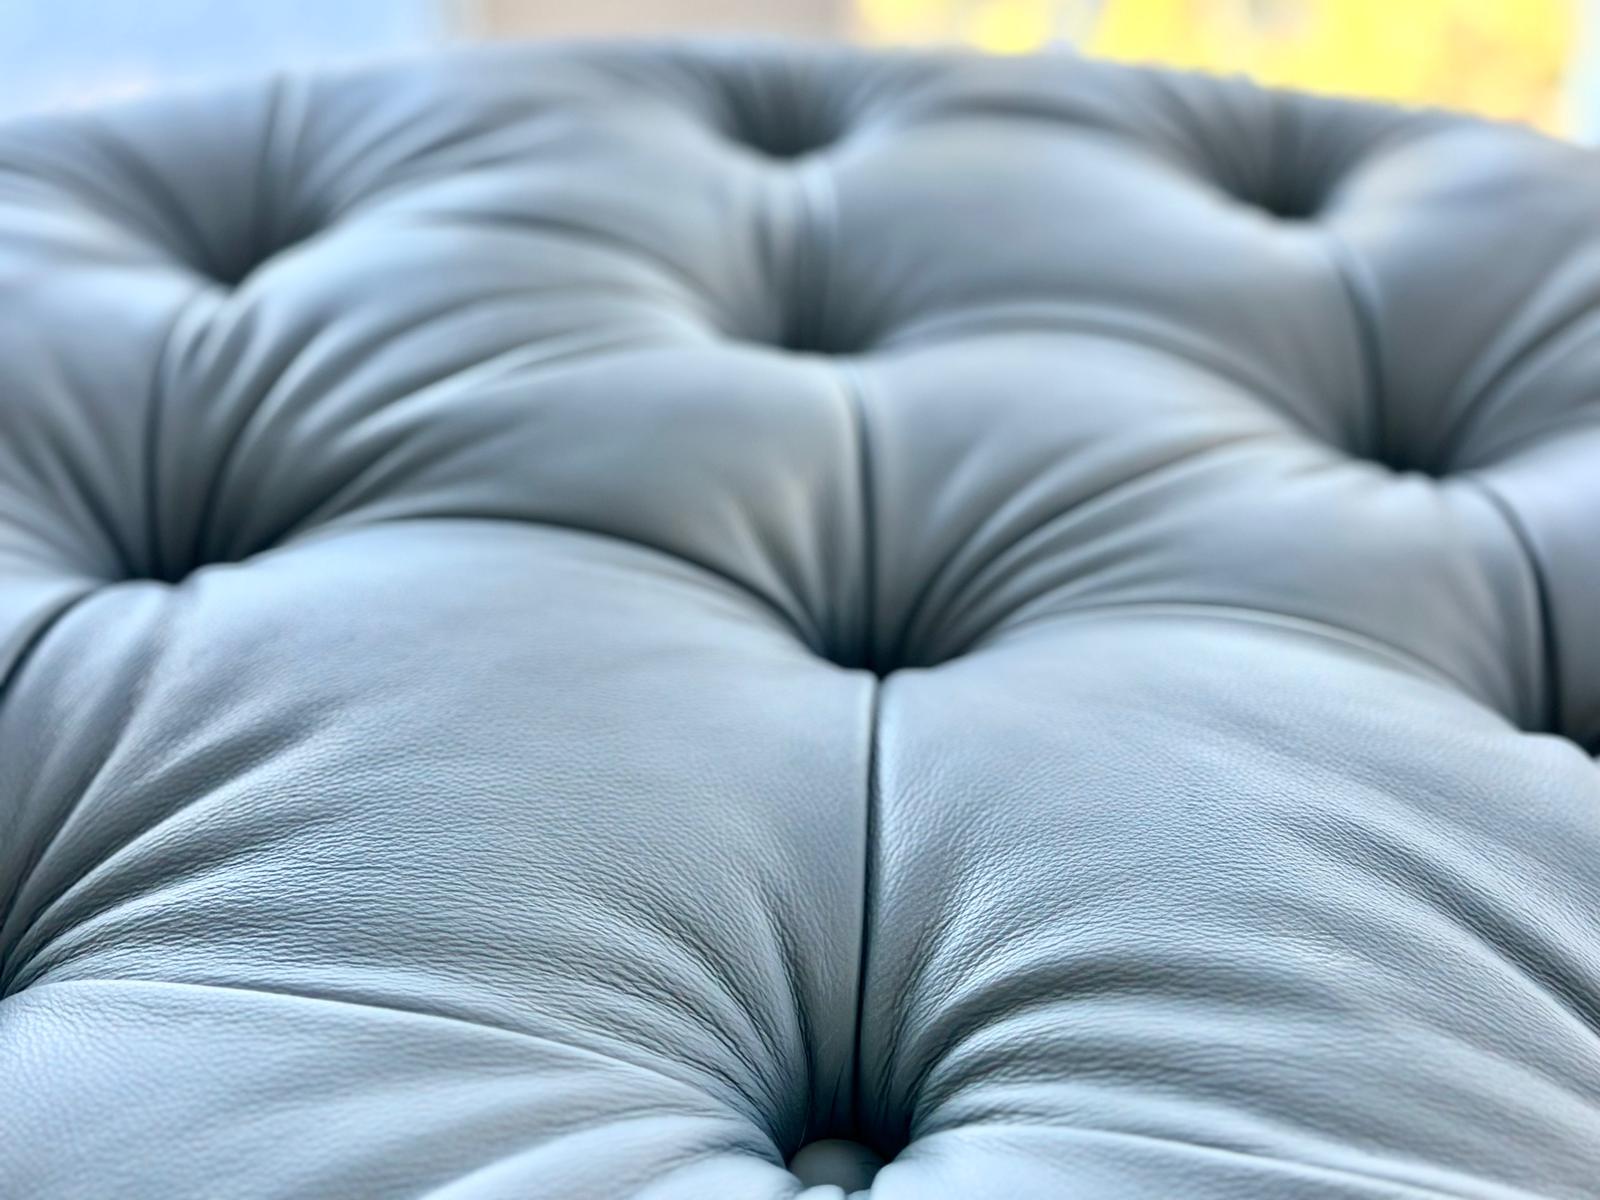
Once you determine your height and the foam and fabric are cut, it is time to decide on a tufting pattern. Tufting is a decorative technique in which buttons are used to secure the fabric to the ottoman in an attractive pattern. There are many different tufting patterns to choose from, so you can select one that suits your style and complements your fabric.
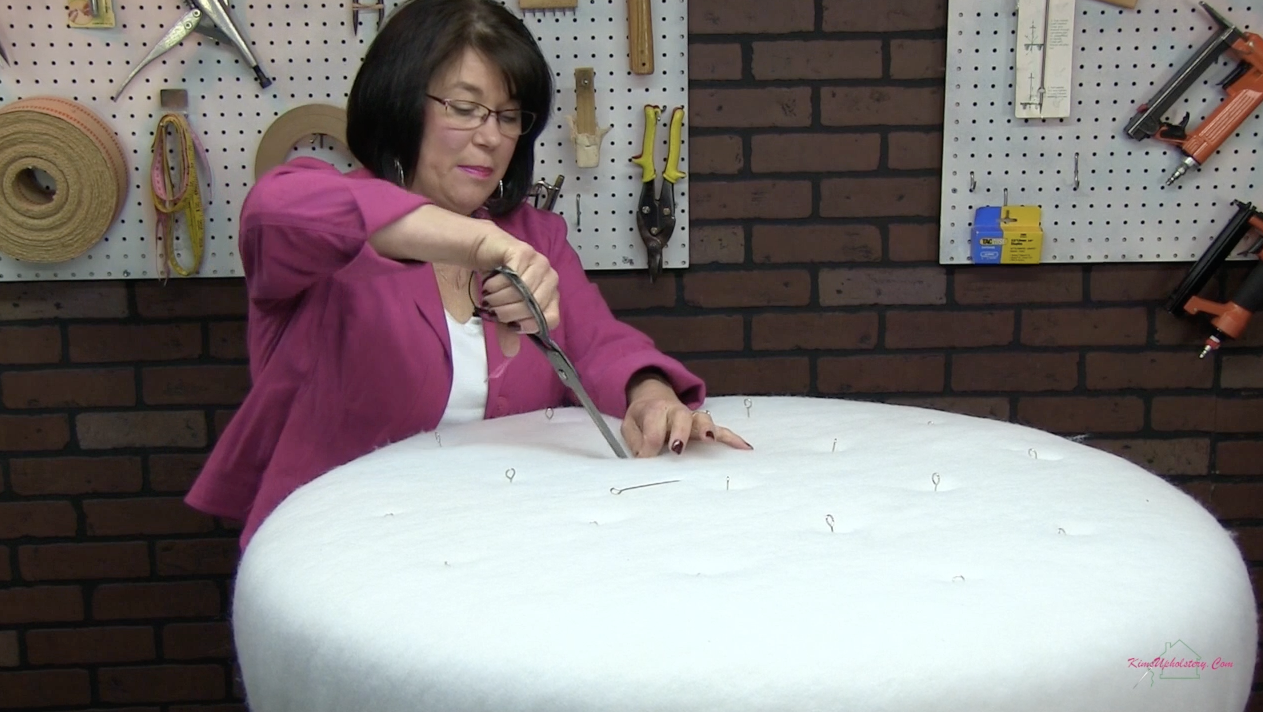
Transfer your tufting pattern to your foam and mark on the foam where to cut your holes for the buttons. For reference, we cut 1” holes and used a #30 button.
Start the Tufting Process
The next step is to measure and then cut and mark your fabric in the pattern you have chosen. Then, start adding the buttons to the fabric. Once the buttons are in place, you can start tufting. Start by inserting the upholstery needle into the fabric, then pull it through the foam and secure it with a knot. Repeat this process until the entire tufting pattern is complete.
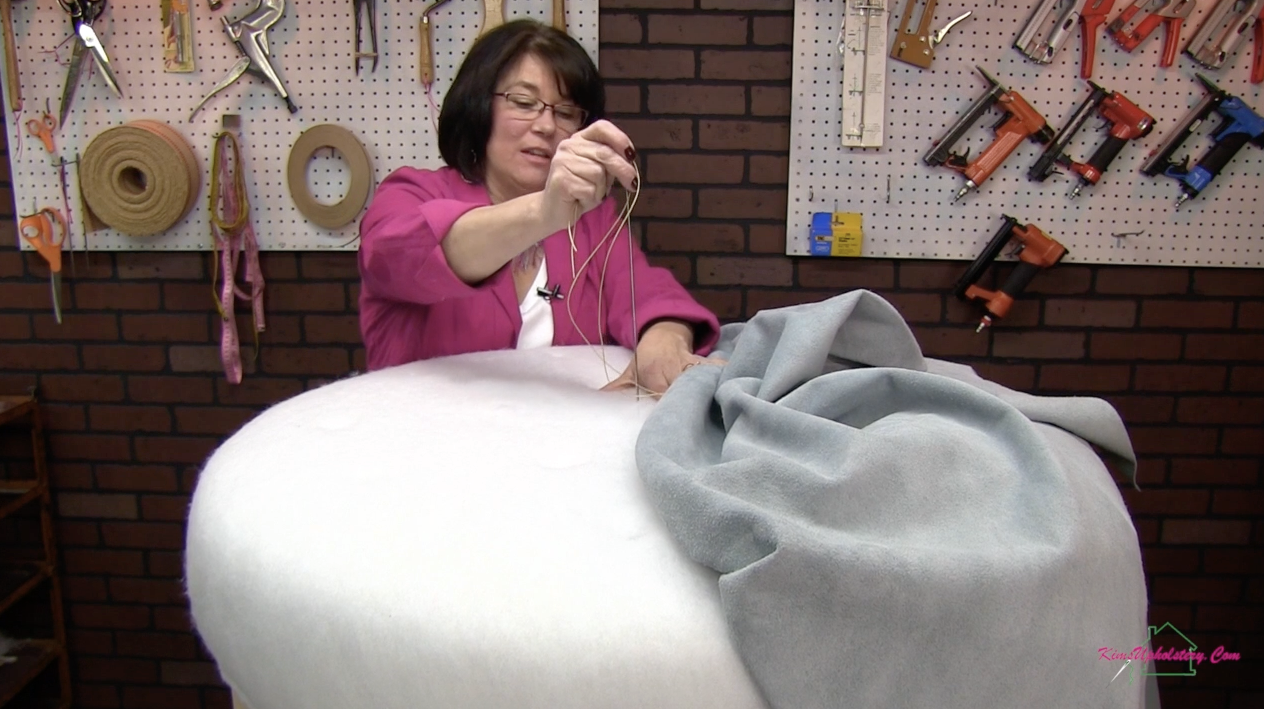
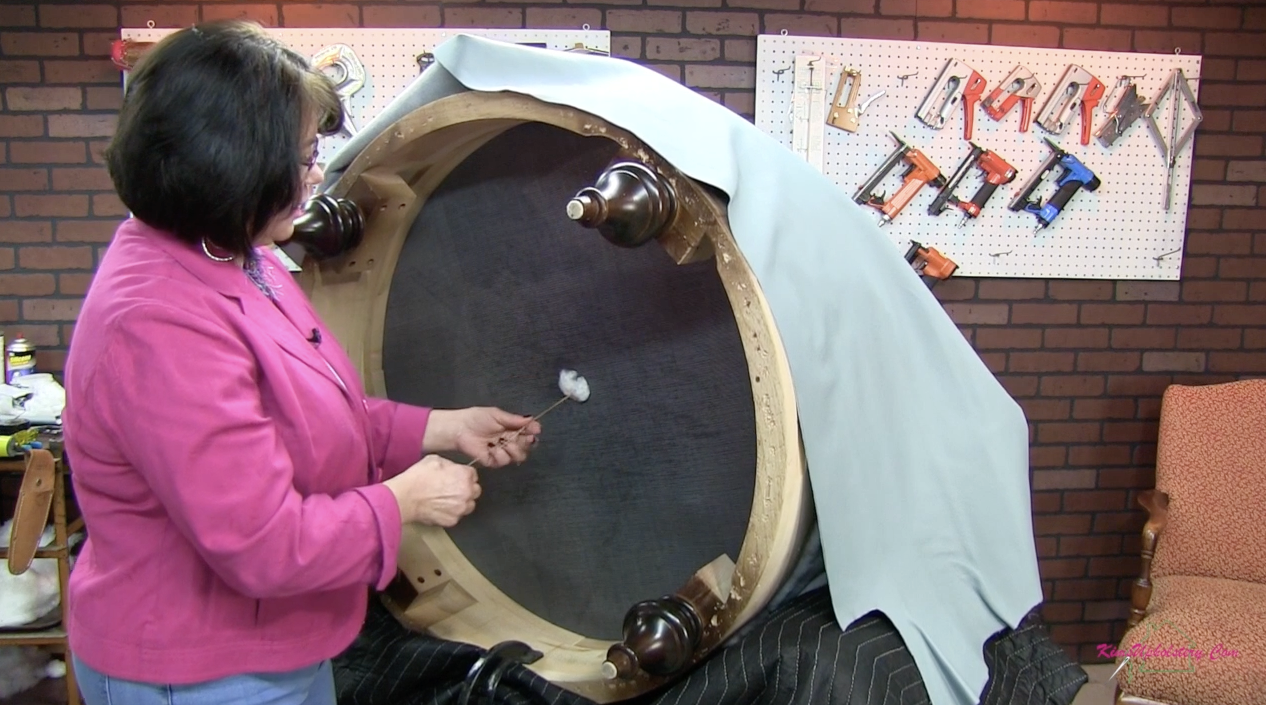
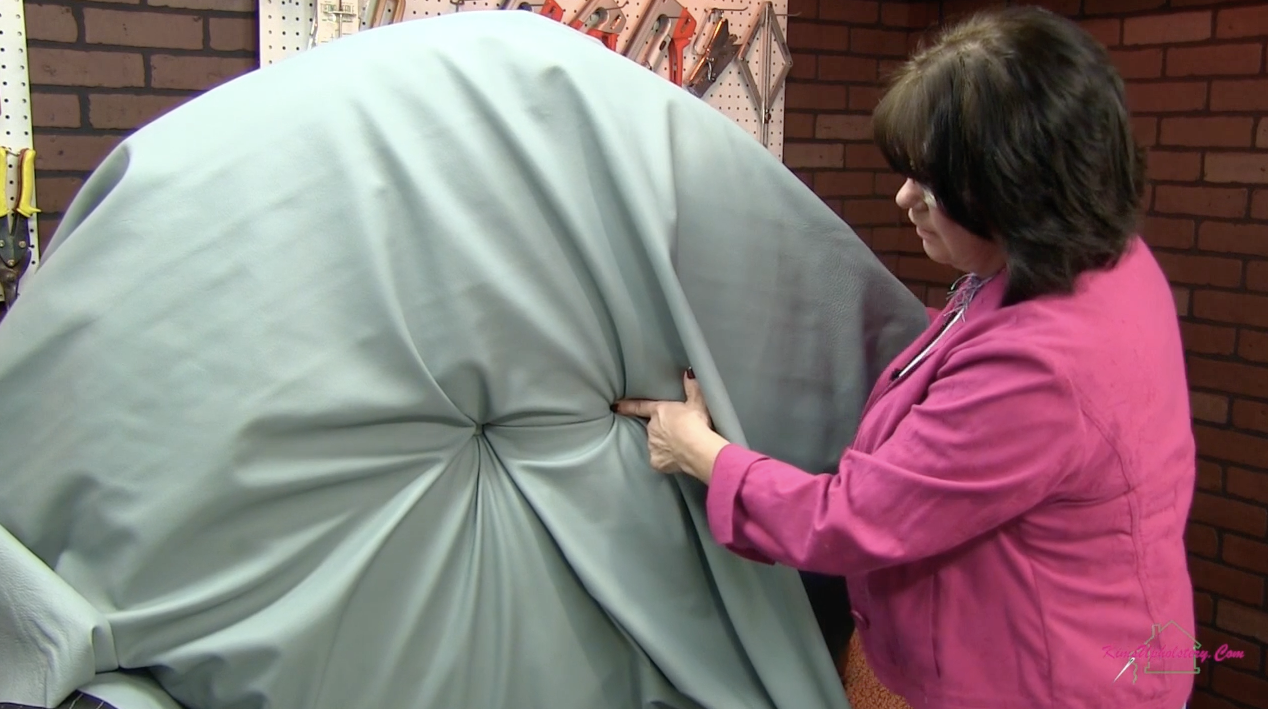
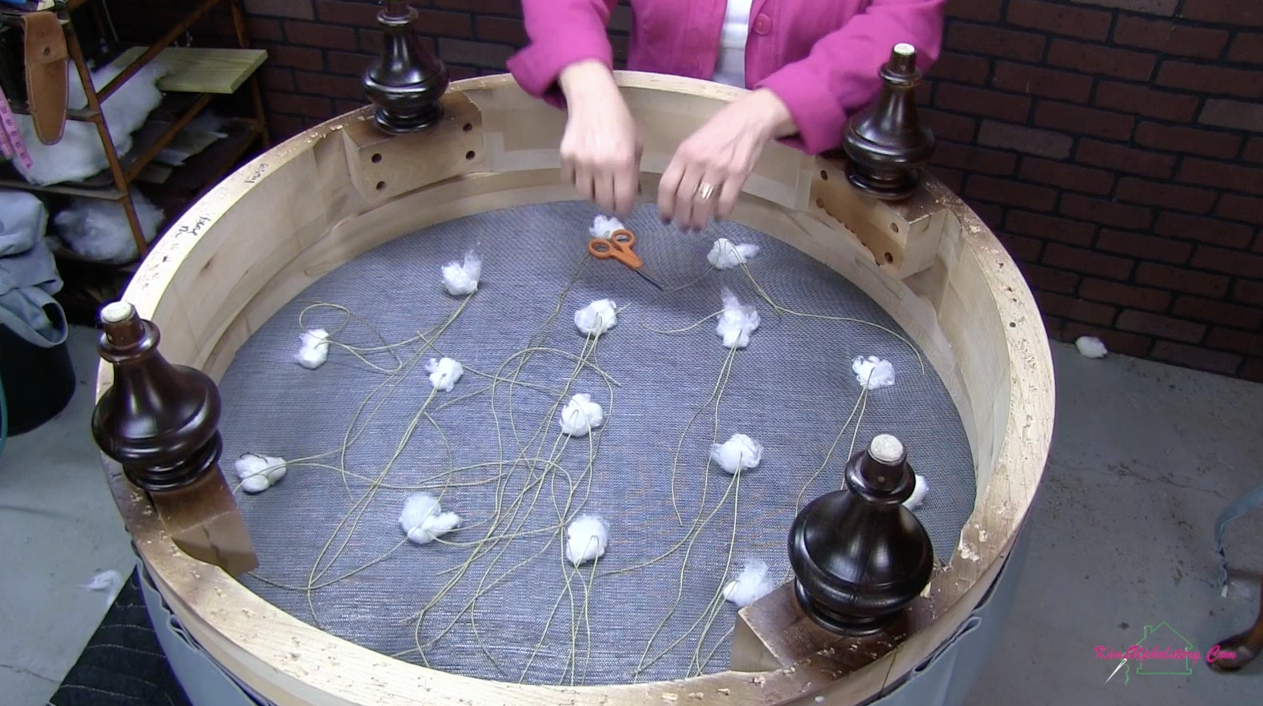
Now that tufting is complete, finish attaching the leather!
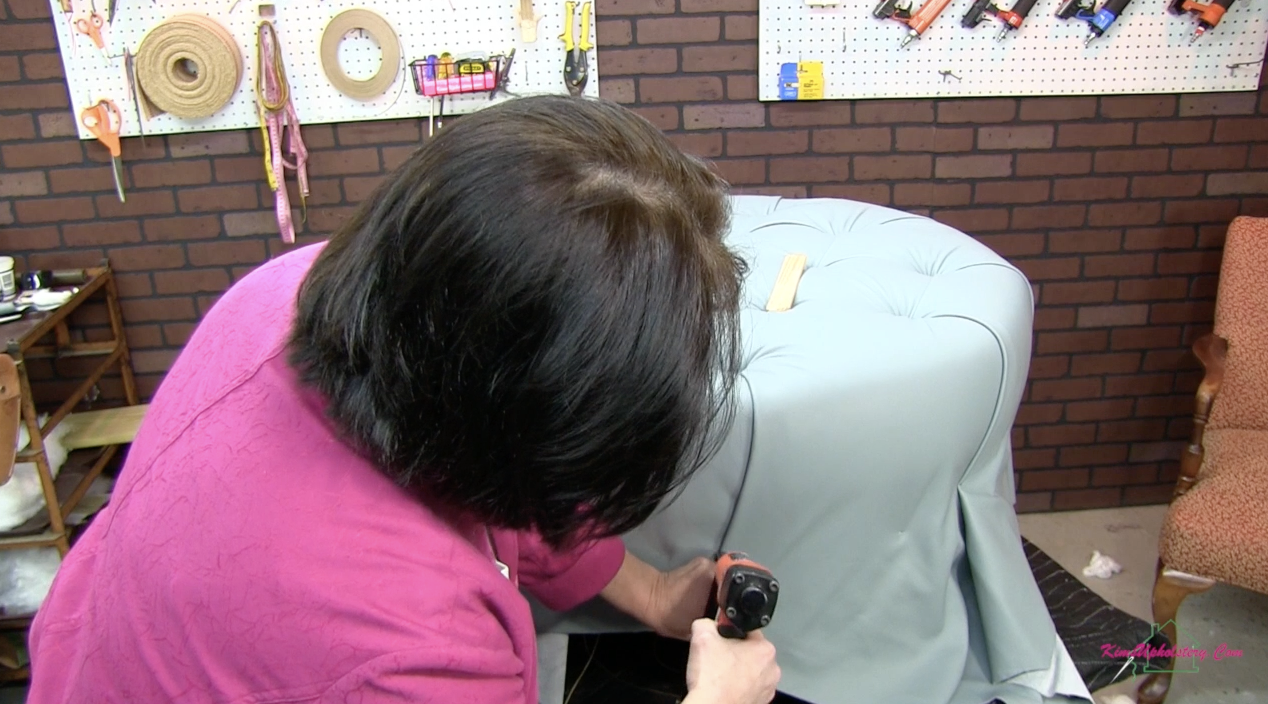
Final Touches
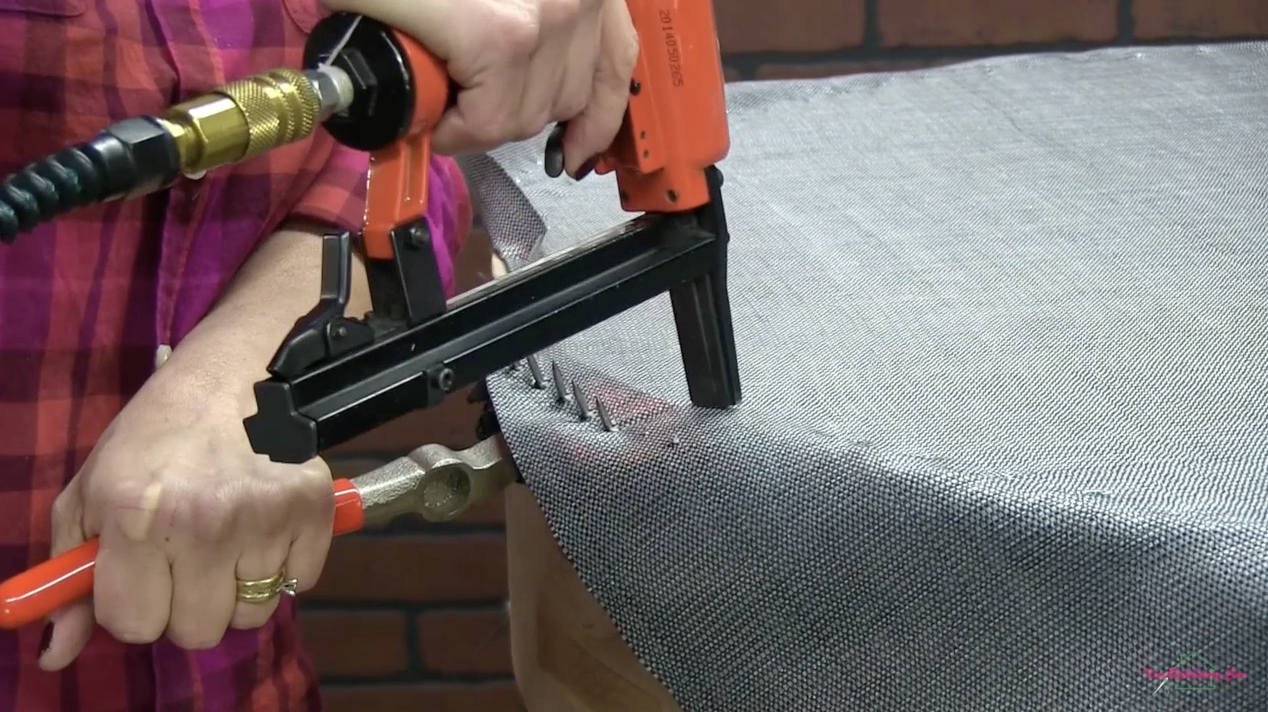
Once tufting is finished and the leather attached, it’s time to add your cording and boxing strips! This decorative detail really makes the ottoman come to life! You can also see the cool tool used in the pictures below to help attach the cording!
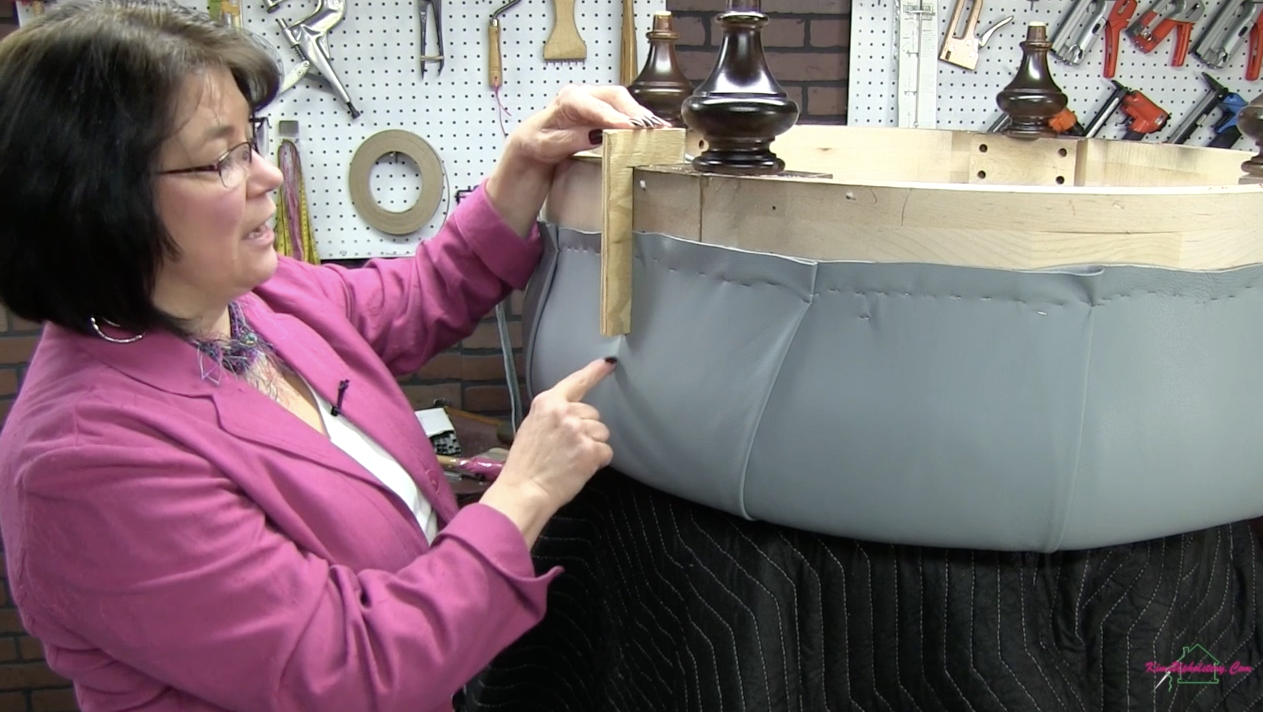
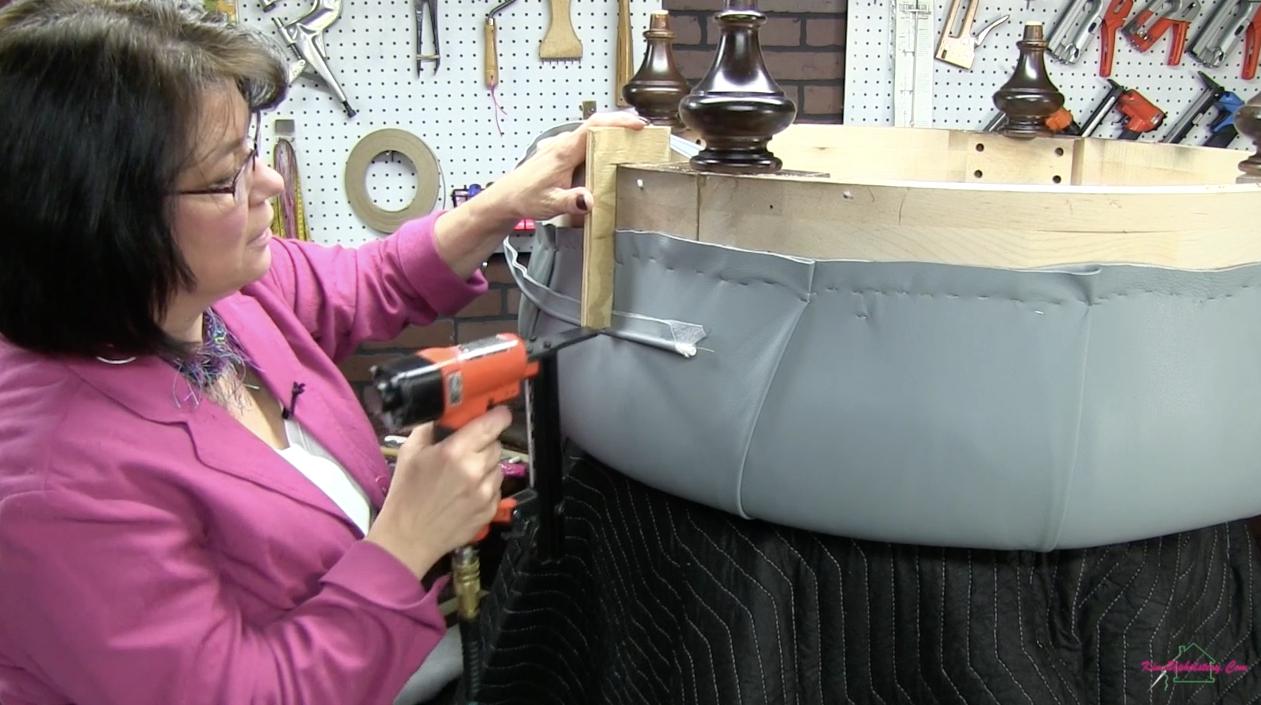
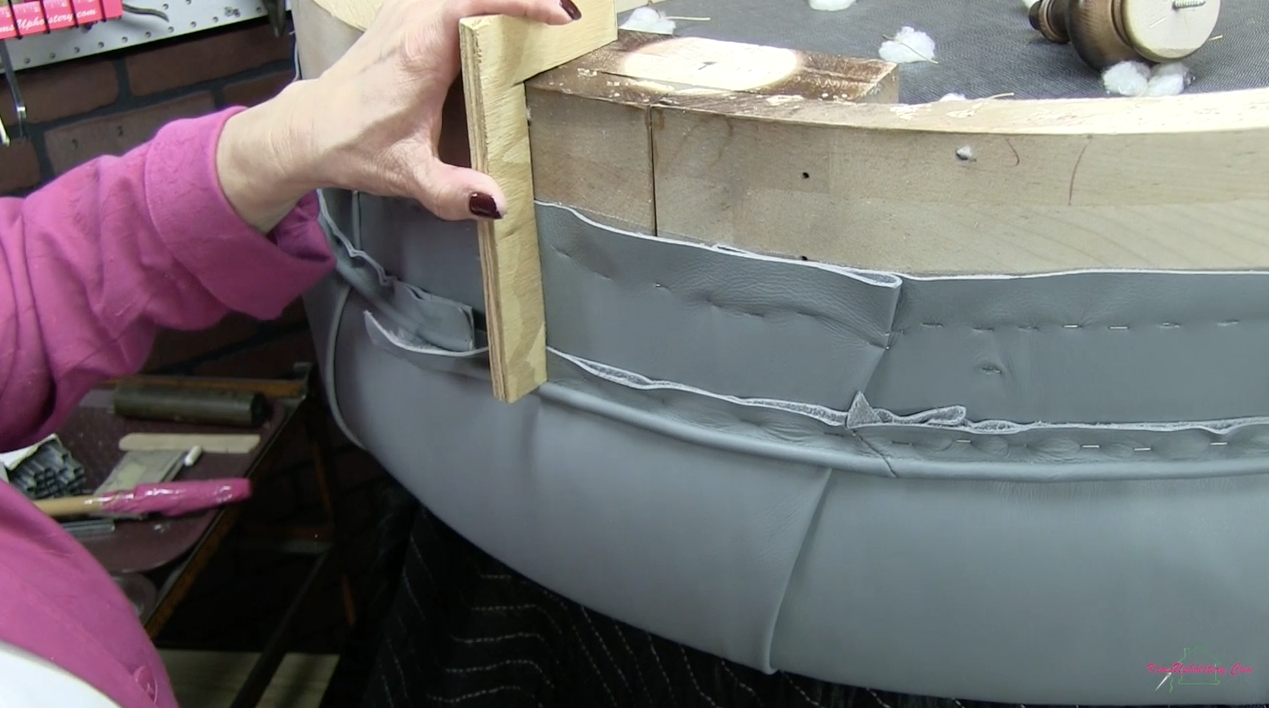
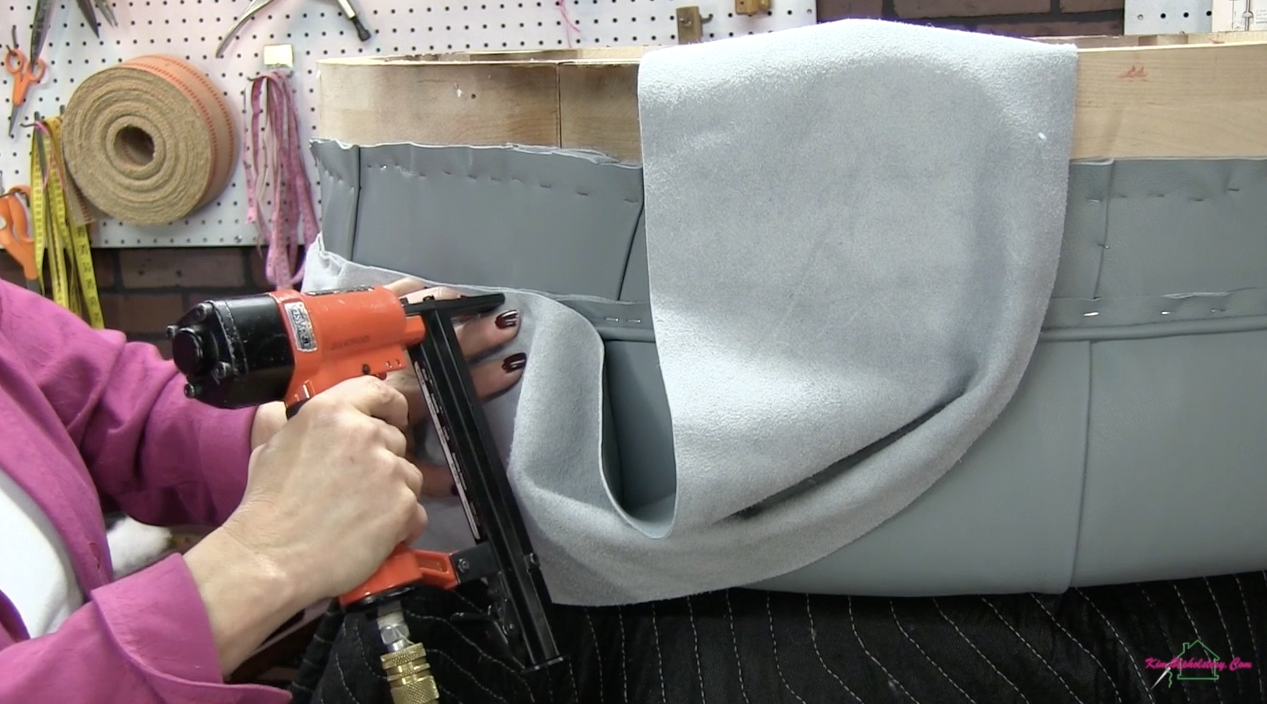
You’re almost there now! Next, add the final layer of Dacron and attach your boxing to the underside of your frame.
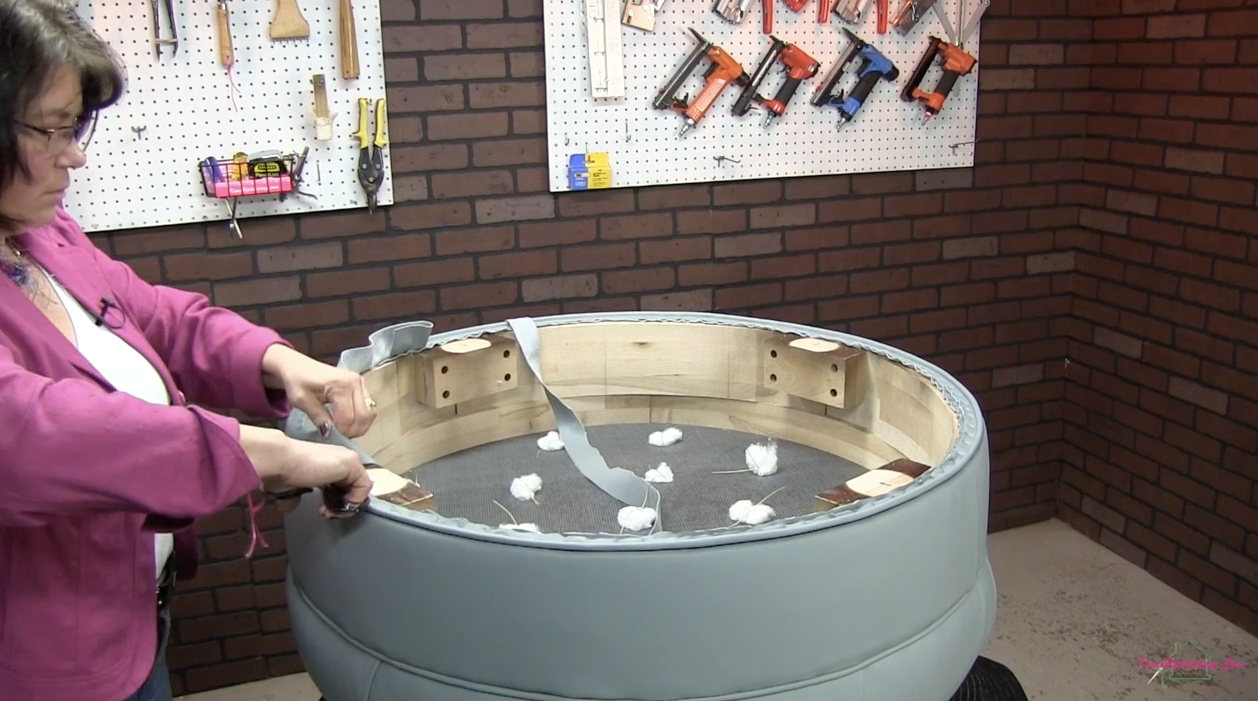
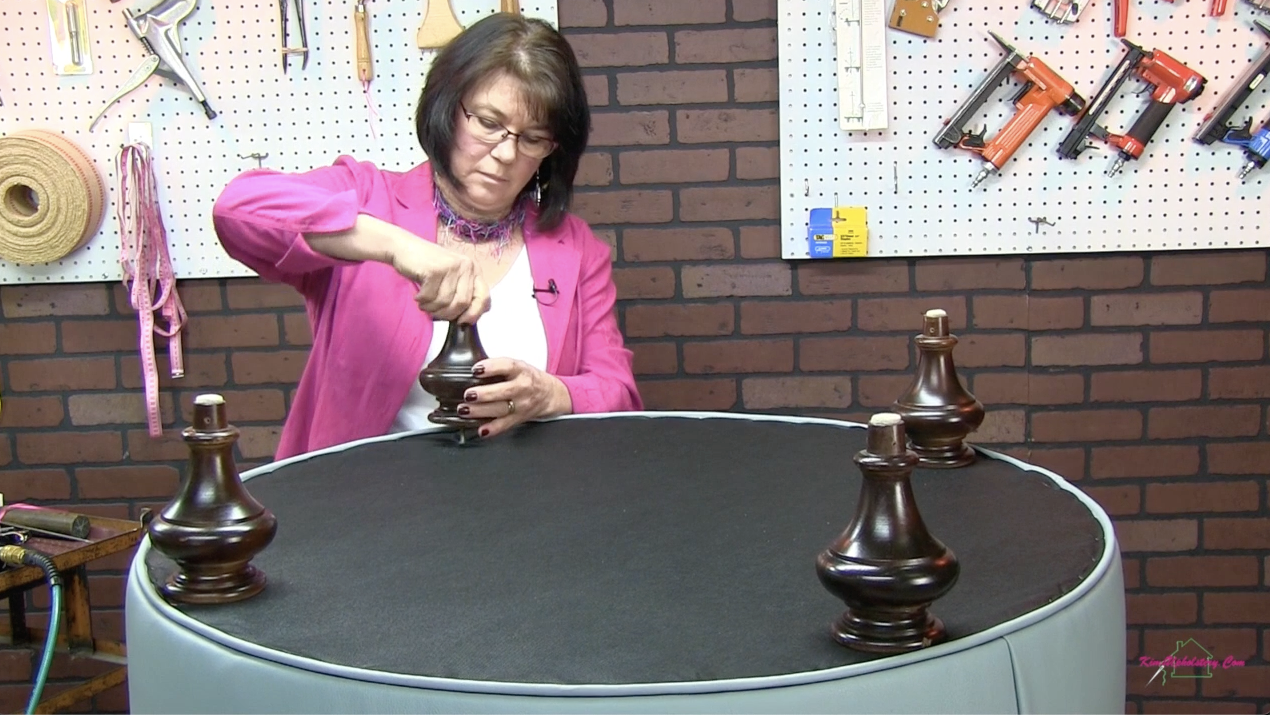
Lastly, add your dust cover to the bottom of the ottoman, stapling it to the frame. Then, add your legs if you are starting with a new frame. Now, sit back, admire your work, and put your feet up.
Round Footstool
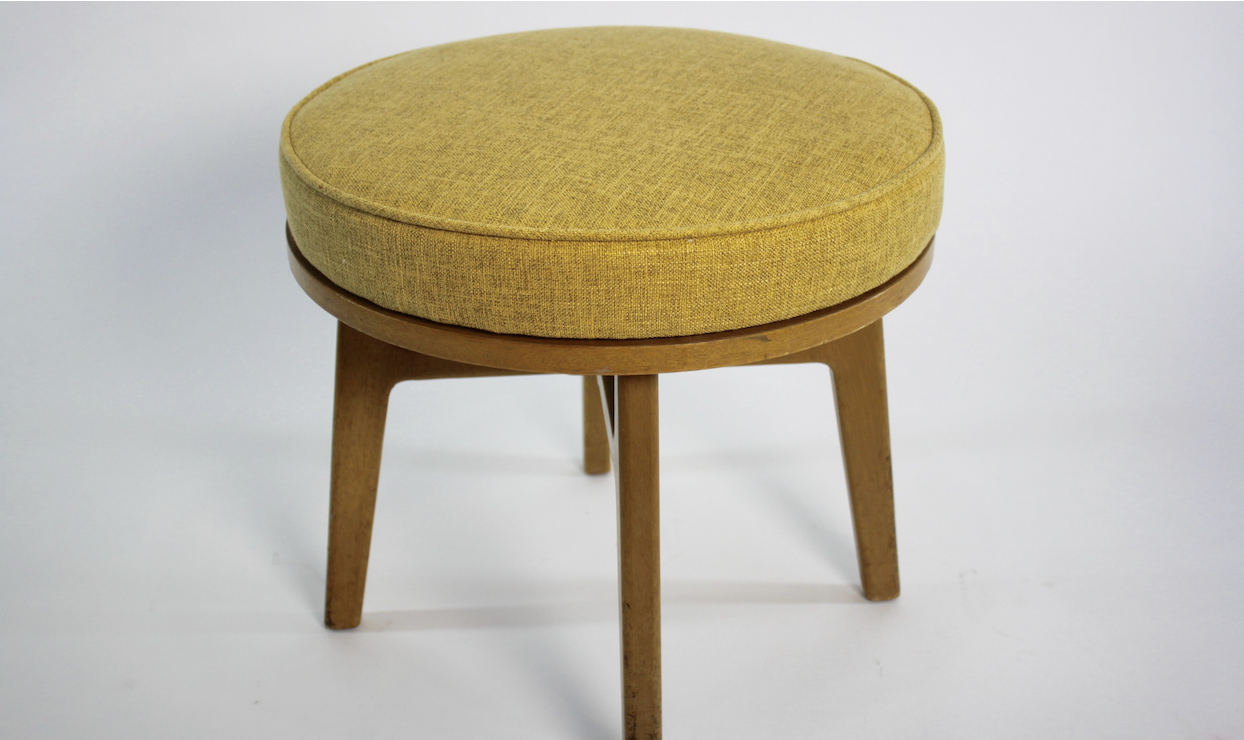
Now that you’ve seen how to do a tufted round ottoman, we are going to look at another round ottoman that is a completely different style. This ottoman is more of a footstool and has a smooth top with no tufting.
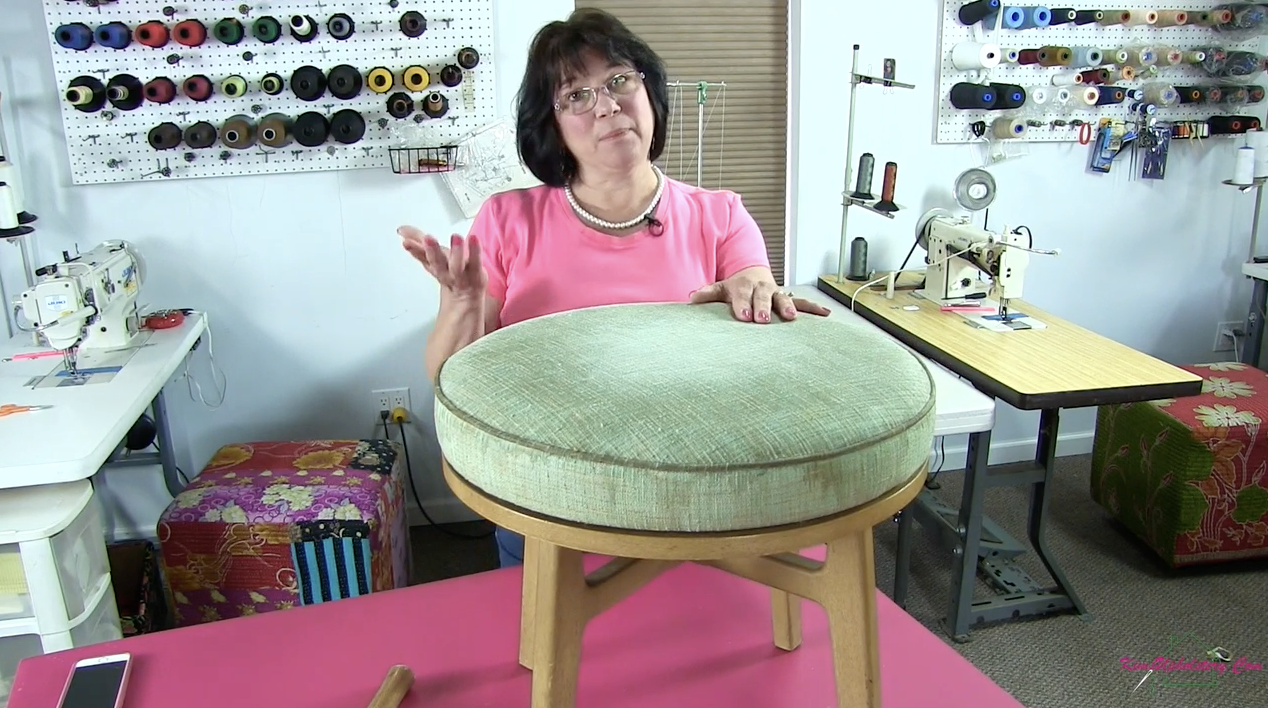
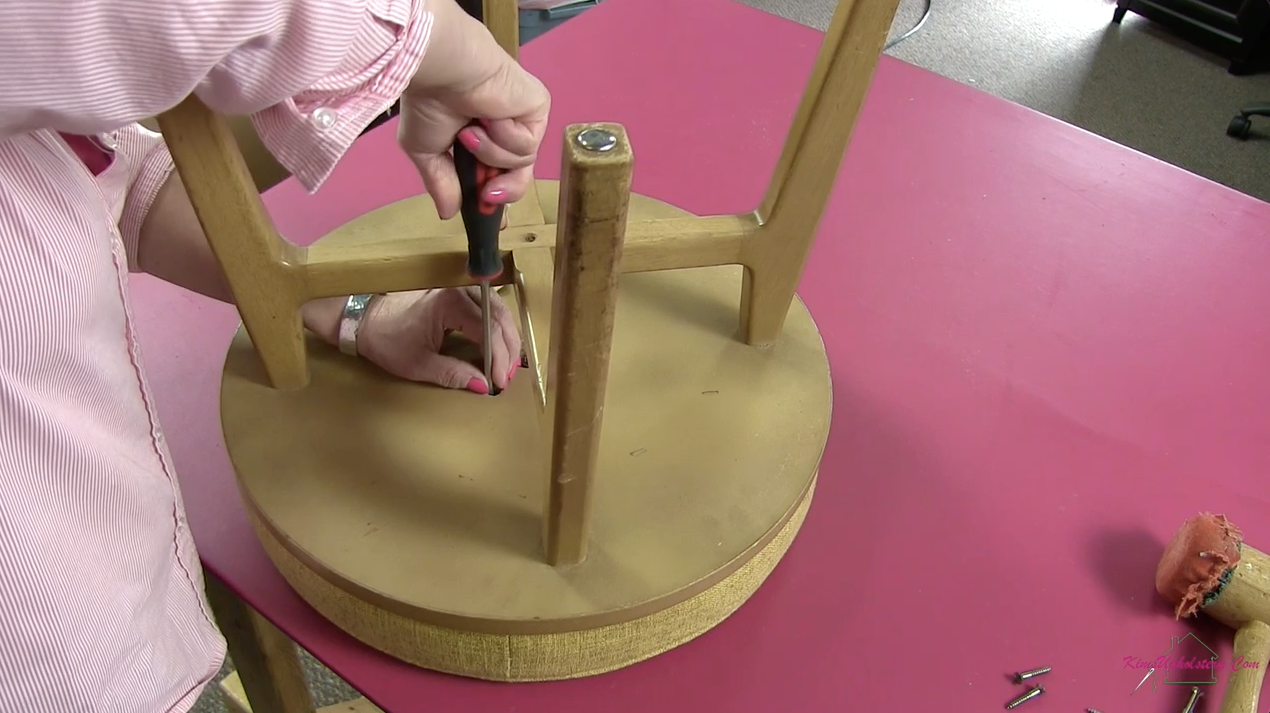
Unlike the tufted round ottoman, this was an existing piece that first required the removal of all the old materials. Look closely at the image and you will see that there were screws hidden under the lazy susan mechanism that made this stool a swivel. Make sure you inspect your furniture carefully so that you don’t miss any materials!
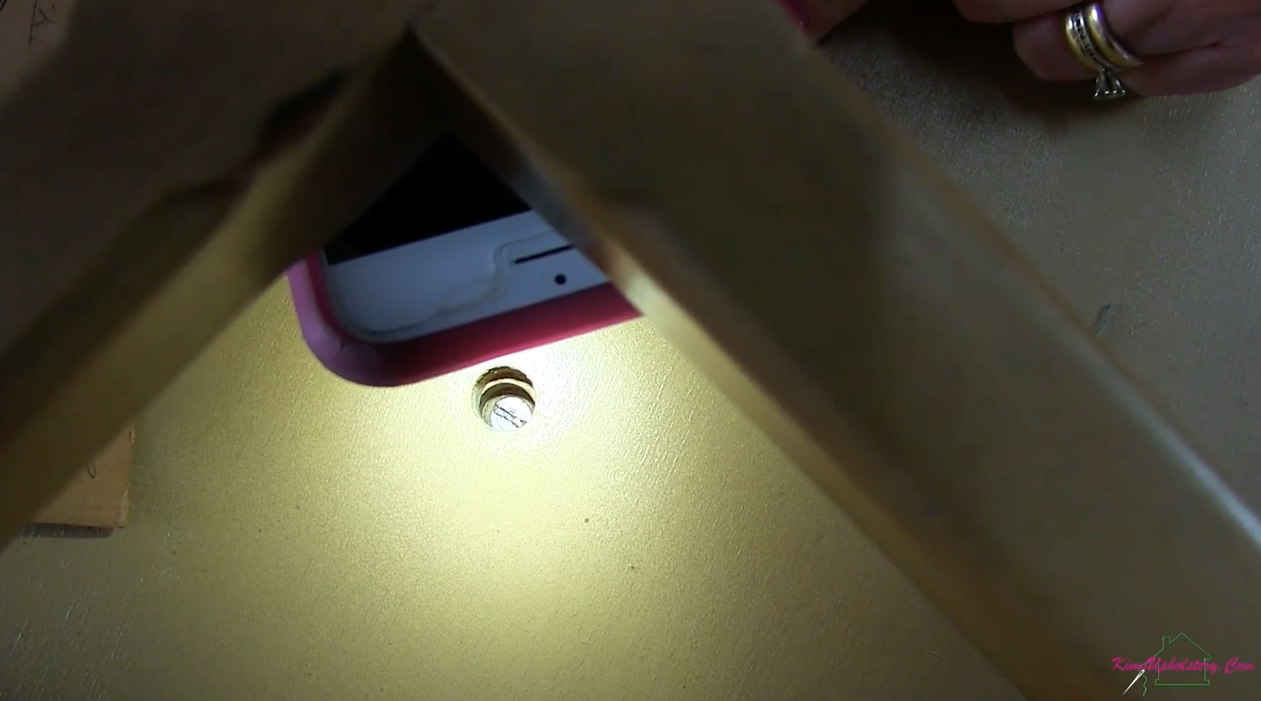
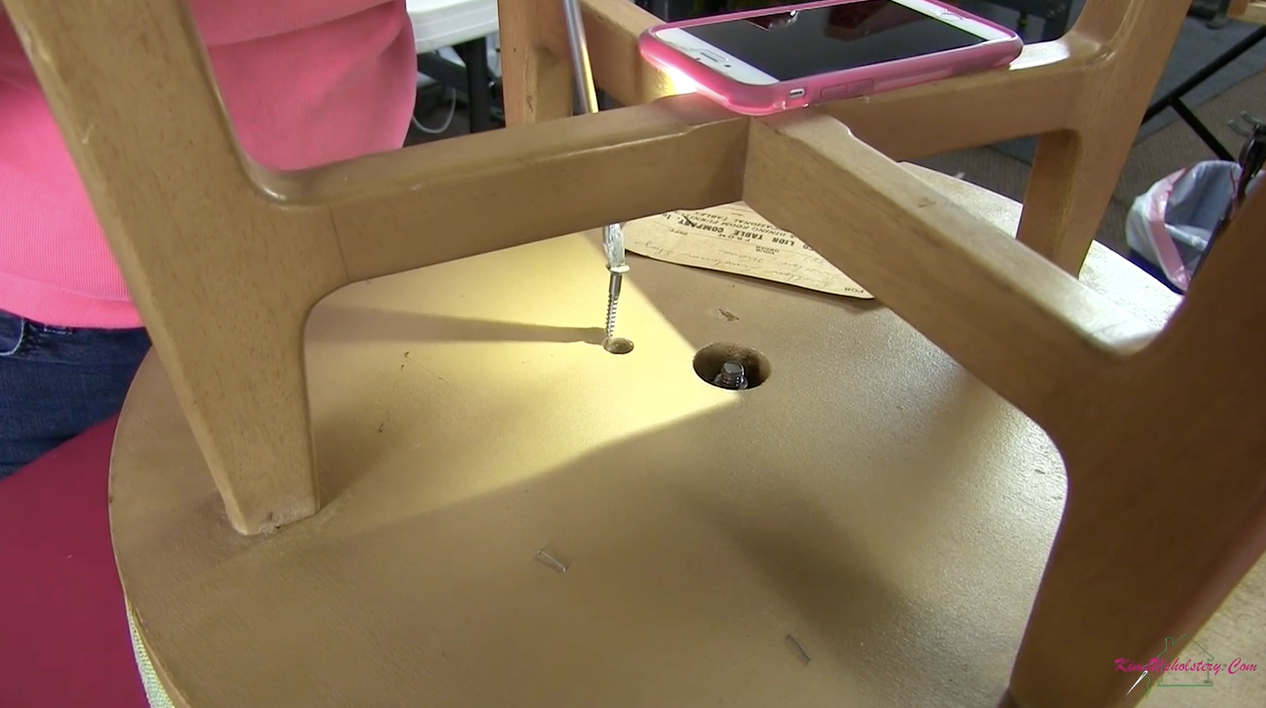
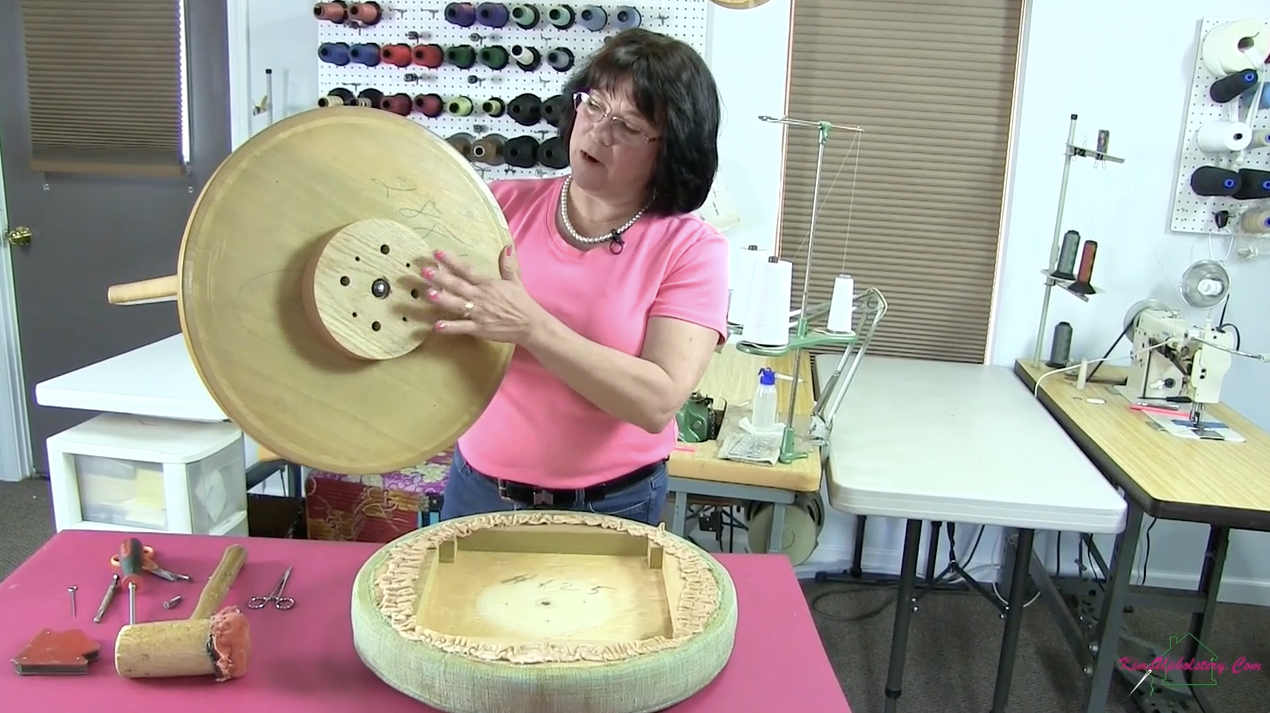
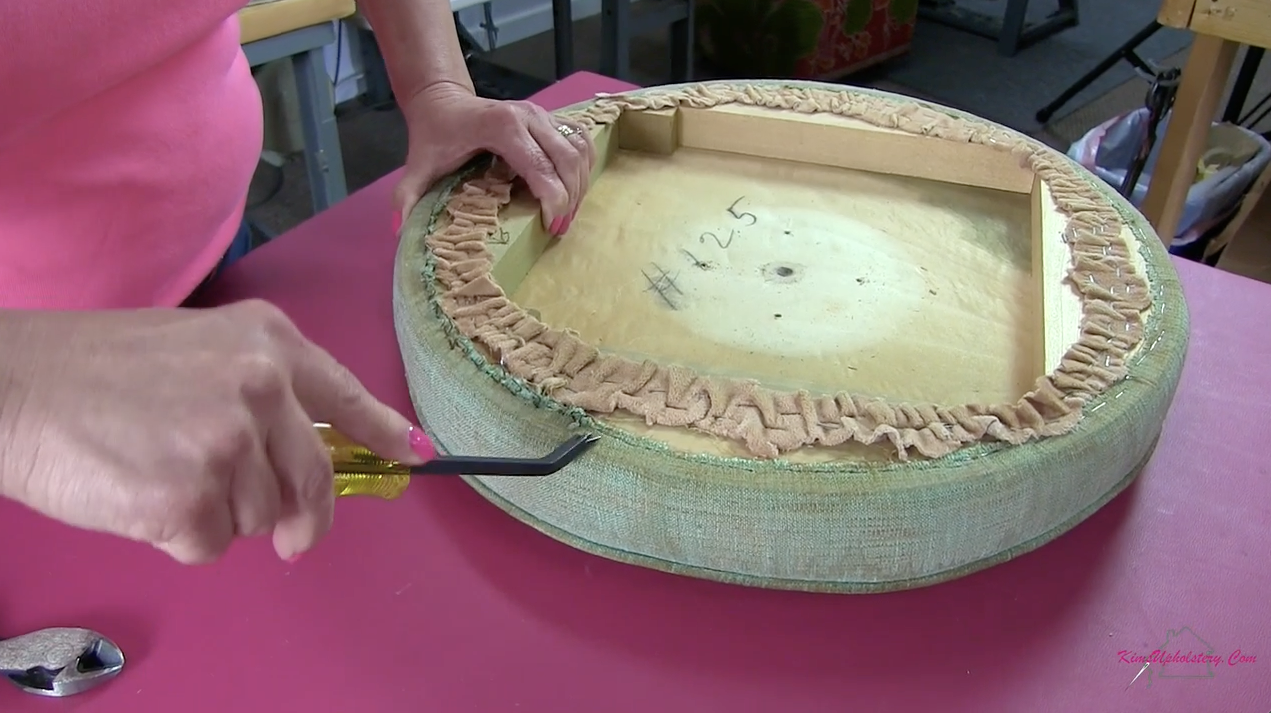
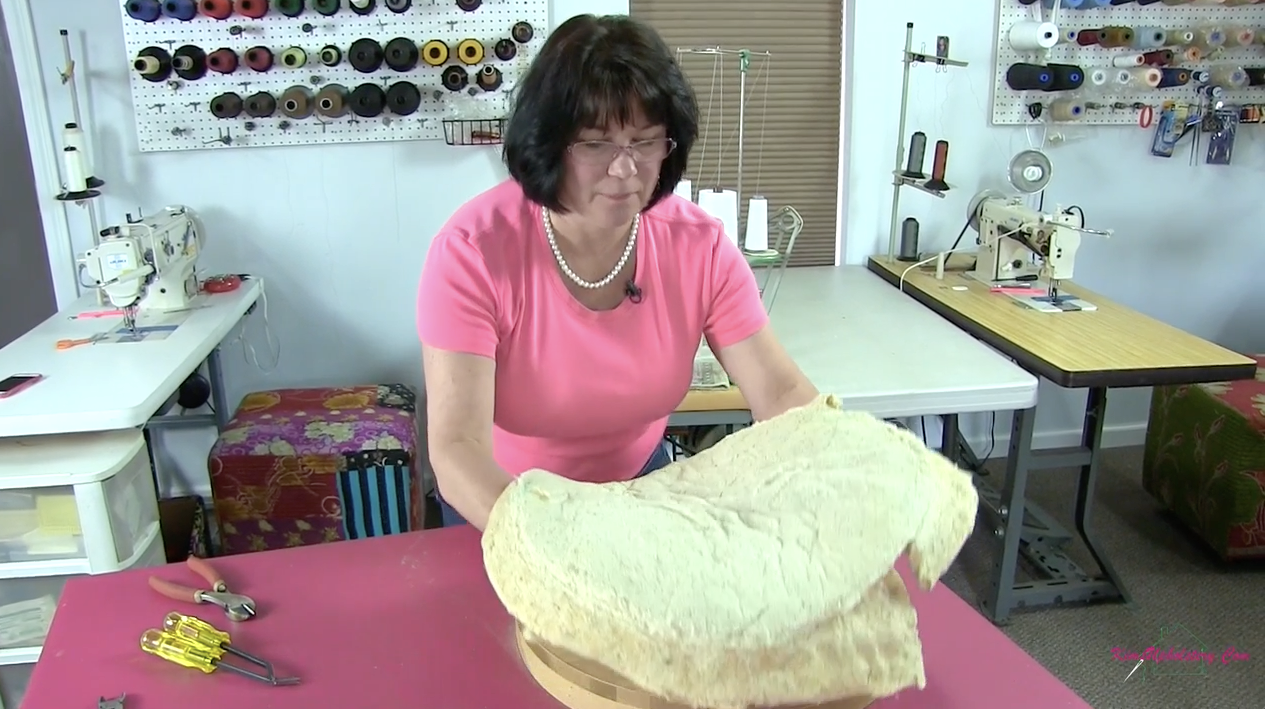
Now that you have your bare frame, inspect the ottoman for any signs of wear and tear or other damage, and make any necessary repairs before proceeding.
Next, gather your materials and tools. The tools and supplies used for this project are slightly different from the tufted ottoman above.
Supplies:
- Synthetic Upholstery Cotton
- ⅜” Staples
- 6/32” Fiber Flex Welt Cord
- 1 yard Upholstery Weight Fabric
Tools:
- Tape Measure
- Straight edge
- Scissors
- Osborne 120 ½ staple puller
- Wire Cutters
- Pneumatic Long Nose Staple gun
- Air Compressor
- Screw Driver
- Magnet
- Sewing machine
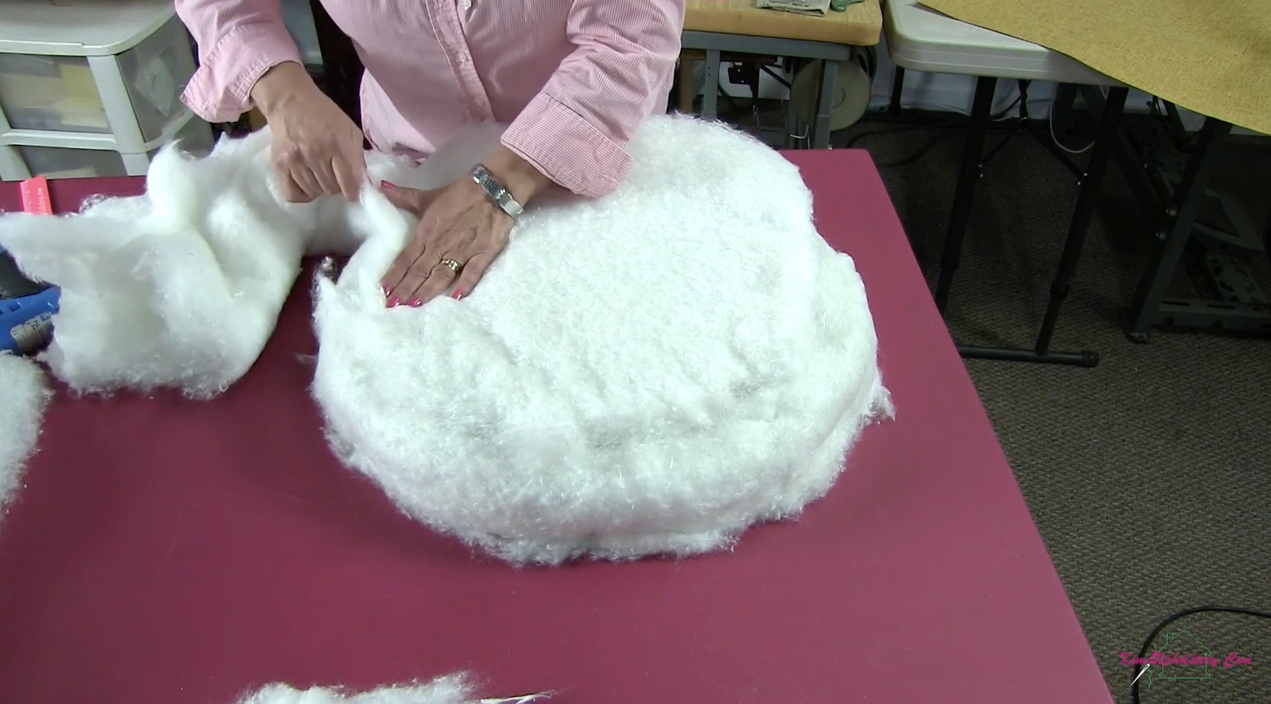
Now you will add your upholstery cotton for padding to your DIY footstool project.
The next step is to mark and cut your fabric circle and then cut out your boxing strip for the sides. To easily figure out the boxing length, measure the diameter of your round ottoman and multiply it by Pi (3.14).
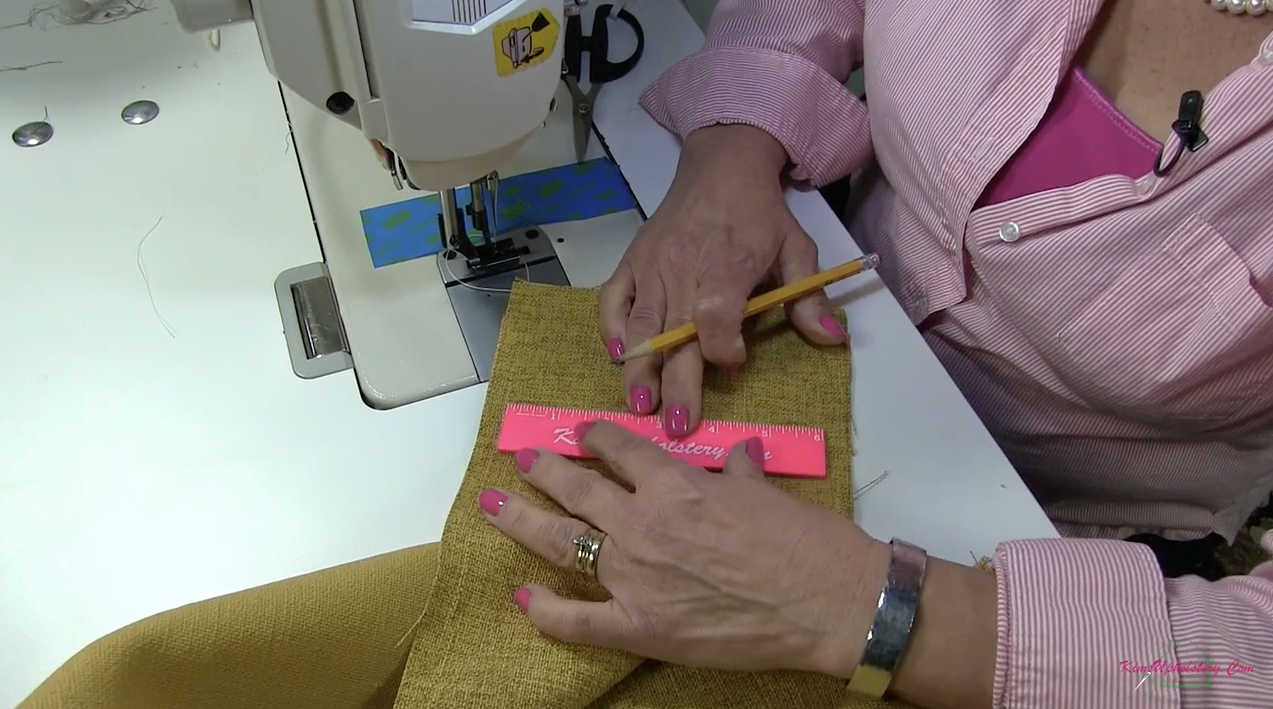
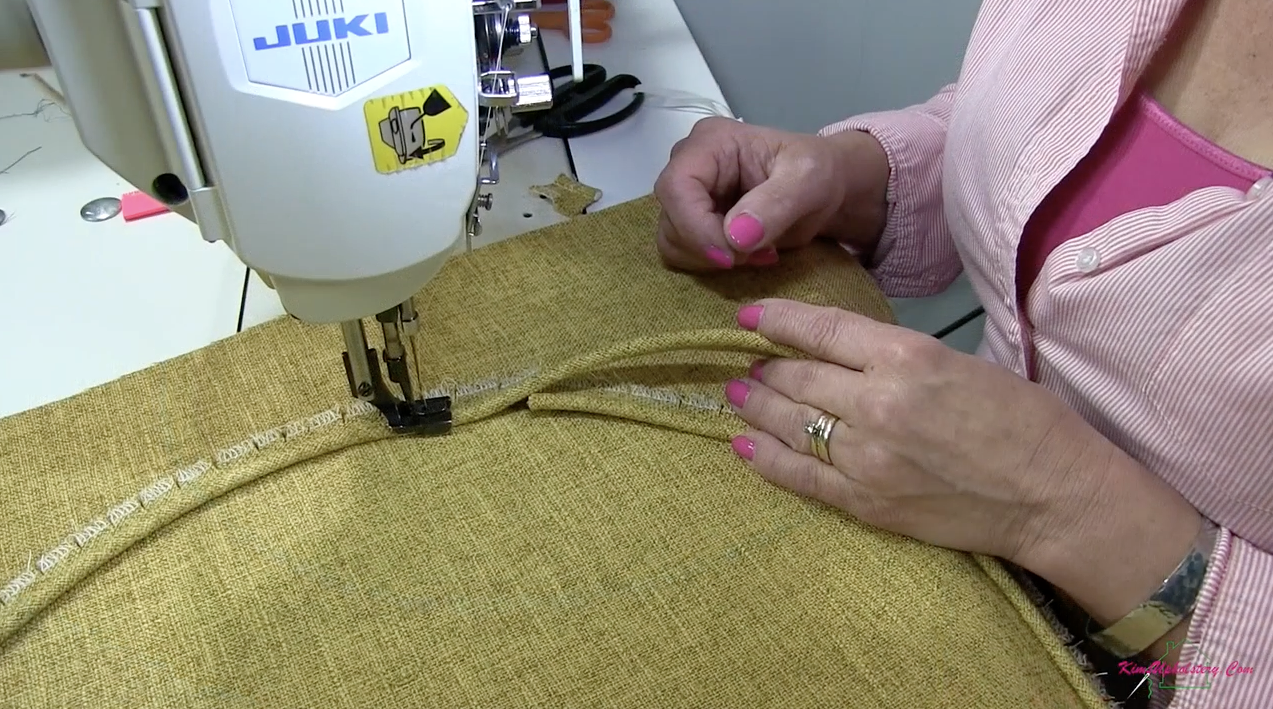
Next, cut your cording on the bias and sew the strips together. After sewing cording strips together, sew your cording to the top circle of fabric and then sew on your boxing strip.
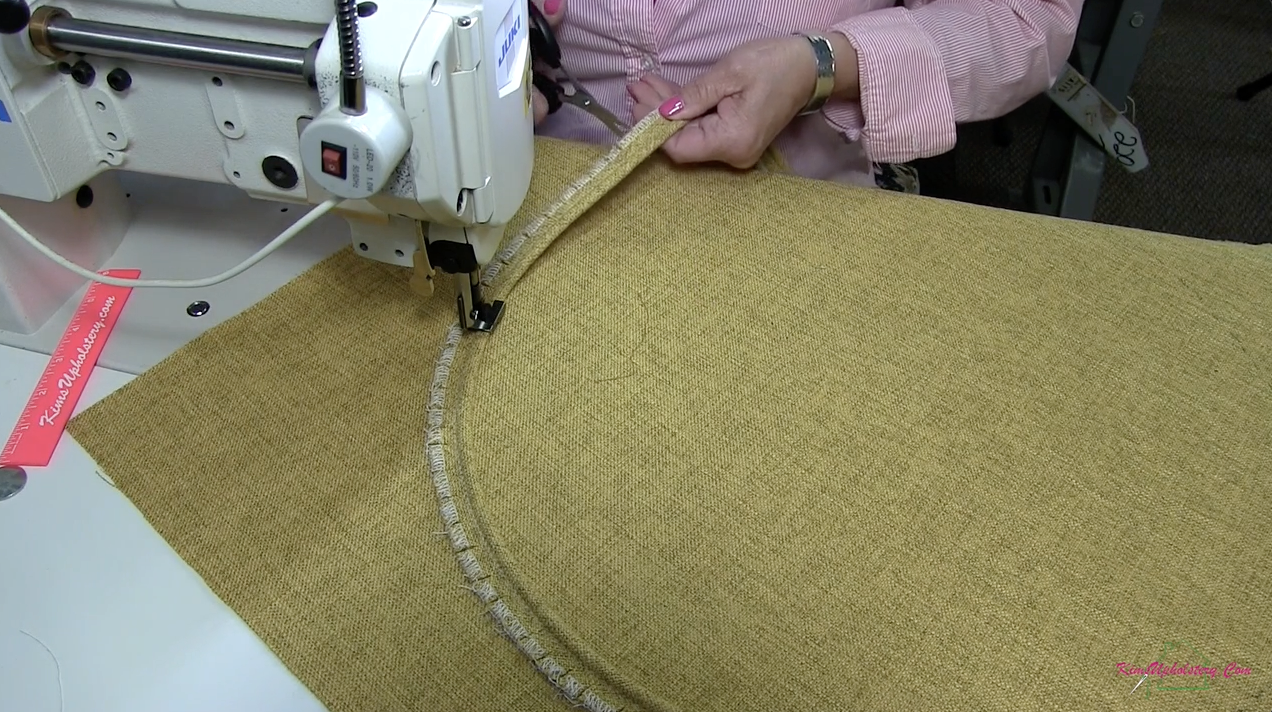
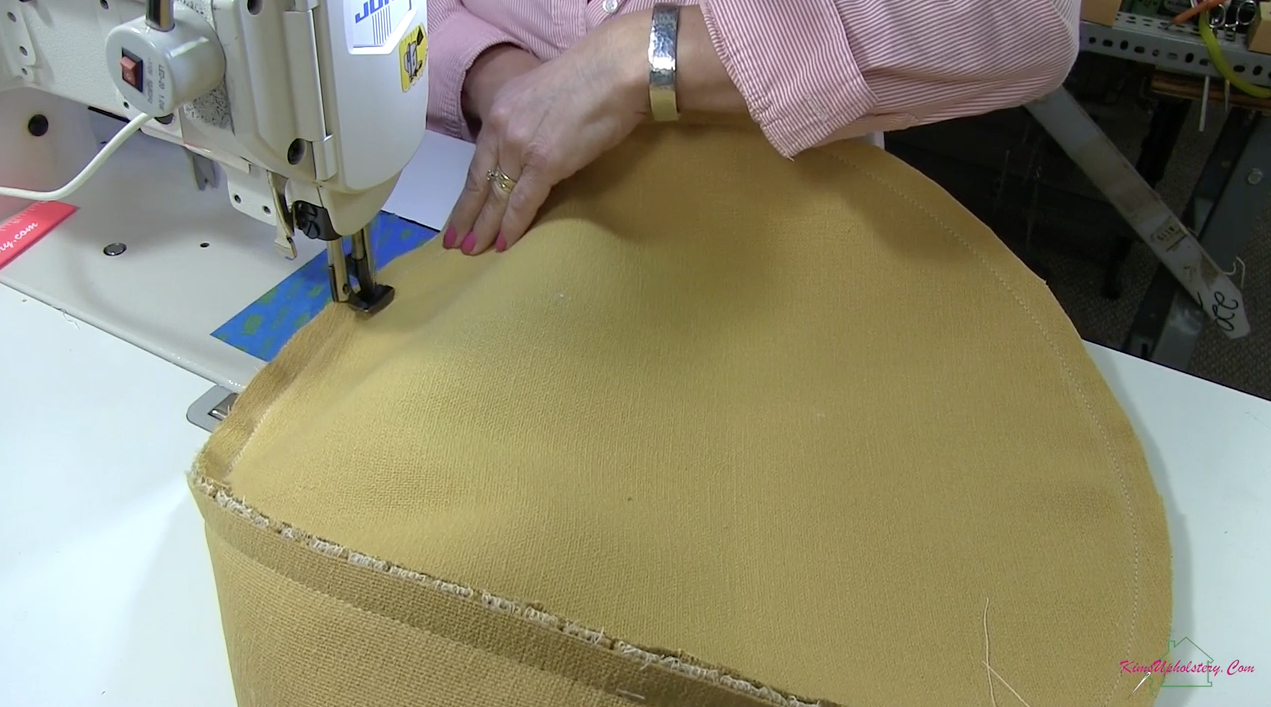
Attach the Fabric
With your footstool frame padded, now attach the sewn fabric top to the underside of the frame with staples!
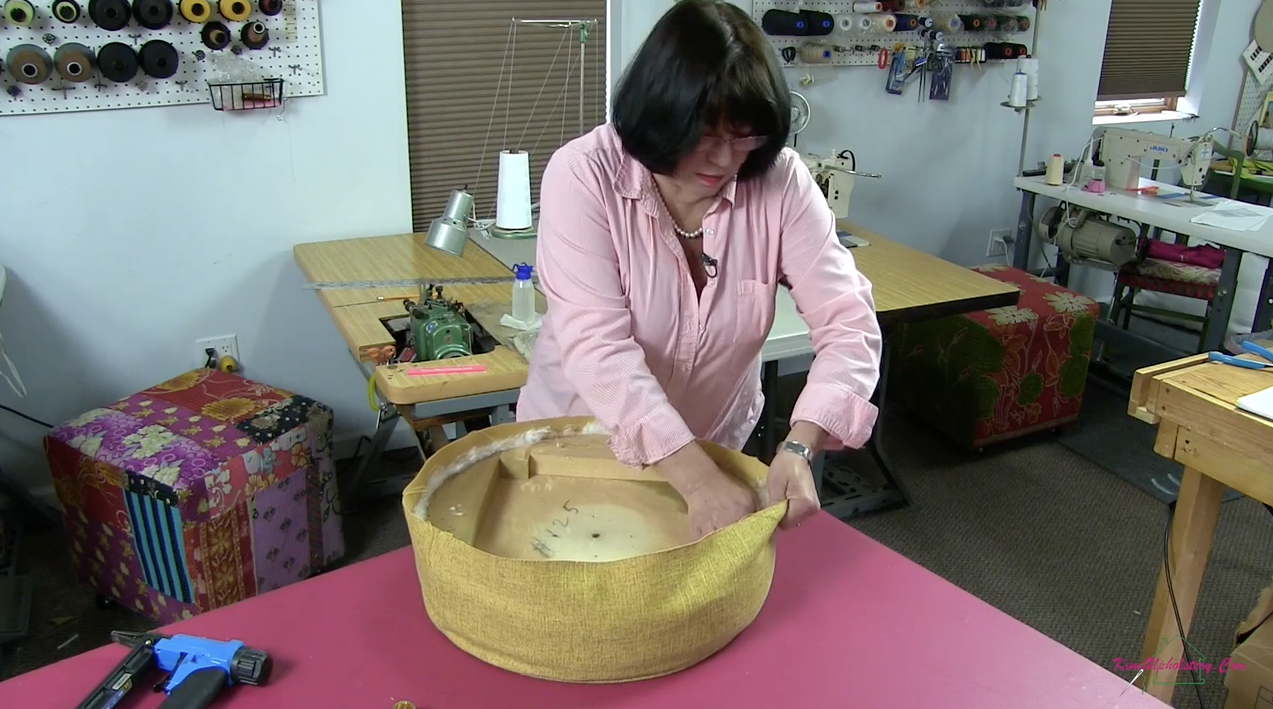
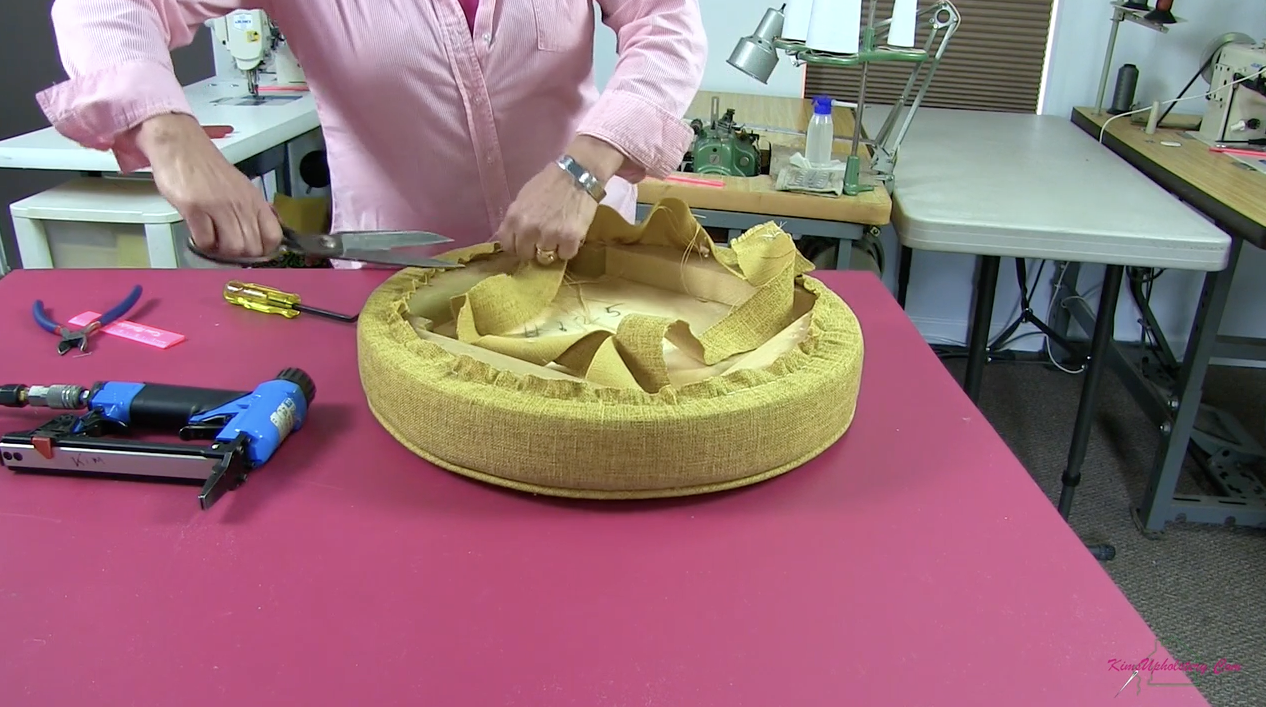
It is all coming together now! With your fabric secured, you can begin to resemble the base. Ours had that lazy susan mechanism, but it simply screwed back into place.
Enjoy Your New Piece of Furniture!
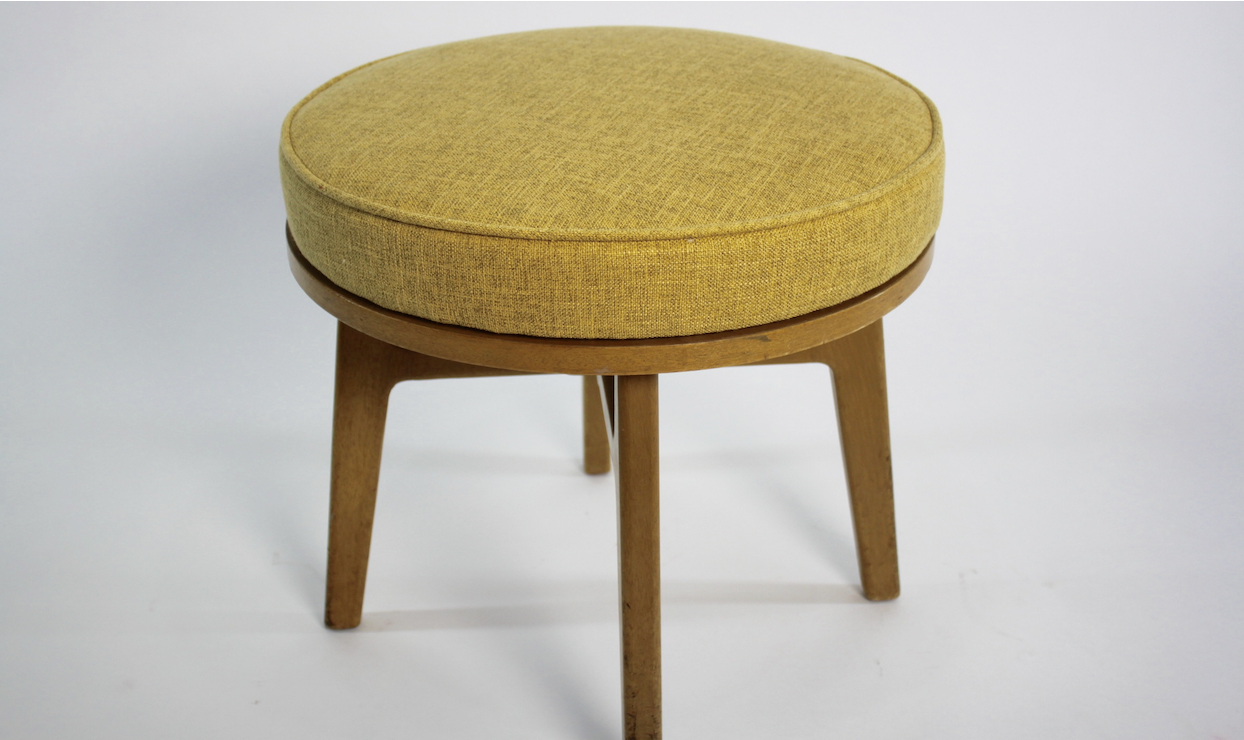
All that is left to do now is relax and enjoy your success!
Upholstering a round ottoman is a fun and rewarding project that anyone can tackle with a little bit of determination and the right instructions. Now all you have to do is grab your tools and materials, and get started on creating a unique and stylish ottoman that is perfectly suited to your home décor. Good luck and happy upholstering!
Looking for more HOW TO VIDEOS? Be sure to take a look at all the benefits you receive in our online classes!
Here are more ottoman tutorials:


I just got a deal on an old ottoman from a thrift store-$3.60, to be exact. This instruction set was SO helpful. Thank you.