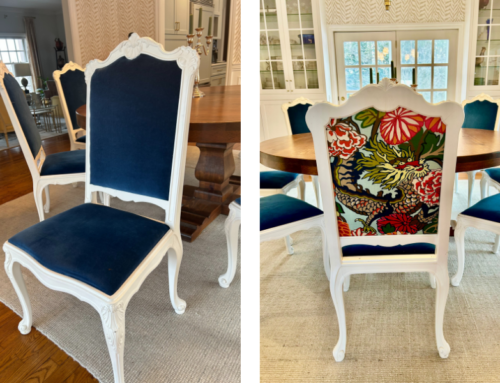
Today we are going to look at the step-by-step process for how to reupholster an ottoman! I love this project for beginners, as it teaches a lot of transferable skills you can use for a wide range of other upholstery projects! You’ll see similar techniques being used in other projects as you grow and learn your craft!
Not only is it a perfect beginner project, but it is so much fun! Maybe you have an old rocker and ottoman from when you spent countless hours rocking your newborn to sleep, or maybe you inherited one from a family member. Instead of getting rid of a piece of furniture that holds memories and tells a unique story, repurpose it and give it a new life! Below you’ll find step-by-step instructions and tips to help you learn how to reupholster an ottoman.

The full video tutorial for this project is available in our membership, but here is an overview of the video tutorial, which also lists in more detail the tools and supplies used in this project.
You can also download a pdf copy of this step-by-step tutorial on how to reupholster an ottoman!
How To Reupholster An Ottoman: A Step-By-Step Guide
Note: This post includes Affiliate Links to items used for your convenience – DISCLOSURE – we do receive a commission for items you purchase but there is no additional cost to you.
Step One:
Take your ottoman and remove all fabric and old materials from the frame. You might need a staple remover tool for this step to make the job a little easier!

Step Two:
After you have successfully removed all the old materials from the frame, you’ll start adding webbing, (I recommend 11lb Jute Webbing [red stripe]) and Upholstery Burlap as your support.


Step Three:
Now, you will start to prepare your high-density foam, which will give your ottoman a nice soft, cushiony feel. To do this, cut your foam slightly bigger all around for the top of your ottoman.

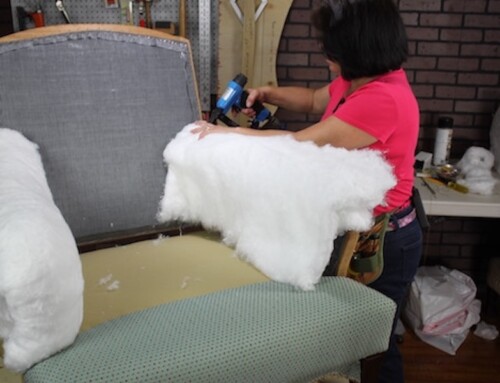
Step Four:
Once you have your foam cut, you will glue it down and then add a layer of Dacron.

Step Five:
Now that your foam is glued down, you can begin to attach your fabric to the top of your ottoman! This is the exciting part! Now the transformation really starts to take place!

Next, You will add a single welt cord around the ottoman.
You can also add decorative trim if you’d like as well, however, it is entirely optional. Use your creativity!


Step Six:
In this step, you will attach your boxing strip and padding. Once secured, cut slits in fabric around the ottoman legs and tuck the loose fabric hanging down around the legs up into the ottoman frame as pictured.


After attaching the boxing strip and padding, you can add another single welt cord if you wish, but again, it is optional.


Step Seven:
In this final step, you will staple your dust cover.
Voila, you have successfully learned how to reupholster an ottoman!


Now that you have this great beginner project under your belt, you can move on to other upholstery projects! We have an enormous online library of classes and training in our membership. Here you’ll find in-depth instruction for dozens of other upholstery projects for beginners, as well as many more for when you are ready for more advanced training!

If you are someone who has been wanting to learn how to upholster, I invite you to contact me. I’d love to discuss your goals and what’s possible and available to you!