How to Upholster an Ottoman: a great way to get acquainted with the skills of upholstery.
Learning the skills of upholstery can be a bit intimidating. Knowing where to start and what tools you will need will help you in your journey down the path of upholstery. Starting with the right project, having the proper tools and the right supplies, and knowing how to use those tools and supplies is a big help.
So, let’s start with WHERE TO START. We all have big ambitions and projects that we are dying to do, BUT…. Do you really want to make all your beginner mistakes on that treasured piece of furniture? Do you want to work through this new craft frustrated? Heck No! That kinda takes the fun out of it, right? So start with something that will give you a good feel for what upholstery is (and isn’t); a project that will give you confidence to keep going. An ottoman is a perfect project that will give you several skills but not scare you and take away the desire to learn more.
Pictures 1 – 9: How to Upholster an Ottoman
(be sure to Download your step-by-step pdf)

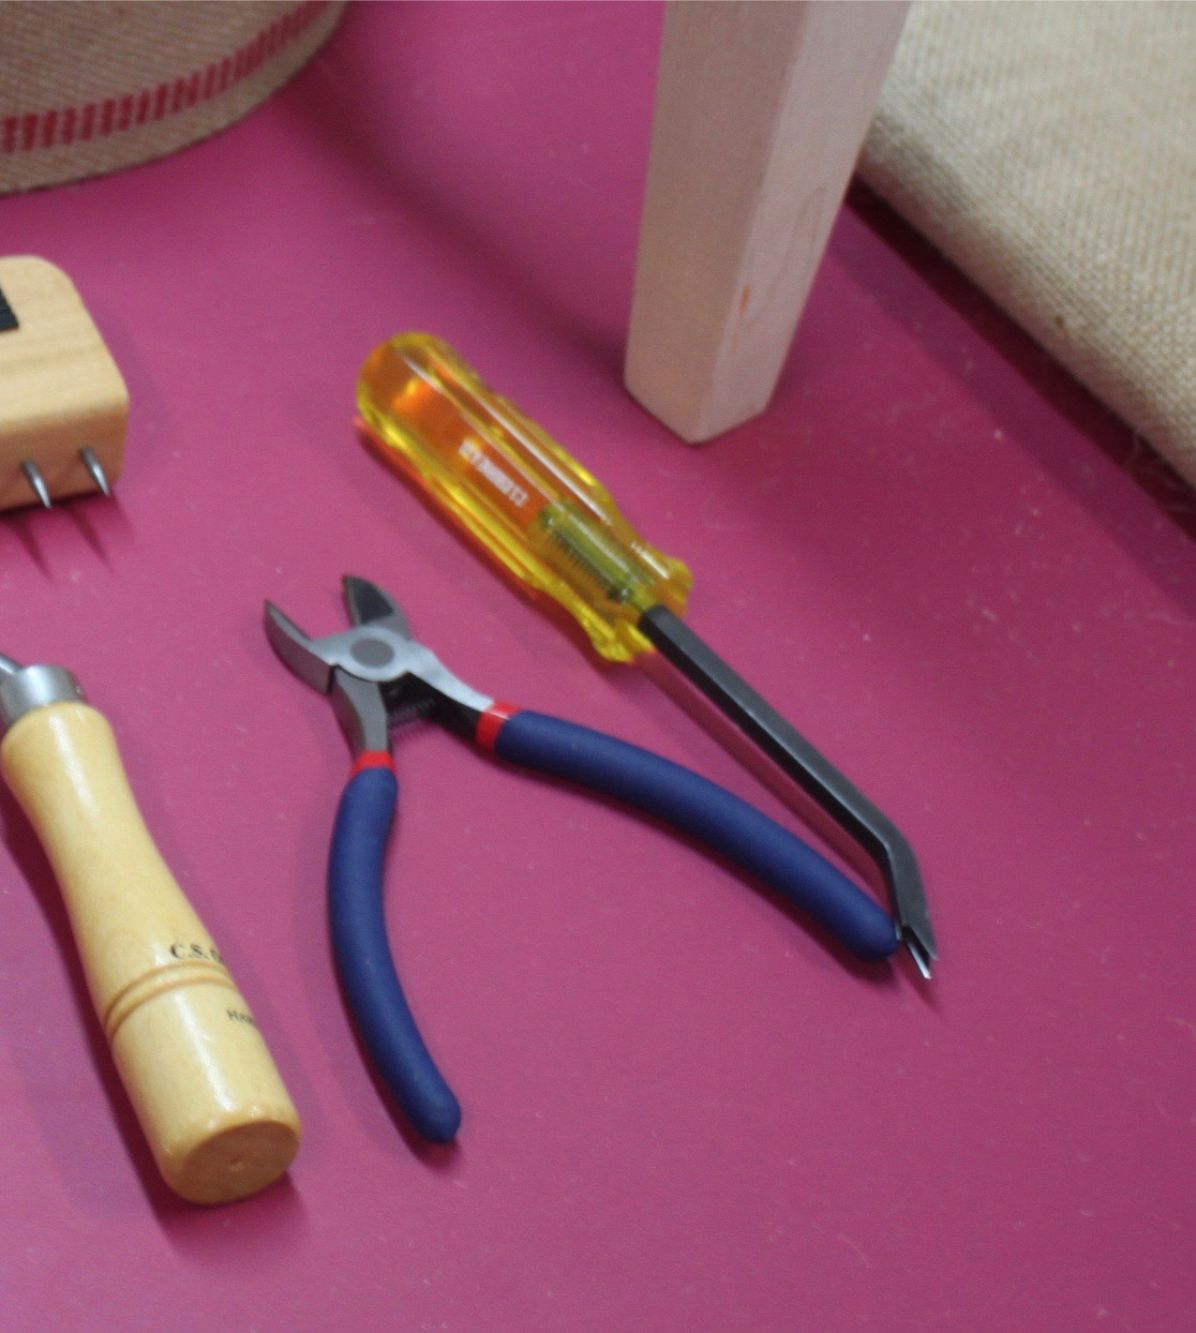
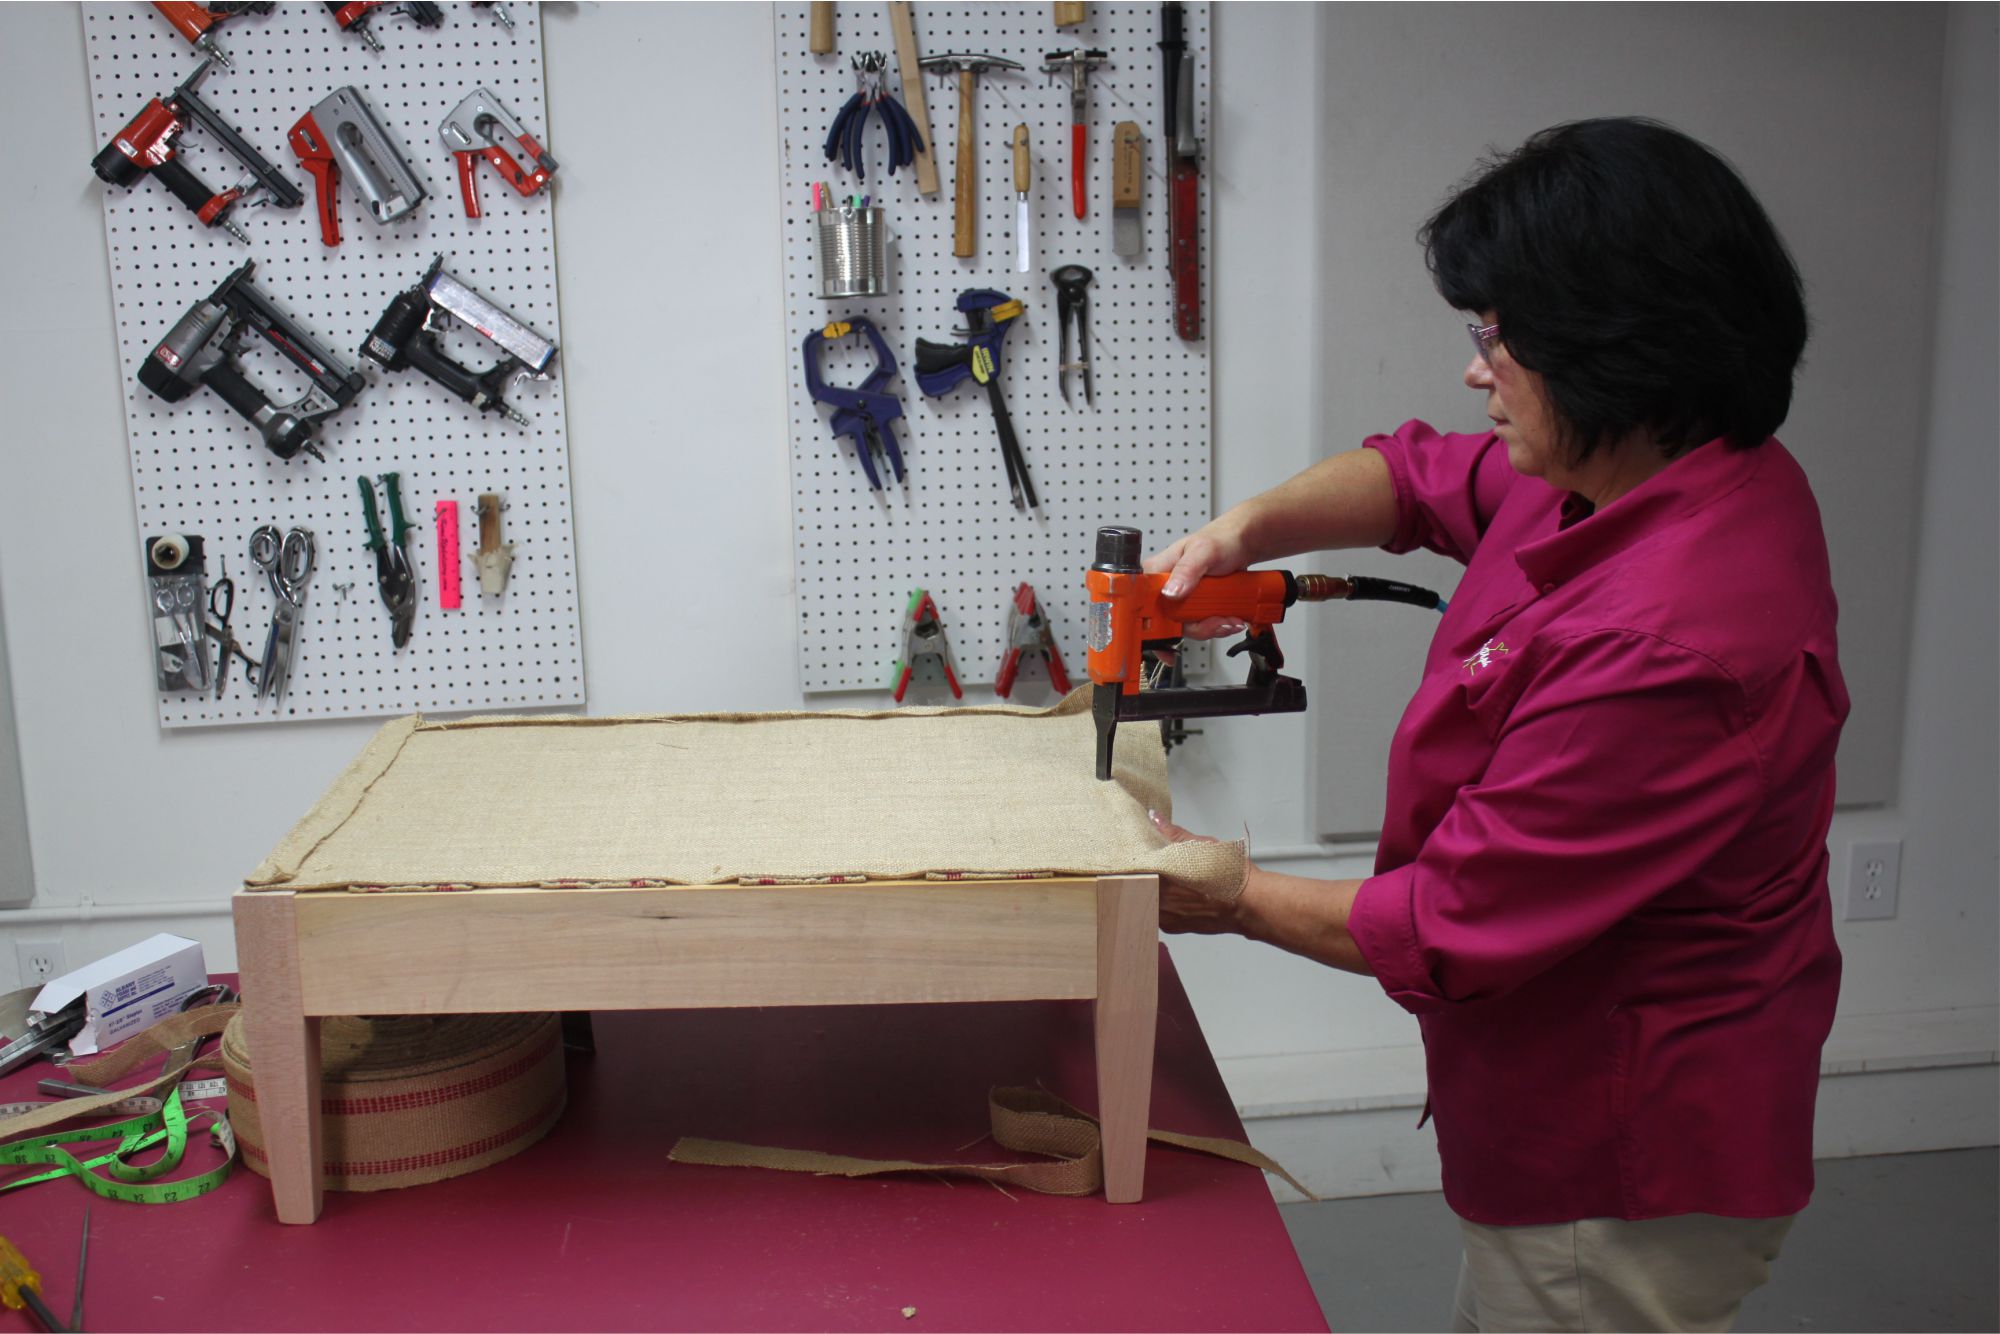

With an ottoman such as this one (Picture 1) you will learn several skills. If you use an existing ottoman, you will learn the tear down process. Tear down sounds simple, but knowing the order of tear down and how to use the tools (instead of the tools using you) can make the project less of a struggle. There are many tools you can use to pry out the old staples or tacks, but the Osborne 120 1/2 staple puller and a pair of wire cutters are two of my favorite tools to begin with. (Picture 2 ). Letting your staple puller do the work is not always instinctive, but will save you from having sore hands. Use the tool by rocking on the frame of your piece and your staples will come out much easier. A dull pair of wire cutters, again rocked against the frame, will help to remove the staple portion that inevitably breaks off.
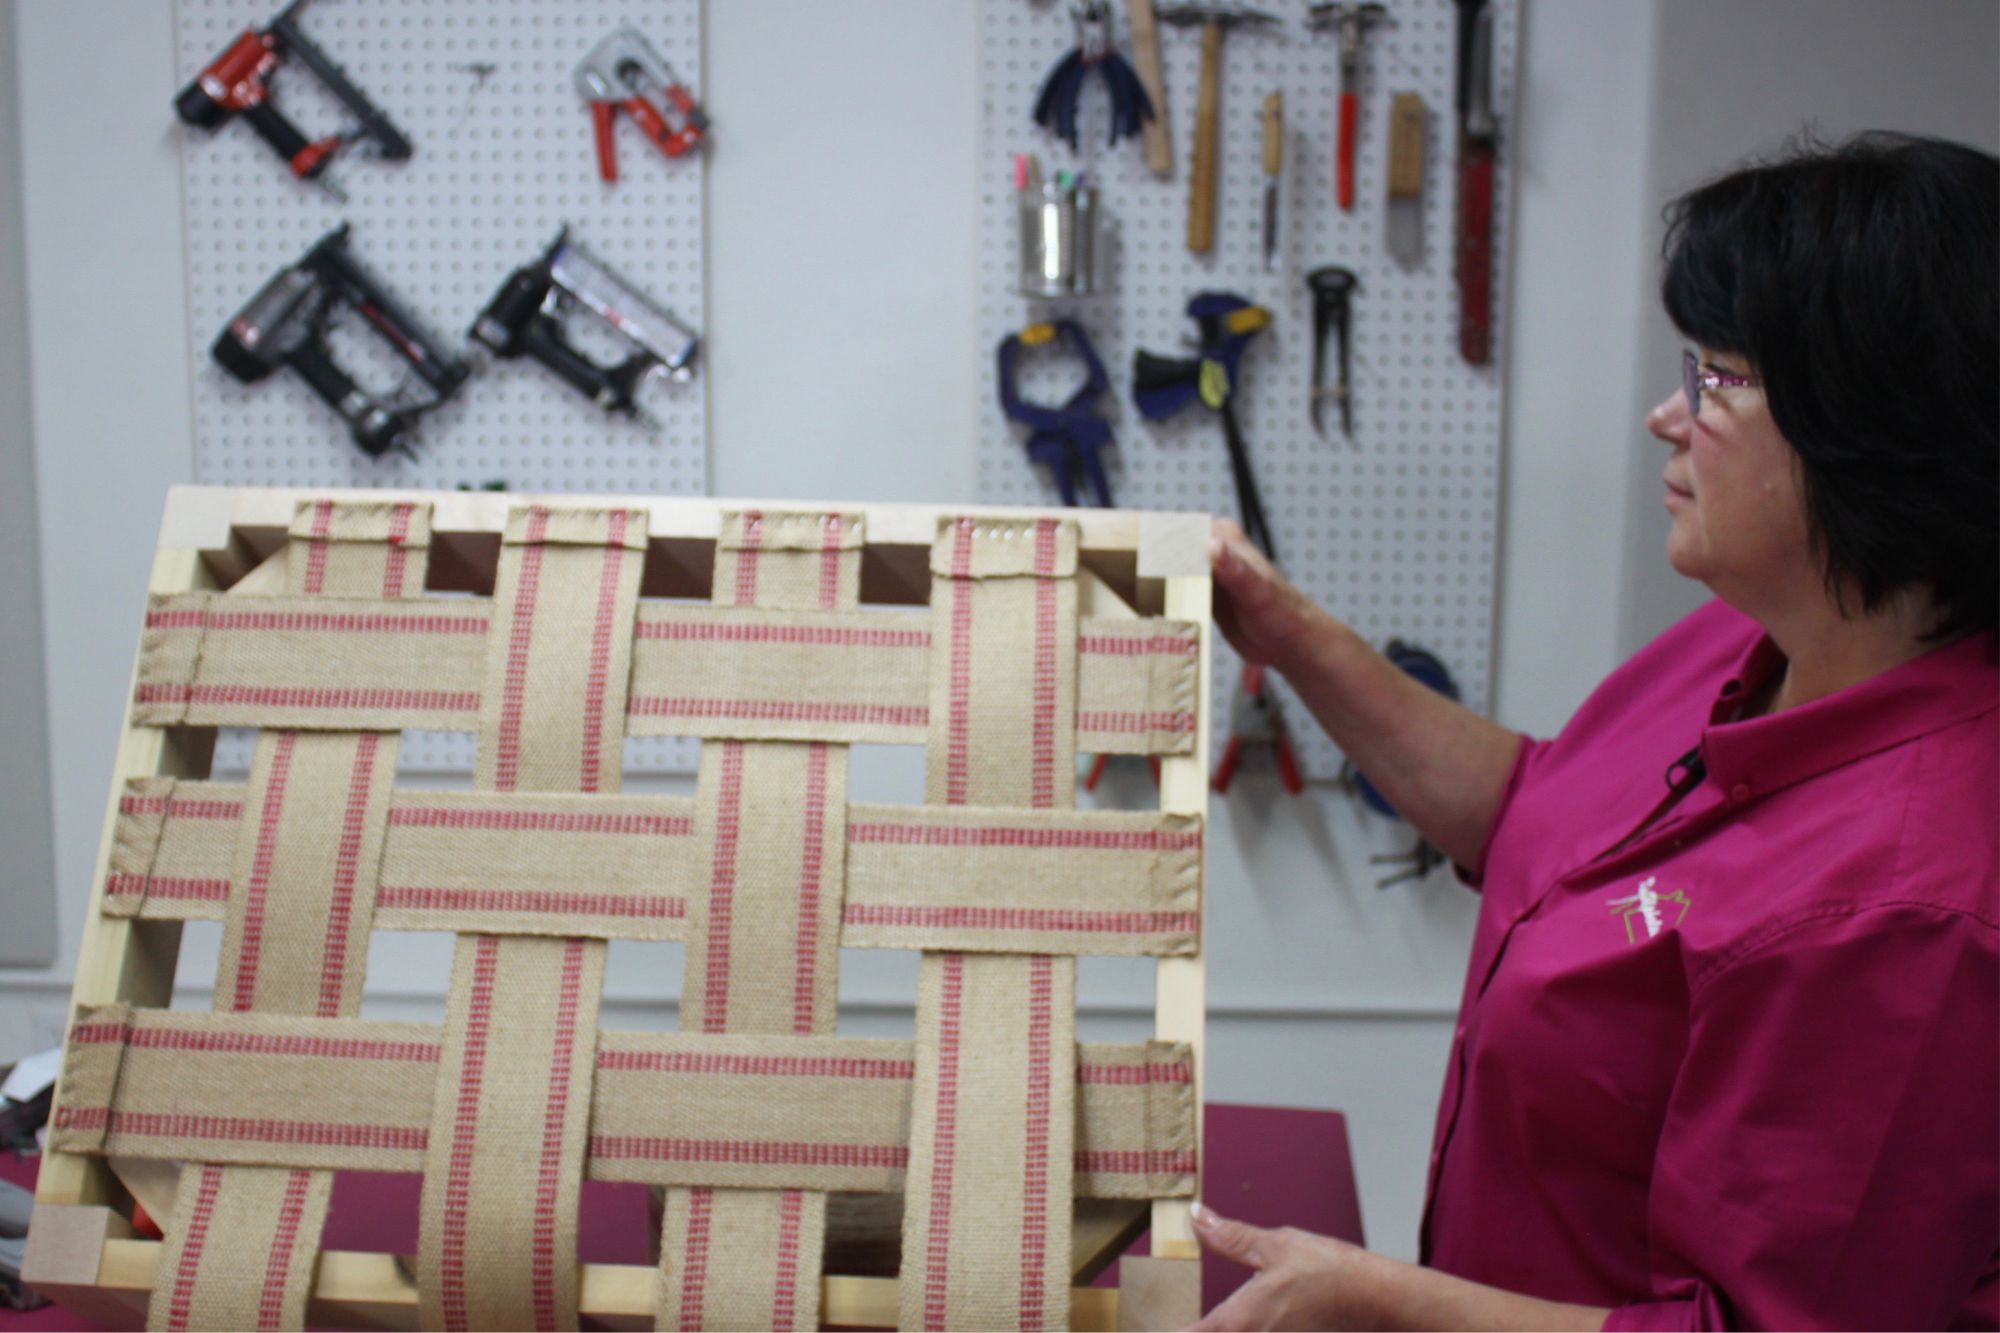
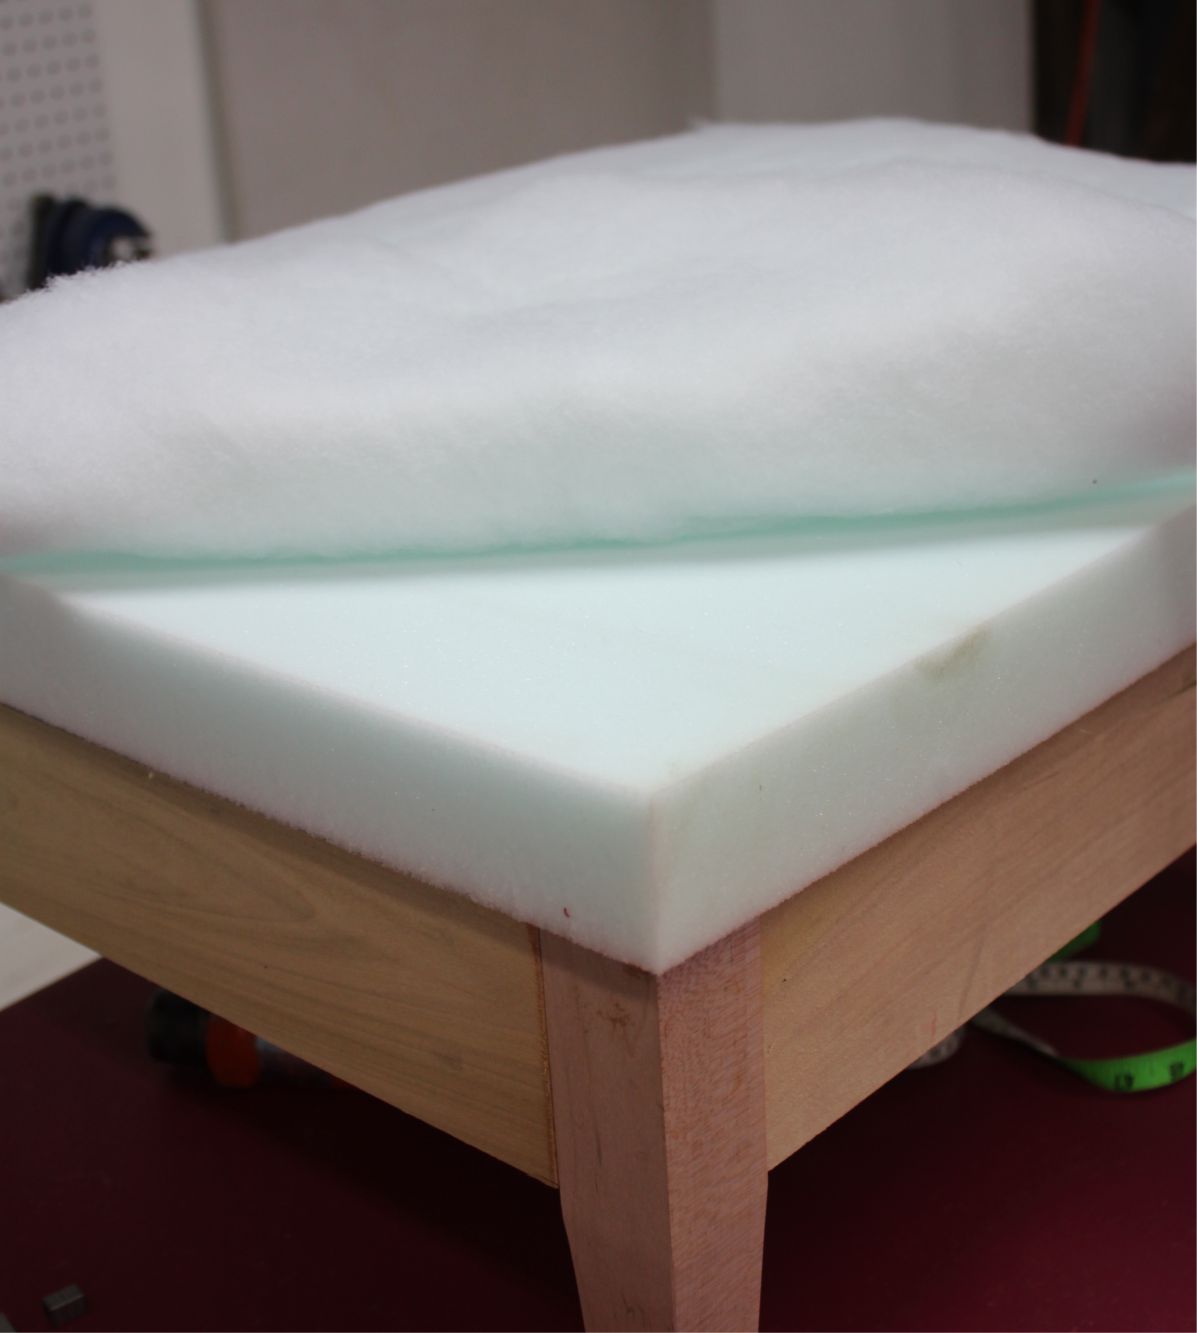
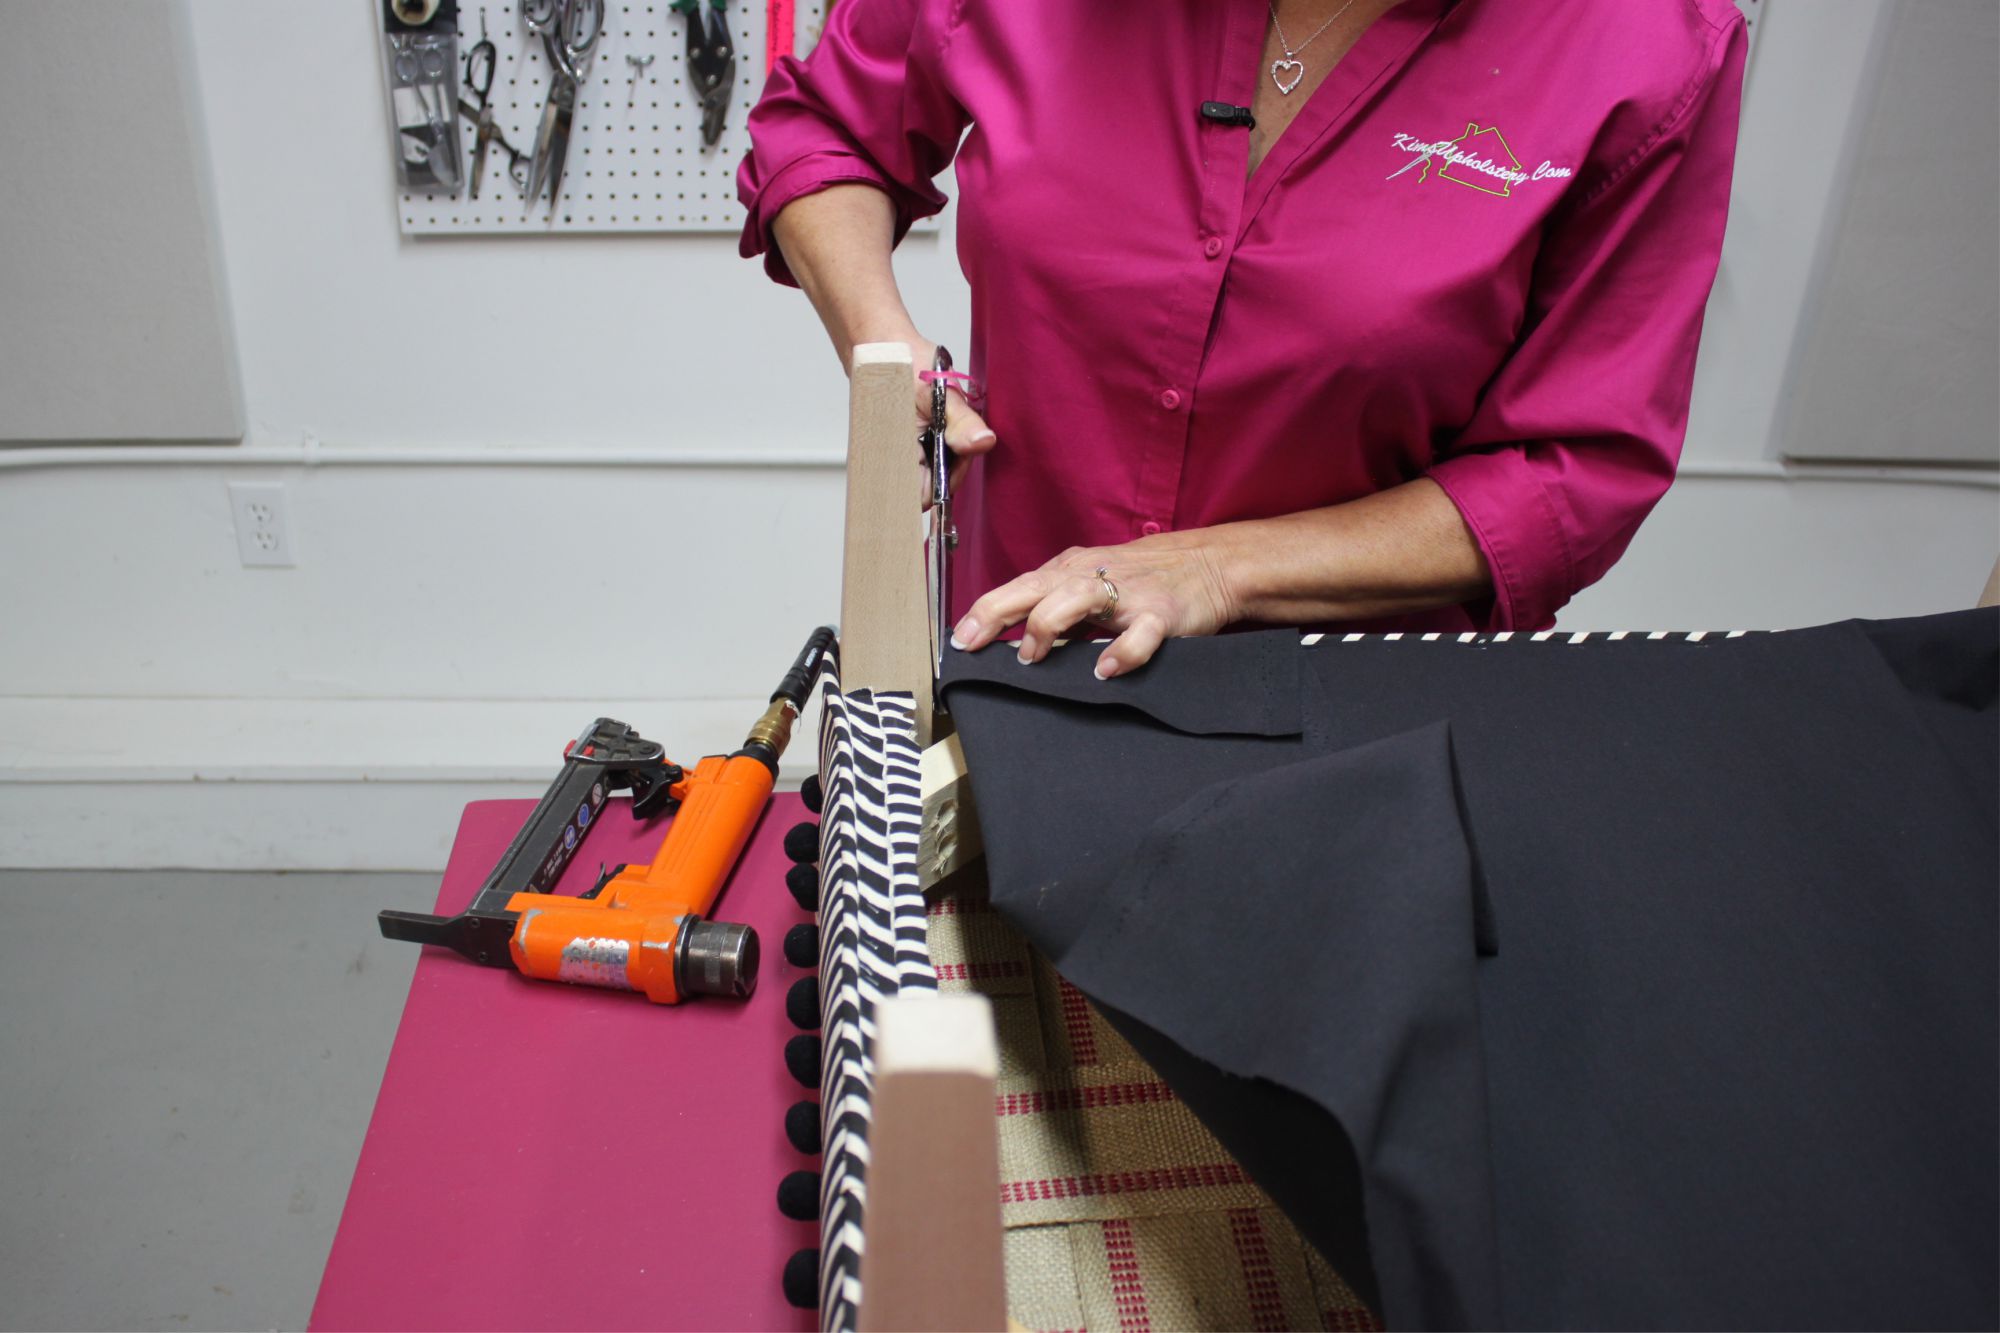
All upholstered pieces have some sort of a support system. For this ottoman I have used 11 lb Jute webbing followed by a layer of burlap. (Picture 3 and 4). The webbing supports your padding and makes it hold the weight of your feet as you use this for a foot rest and the burlap is what will keep your padding from pushing down between the webbing. For the padding I have chosen 2” 2.6 density Firm foam followed by a 1 oz layer of bonded Dacron (Picture 5). The foam gives me the cushion I am looking for and the Dacron adds a bit of extra loft as well as eliminating friction between my fabric and foam. This will help the fabric to wear better and longer.
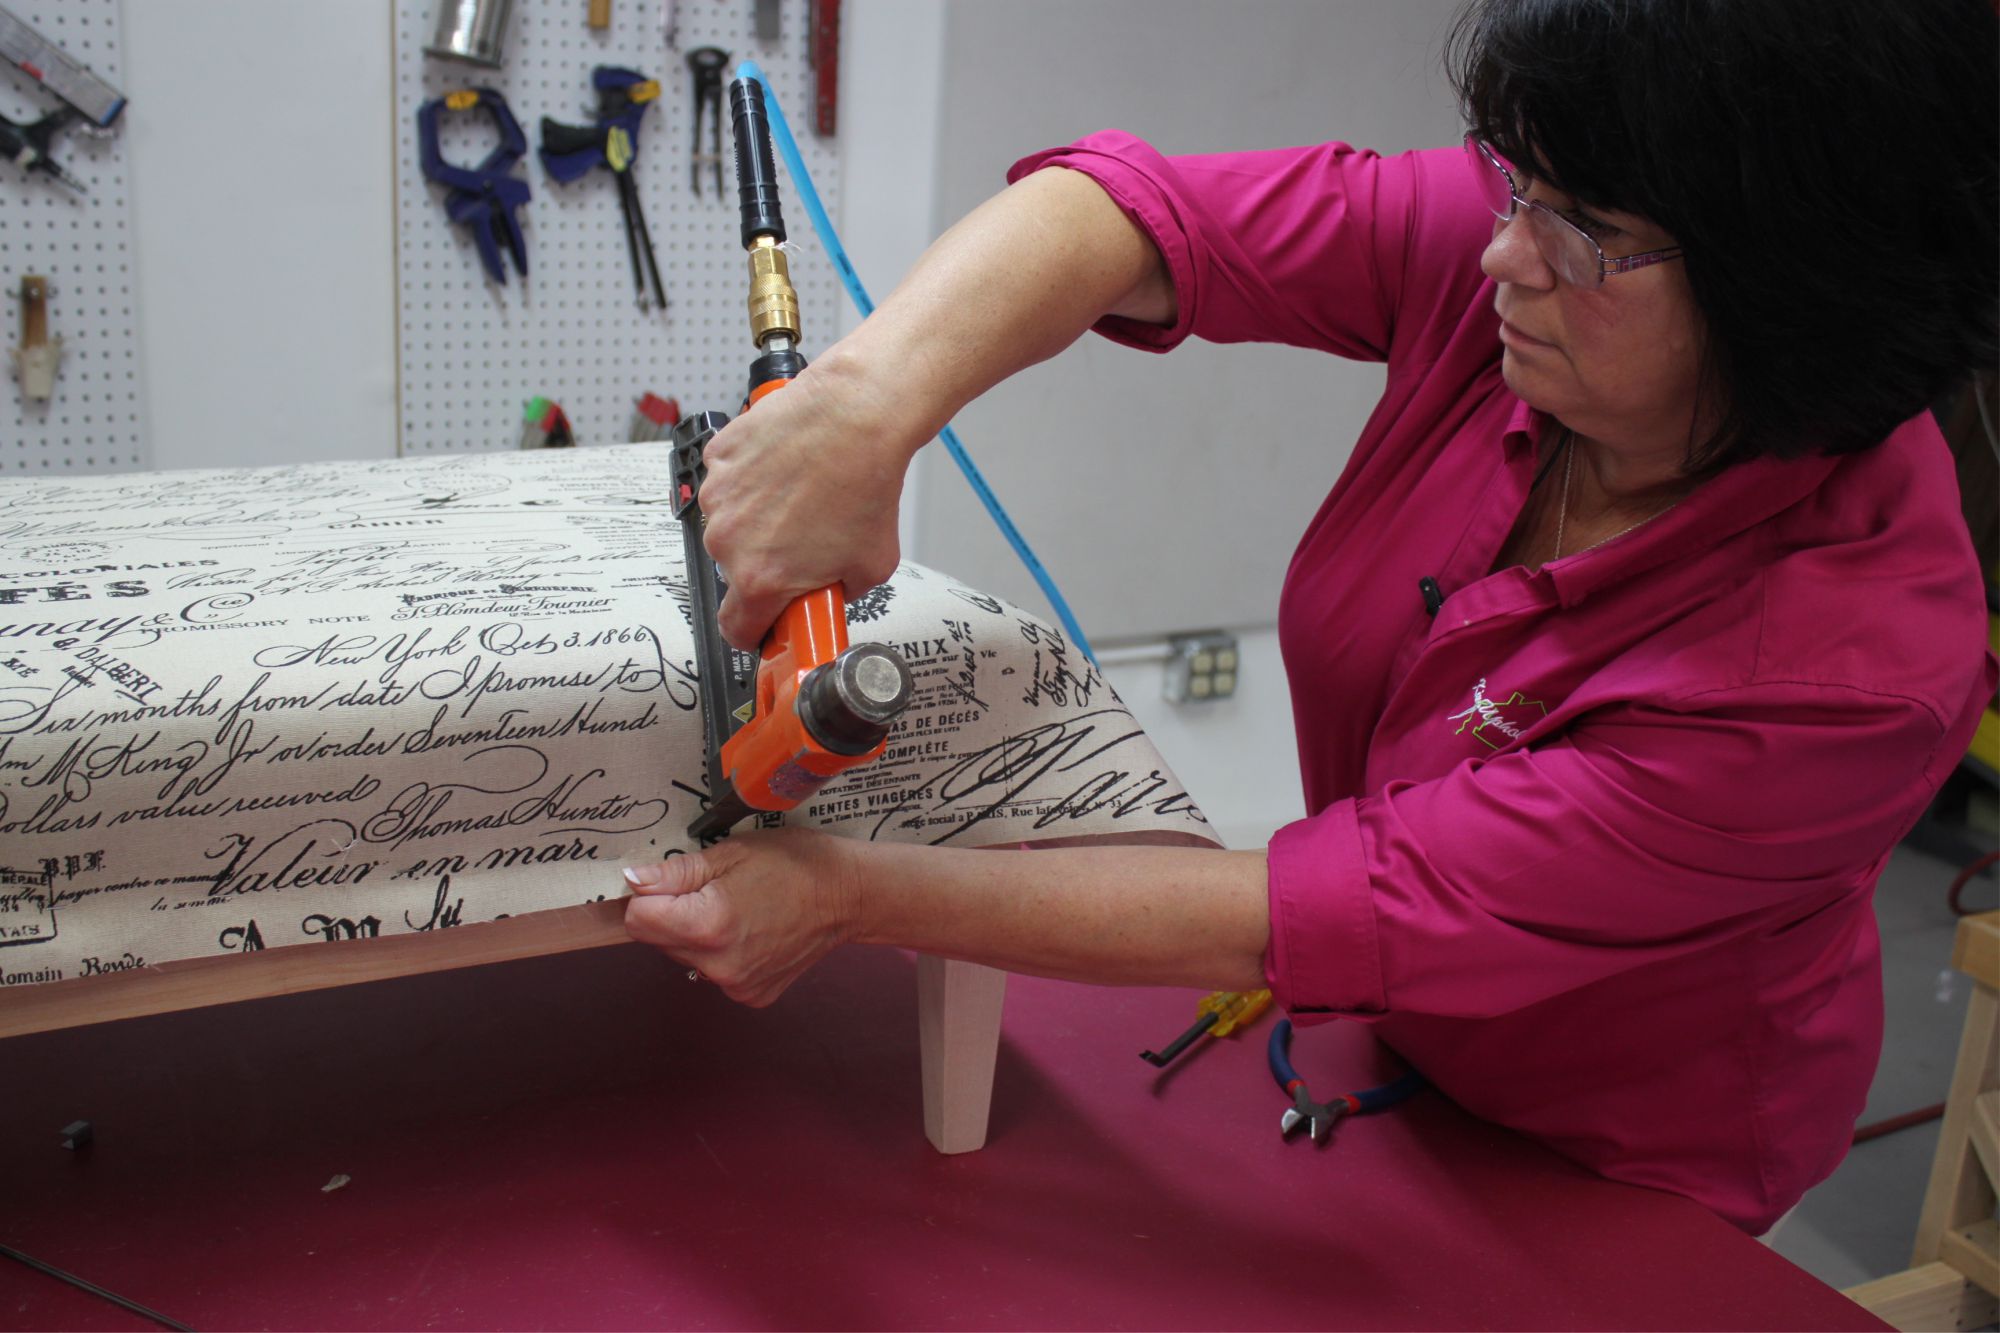
So what fabric should you use? You want to make sure and choose an upholstery grade fabric. Fabrics made for drapery and garments will not hold up as well. Just figure that you will be putting your feet up and probably moving them around as you do. Often times shoes will be in the mix and can also add to the wear and tear. Using a fabric that is rated for such use will ensure that your ottoman lasts a long time – and with the effort you are putting into your ottoman that is for sure the goal. I would suggest a fabric with a 15,000 or above rating. Greenhouse Fabrics has a great blog post on fabric durability that you can check out. (Picture 6 and 6A). The method used to attach the fabric to the top of this ottoman is much like the techniques used in a tight seat upholstered chair without the cuts around the posts.
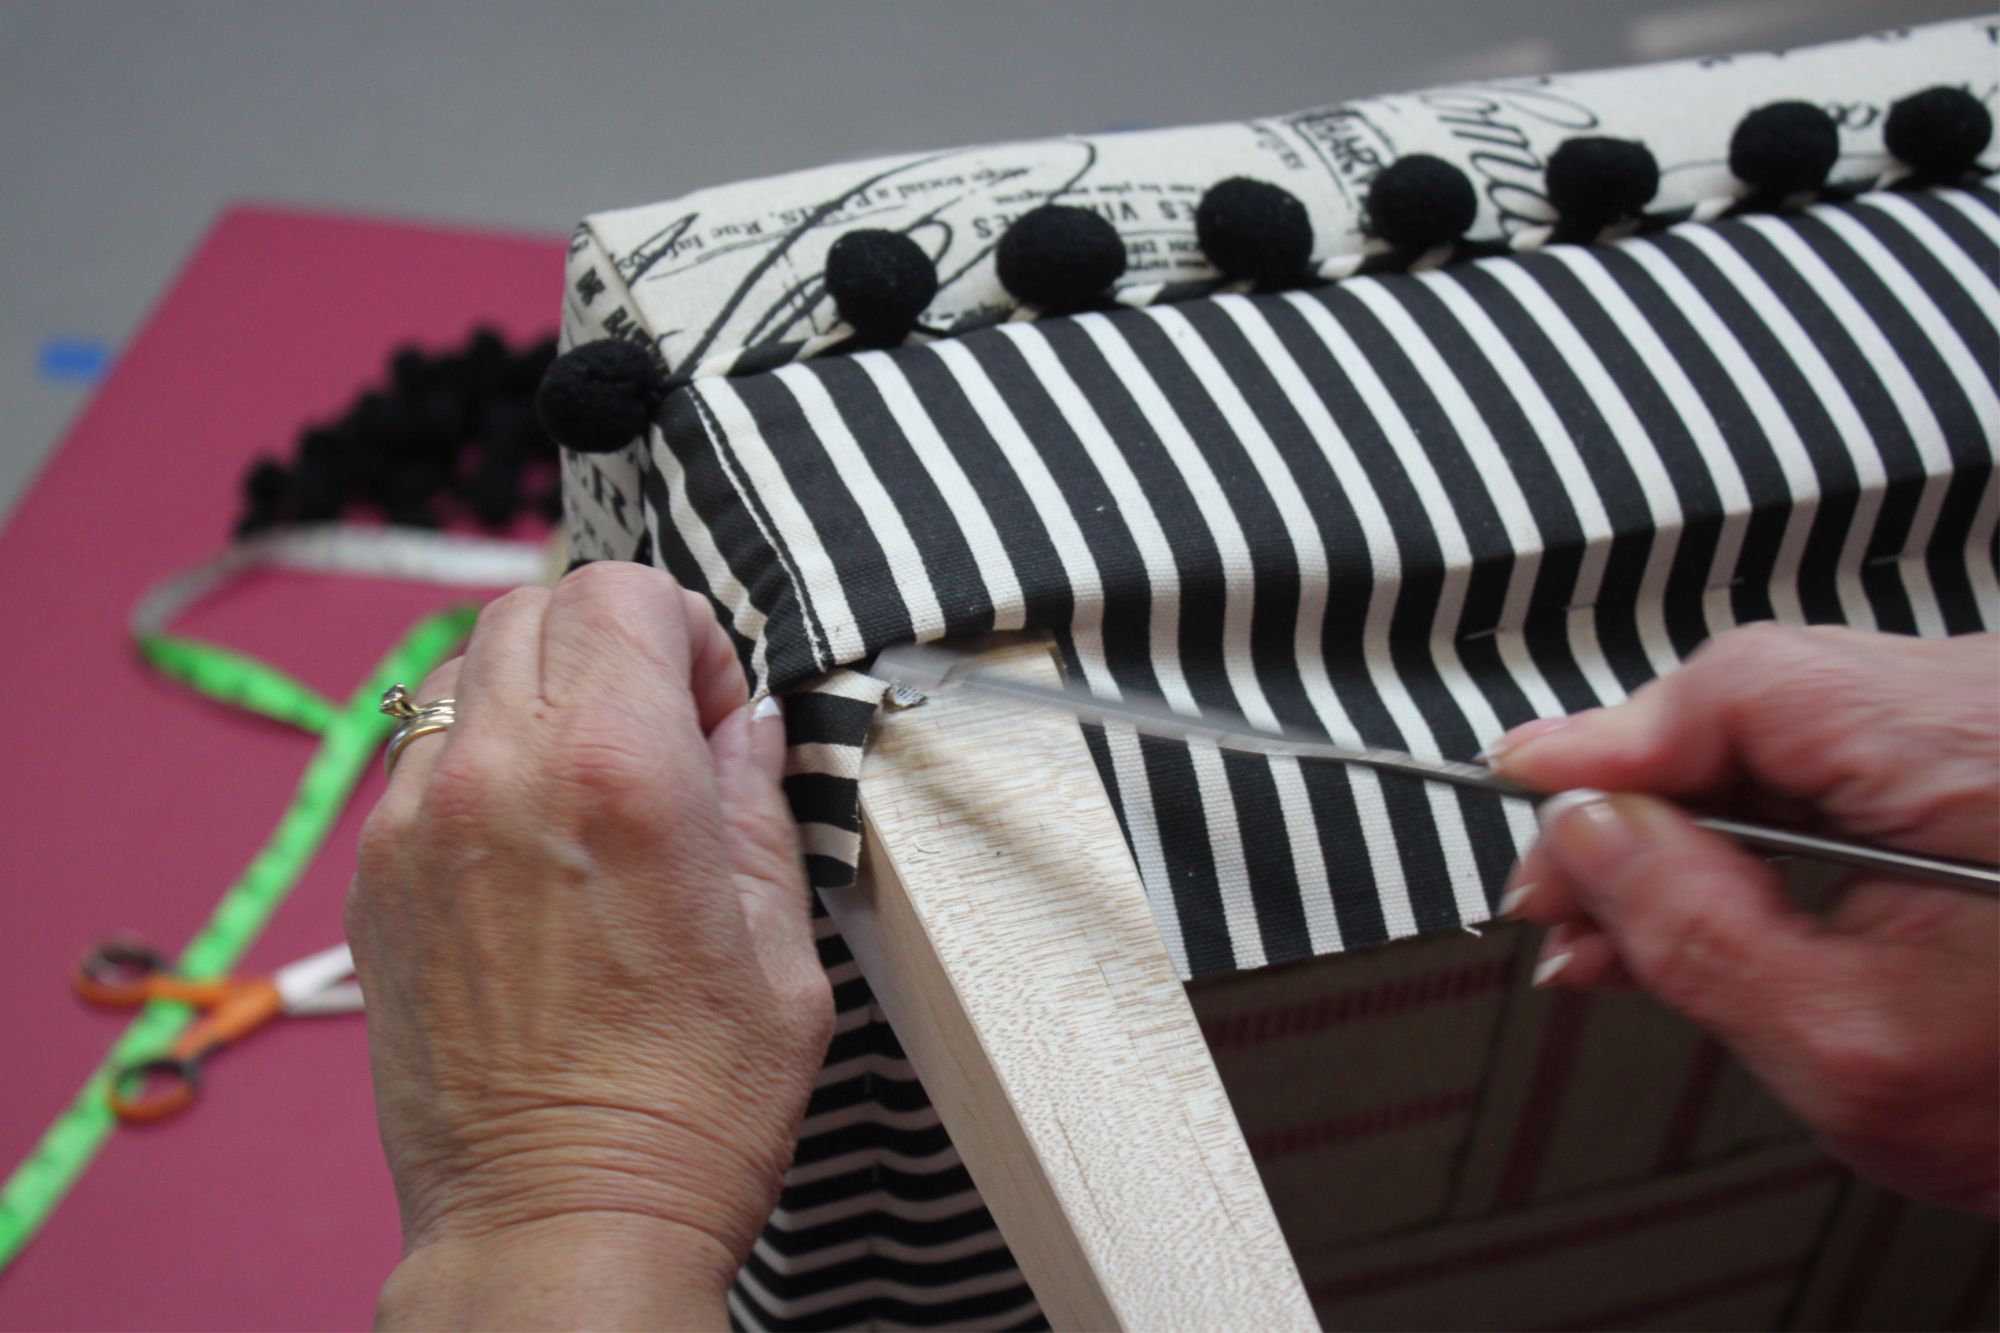
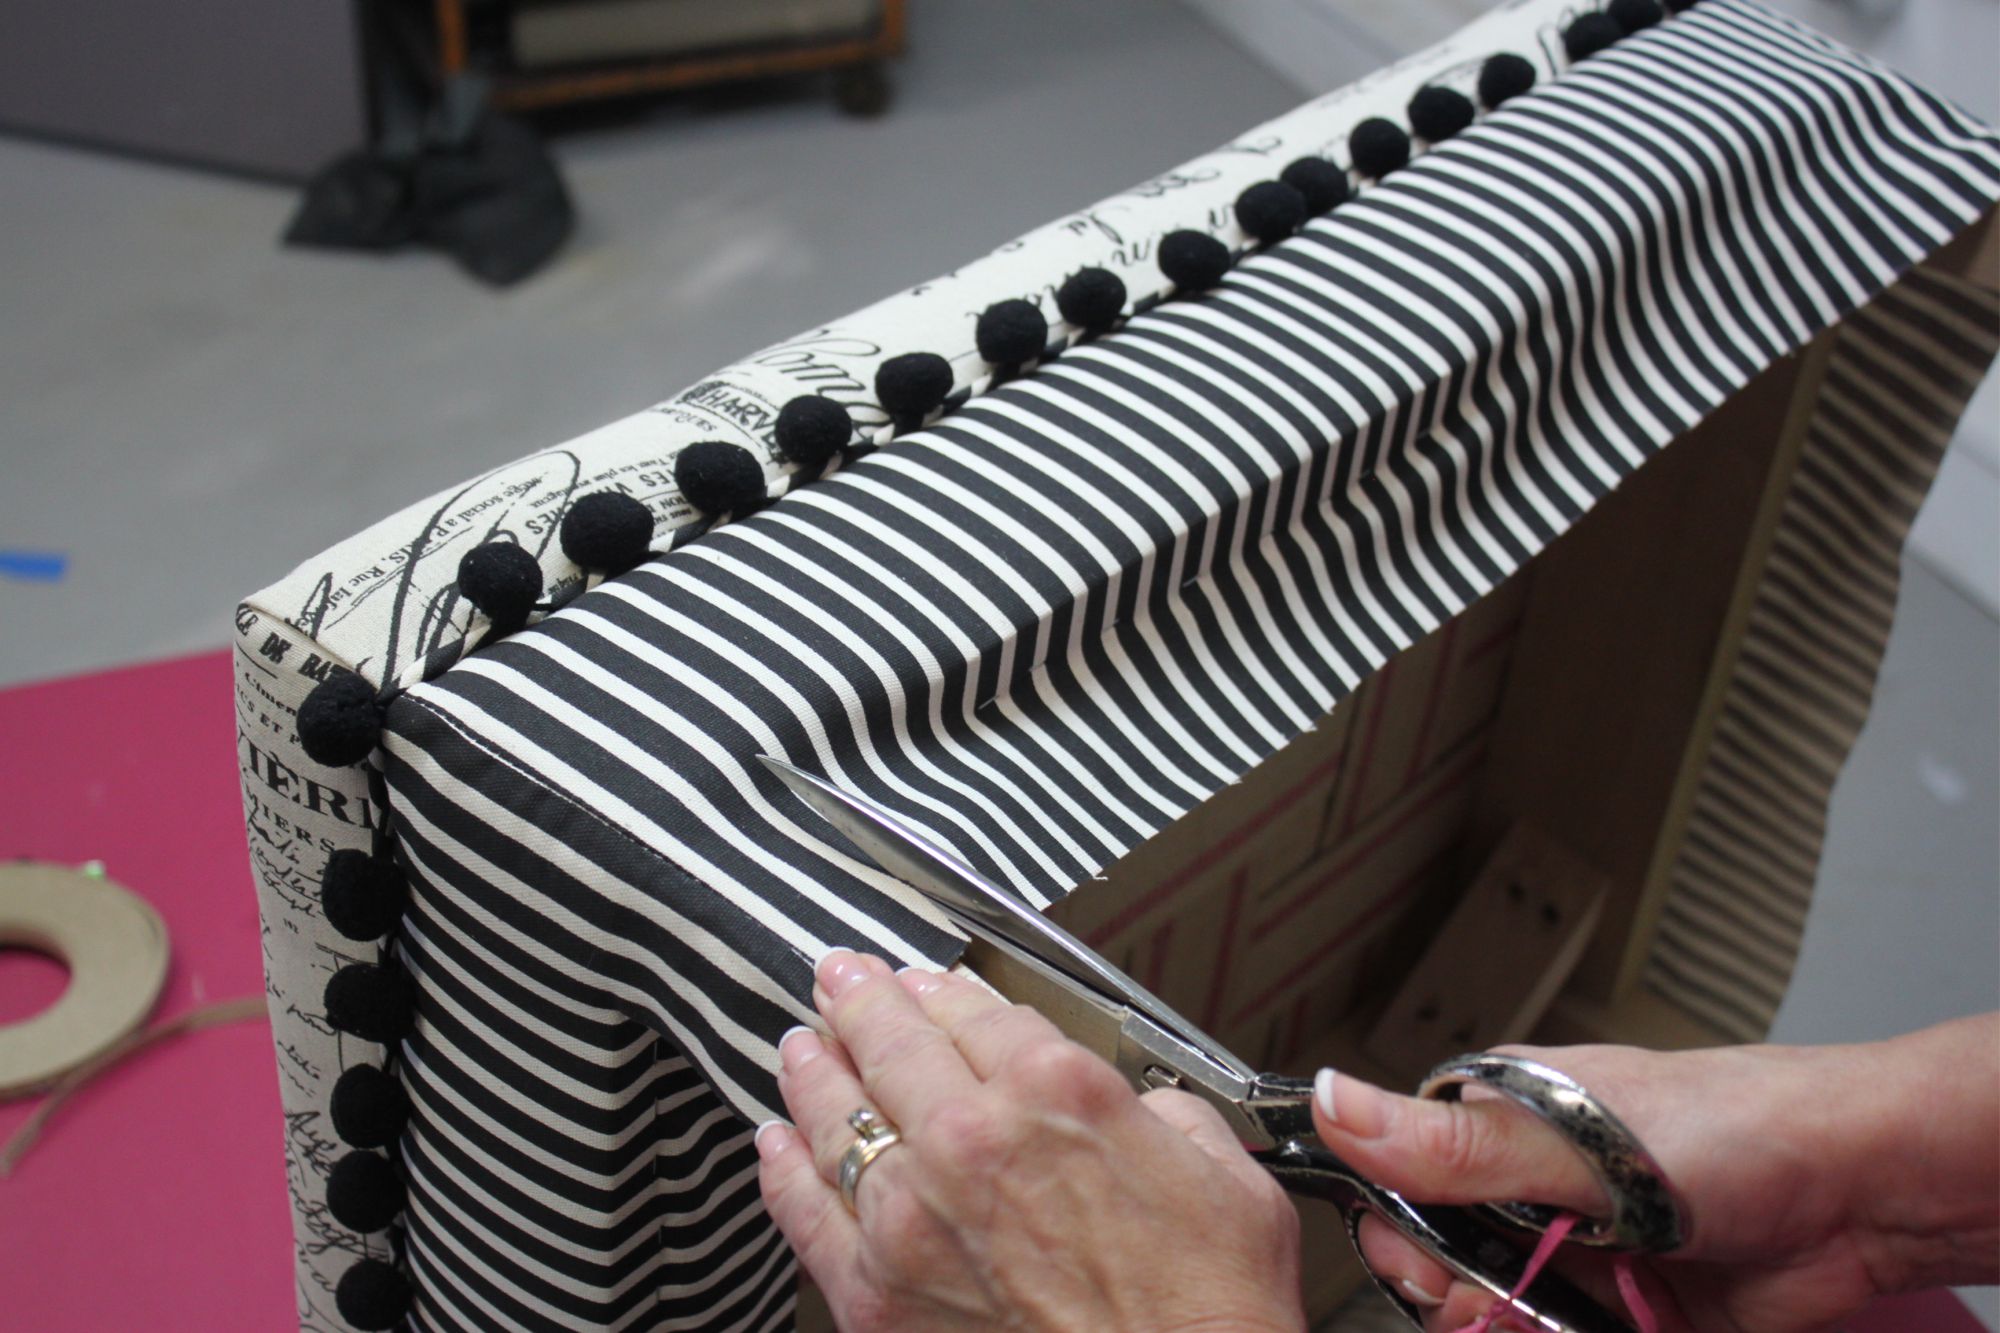
Applying cording and a boxing strip is a skill used in many chairs, sofas and couches. You will learn the skills to keep your cording straight and taut as you apply the cord to your ottoman. Once you have joined the ends of your cording you are ready to attach your boxing strip. As you staple the boxing strip with the cardboard tack strip on top you want to be sure and keep the cardboard tack strip tight up against the welt cord. I use a 1/2” cardboard tack strip almost exclusively in my work. Now you can see that I don’t do anything simple, so I have added a pom pom trimming to give my ottoman a bit of personality. This was the project I used for my presentation at the Country Living fair in Atlanta so I couldn’t just leave it plain….LOL!
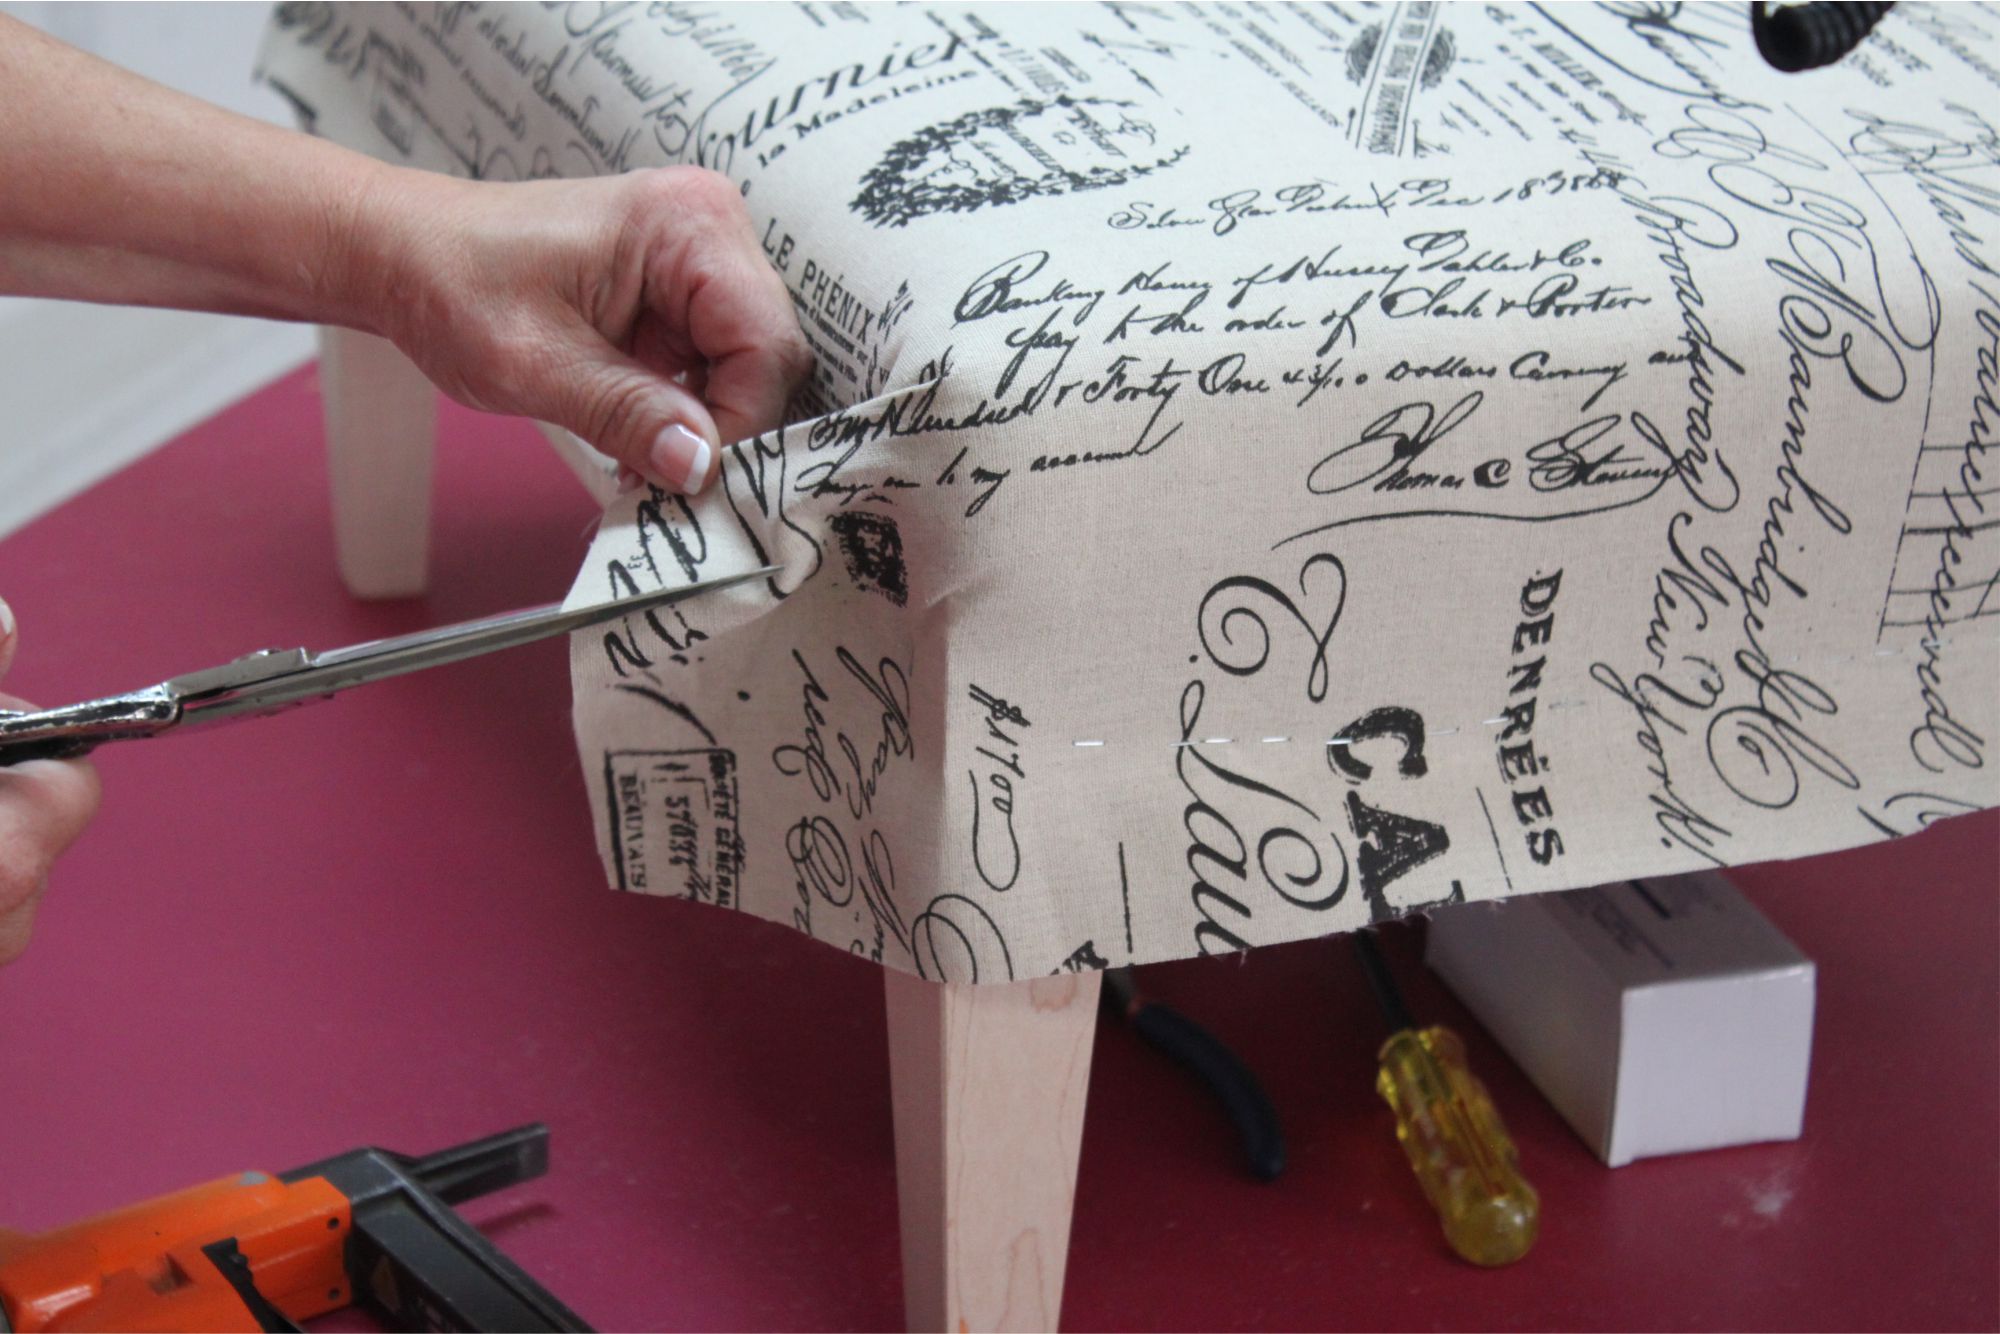
Wow, three more steps and we are done! Adding a layer of bonded Dacron under your boxing strip will give your ottoman a softer look and feel. Again this is a technique used in larger upholstery projects. Once your Dacron is attached you are ready to pull the boxing strip down and staple it underneath the ottoman frame. (Picture 8) Make sure to take your time when making the cuts around your legs. (Picture 7 and 7A) Accuracy will give you a nice clean finish to the boxing strip, These are the same cuts you make on any chair or sofa that is upholstered pulling the fabric under the frame.
Now is the time to decide if you want to add another row of cording, such as I have in this project. This is a design option and it really is up to you as to what look you want. Your last step is a dust cover. You always want to give your piece that professional finish by adding a dust cover to the underside. (Picture 9)
So let’s take a look at what skills you can now use to tackle the piece your really want to work on!
- First was our Jute Webbing, which is your base support system covered with a layer of basic burlap.
- We than added foam with Dacron for our softness and comfort.
- You upholstered your first layer of fabric that covered the top of the ottoman, learning to make cuts at your corners and getting a feel for how tight to pull the fabric.
- The next step was adding your welt cord with a boxing strip and getting to use the cardboard tack strip for a crisp clean edge to your boxing. Getting the feel for that was kinda rewarding, wasn’t it?
- You made a few cuts to get the boxing pulled under the frame and closed up the bottom with a final dust cover.
Voilà! You’ve learned some of the upholstery skills that will now allow you to move onto that coveted chair or sofa you’ve been wanting to tackle and reupholster.
Please share your pictures with me as you work on your ottoman and let me know how it goes. If you are looking for more in-depth instructions, I invite you to check out our online upholstery training classes where you will find this project and over 90 in-depth upholstery tutorials that will help you get the skills you need to take your projects to the next level!!
Oh, and I should mention that once you finish that first piece sets in!! You’ve been warned 😉
See you on the inside,
Kim