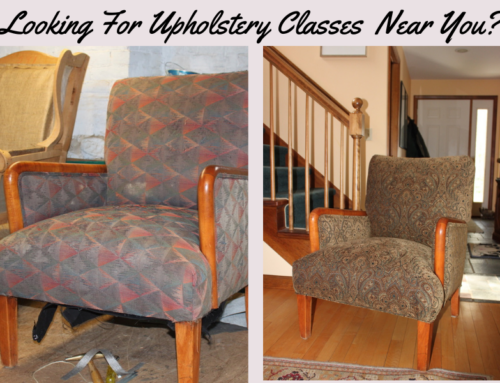
Now that you’ve done a few basic projects and you want to kick it up a notch by adding a bit more glamour to your piece. A beautiful dressmaker skirt might be the answer. Formal but not too much, stylish (definitely), and oh so much fun to create.
Don’t worry if someone decides to lift your skirt, as the underside is fully dressed too.
Here is what you will learn in our newest online class tutorial
“How To Add A Dressmakers Skirt To Your Upholstery Project”


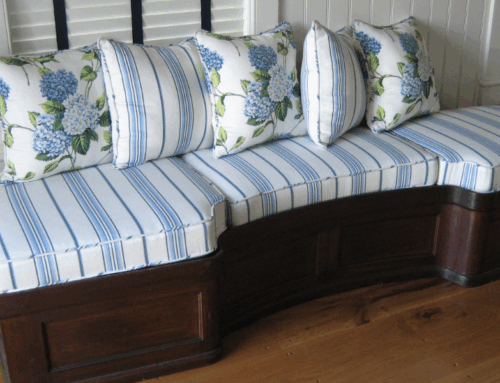
You’ll notice the outside fabrics on our club chair are one piece that creates the skirt. Talk about one and done! This method makes closing up a piece quicker than most other skirt styles.
One last skirt section and this chair will be finished!
Just like with our outside arms, the outside back is also the skirt. Don’t forget to add your flaps so we don’t expose any bare legs ; ).


Woohoo, we are done! Now wasn’t that a fun style skirt?
Now if you are interested in learning The Dressmakers Skirt and many more skills you’ll want to join our Online Classes Membership. For only $49/month, $269/year as a bi-annual member, or $490/year as an annual member, you will gain access to videos containing 100’s of upholstery skills to help you with your projects. Are you just starting out? No worries as we have a beginners section where you can start out slow. If you have a few skills but are ready to move forward, we’ve got you covered too.
Here is what others are saying . . . .