Stop Guessing Your Upholstery Fabric Yardage
You found the perfect chair. You fell in love with a gorgeous fabric. You ordered what the chart said, and then halfway through the inside arms… you ran out. Sound familiar?
This is one of the most common questions in our weekly live chats. This year alone, several of my workshop students ran short on fabric for their projects, and other members had to get creative with piece placement because they didn’t measure before buying. If you’re doing work for others, running short costs you money and time. And if your fabric has been discontinued? Well, that’s a whole other can of worms.
The good news is that figuring out your upholstery fabric yardage isn’t hard. It just takes a tape measure, a notepad, and about 15 minutes of your time before you click “buy.”
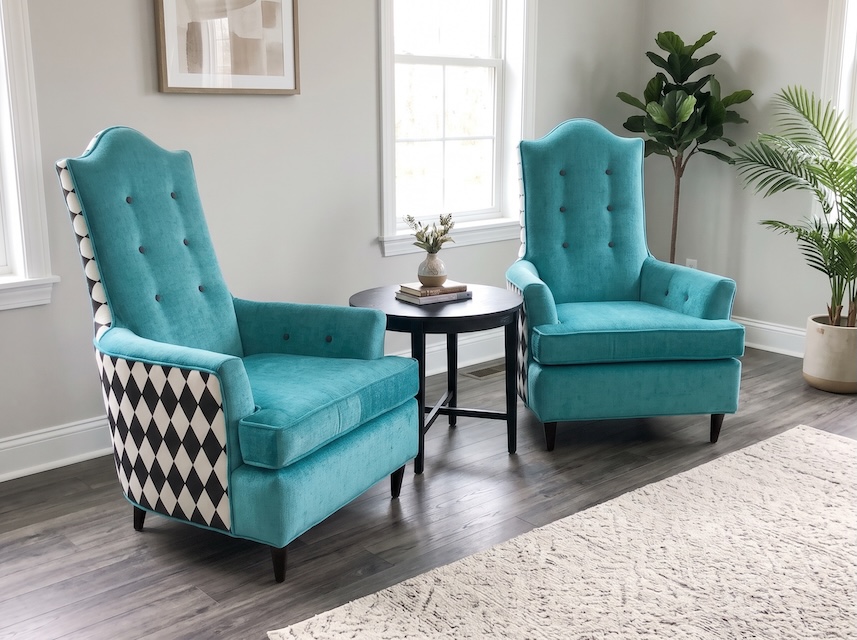
See how I upholstered these chairs HERE
Why the Old Yardage Charts Let You Down
Those handy upholstery fabric yardage charts you find online feel like a shortcut. The trouble is, most of them were written decades ago, and they come with two hidden problems.
First, furniture has grown. Many of today’s chairs and sofas are deeper, taller, and wider than the pieces those charts were based on, so they require more upholstery fabric yardage than the similar chair on the charts does.
Second, professional upholsterers often sewed pull strips onto their fabric. These are strips of inexpensive fabric stitched to the edges of a piece. They’re hidden inside the furniture, and they give you something to grab and staple. That meant the good fabric could be cut smaller, saving money but the time it takes adds up to $$. As a DIYer, you’ll most likely cut each piece 8 to 12 inches wider and longer instead, so you have plenty to hold onto. Add that up over a whole chair, and the chart can leave you yards short.
So use the chart for a rough idea, if you like. But measure your own piece before you buy.
How to Measure Upholstery Fabric Yardage, Piece by Piece
Wondering how much fabric to reupholster a chair? The secret is simple. Instead of guessing for the whole chair, you measure every piece of fabric the chair needs. Then you lay those pieces out on paper, just like you’ll lay them out on your fabric.
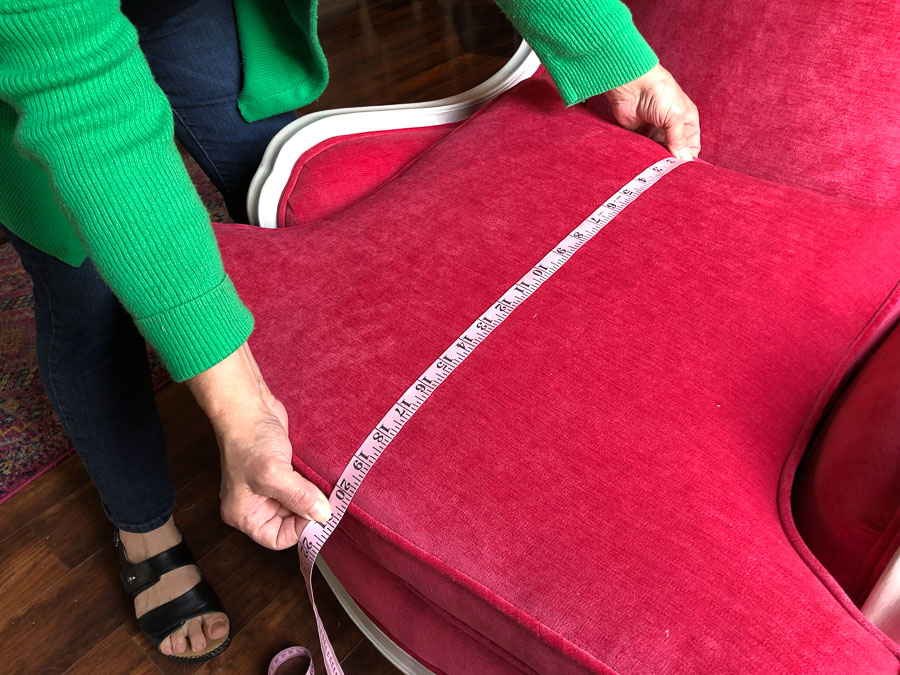
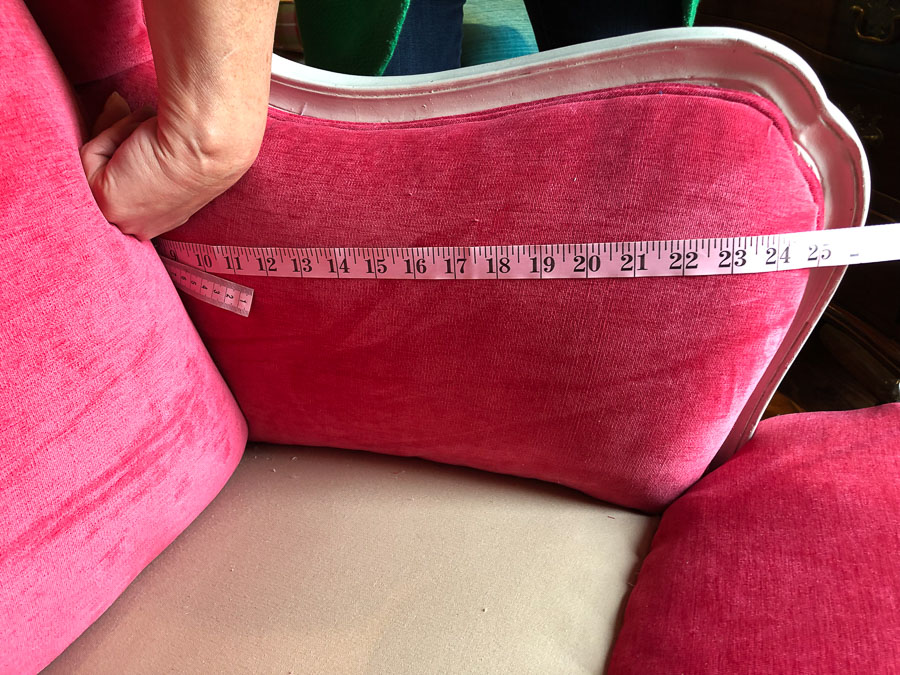
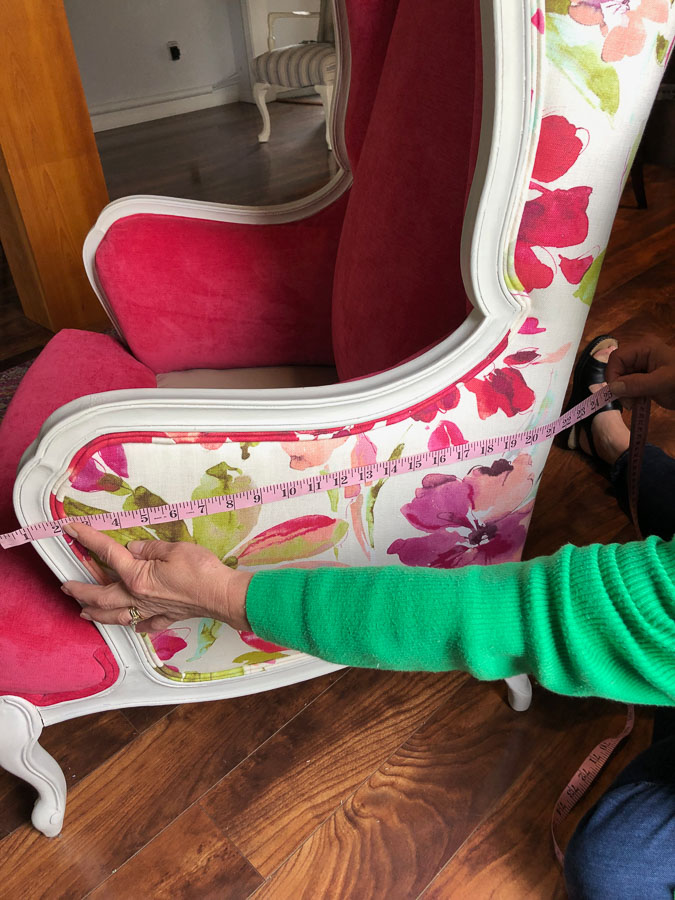
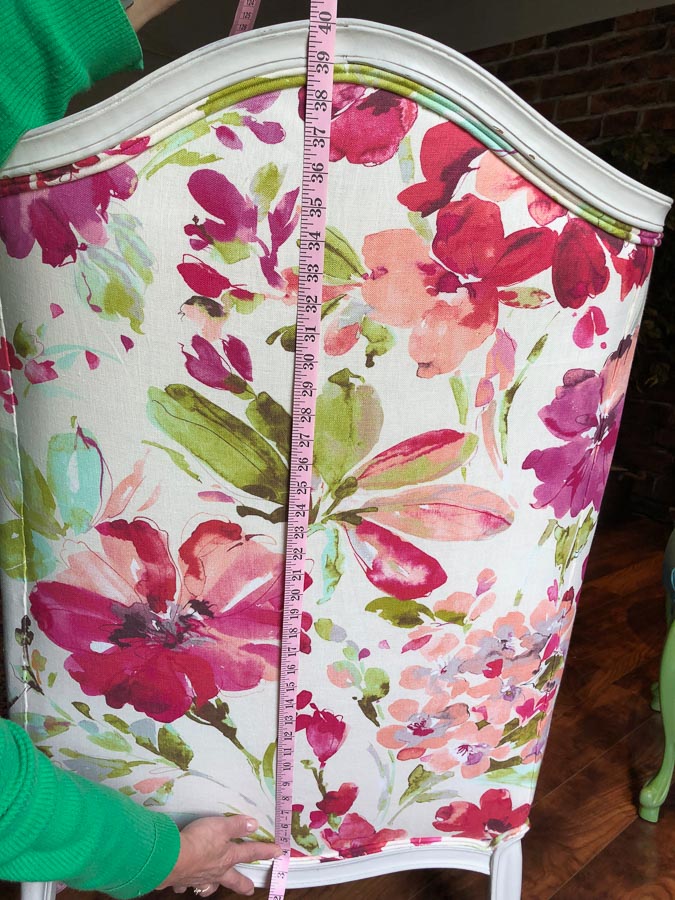
- Name your pieces. Walk around the chair and list each fabric section. Most chairs have an inside back (IB), outside back (OB), inside arms (IA), outside arms (OA), seat or deck, arm fronts, and maybe a cushion, boxing, skirt, and cording. Snap a few photos while you’re at it. You’ll thank yourself later.
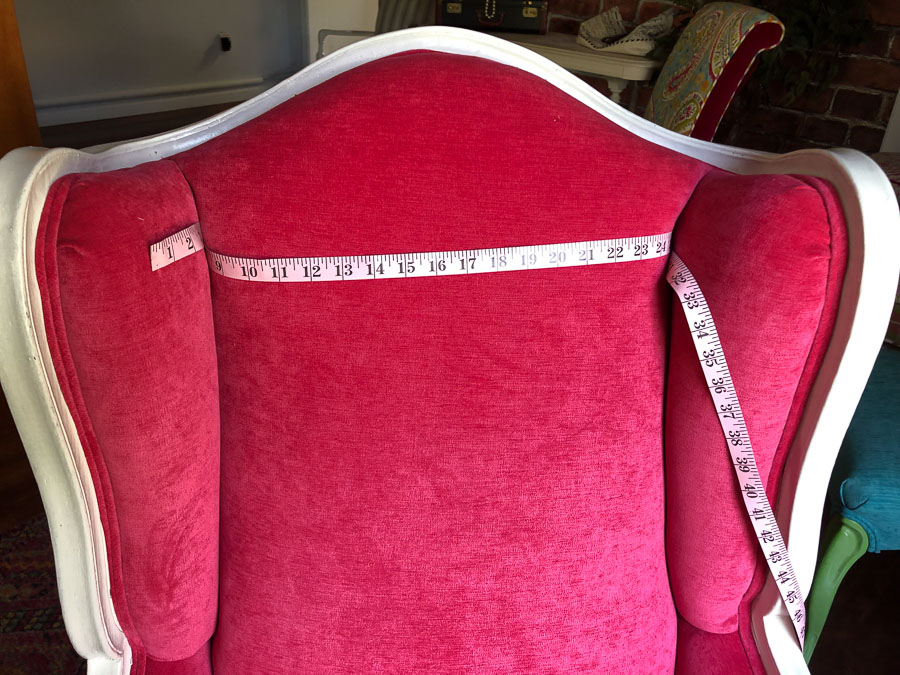
- Measure each piece at its widest and longest point. Run your tape over the padding, not straight across, and go around to where the fabric will be stapled. Curves eat fabric, so follow them.
- Add your extra. Add about 4 to 6 inches on every side, for roughly 8 to 12 inches of extra width and length. This gives you room to pull, adjust, and staple without fighting for every inch.
- Make a cutting list. Write down each piece with its finished cutting size. Don’t forget that you need two of most arm pieces! (Download my measuring form to save time recreating; it will help you be more accurate.)
- Draw your layout. On graph paper, draw a long strip the width of your fabric, usually 54 inches. Fit your pieces into that strip, with the tops of every piece facing the same direction. Add up the length you used, divide by 36, and that’s your upholstery fabric yardage.
- Plan your cording. Measure every edge that gets welt cord and add those inches together. Strips for cording are best cut in long lengths for minimal seams (1.5 yards makes plenty of cording), but you can often tuck into leftover spaces in your layout if seams are not an issue for you.
This takes a little patience the first time. After a couple of chairs, you’ll whip through it.

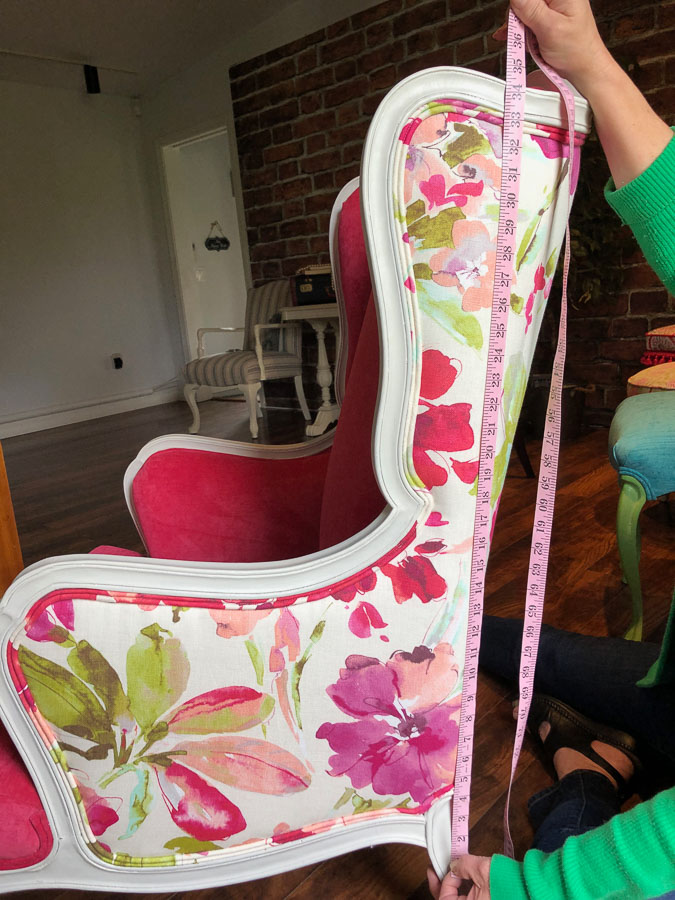
Pattern Repeats, Railroading, and Cushions
A solid fabric is the easiest to plan. Once you add a pattern, you need more.
Pattern repeats. Check the fabric’s vertical repeat, which is the distance before the design starts over. When a motif needs to be centered on the inside back, seat, and cushion, each piece has to start at the same spot in the pattern. In your layout, round each piece’s length up to the next full repeat. One member this year had a fabric with a 27-inch vertical repeat and a 54-inch horizontal repeat. A big pattern like that can add yards in a hurry. Download our Free PDF on calculating fabric with larger repeats
Stripes and plaids. These need to line up from the inside back down to the seat and cushion, and sometimes across the arms, too. Plan extra so you can shift pieces until everything matches.
Railroaded fabric. Some fabric is woven so the pattern runs selvage to selvage instead of up the roll. This is handy for sofas, because you can cut a long inside back with no seams. It also changes your layout completely, so ask before you buy.
Cushions. Measure the top and bottom plates, then the boxing all the way around. Remember that both plates usually need to match the pattern on the seat and back.
Buy a Little Extra (Trust Me)
Once your layout is done, buy a bit more than it says. Even pros miscut a piece now and then, or find a flaw in the fabric. A few spare yards are cheap insurance, and leftovers make lovely throw pillows.
This is especially important if your fabric is a closeout or might be discontinued. Several members learned this one the hard way this year. Finding more of the same fabric, from the same dye lot, can be next to impossible.
Want to see me measure a real chair from start to finish? Members can watch my Measuring for Fabric Yardage video in the membership. It walks you through every piece and explains how to use the form I’ve created, so you can measure with confidence and get on to the fun part: making your furniture beautiful.