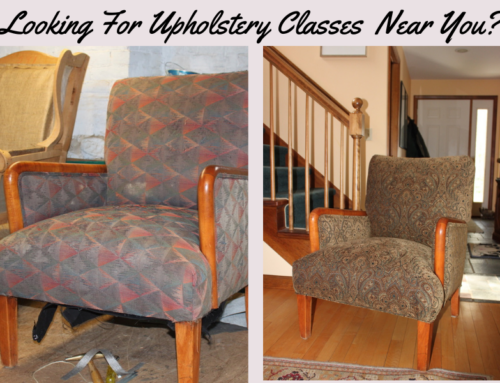
Upholstering step by step
I often get asked by both students and clients what steps are involved in upholstering furniture. Well there are similarities and differences between each piece of furniture. Two chairs that look the same on the outside can be totally different on the inside. This pair of chairs are family heirlooms. My clients inherited these pieces from a great grandmother and they have seen years of love and memories. Today I will share with you how I brought this piece into a new era.
Tear down is always the first step to any upholstery project. Some upholsterers don’t take off as much old padding and material as they should. When you are putting hours into a piece of furniture, and the client is spending their hard earned money for the work, you don’t want to take a chance that the old support system is on it’s last legs. Also, it is pretty dirty inside as dust and dirt does make it way through the fibers in the fabric and will be nestled into the old padding. This is just one reason why I remove all the old padding and replace with brand new materials.
Now that the dirty work is done we can give the chairs new life
Once the chairs were torn down, I could start with a clean slate and build upon the frames which were well built and only needed minor tightening and touch up. The steps to take me through the process of bringing new life to these chairs is listed below. You can also see the pictures to get an understanding of the steps involved in reupholstering a piece of furniture.
Here are the steps in upholstering these Vintage Chairs
- Tear Down
- Frame Repair and Touch Up
- Adding the Support Systems
- Tying Springs
- Padding and Upholstering the Inside
- Seat
- Arms
- Inside Back
- Padding and Upholstering the Outside
- Outside Arms
- Outside Back
- Attaching Decorative Trim
- Closing the Bottom with a Cambric Dust Cover

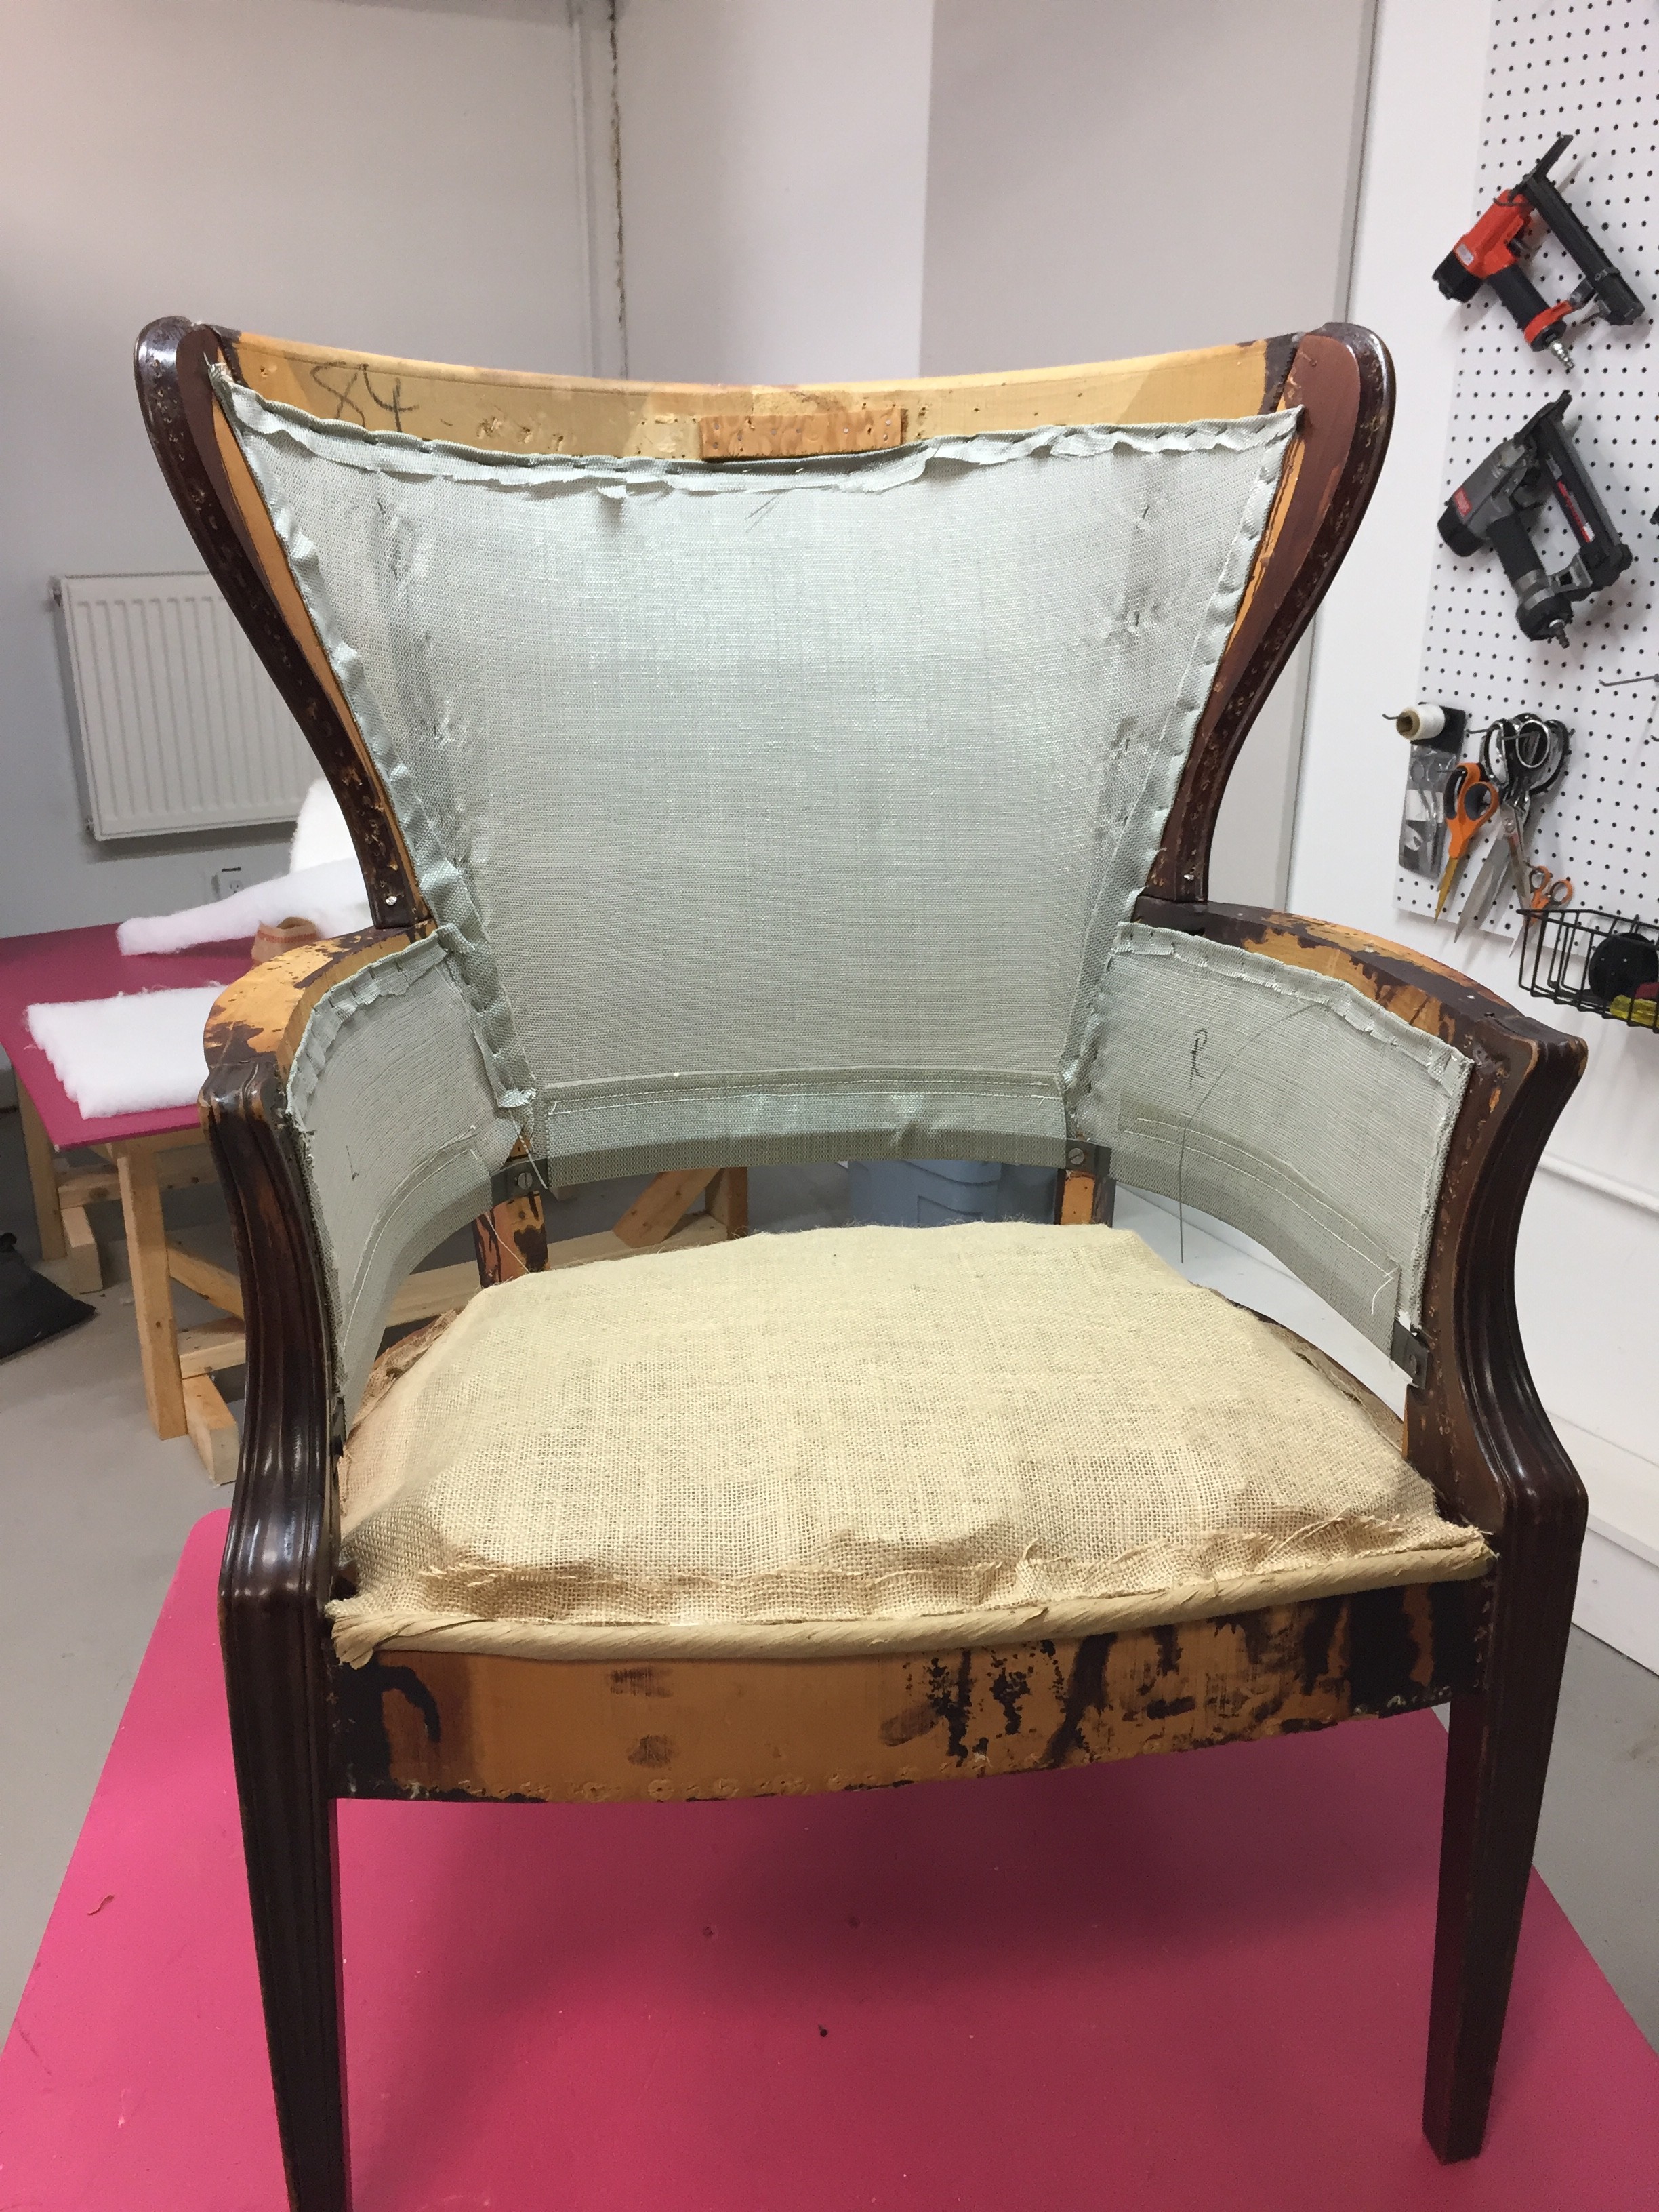
Here you can see the chair before above. I had started removing the fabric at this point. In the image below you see the bare frame and that everything has been removed.


Support systems and springs completed
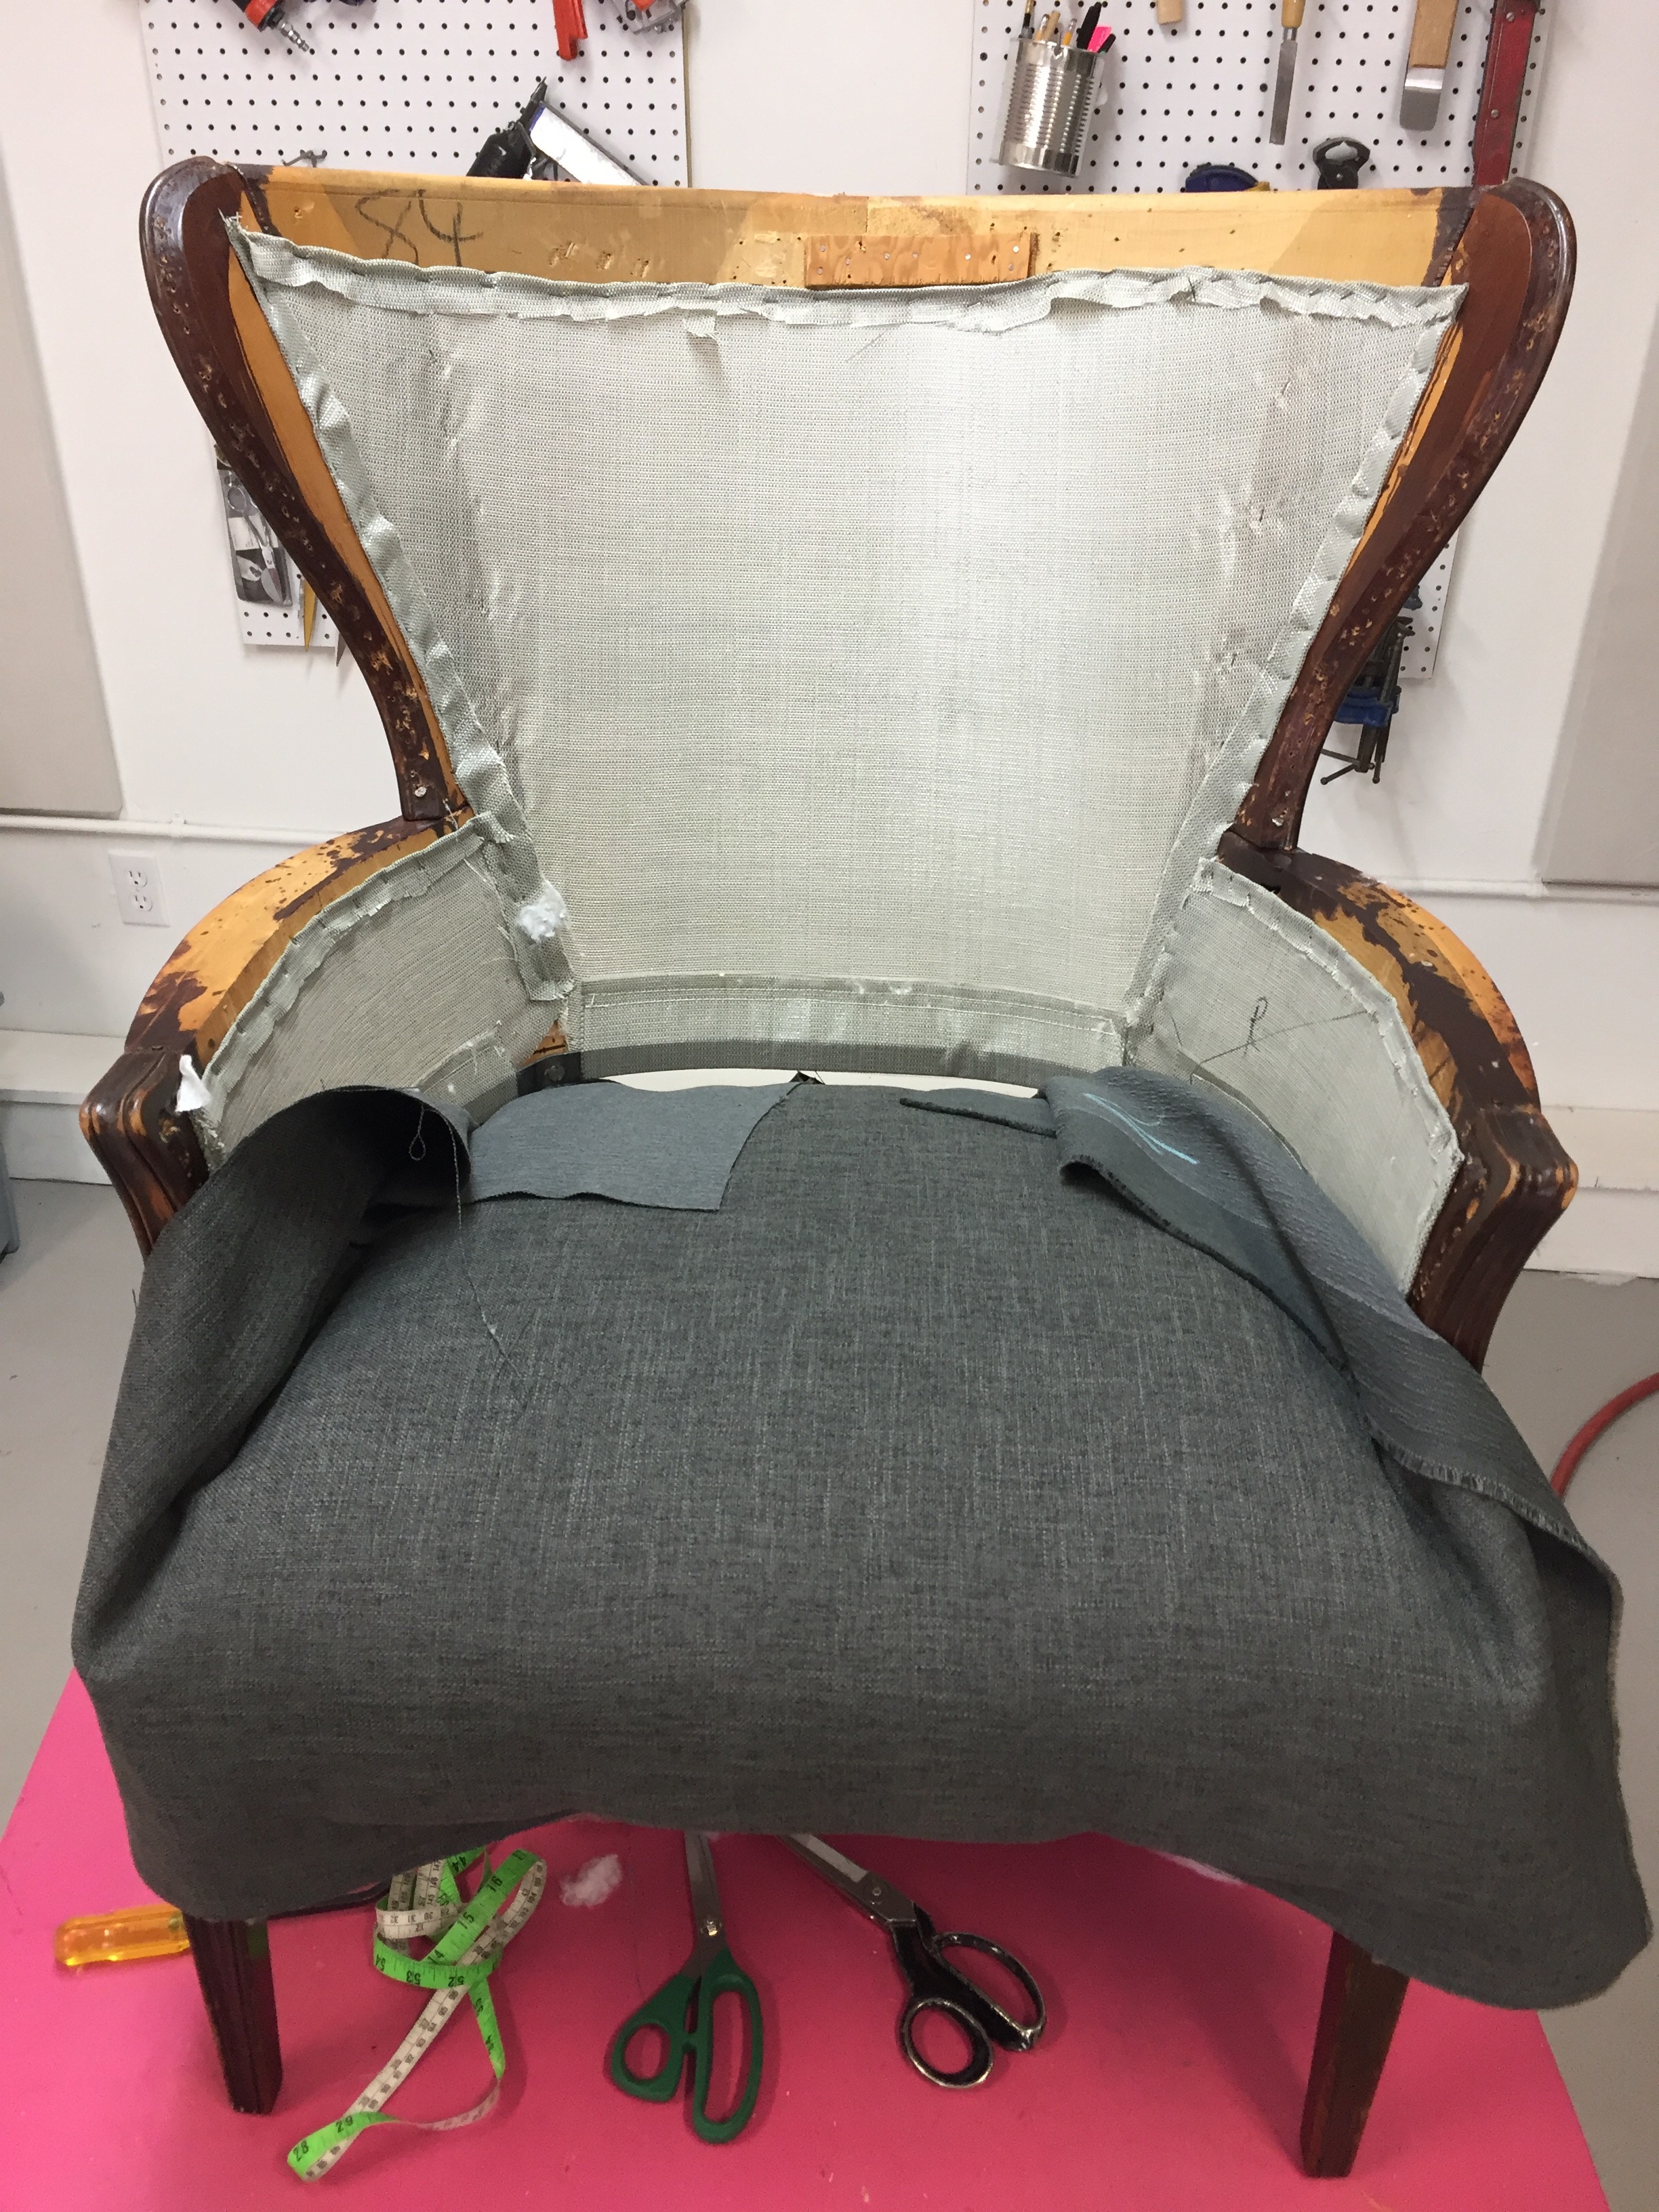
Chair seat is padded and upholstered
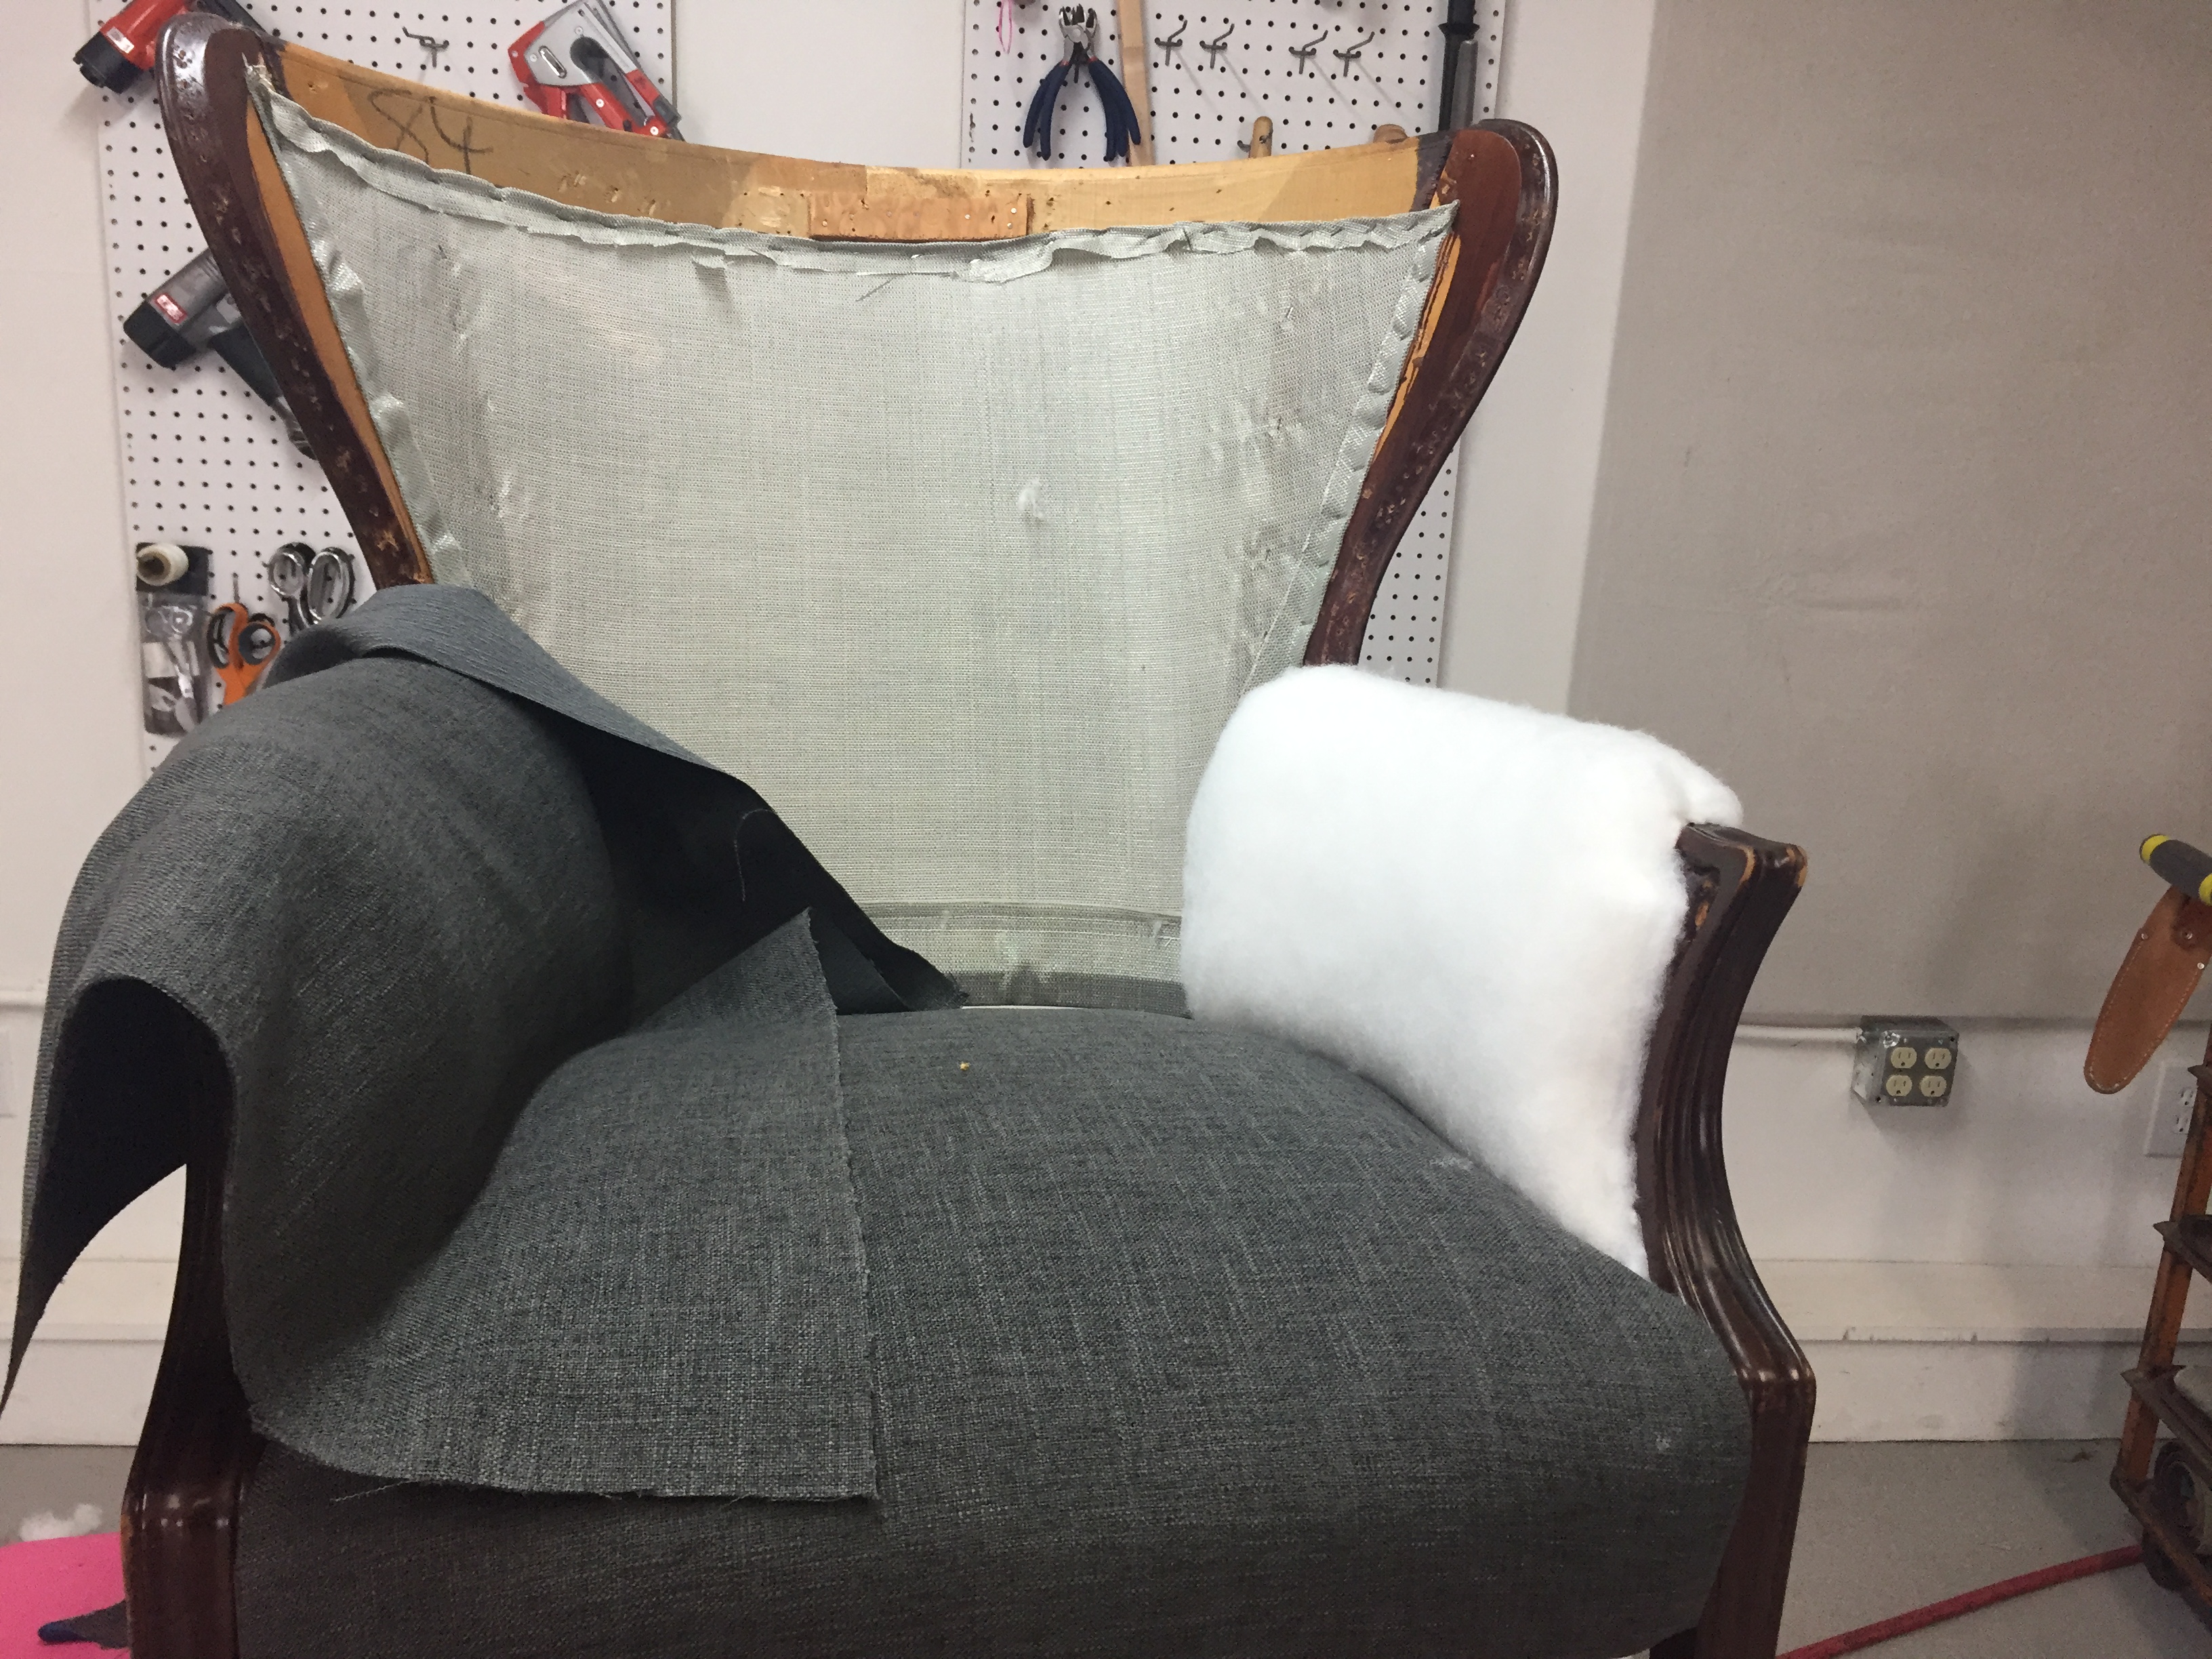
Upholstering the inside arms
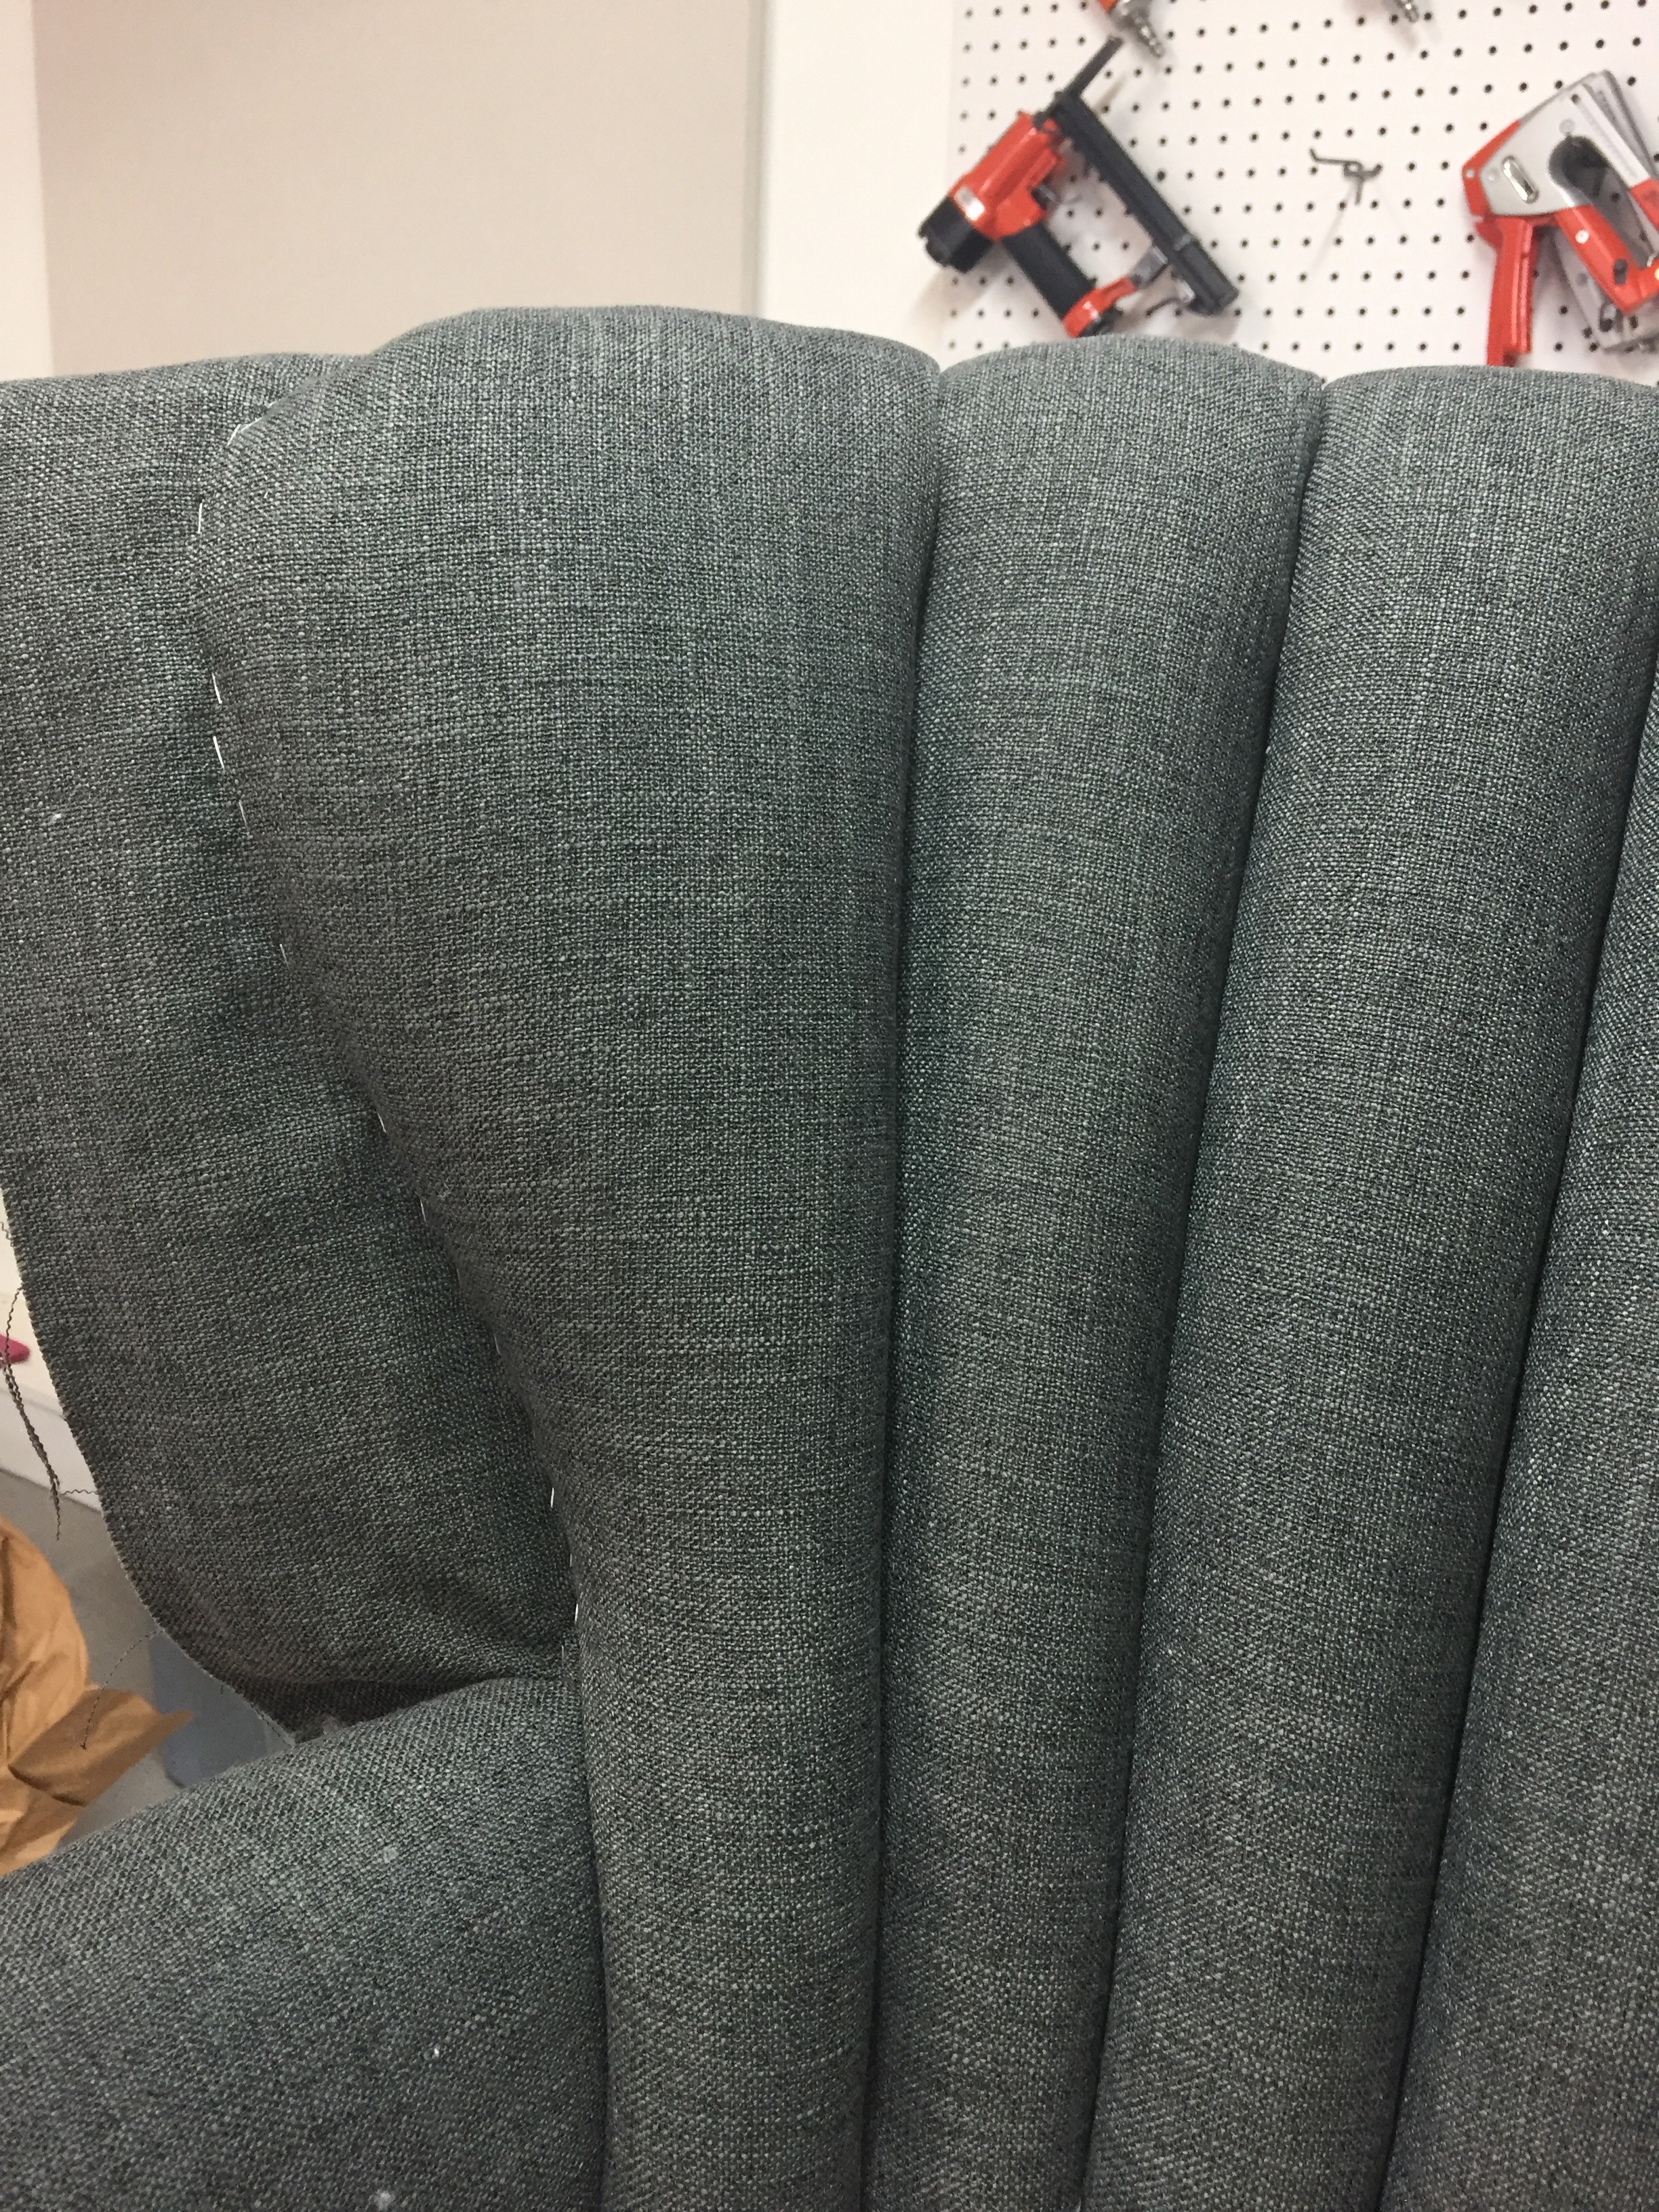
Attaching the inside back
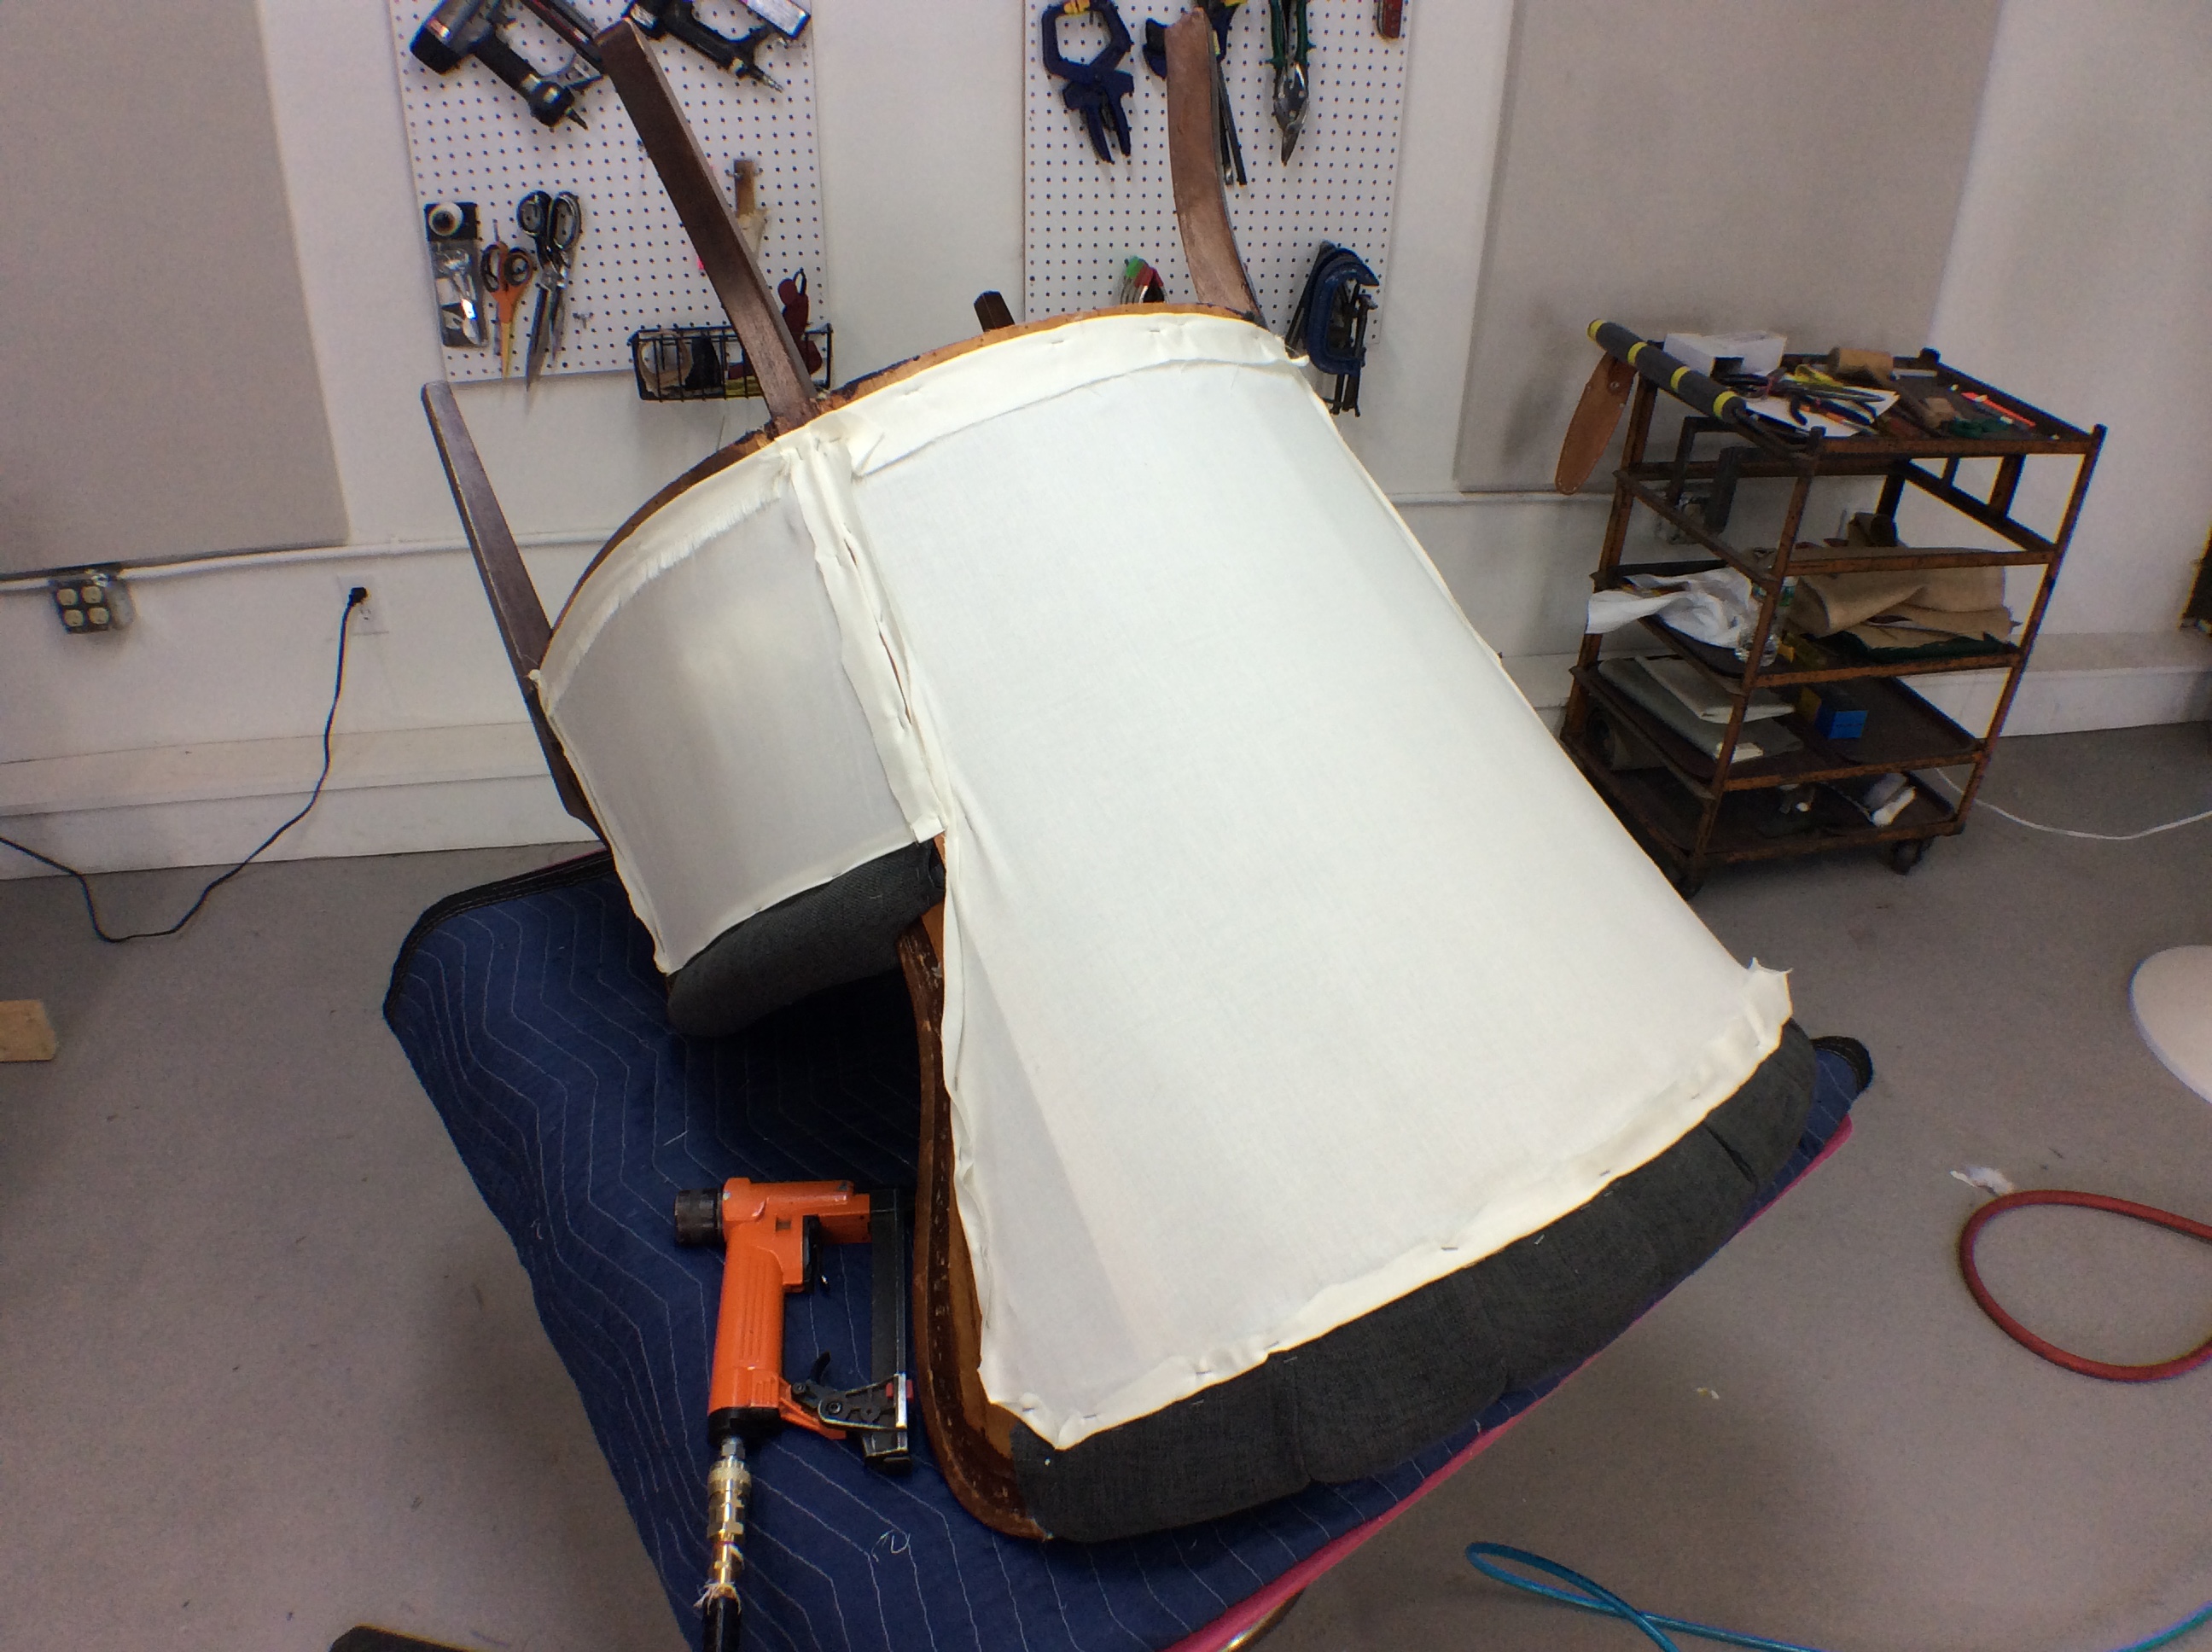
Closing up the outsides
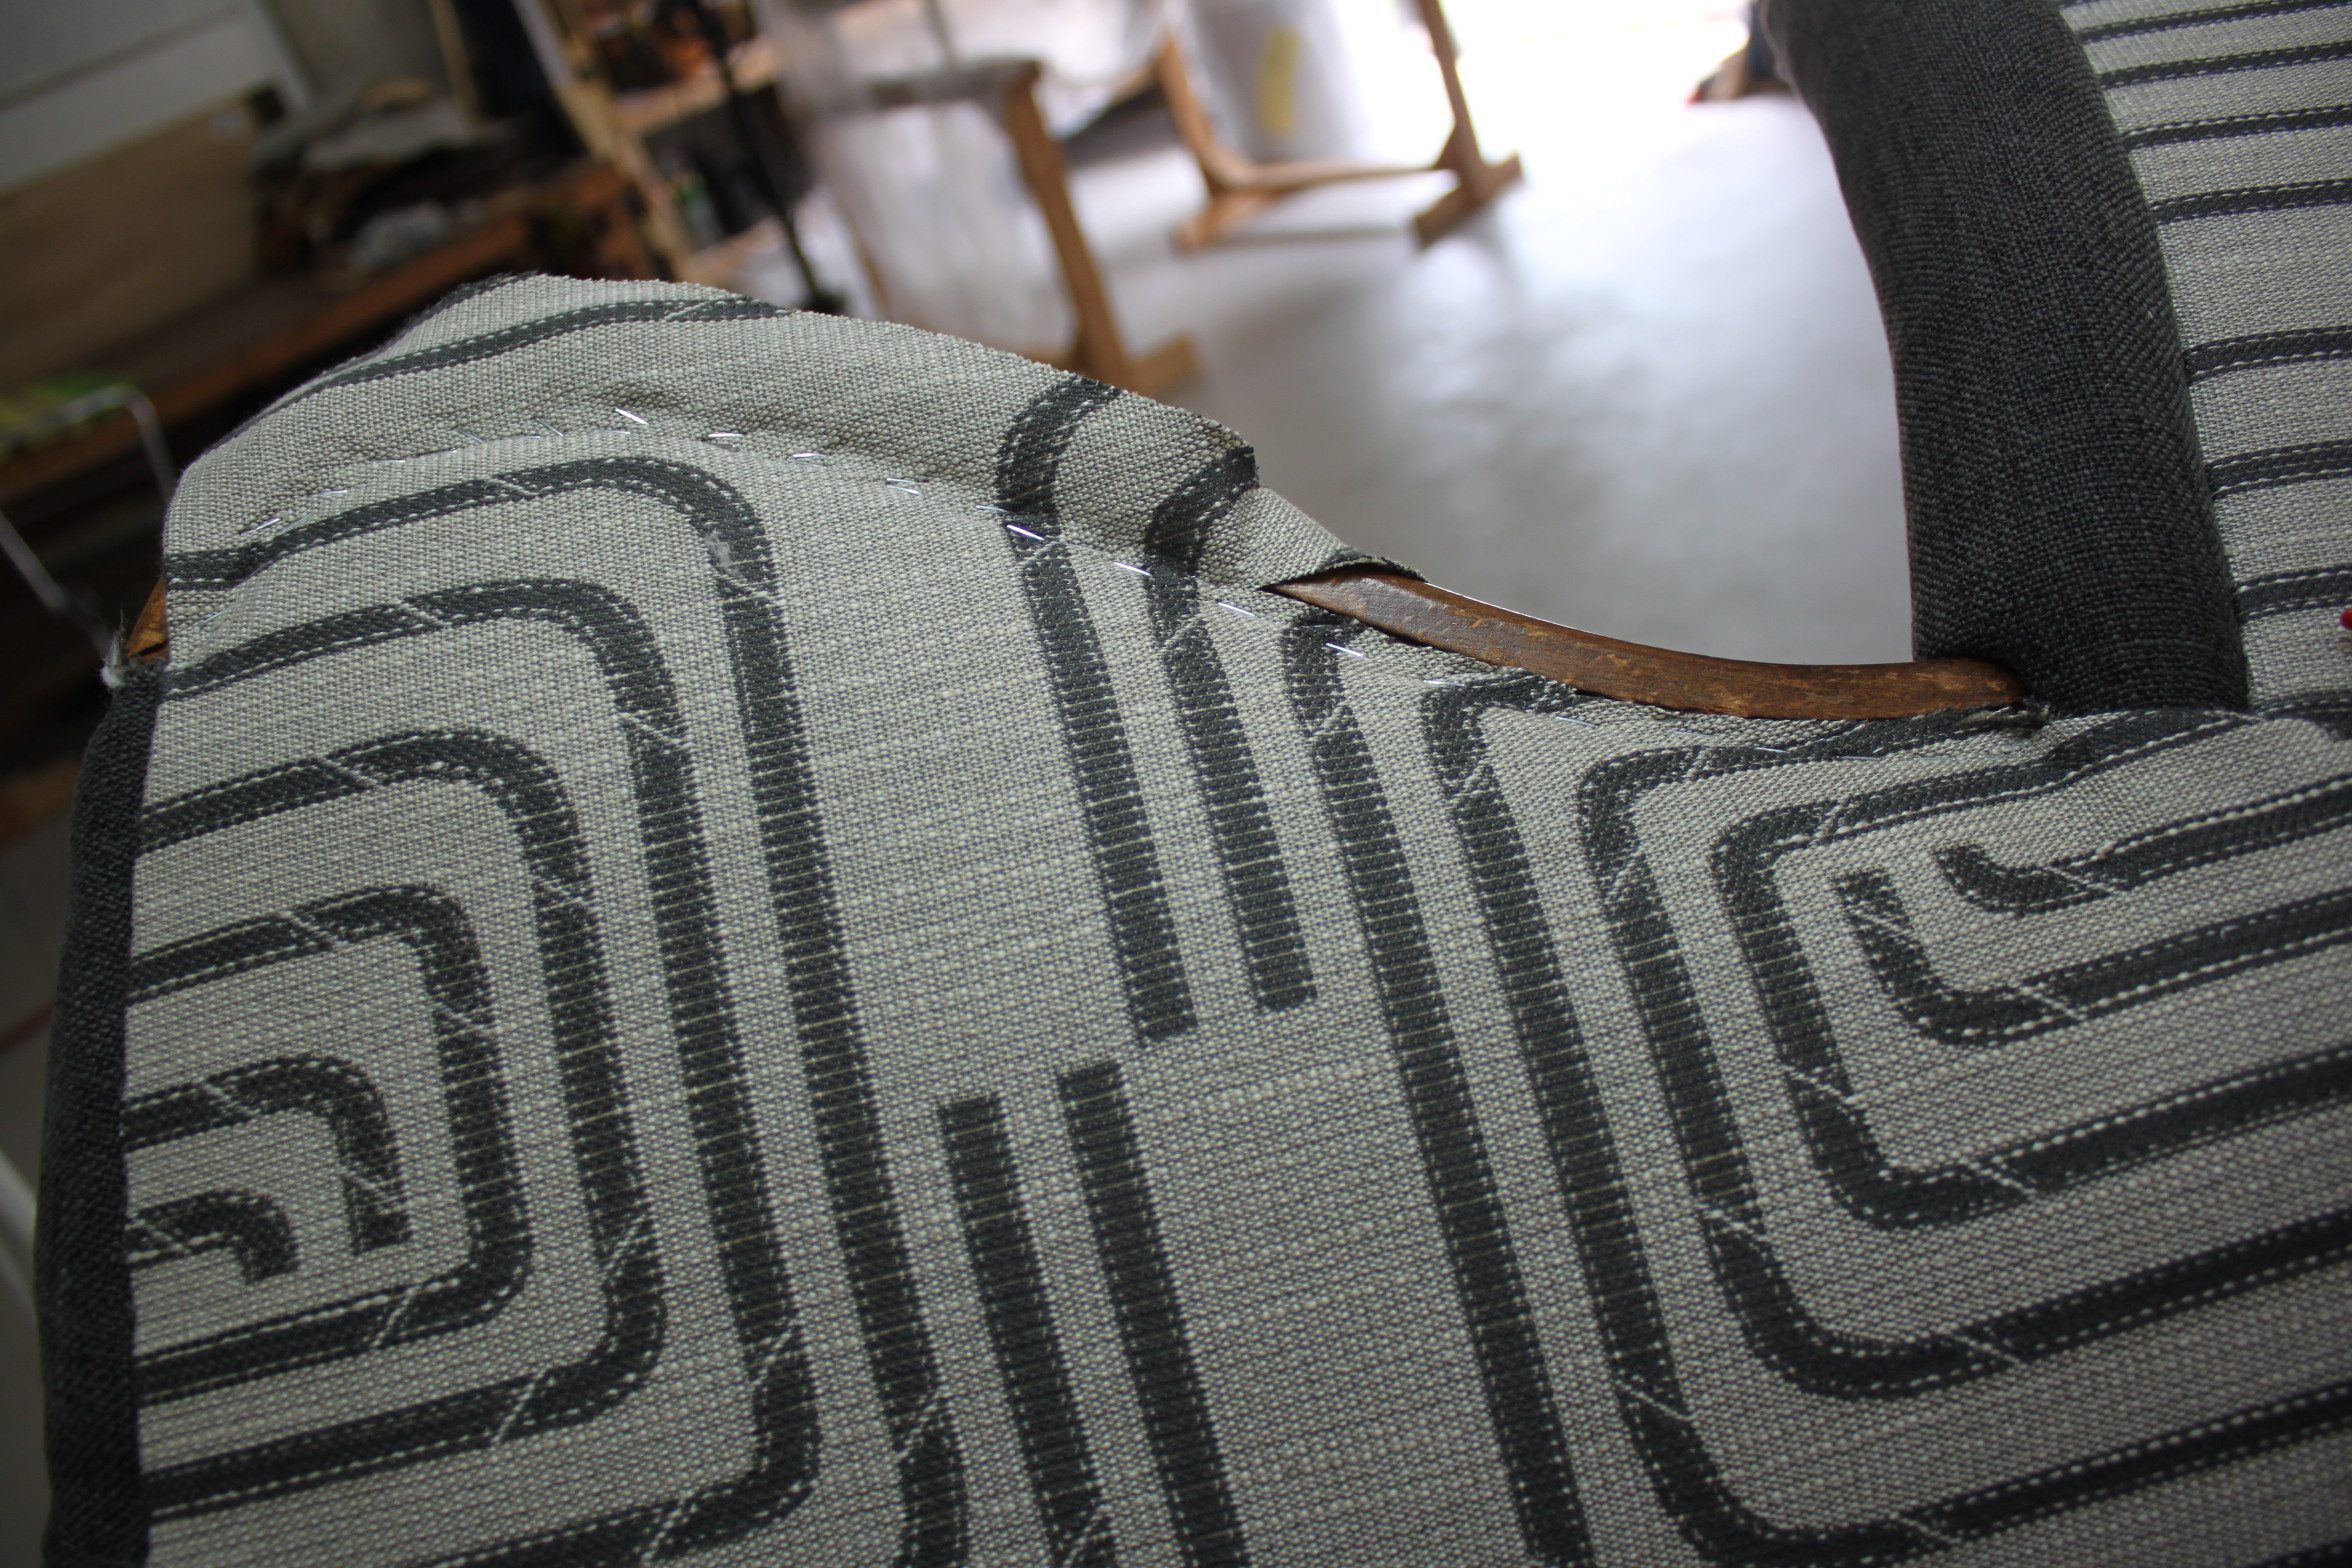
Attaching the outside back
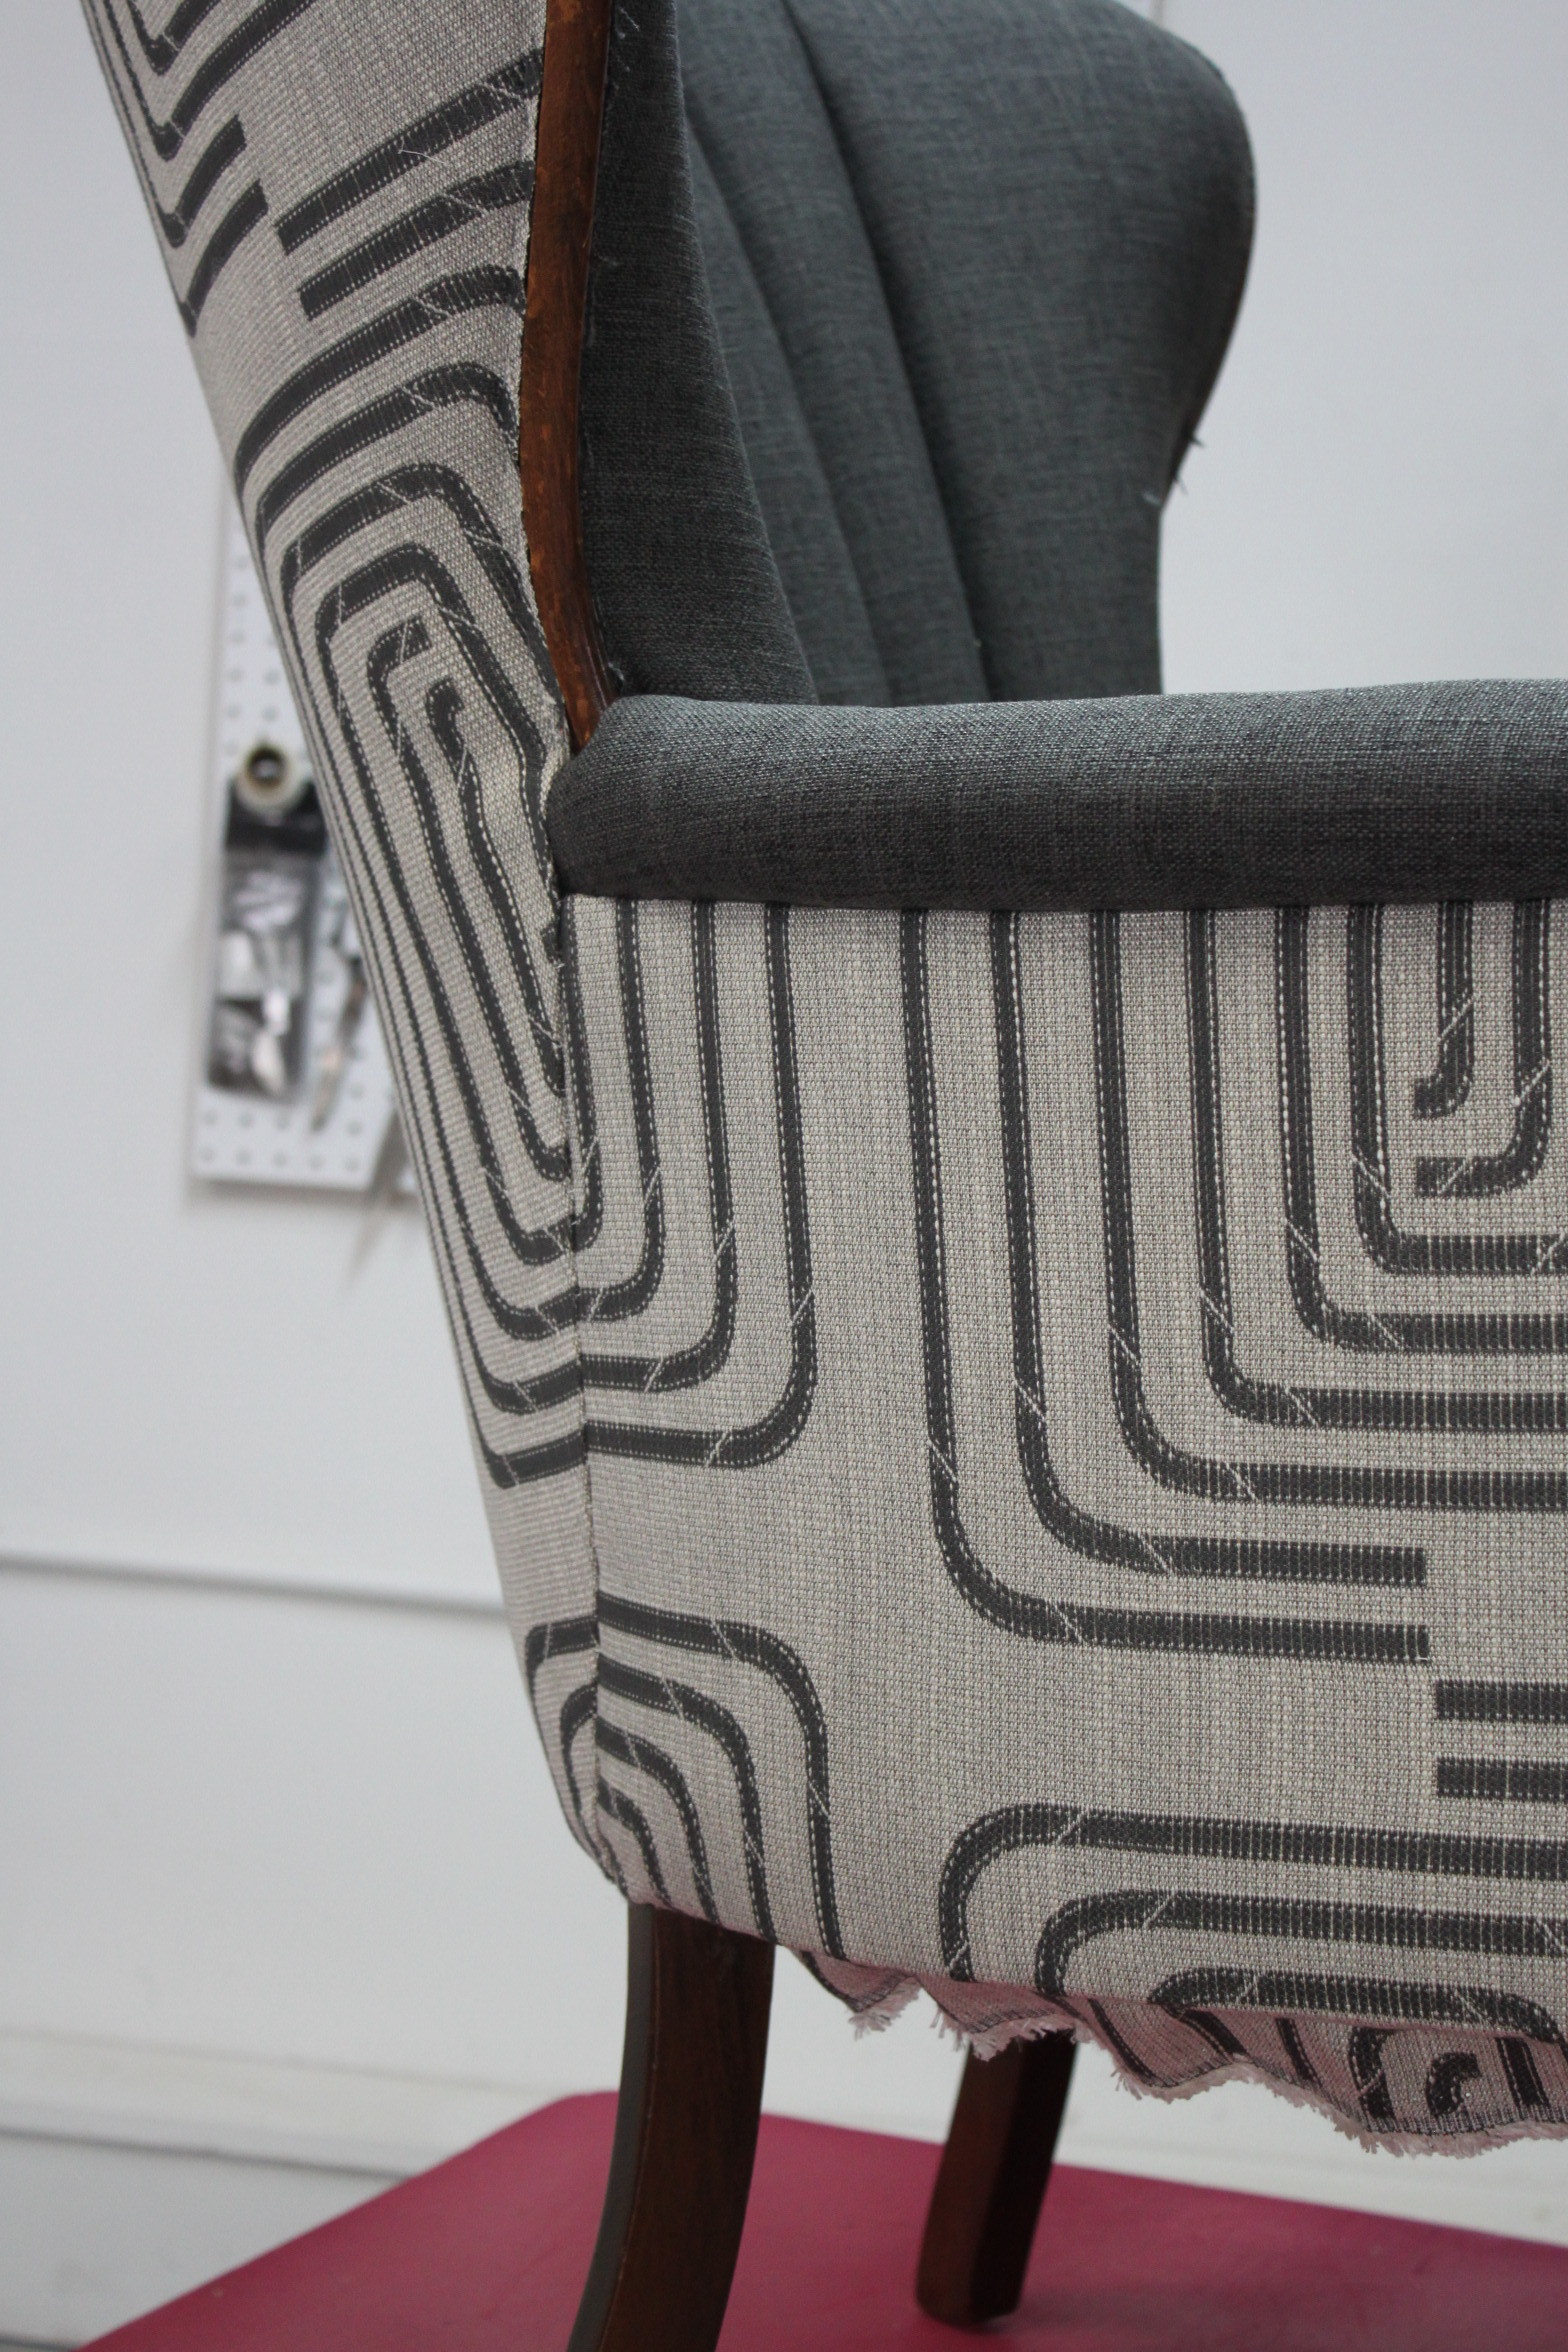
Pattern matching the outsides
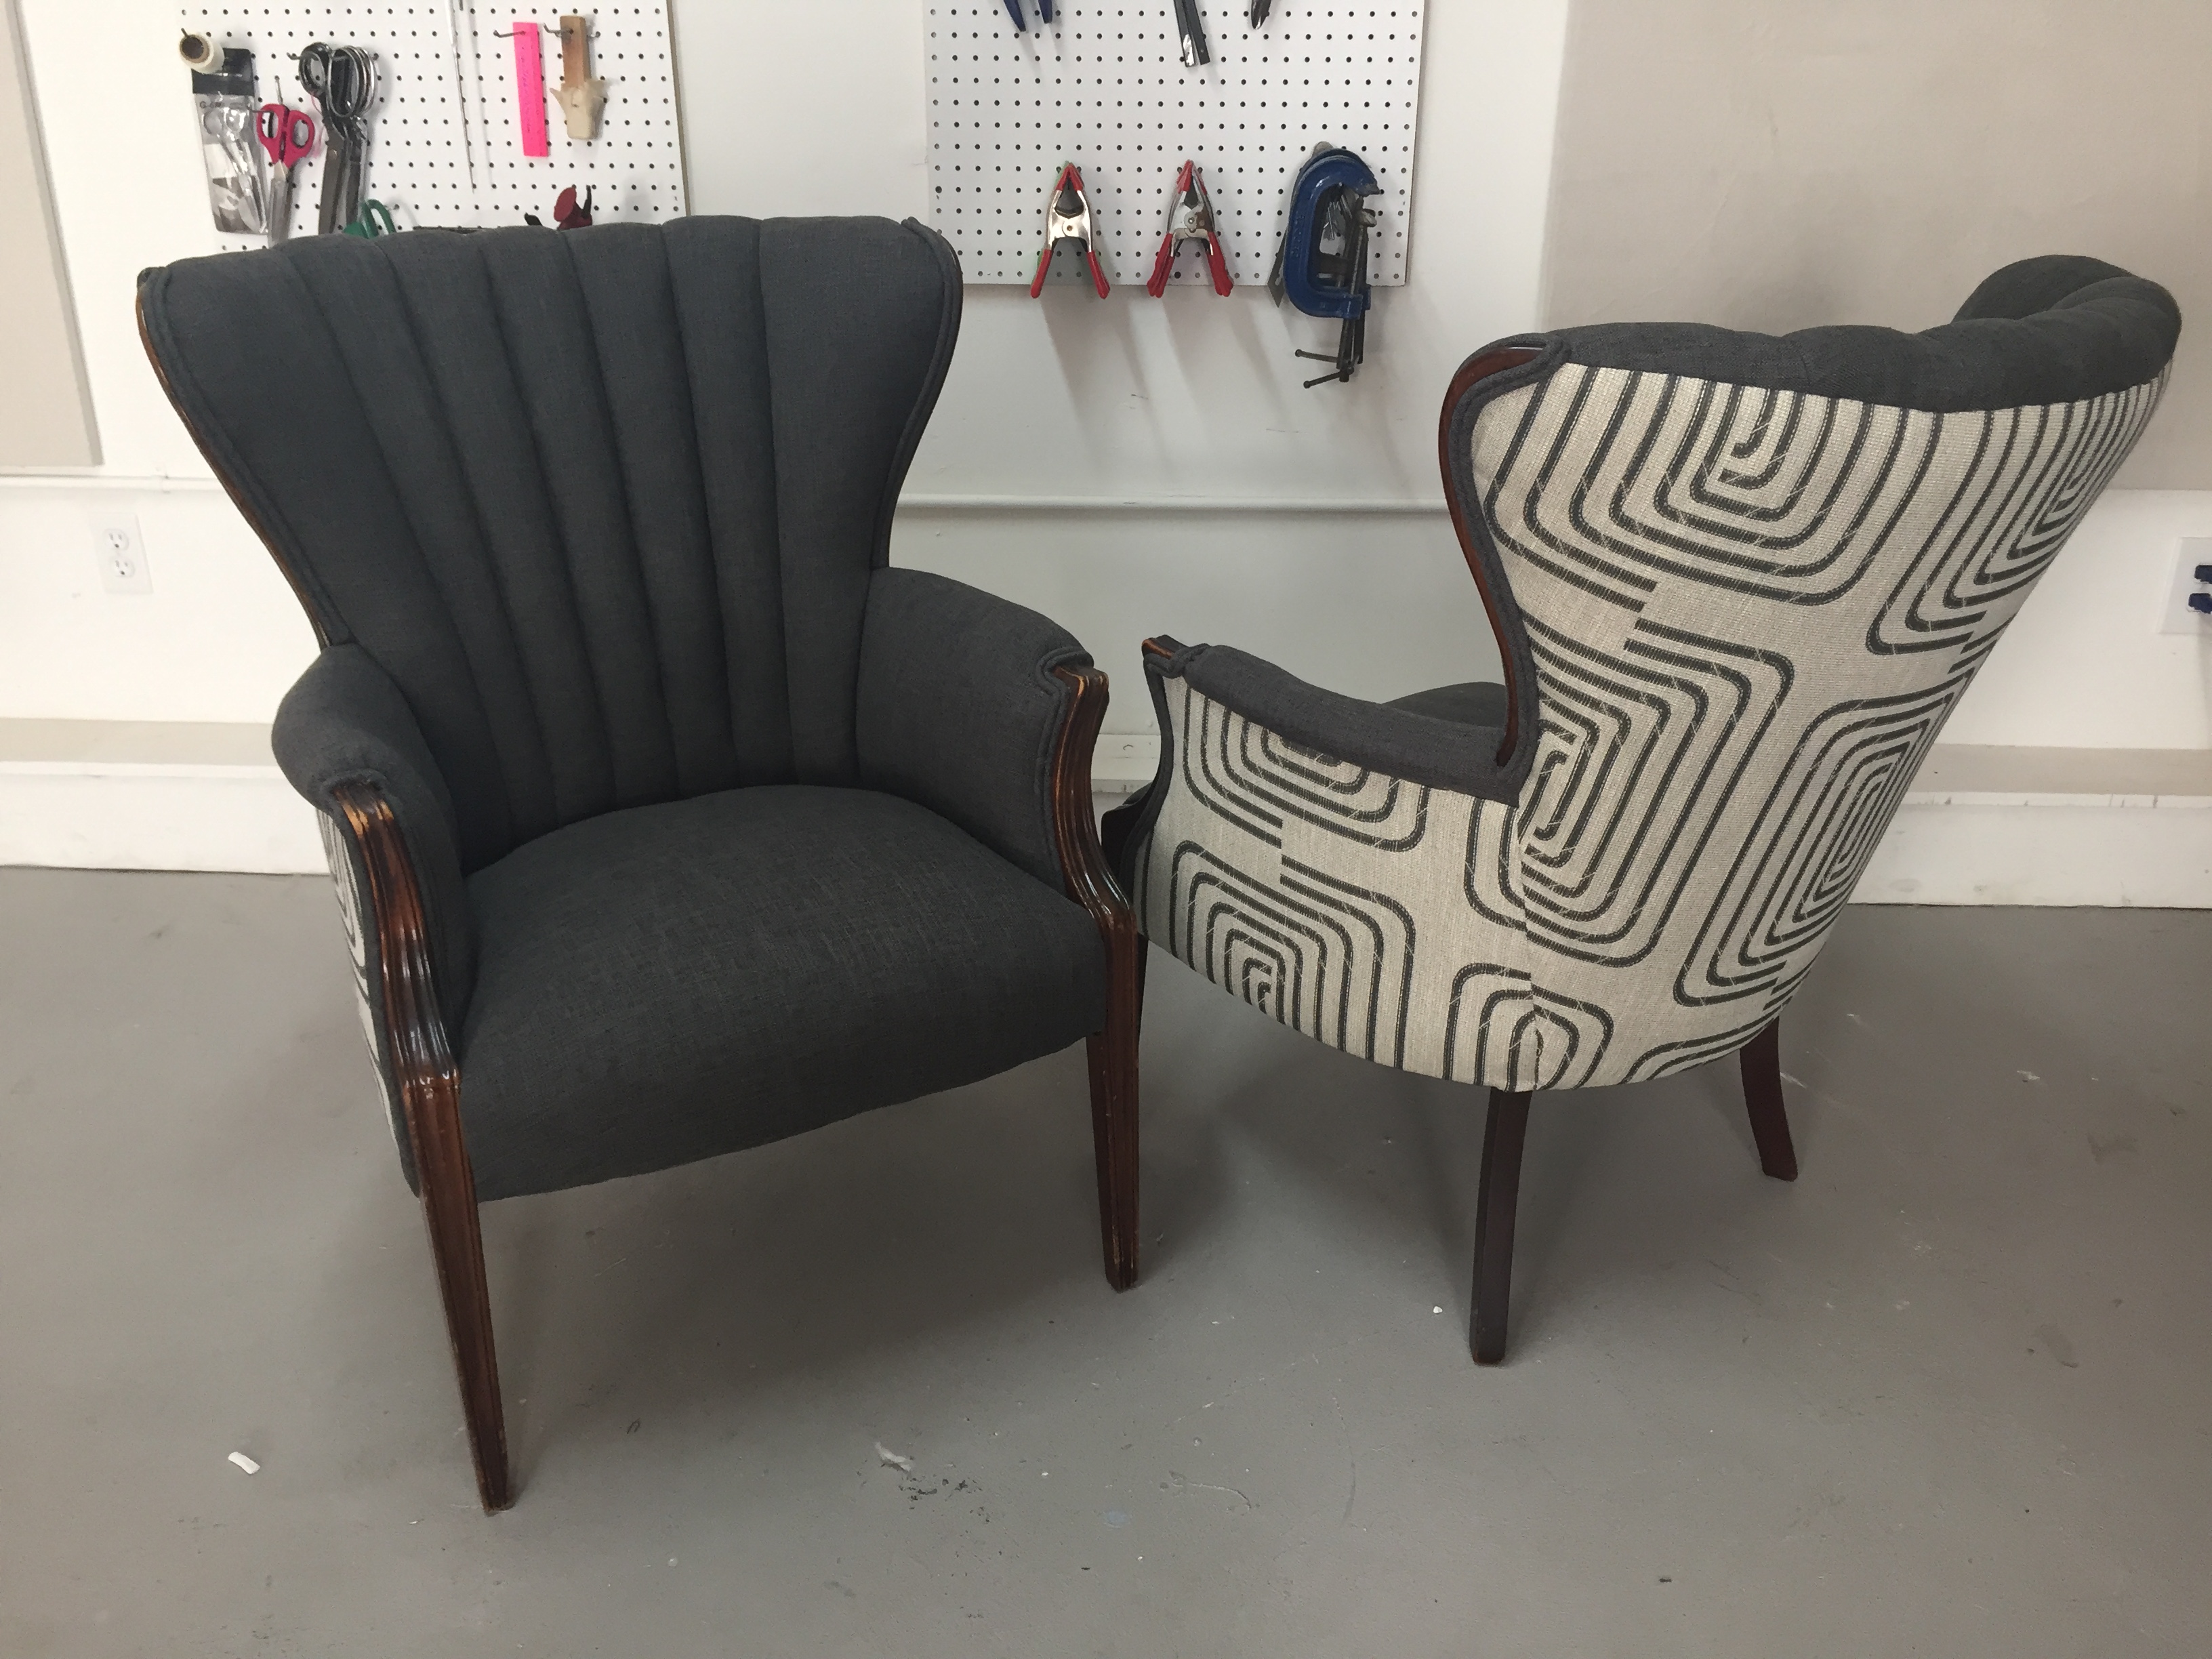
Vintage Chairs Complete
The client was happy with their new chairs and I am confident that they will last another 20 to 30 years!
For video tutorials on upholstering be sure to check out my online classes and membership options to take your skills to the next level.
Happy Upholstering,
Kim