How to Reupholster a Wingback Chair

How to Reupholster a Wingback Chair

(2 customer reviews)

A $89.95 value, this video, and many others are included in your membership!

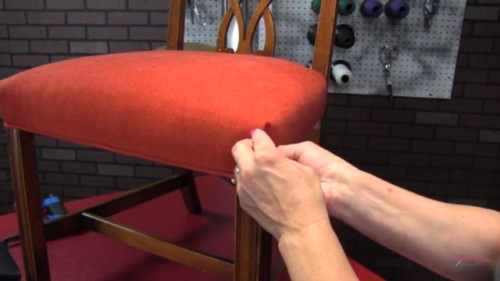
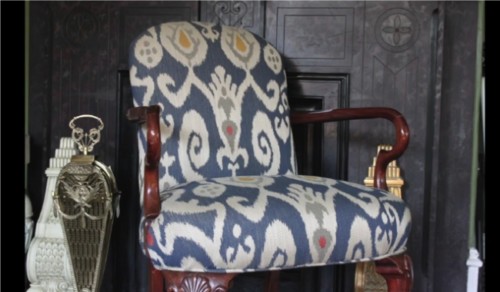
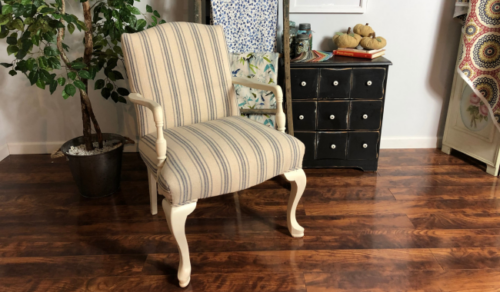
In this project video, I will show you how I reupholster a wingback chair.

This is an older piece and has somewhat of a different frame. You will learn how to reupholster the T-deck without using the mitered corner method. We will upholster the inside arms with button detailing on the front. I will show you my method of upholstering the inside wings, how to upholster the inside back using foam, and closing up the outsides of the piece.

SKU: 16257 Category: Tag:

Description

What You Get

  • 14 Streaming HD video lessons with anytime, anywhere access

  • Watch on any device

  • Close-up instruction from an expert

  • Answers to student questions from instructor and owner of Kim’s Upholstery, Kimberley Chagnon

  • Discussions with other members in the DIY FB Group

Class Overview

In this project video, I will show you how I reupholster this wingback chair. This is an older piece and has somewhat of a different frame. You will learn how to reupholster the T-deck without using the mitered corner method. We will upholster the inside arms with button detailing on the front. I will show you my method of upholstering the inside wings, how to upholster the inside back using foam, and closing up the outsides of the piece.

Class Lesson Breakdown

Chapters:

  • Part 1 Deck
  • Part 2 Edge Roll Inside Arm
  • Part 3 Padding The Inside Arms
  • Part 4 Inside Arms Fabric
  • Part 5 Inside Wings
  • Part 6 Padding The Inside Back
  • Part 7 Inside Back Fabric
  • Part 8 Outside Wing Right
  • Part 9 Outside Arm Right
  • Part 10 Outside Wing Left
  • Part 11 Outside Arm Left
  • Part 12 Outside Back
  • Part 13 Dust Cover
  • Part 14 Arm Panel Buttons

Skill Level:  This video assumes you have some basic upholstery skills.

Run time: 248 minutes

*Cushion is not included in this project.

Materials

Supplies List

  • Sagless
  • Ruby Jute
  • Burlap
  • Synthetic Cotton
  • Dacron ( 1”)
  • 2” Ultra foam Medium
  • 5/32 Fiber Flex Welt cord
  • 69 Bonded Nylon Thread
  • 1” Edge Roll
  • 9/16”, ⅜” Staples
  • Curve Ease
  • Metal Tack Strip
  • Cambric Dust Cover
  • Muslin or fabric scraps
  • 9 yards Fabric

Tools

  • Pneumatic Staple Gun
  • Air compressor
  • Magnetic Upholstery Hammer
  • 120 ½ Osborne Puller
  • Wire Cutters
  • Scissors
  • Wooden Mallet
  • Chalk
  • Tape Measure
  • 6” Curved needle

Taught By

Kimberley Chagnon
Kimberley ChagnonWith over 20 years of experience, Kimberley Chagnon has become a trusted name in both upholstery and instruction. In 1996, she started her own business, Kim’s Upholstery, which continues to thrive and give clients the custom upholstery they truly want. When she’s not busy in the workroom, Kim is busy teaching. For the past six years, she’s led classes for the Window Coverings Association of America group as well as popular trade shows, workshops and conferences.

Skill Level

Skilled

How it Works

Once you purchase find your class in your classes list.

Instant and unlimited access.

Watch on any device anytime.

Monthly Membership

This class is also available as part of the monthly membership. For only $49 per month you receive unlimited access to all of our classes!
Join Now

2 reviews for How to Reupholster a Wingback Chair

  1. Nancy Kennedy

    I recently reupholstered my first wingback chair. It would have been impossible without Kim’s video. It’s all the little things you would never think about or figure out on your own that makes Kim’s videos so valuable. The difference between ok and excellent!

  2. Rhonda Shanahan

    I love this video. Kim gives me the confidence to complete my projects. The instruction is easy to follow from start to finish. Thank you for this wonderful video!

Add a review

Your email address will not be published. Required fields are marked *

This site uses Akismet to reduce spam. Learn how your comment data is processed.

You may also like…

Title

Go to Top