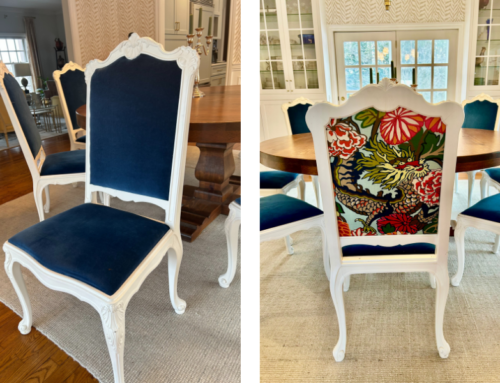
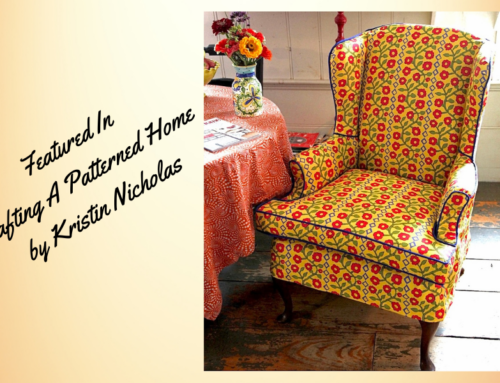
A slipcover can make a big difference in your home’s décor
Sometimes your furniture is not worn out or uncomfortable but it just looks tired or no longer matches the decor you desire. That is the perfect time to sew a new slipcover and give your furniture that feels great new outfit!
7 things you should know before purchasing or MAKING your own slipcover
- Having a custom slipcover made is an investment.
- Loose and shabby chic is not the same as a custom-fitted
- Just because they say “sure fit” doesn’t mean they will fit your piece
- Store-bought ready-made slipcovers will always look MESSY and unkempt
- No, you can’t just tuck a blanket or sheet around your furniture and expect it to stay looking nice.
- Fabric choice DOES matter
- Before you buy the full yardage you need for your slipcover purchase a quarter yard and test several thicknesses together if you are using a home sewing machine to make sure it can handle the fabric layers. Sometimes there are 6 or more layers at an intersectional.
- Upholstery twist pins holding a slipcover in place can and will damage your fabric over time. (especially if you LIVE in your home)
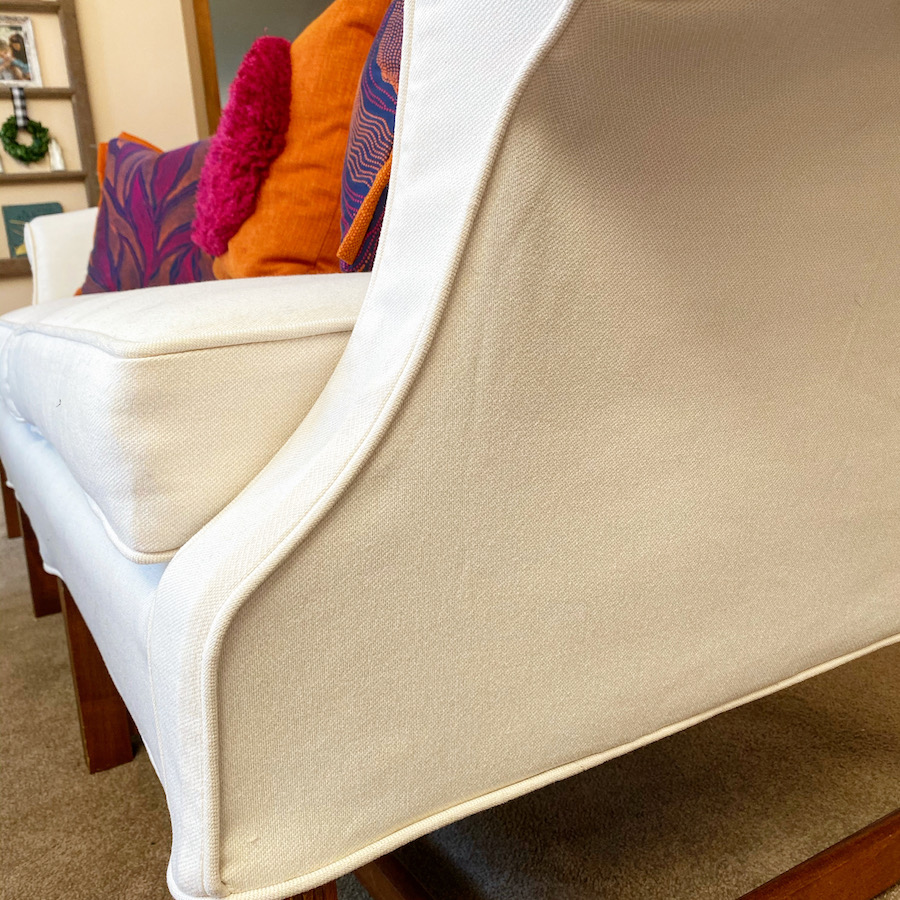
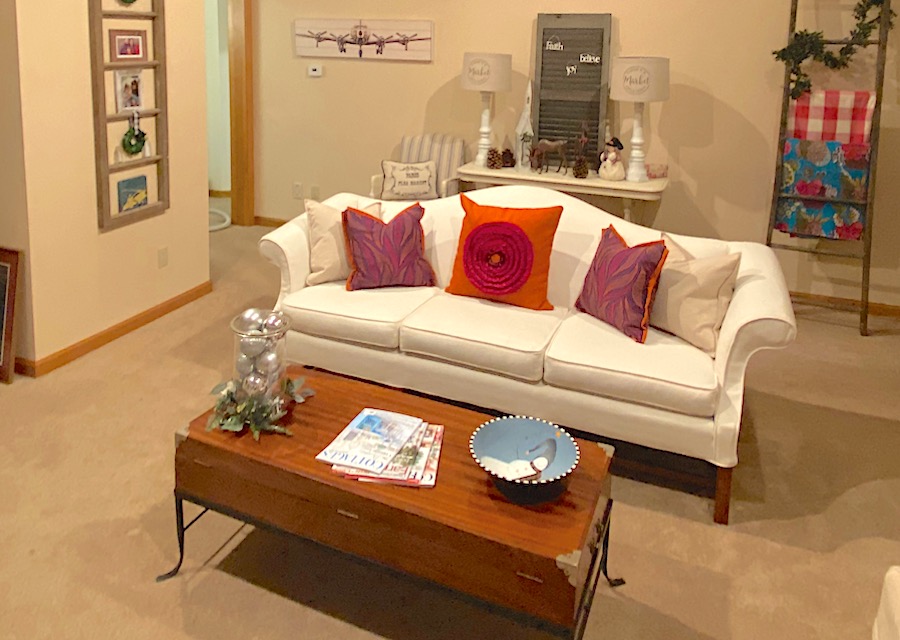
Bill and I recently bought a new home and of course I wanted to change the decor. Our sofa is in great shape but the fabric was a little faded and not quite the style I wanted in our new home. So, I decided to make a slipcover.
Choosing a fabric that will withstand the grandchildren and our two long-haired black cats was a must!
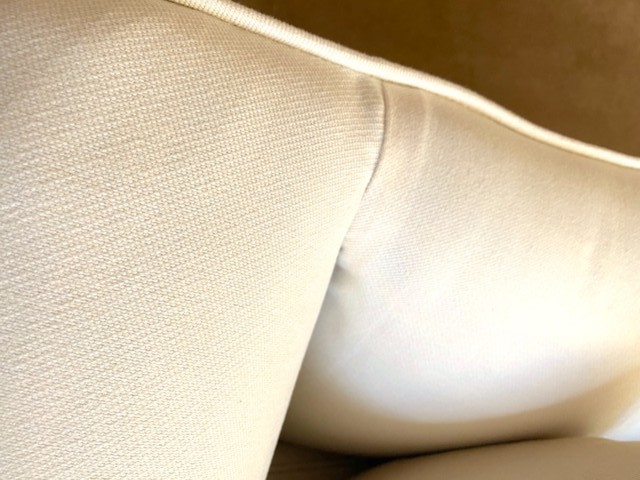
I chose an off white fabric from Revolution Fabrics Slipcover Twill line. Before I made the slipcover I took one yard of the fabric, soiled it with a bit of dirt, and threw it in the washer using the suggested washing method to test the durability of the fabric. I was totally amazed, the fabric was clean, wrinkle-free, and still looked brand new. I did NOT put it in the dryer.
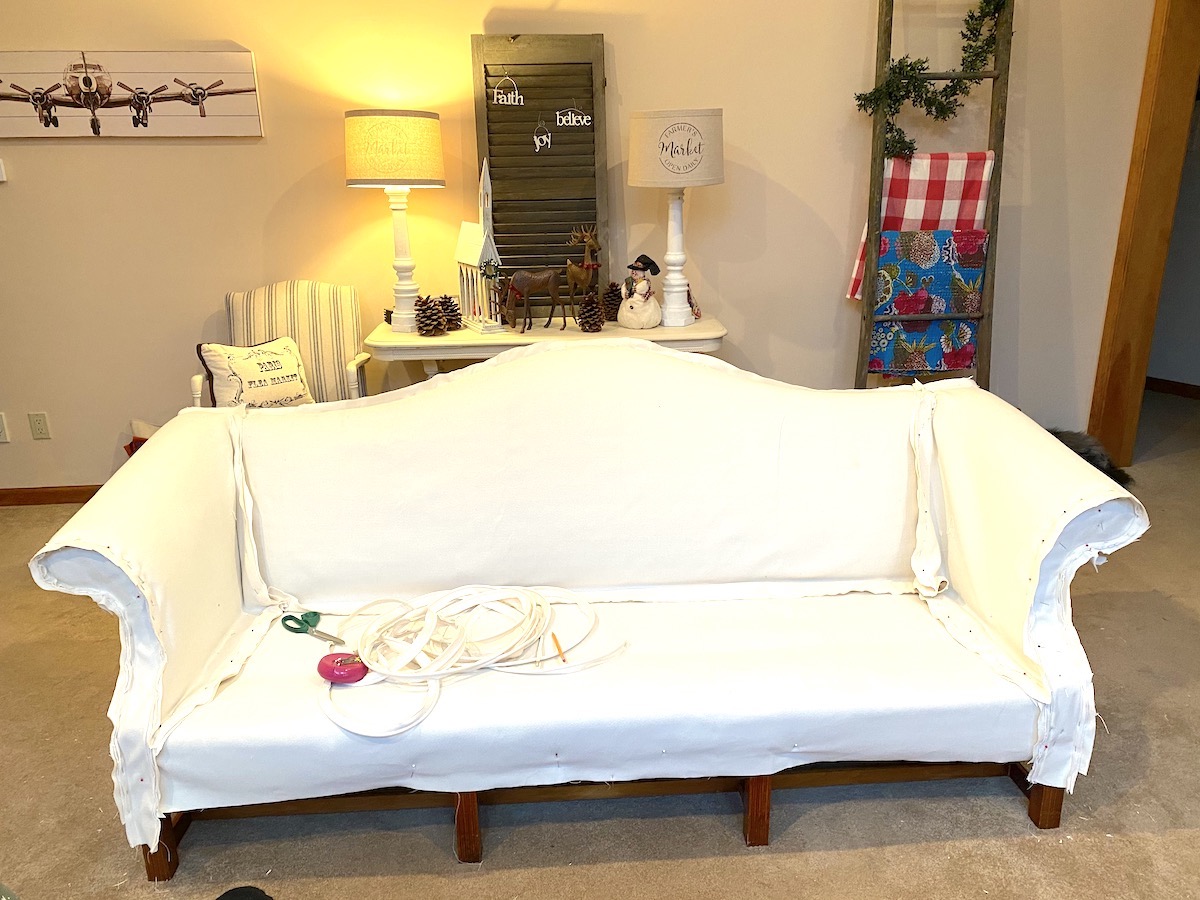
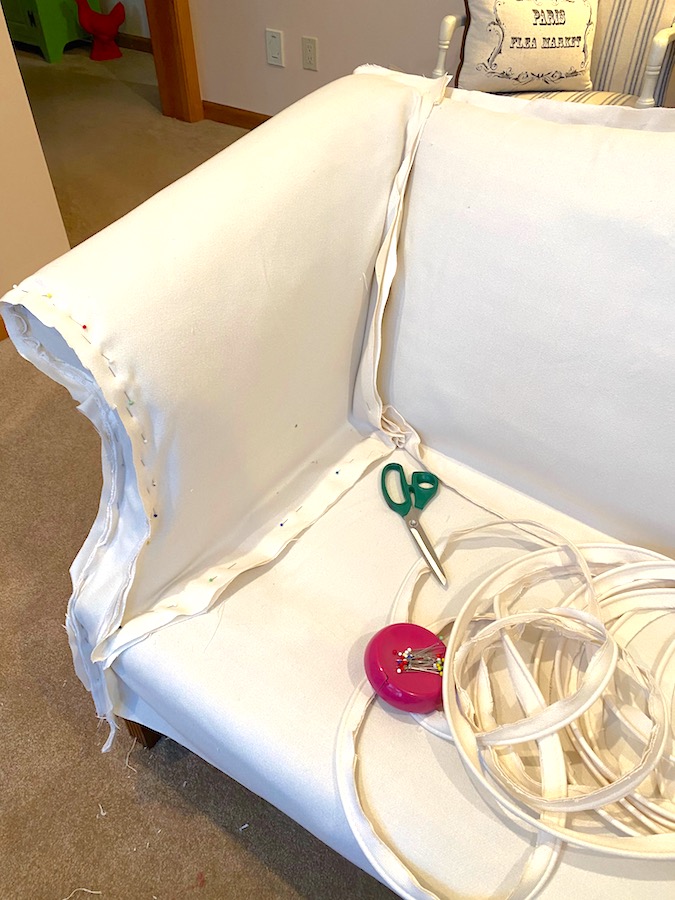
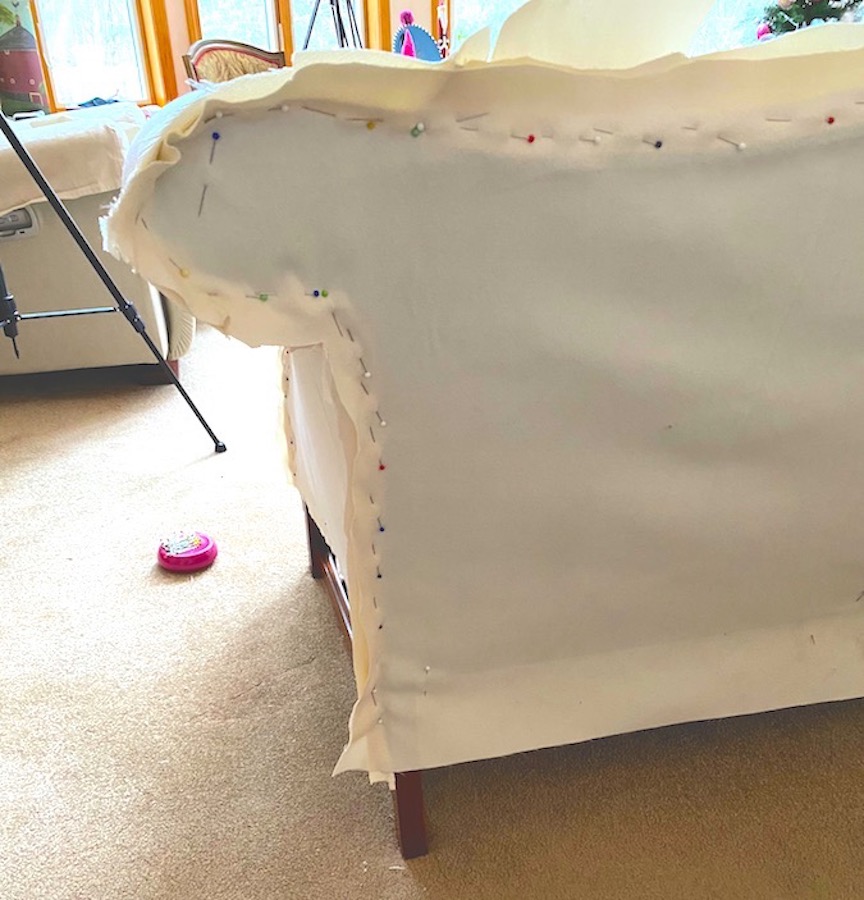
Techniques to ensure great fitting slipcovers
- Accurately measure for your cuts leaving enough extra for pinning and seam allowances
- Use long strong pins for pin fitting your fabric
- (I use Rowley Company’s 1 ⅞” glass head straight pins)
- I find pinning with the wrong side of the fabric out gives me the best results
- Pin the fabric pieces together tighter than you think you should
- Prepare your arm panel pieces prior to pinning
- Adding cording (welting) helps to define the shape of your furniture (It also gives you a chance to add a contrast color if you want a bit more jazz)
- Don’t pin fit a miss shapen cushion, measure and cut rectangles or squares to the dimensions.
Here is a list of the supplies and tools you will need for your slipcovers
- 120” Soft cloth tape measure (if you are covering a chair a 60” is fine)
- Straight pins as mentioned above (300 or more)
- Sharp scissors
- Pencil
- Safety pins to mark skirt placement
- 24” Ruler if adding a skirt
- Lots of bandages. (your own saliva will get out of your blood) Yes, there will be blood with all those pins LOL
- Download our cuts and calculate yardage form
Are you ready to start planning your slipcovers?
We have three full-length slipcover tutorials if you need more guidance and help with your slipcover project . Join our membership; they are in there, too. The slipcover tutorials include measuring, calculating yardage, pinning, zipper placement, and sewing cushions with a welt cord.


