Dining Room Chairs are pieces of furniture found in almost every home. Luckily, they are also one of the easiest projects to start with when learning how to upholster. Today we will look at the steps involved in reupholstering your dining chairs, looking at both slip seats and non removable seats, as well as chairs with backs. Our online membership hub features many videos that go in depth on these processes and provide a visual walkthrough of each step I will go over in this guide. While this how-to guide will help you get started, if you find yourself needing more help, our membership community and upholstery experts are always ready and available to help you!
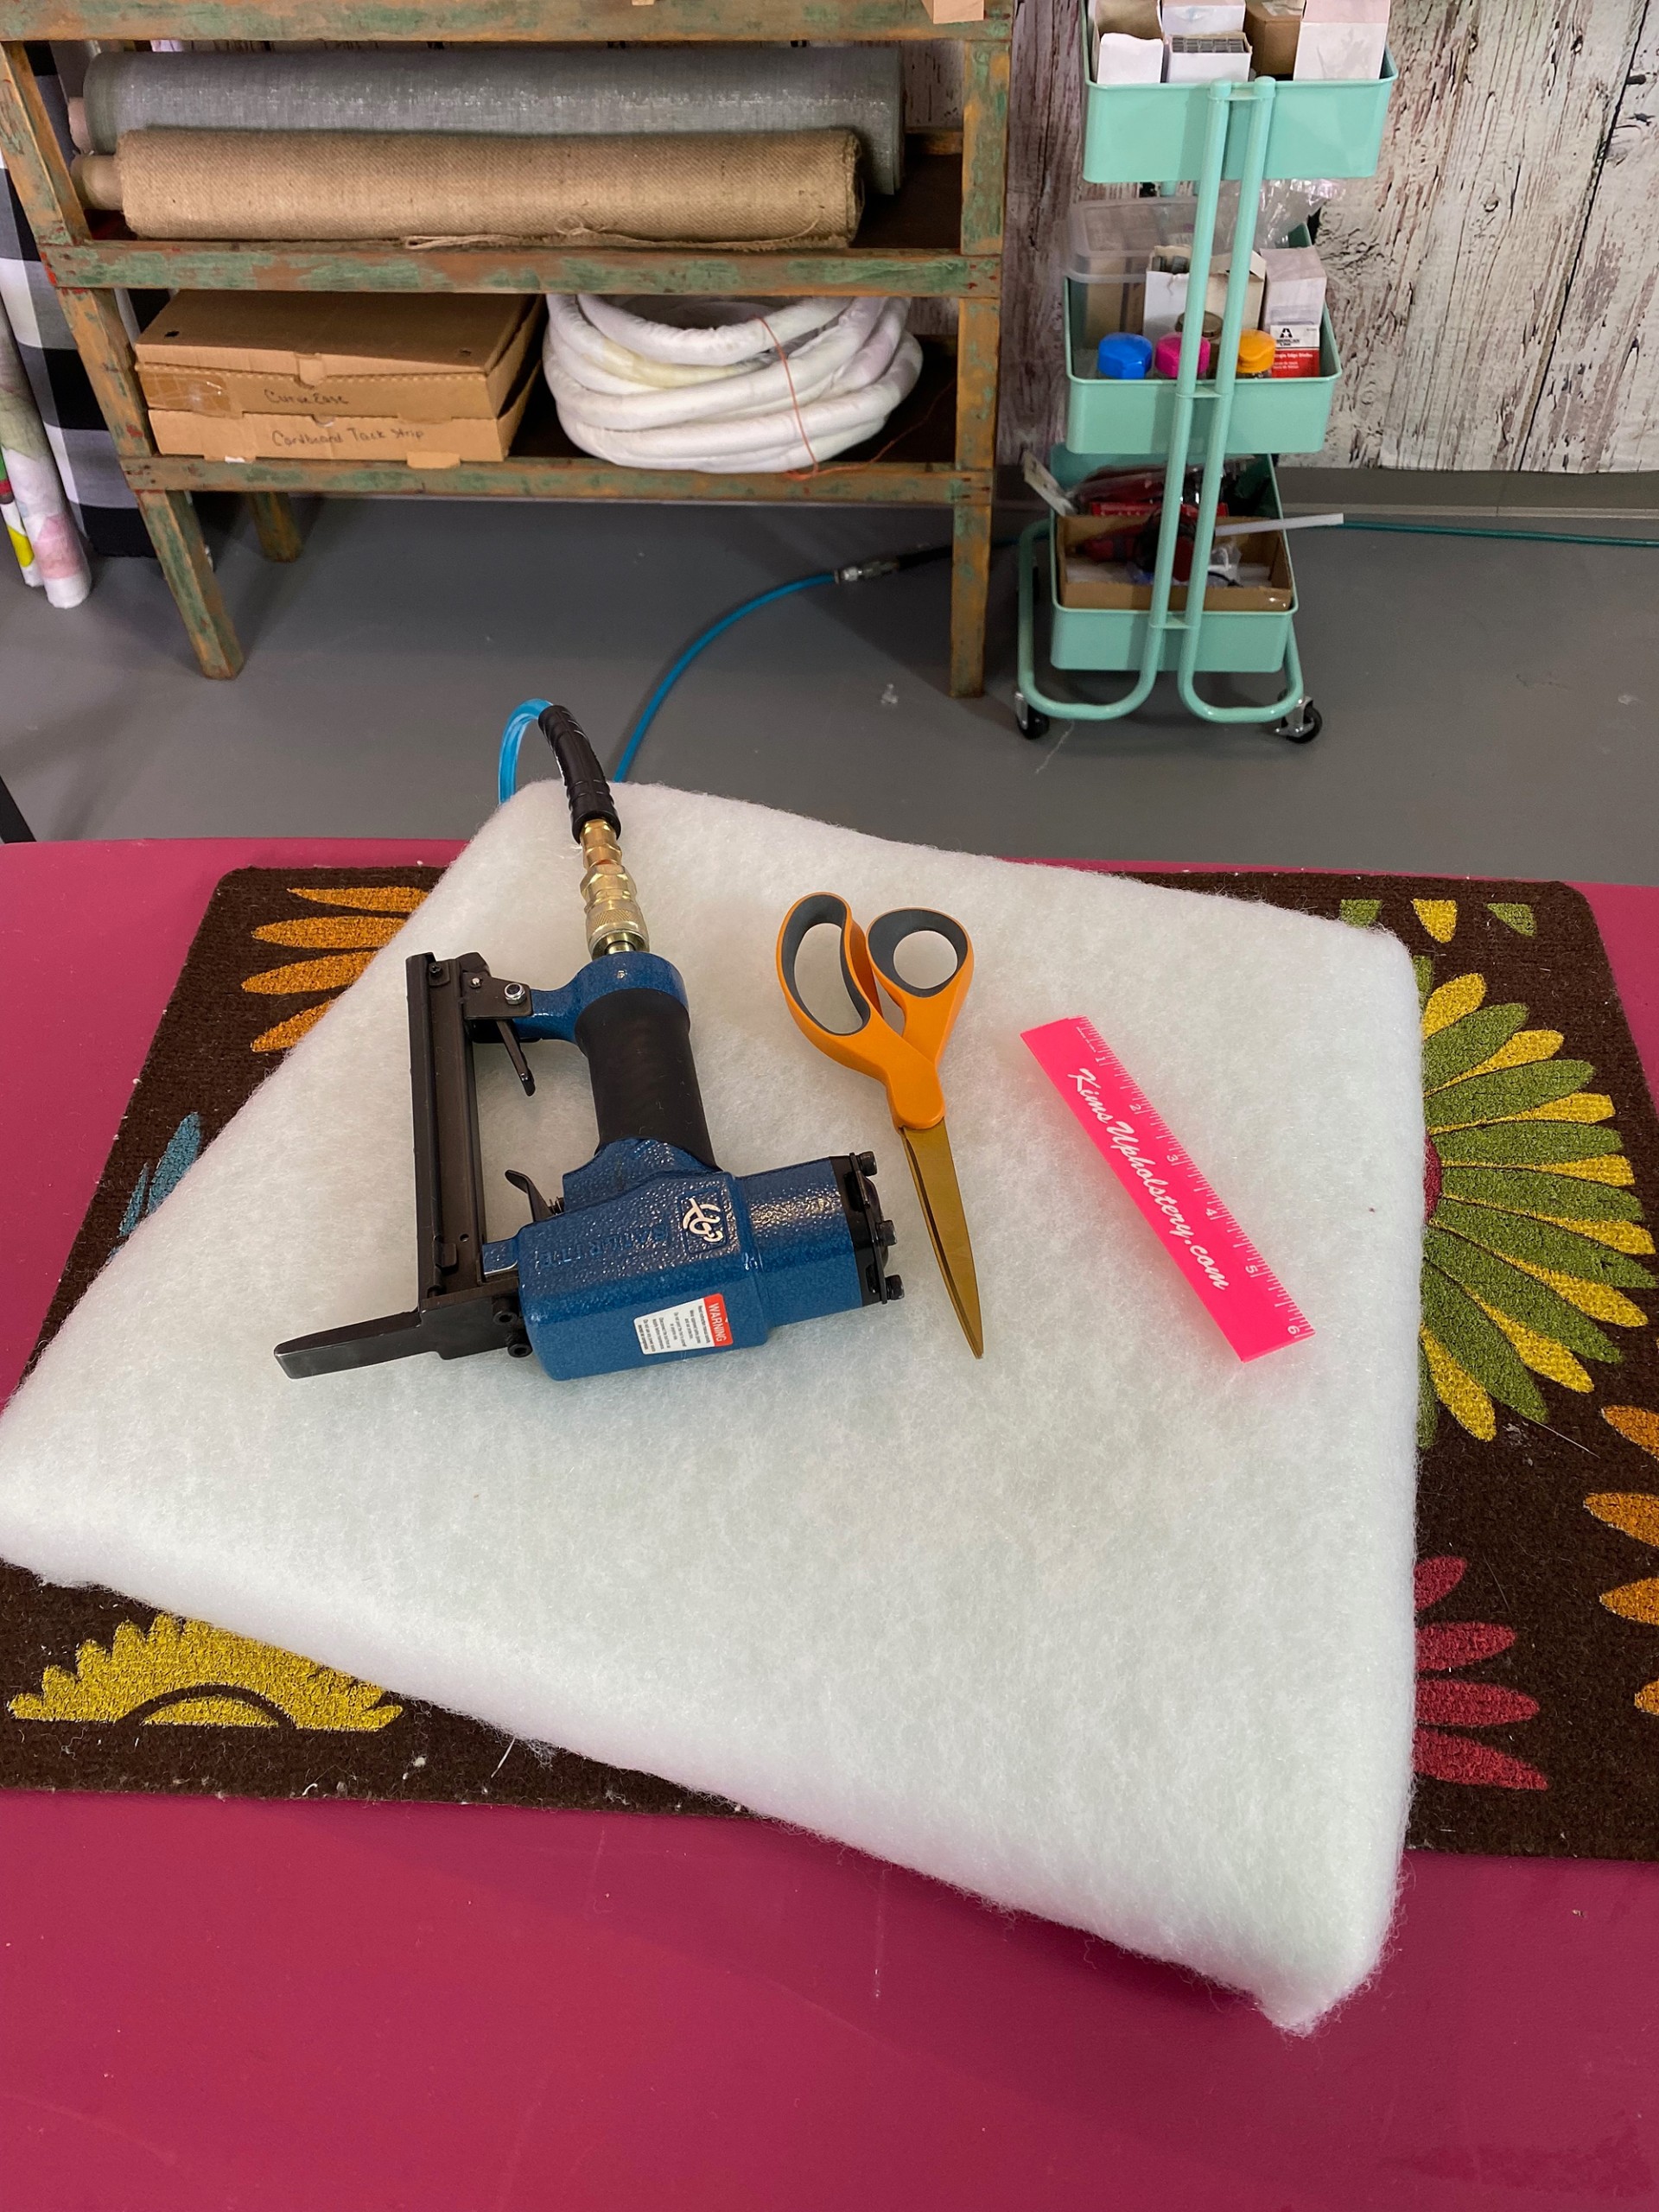
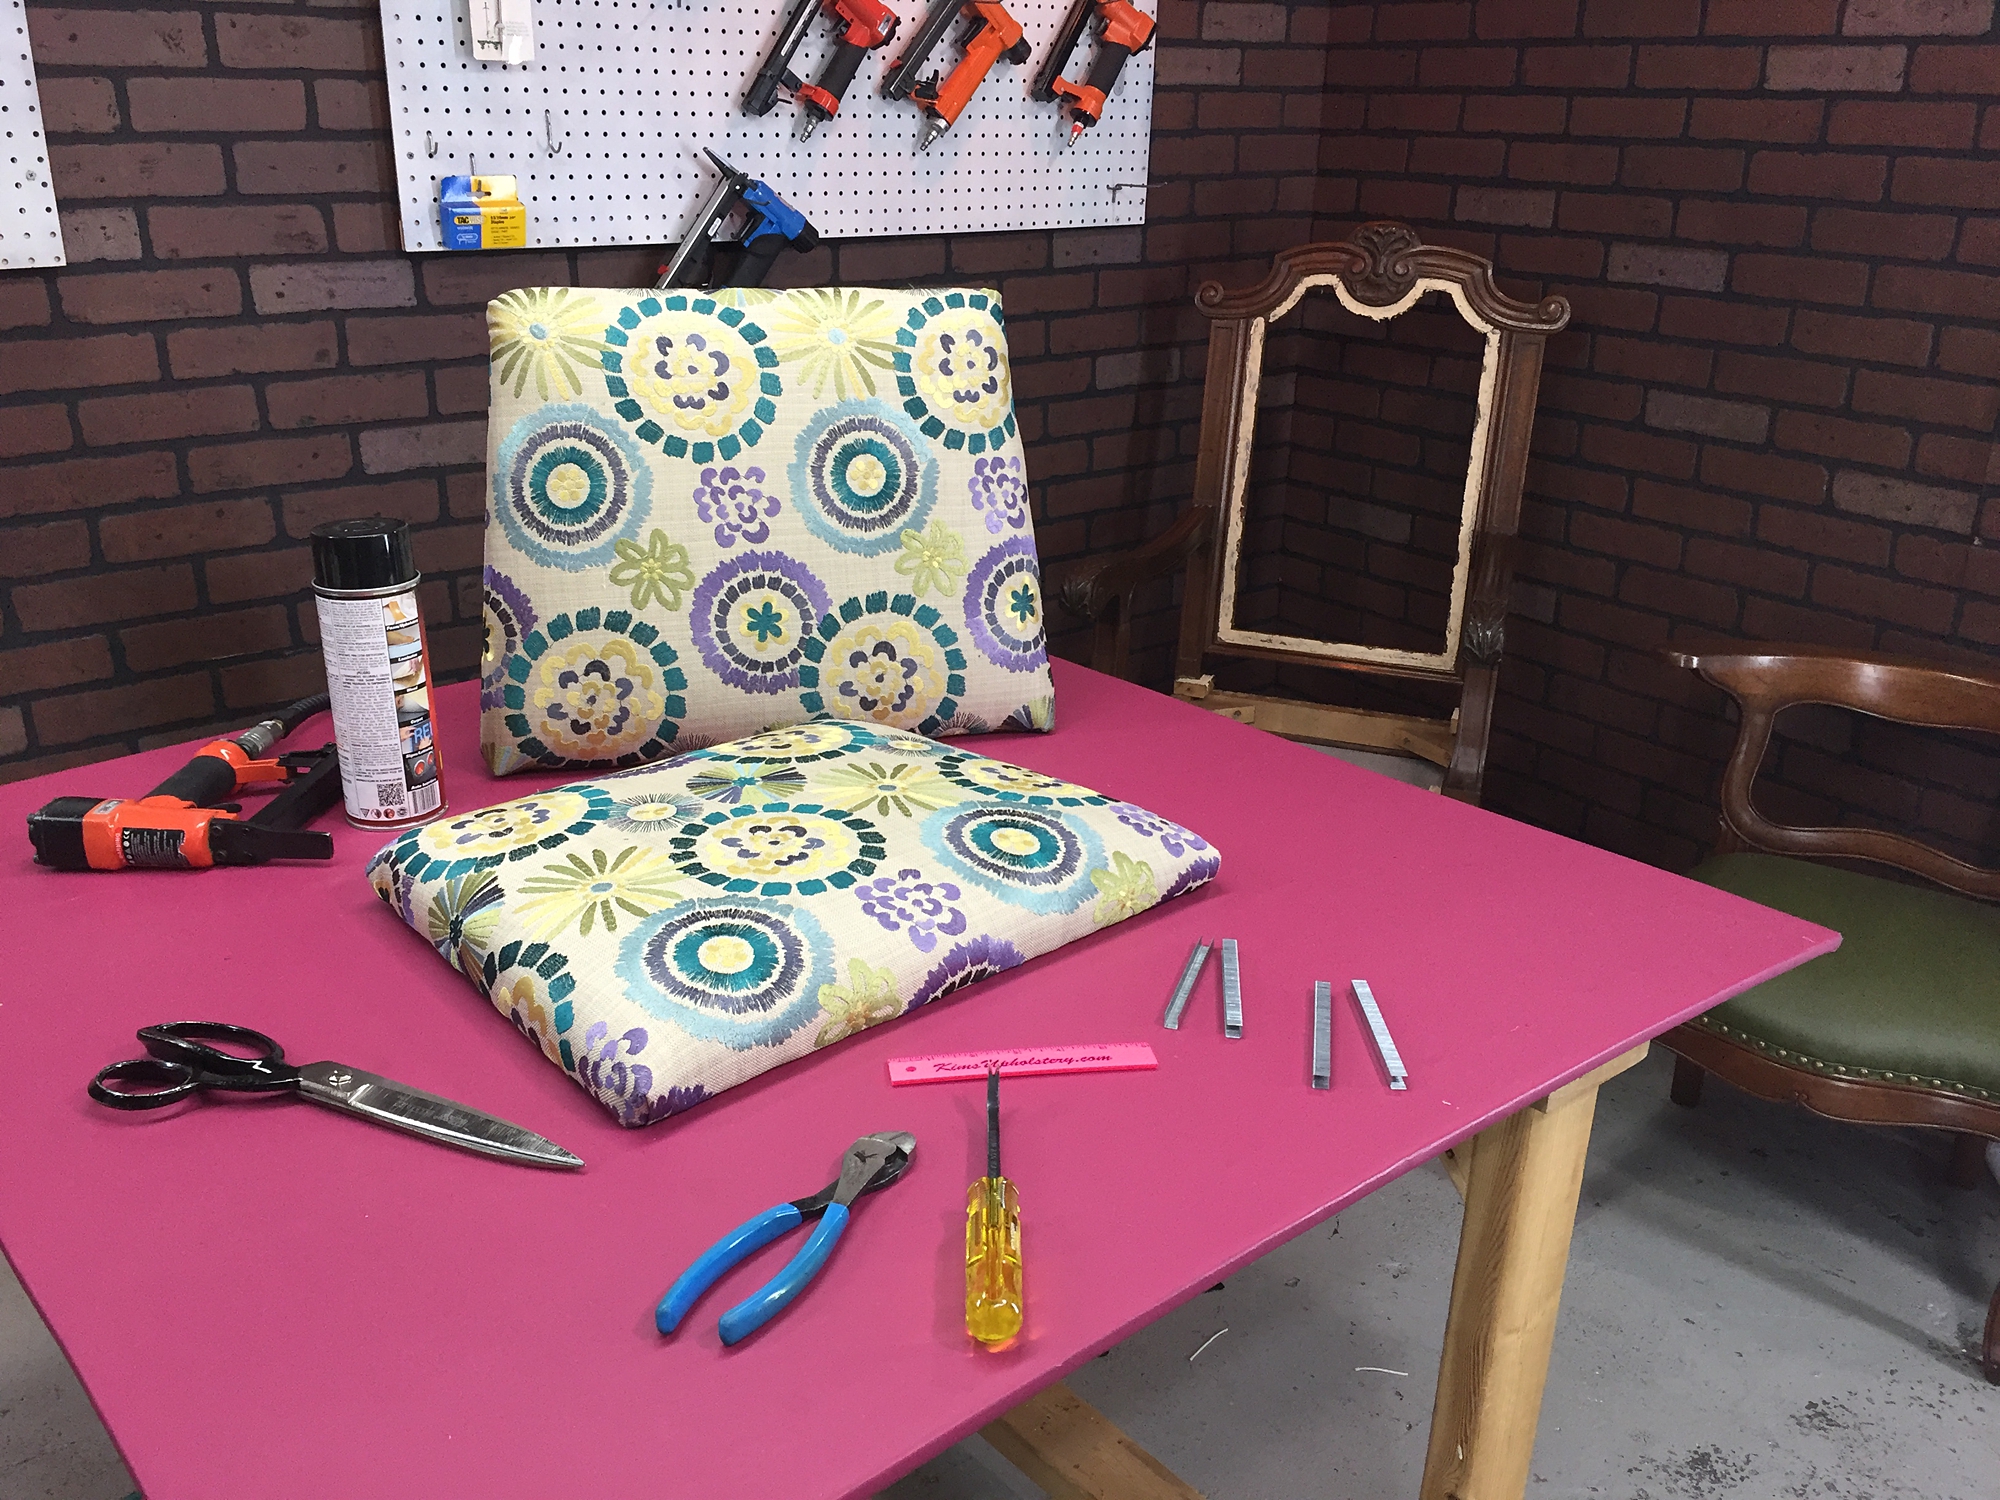
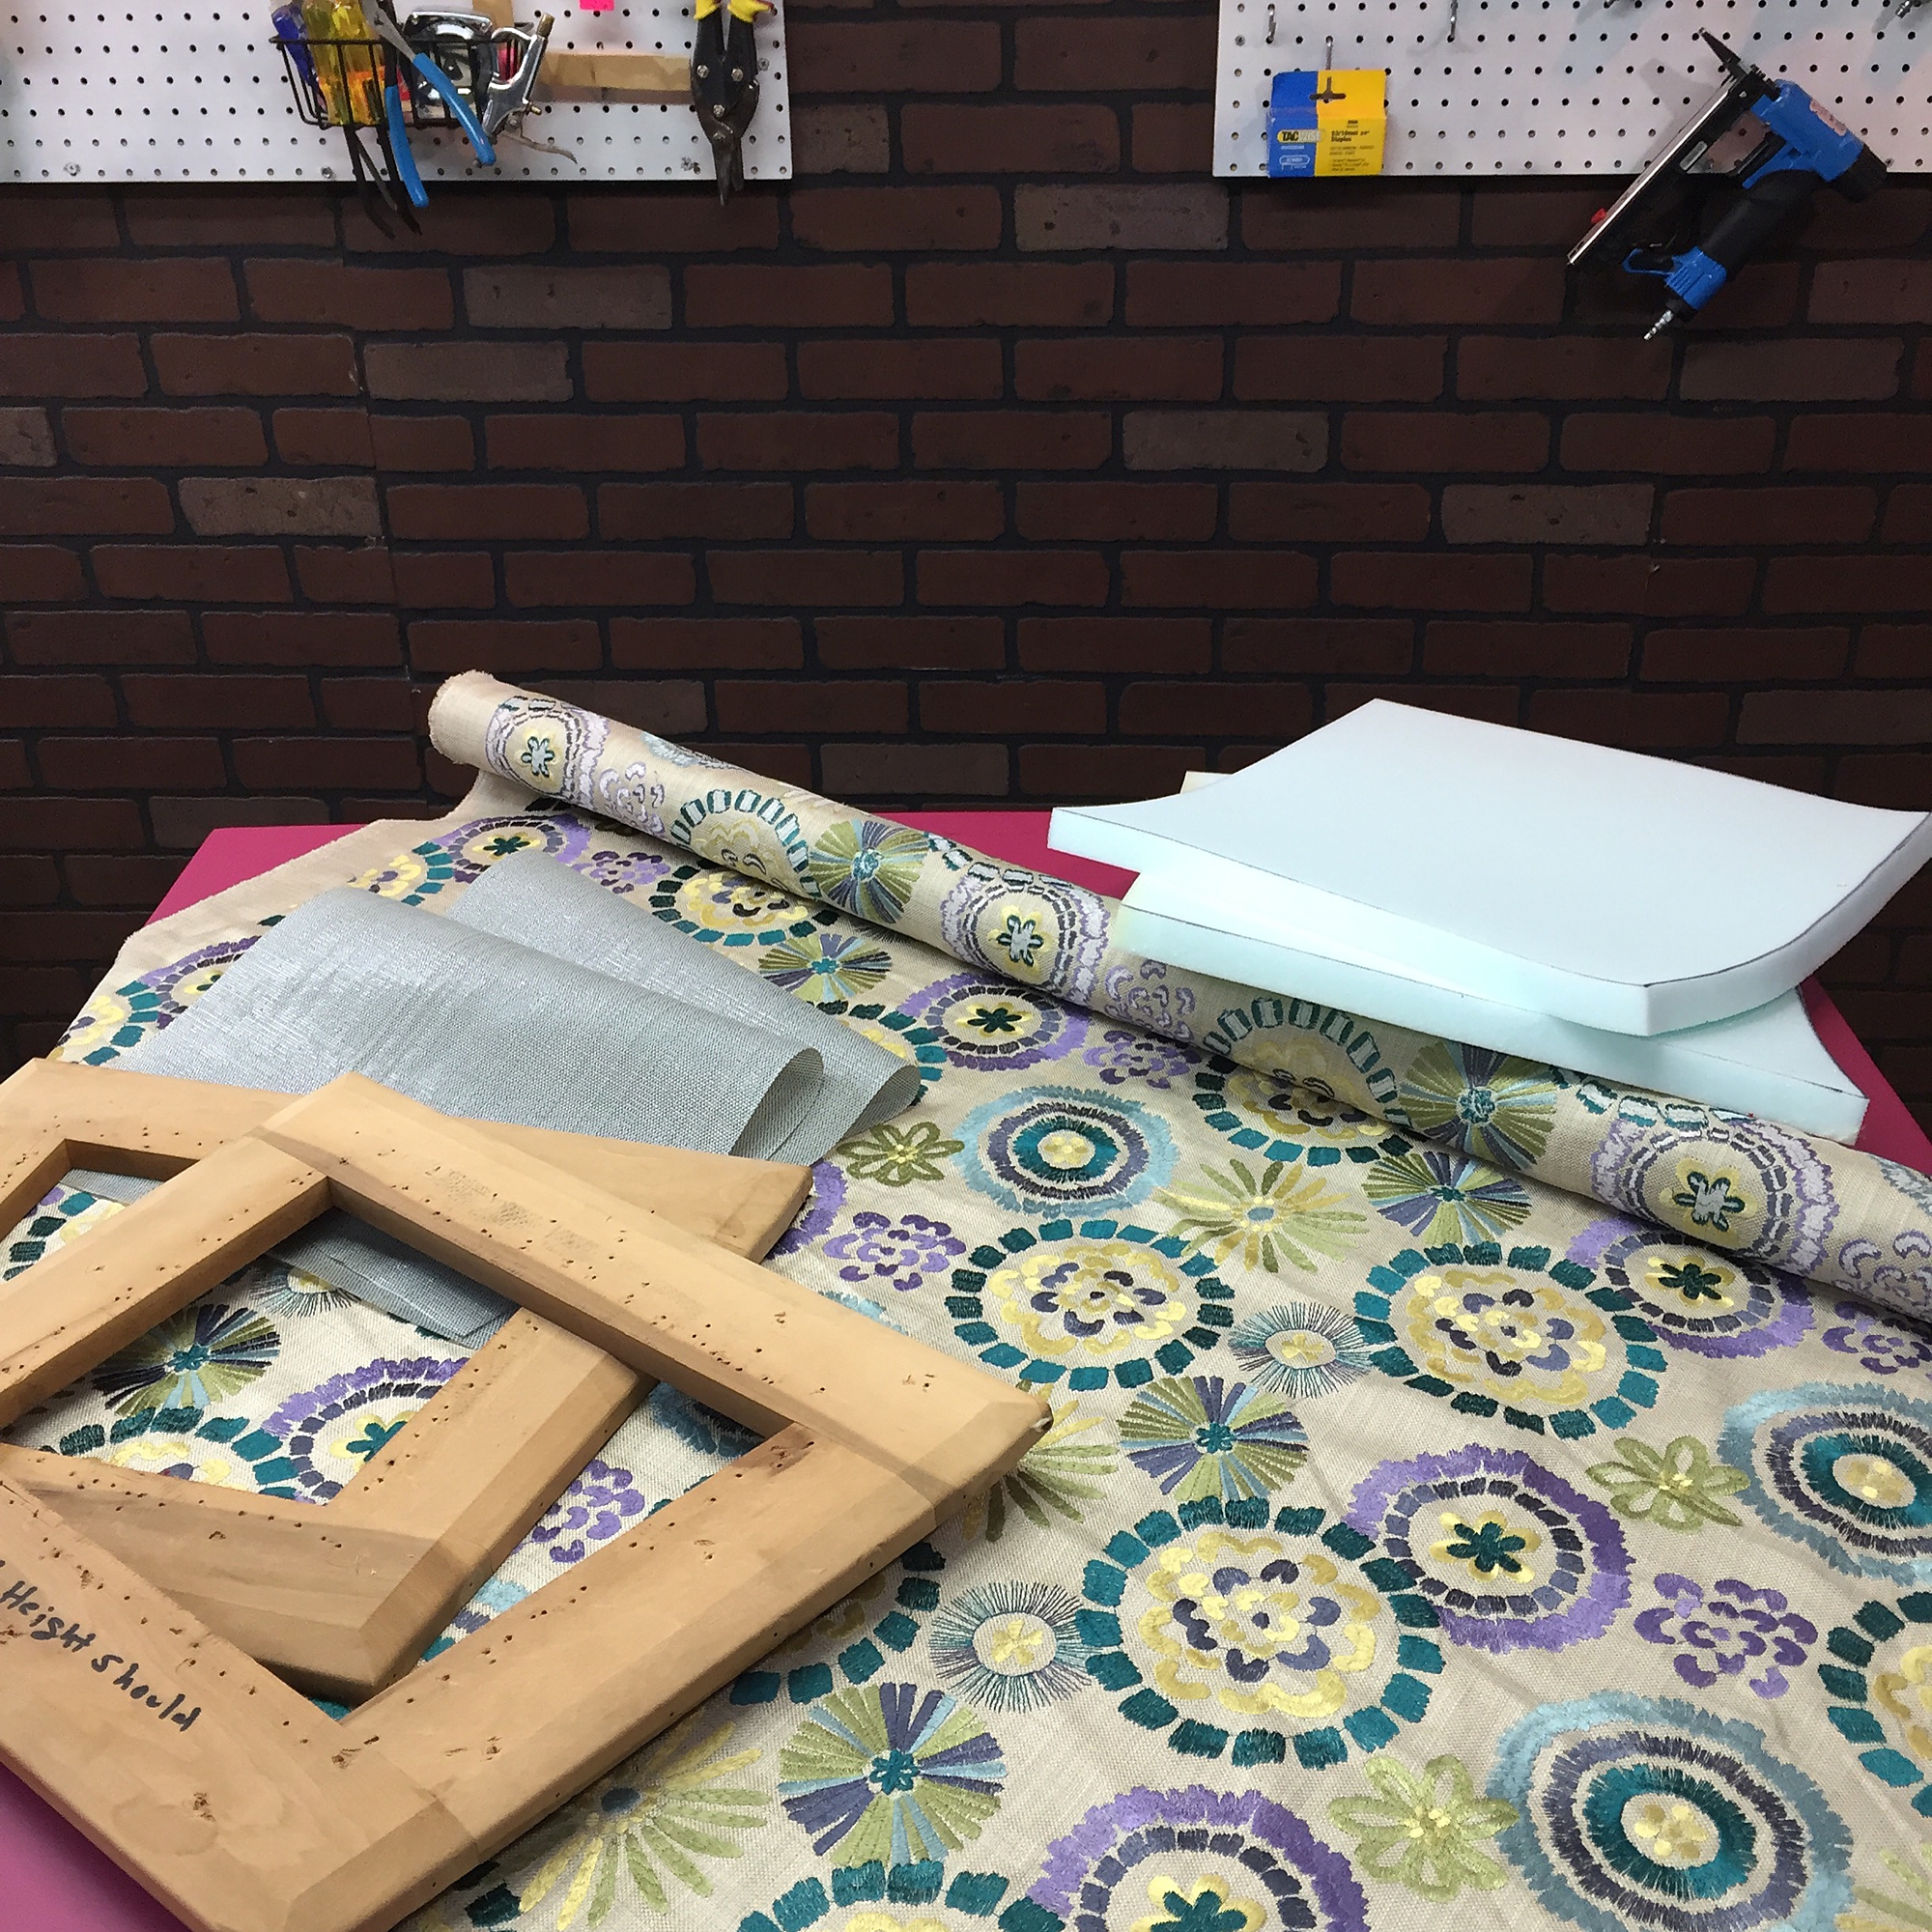
Before starting any upholstery project, I recommend gathering the tools and supplies you will need. Below you will find a list of the supplies needed for this project.
Supplies Needed for Reupholstering Your Dining Chairs:
Cotton
2” foam
Dacron
Jute webbing or Sagless
burlap
cording
Fabric of your choice
Reupholstering Dining Room Chairs With Slip seats
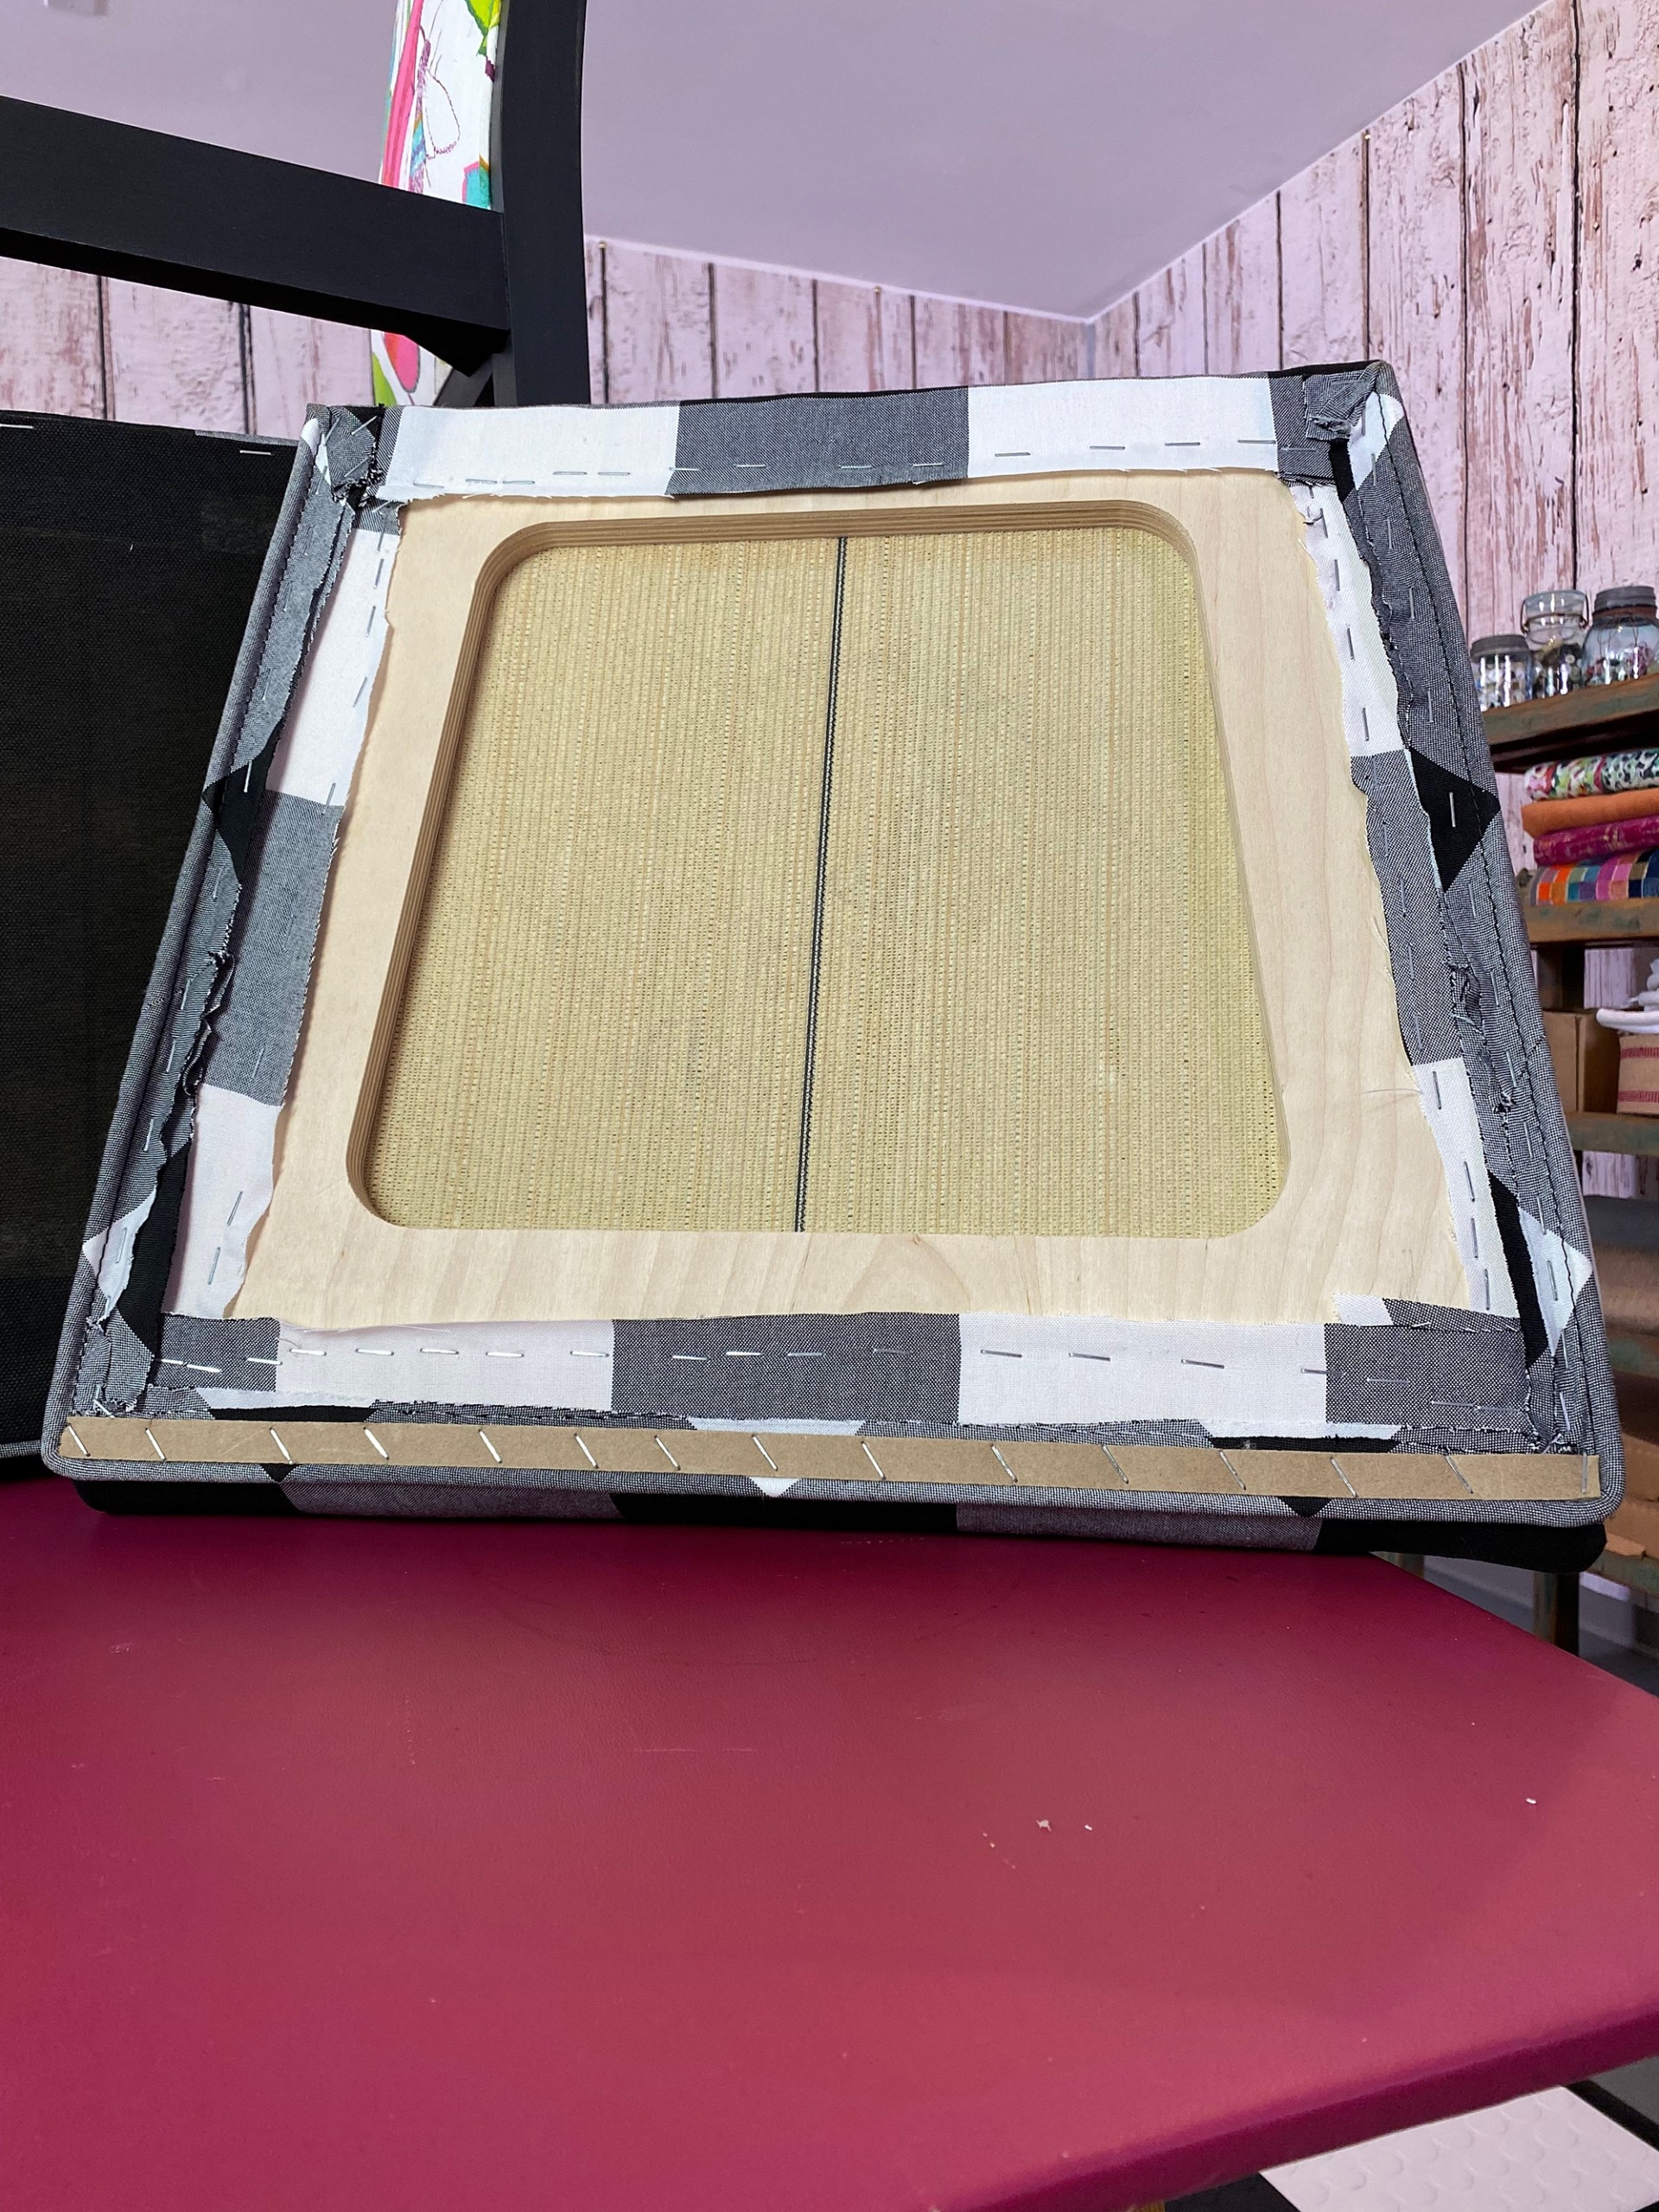
A slip seat cushion combines a wooden platform that is covered in padding acting as a cushion and then the fabric of your choice. Usually slip seats are built to rest on the wooden frame of the chair and are easily lifted and removed, making them very easy to work with.
STEP ONE:
First you will remove any previous fabric and staples from the chair frame. You’ll be left with just the wooden seat frame. Remove the slip seat from the chair frame and add your support system to the open seat hole using sagless or jute webbing. This gives the chair support for your body weight and a place for the slips seat to sit on the frame.
STEP TWO:
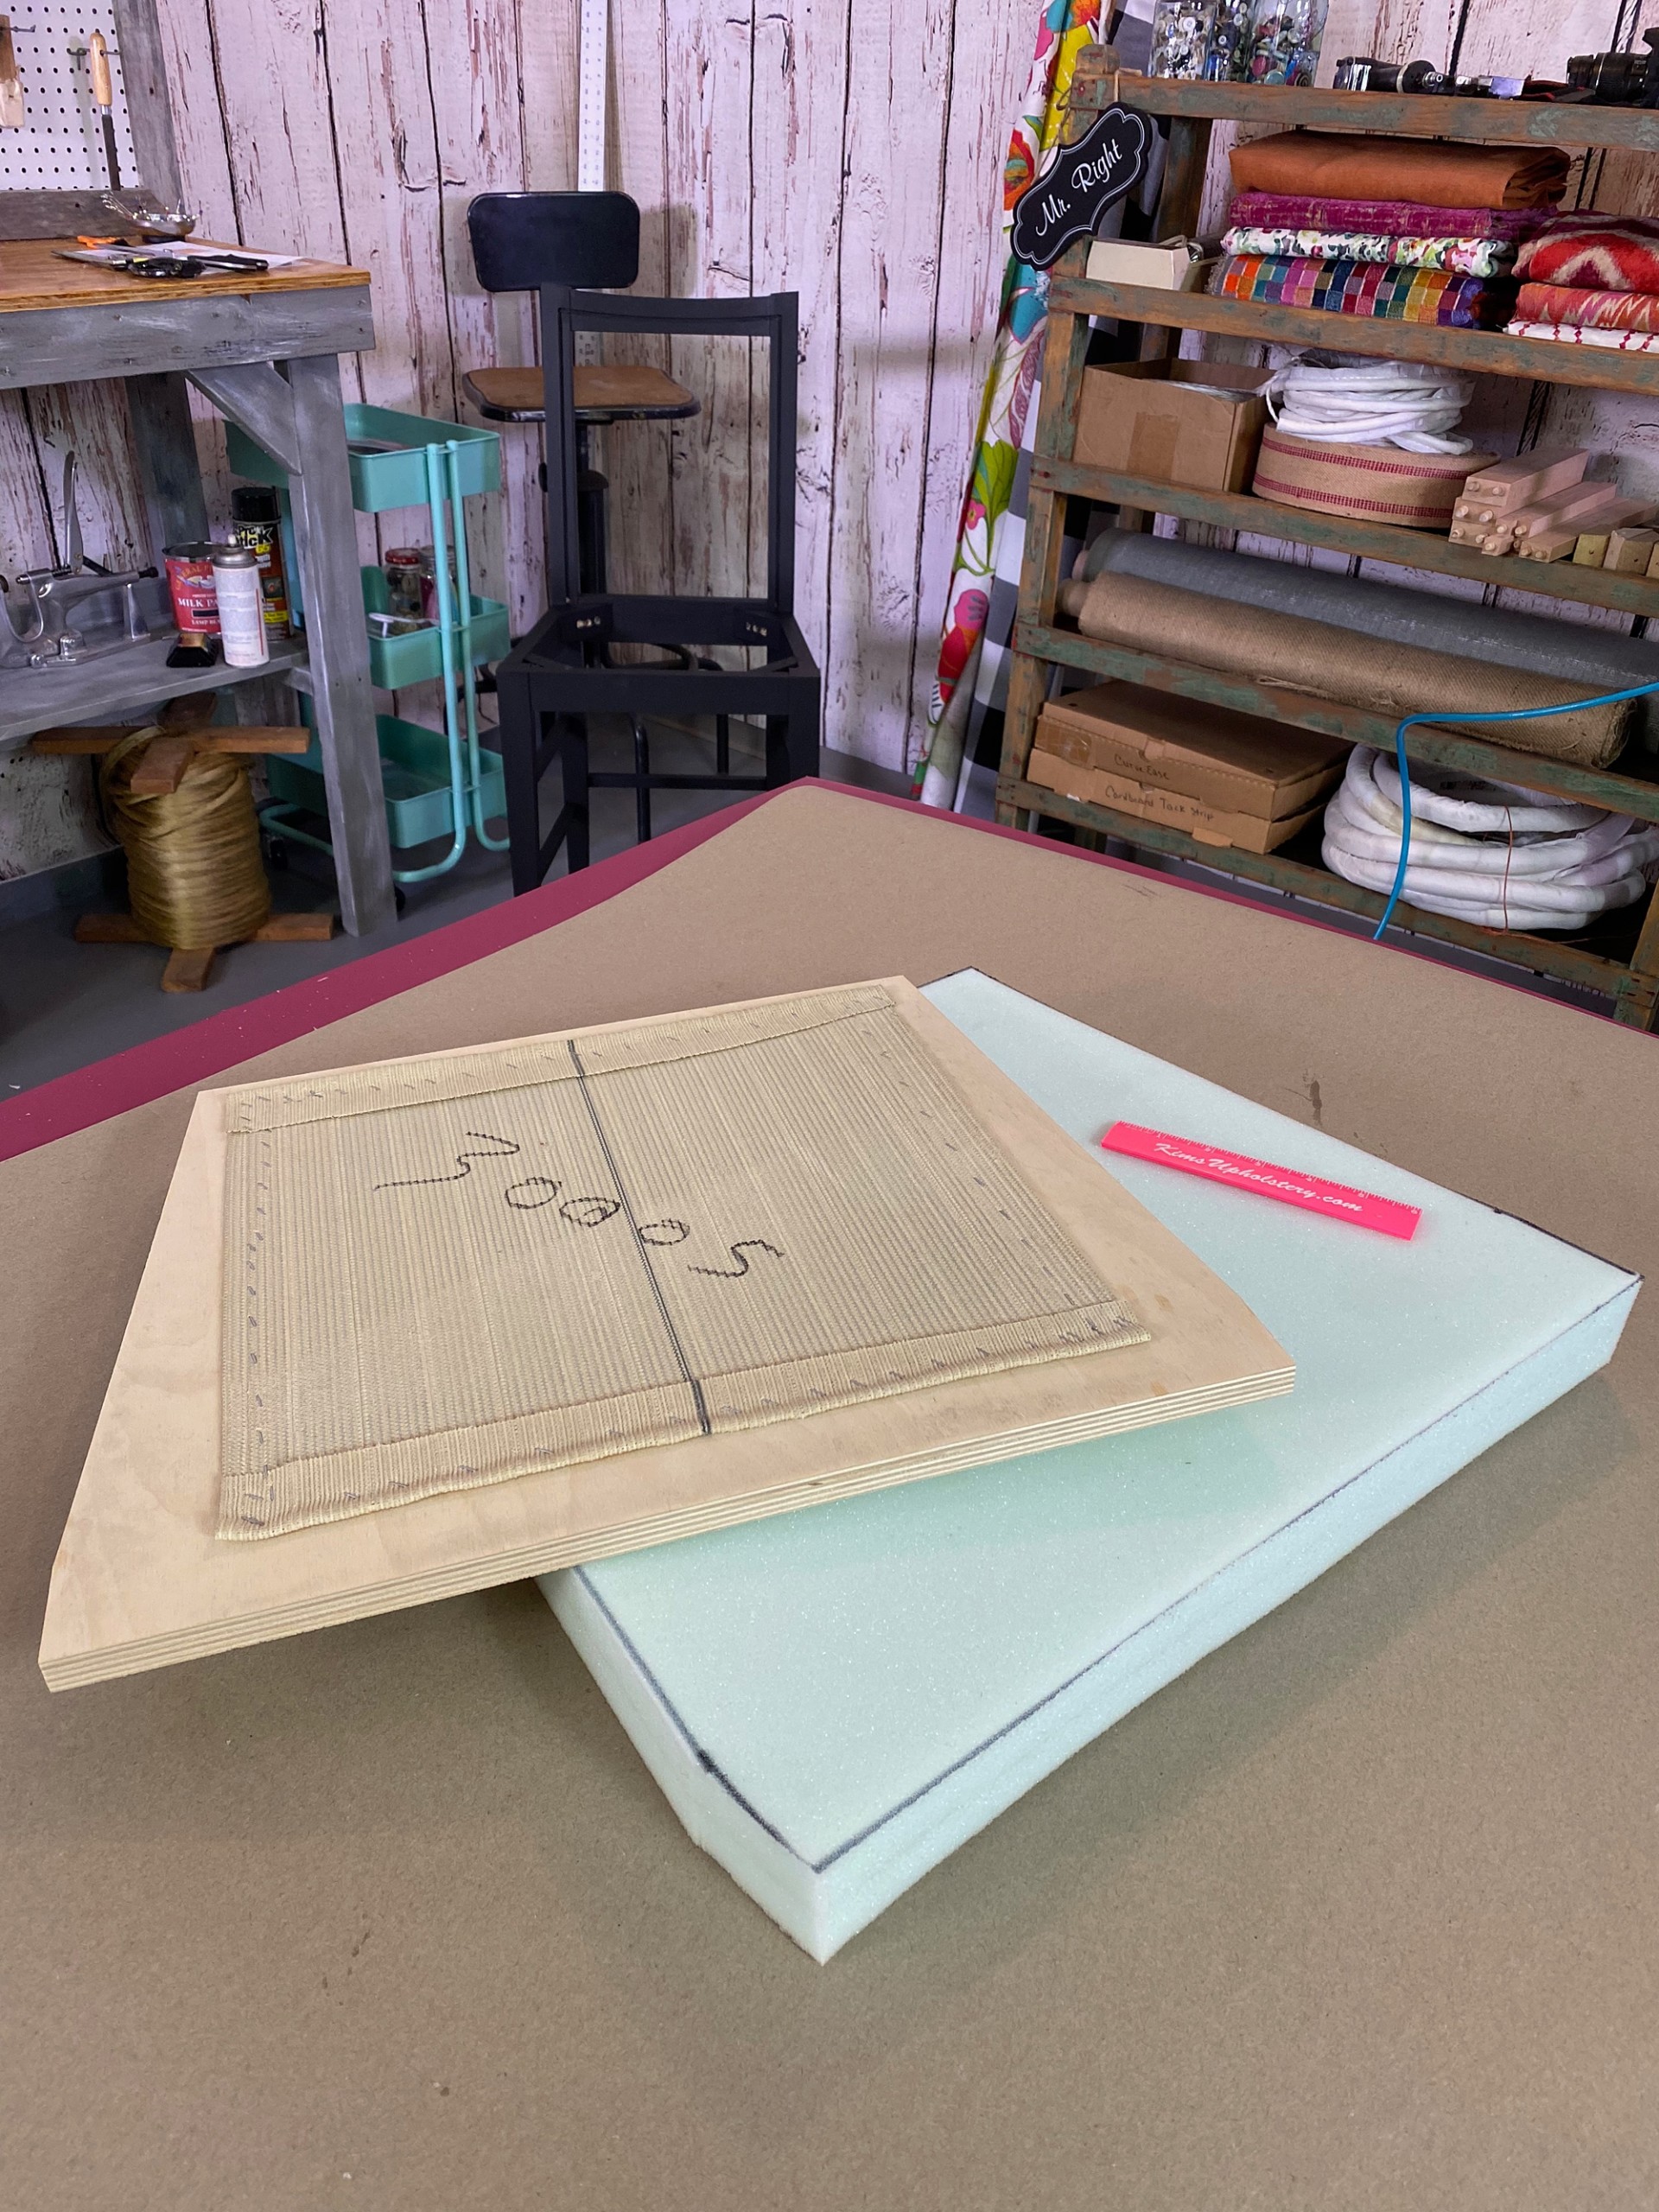
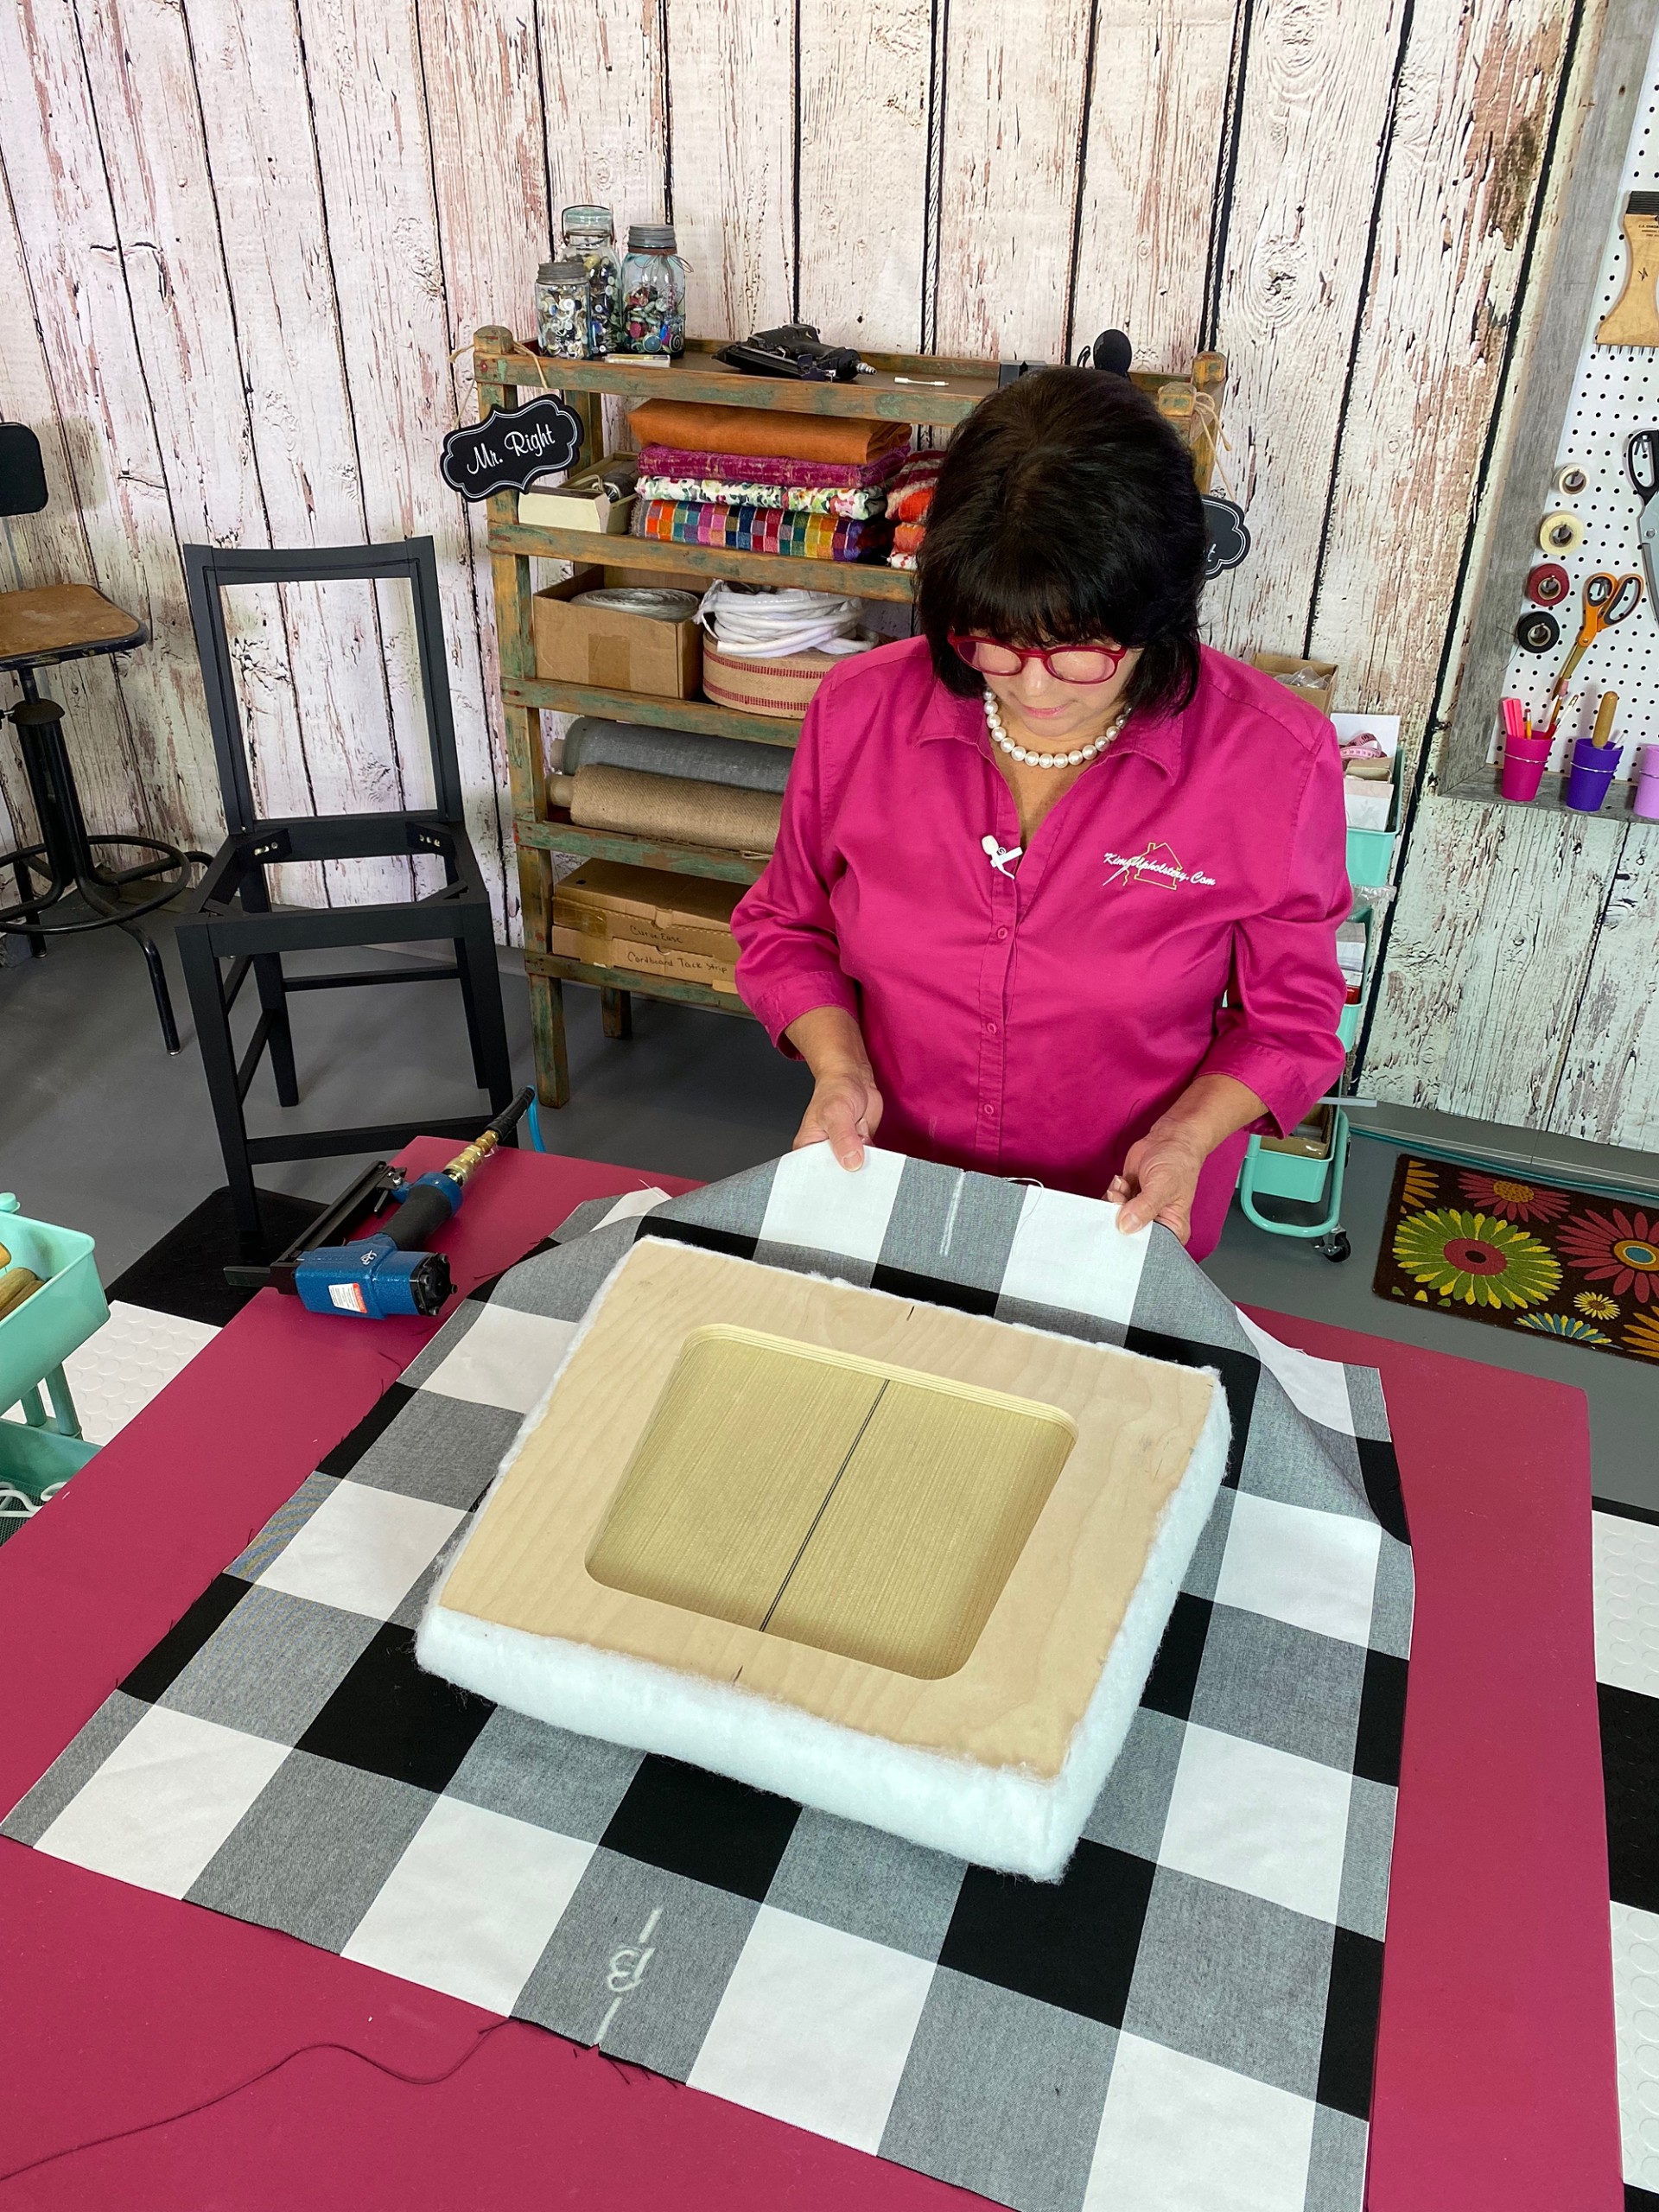
Next, you will use your wooden seat platform and cover it with high density foam. I recommend at least 2 inches of foam. The easiest way to do this is to lay your wooden frame on your foam and trace the seat base. Attach your foam to the base using a foam spray adhesive.
STEP THREE:
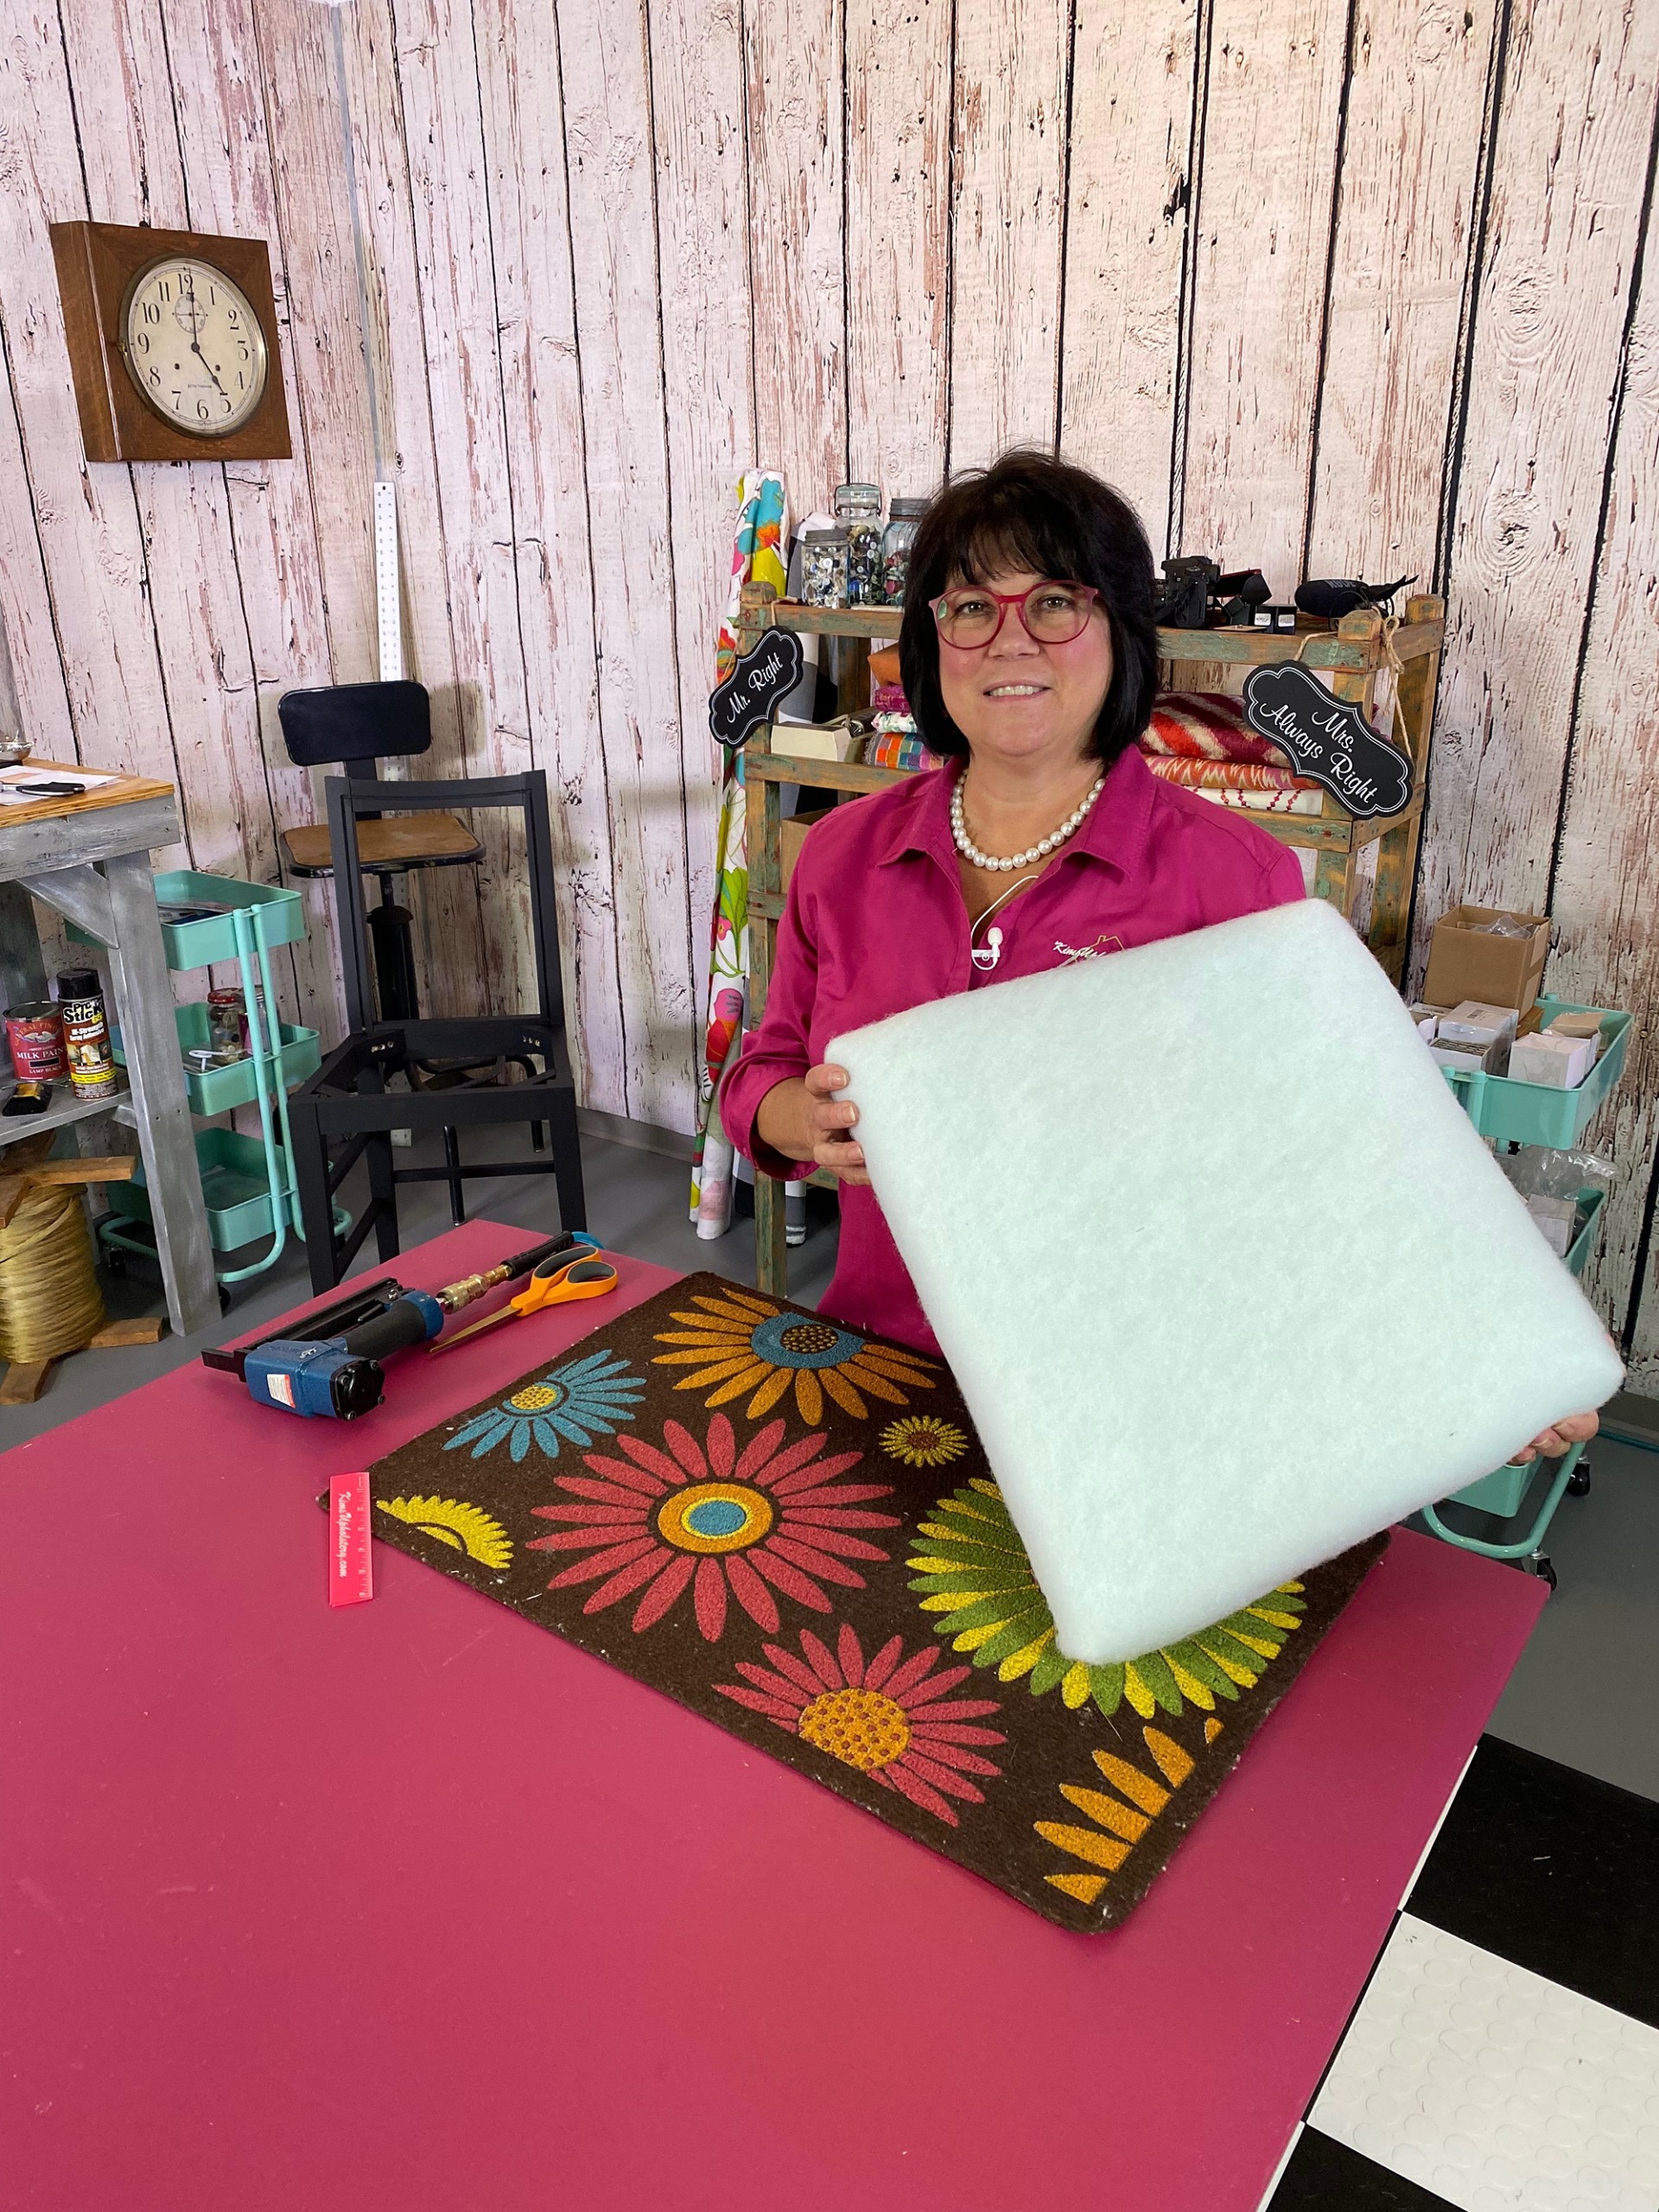
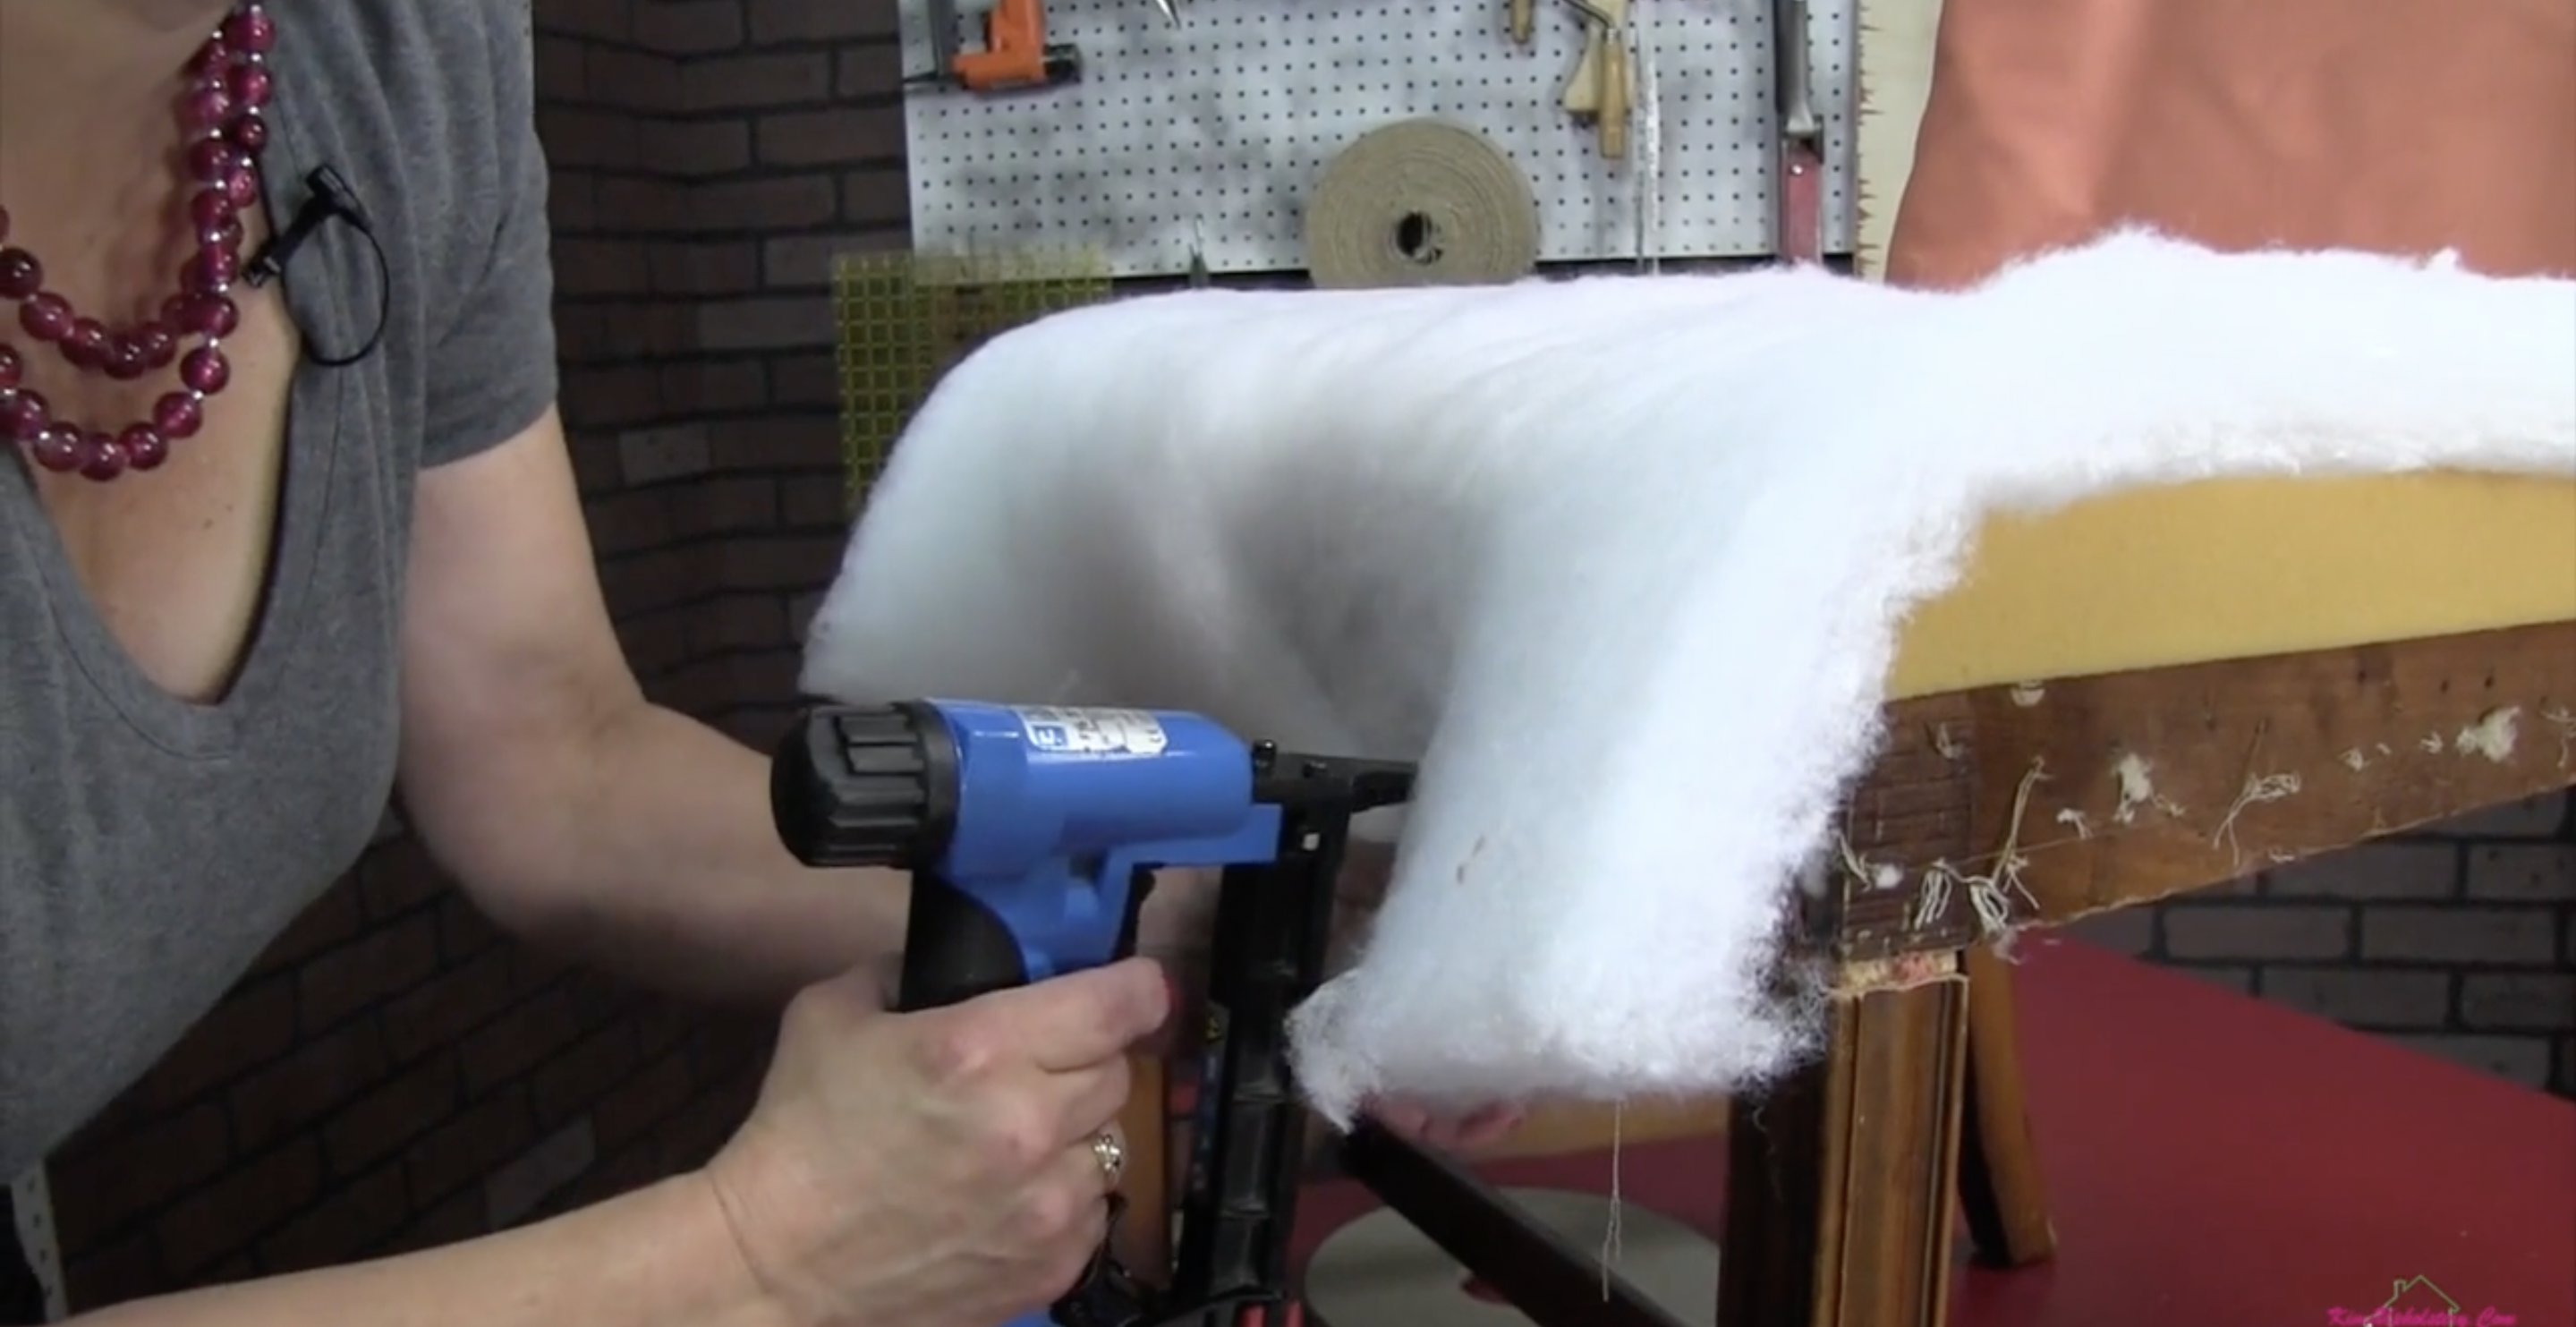
Once your adhesive dries, attach 1 inch dacron to the frame to act as a buffer between the foam and your fabric. Dacron is important as it helps your fabric last longer and eliminates friction between the foam and fabric. The easiest way to attach the dacron to the seat base is by using a pneumatic staple gun to secure it on the underside of the seat.
STEP FOUR:
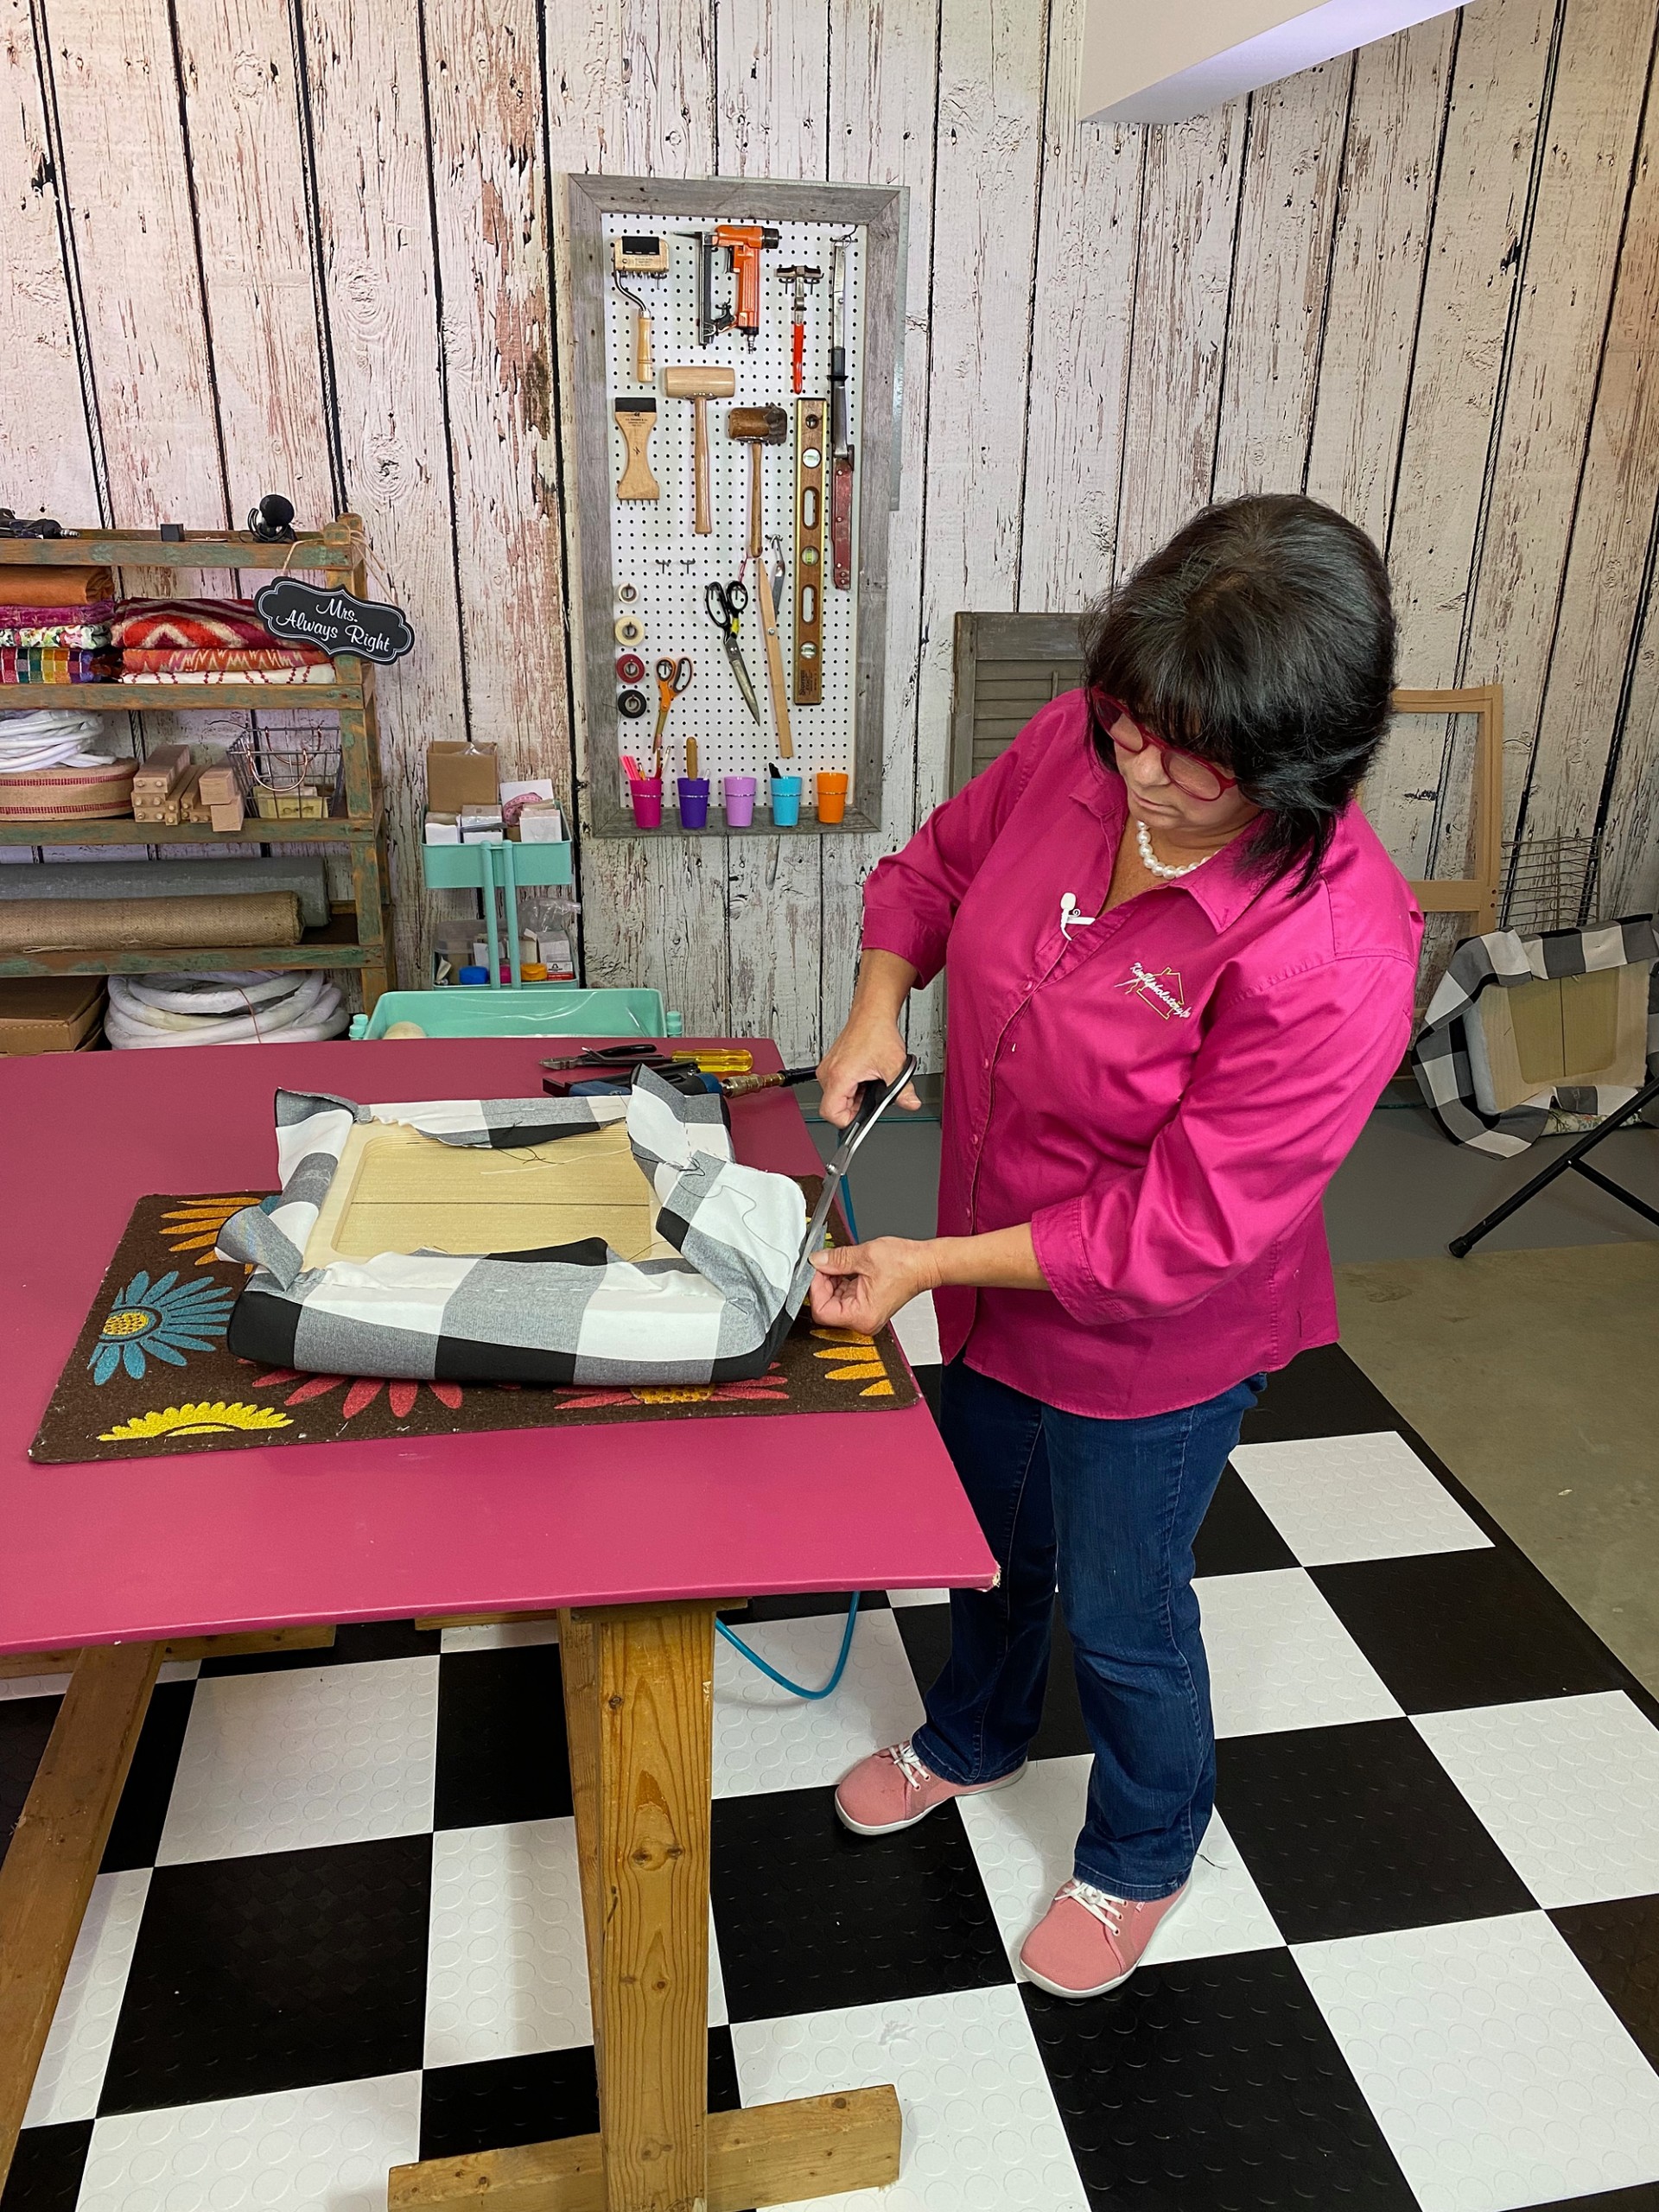
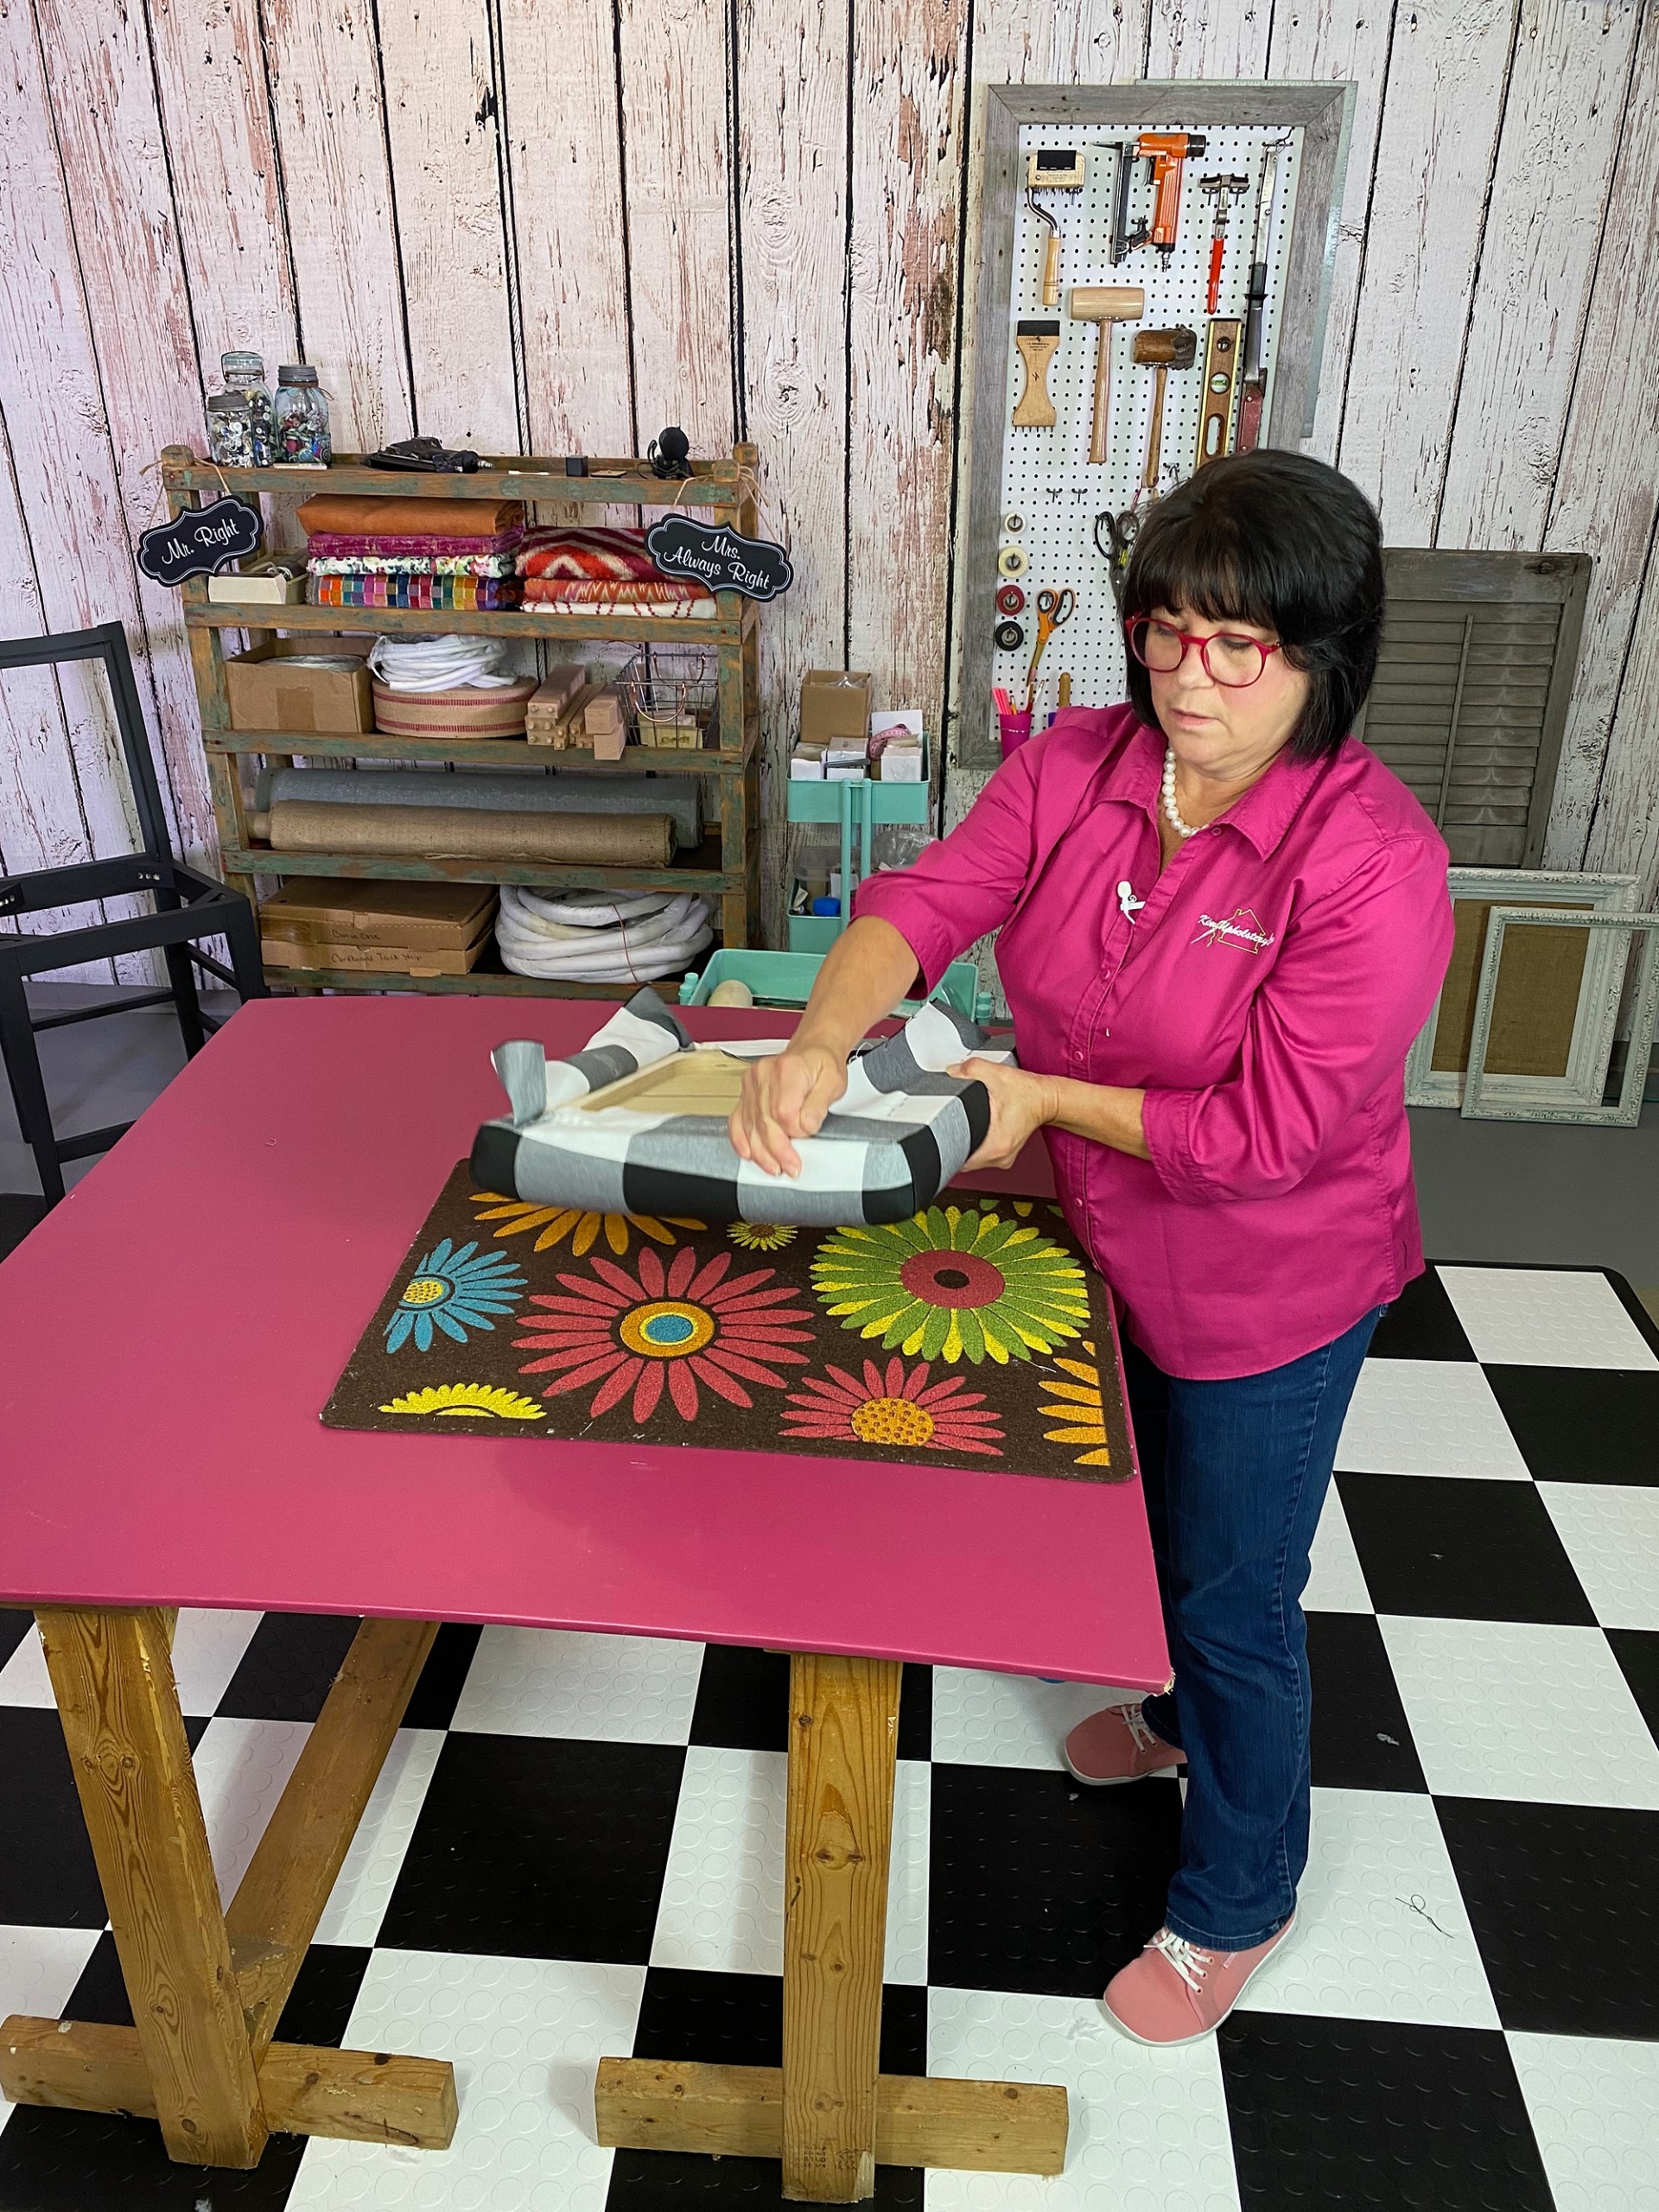
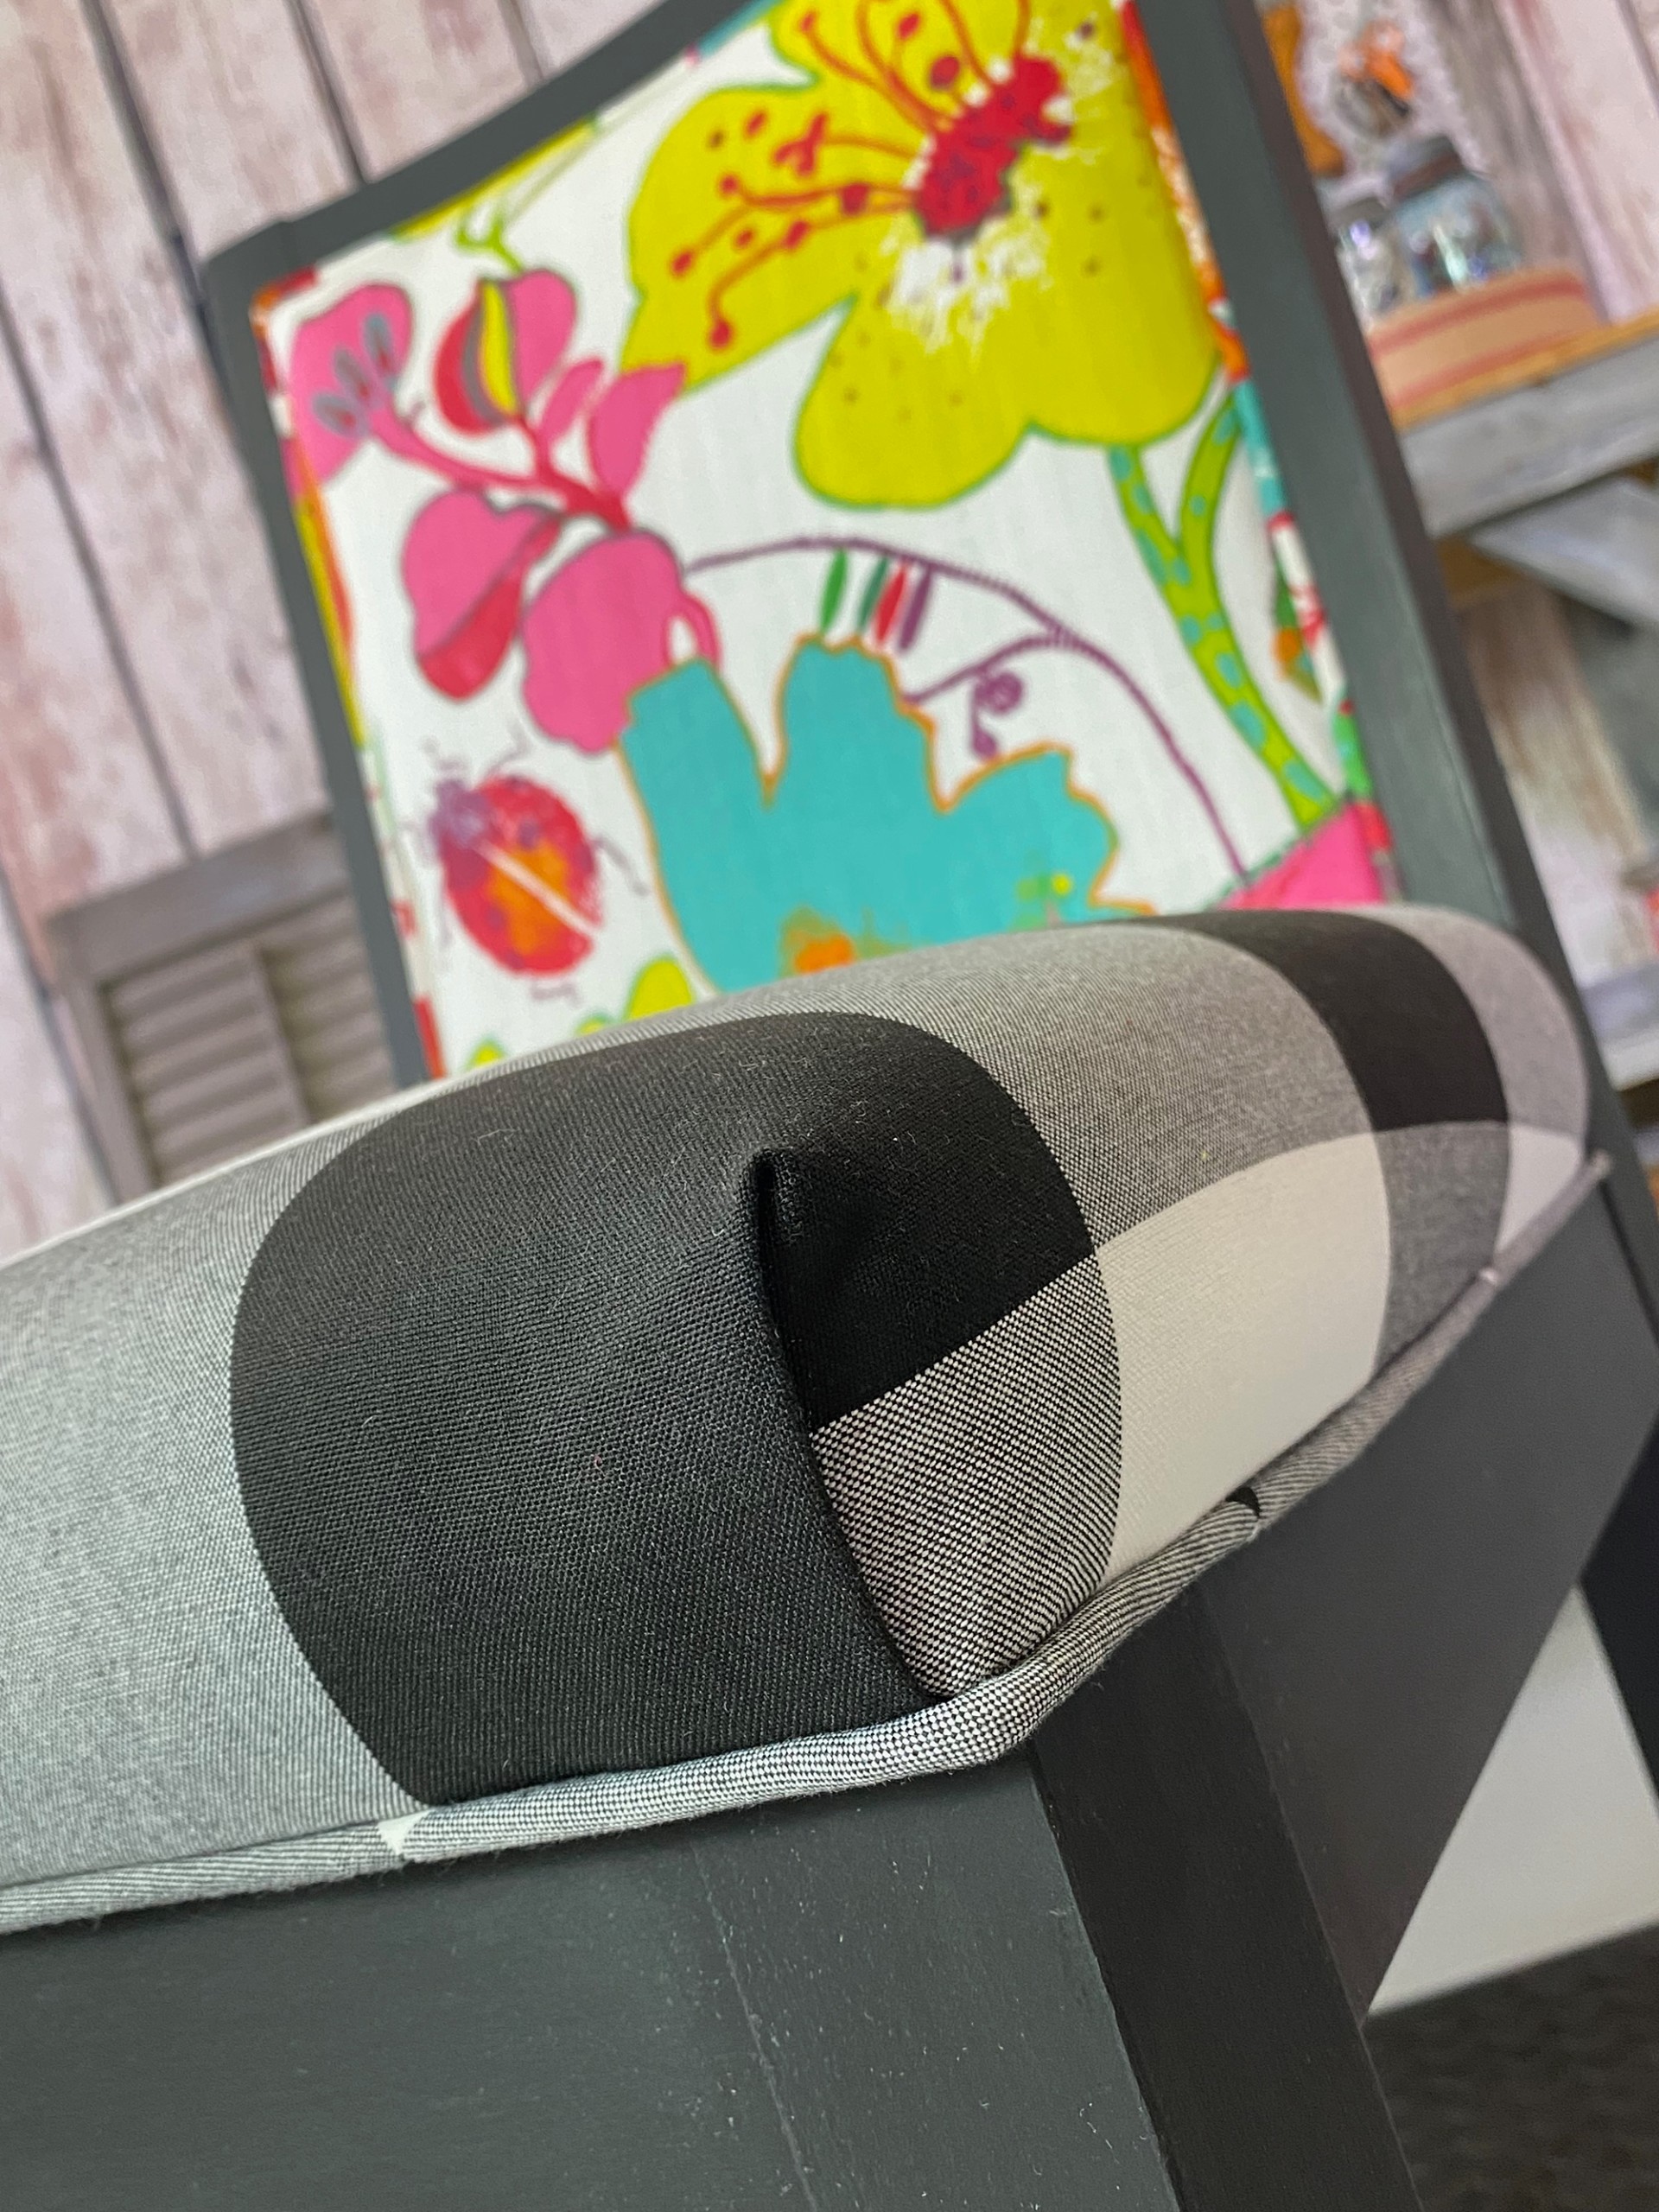
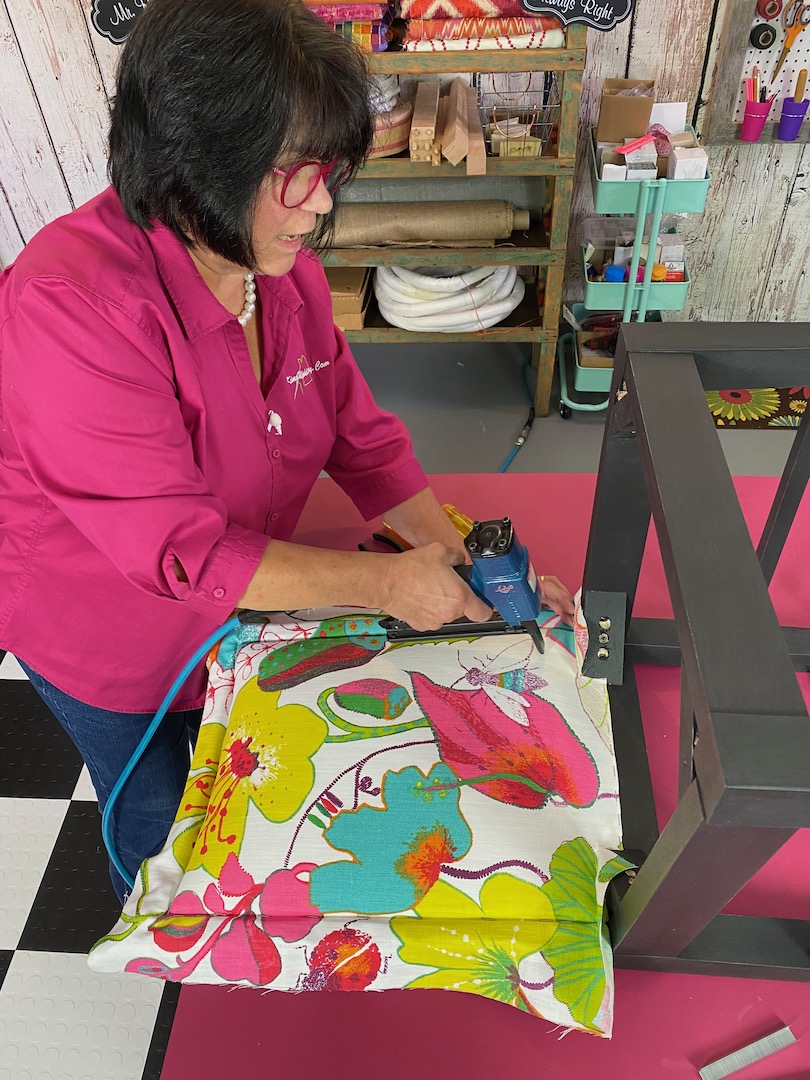
Now, it is time to attach your fabric! You’ll want to cut the fabric with an extra 3-4 inch perimeter of fabric. Make sure you pull your fabric as tight as possible over the base while using your pneumatic staple gun to attach it to the underside. Start in the middle of each side first and then finish going around the perimeter of the seat. I recommend creating boxed corners on the slip seat! Box corners are a quick and simple way to make your seats have a more fuller yet structured look.
To create the boxed look you will pull the fabric from the front of the cushion to the side over the fabric stapled down and then staple it. Repeat on the opposite side of the seat. Pulling the front piece of fabric pulled tightly over the fabric stapled creates a pleat in the fabric centered on the corner.
STEP FIVE:
Once you’ve completely attached your fabric and are happy with how it looks, you can now add a single welt cord or other trim detail if you want – this is optional and not needed to complete the seat.
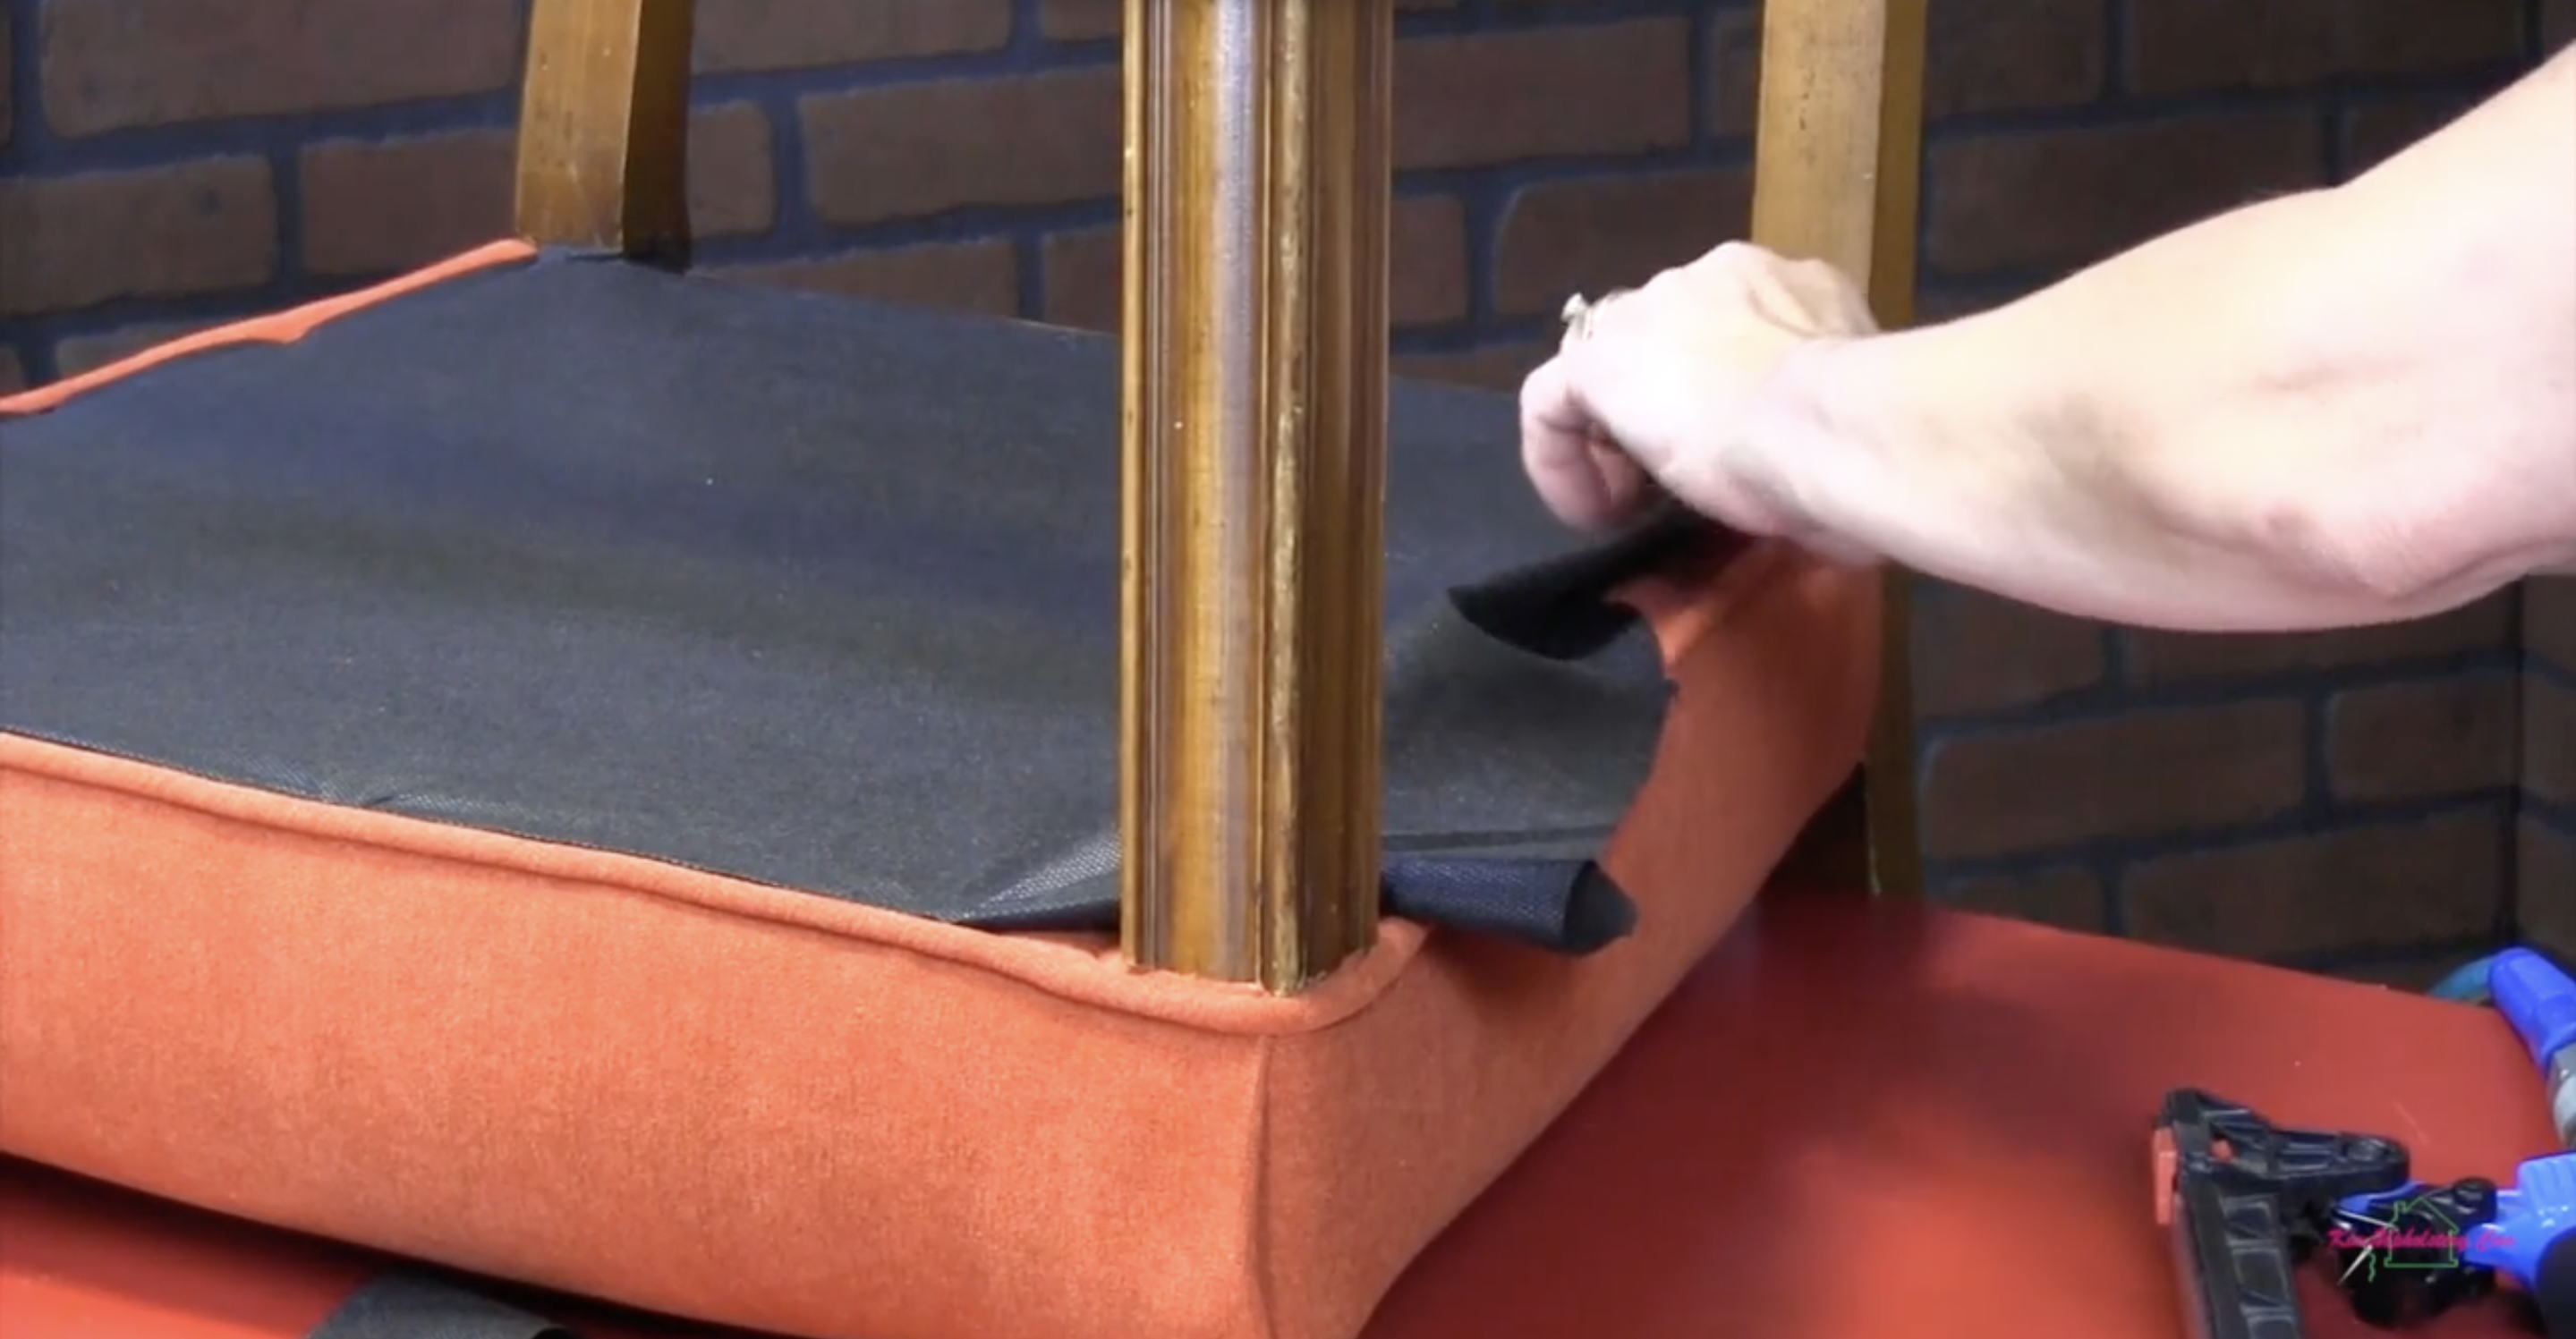
The final step is to cut and staple a dust cover to the underside of the seat.
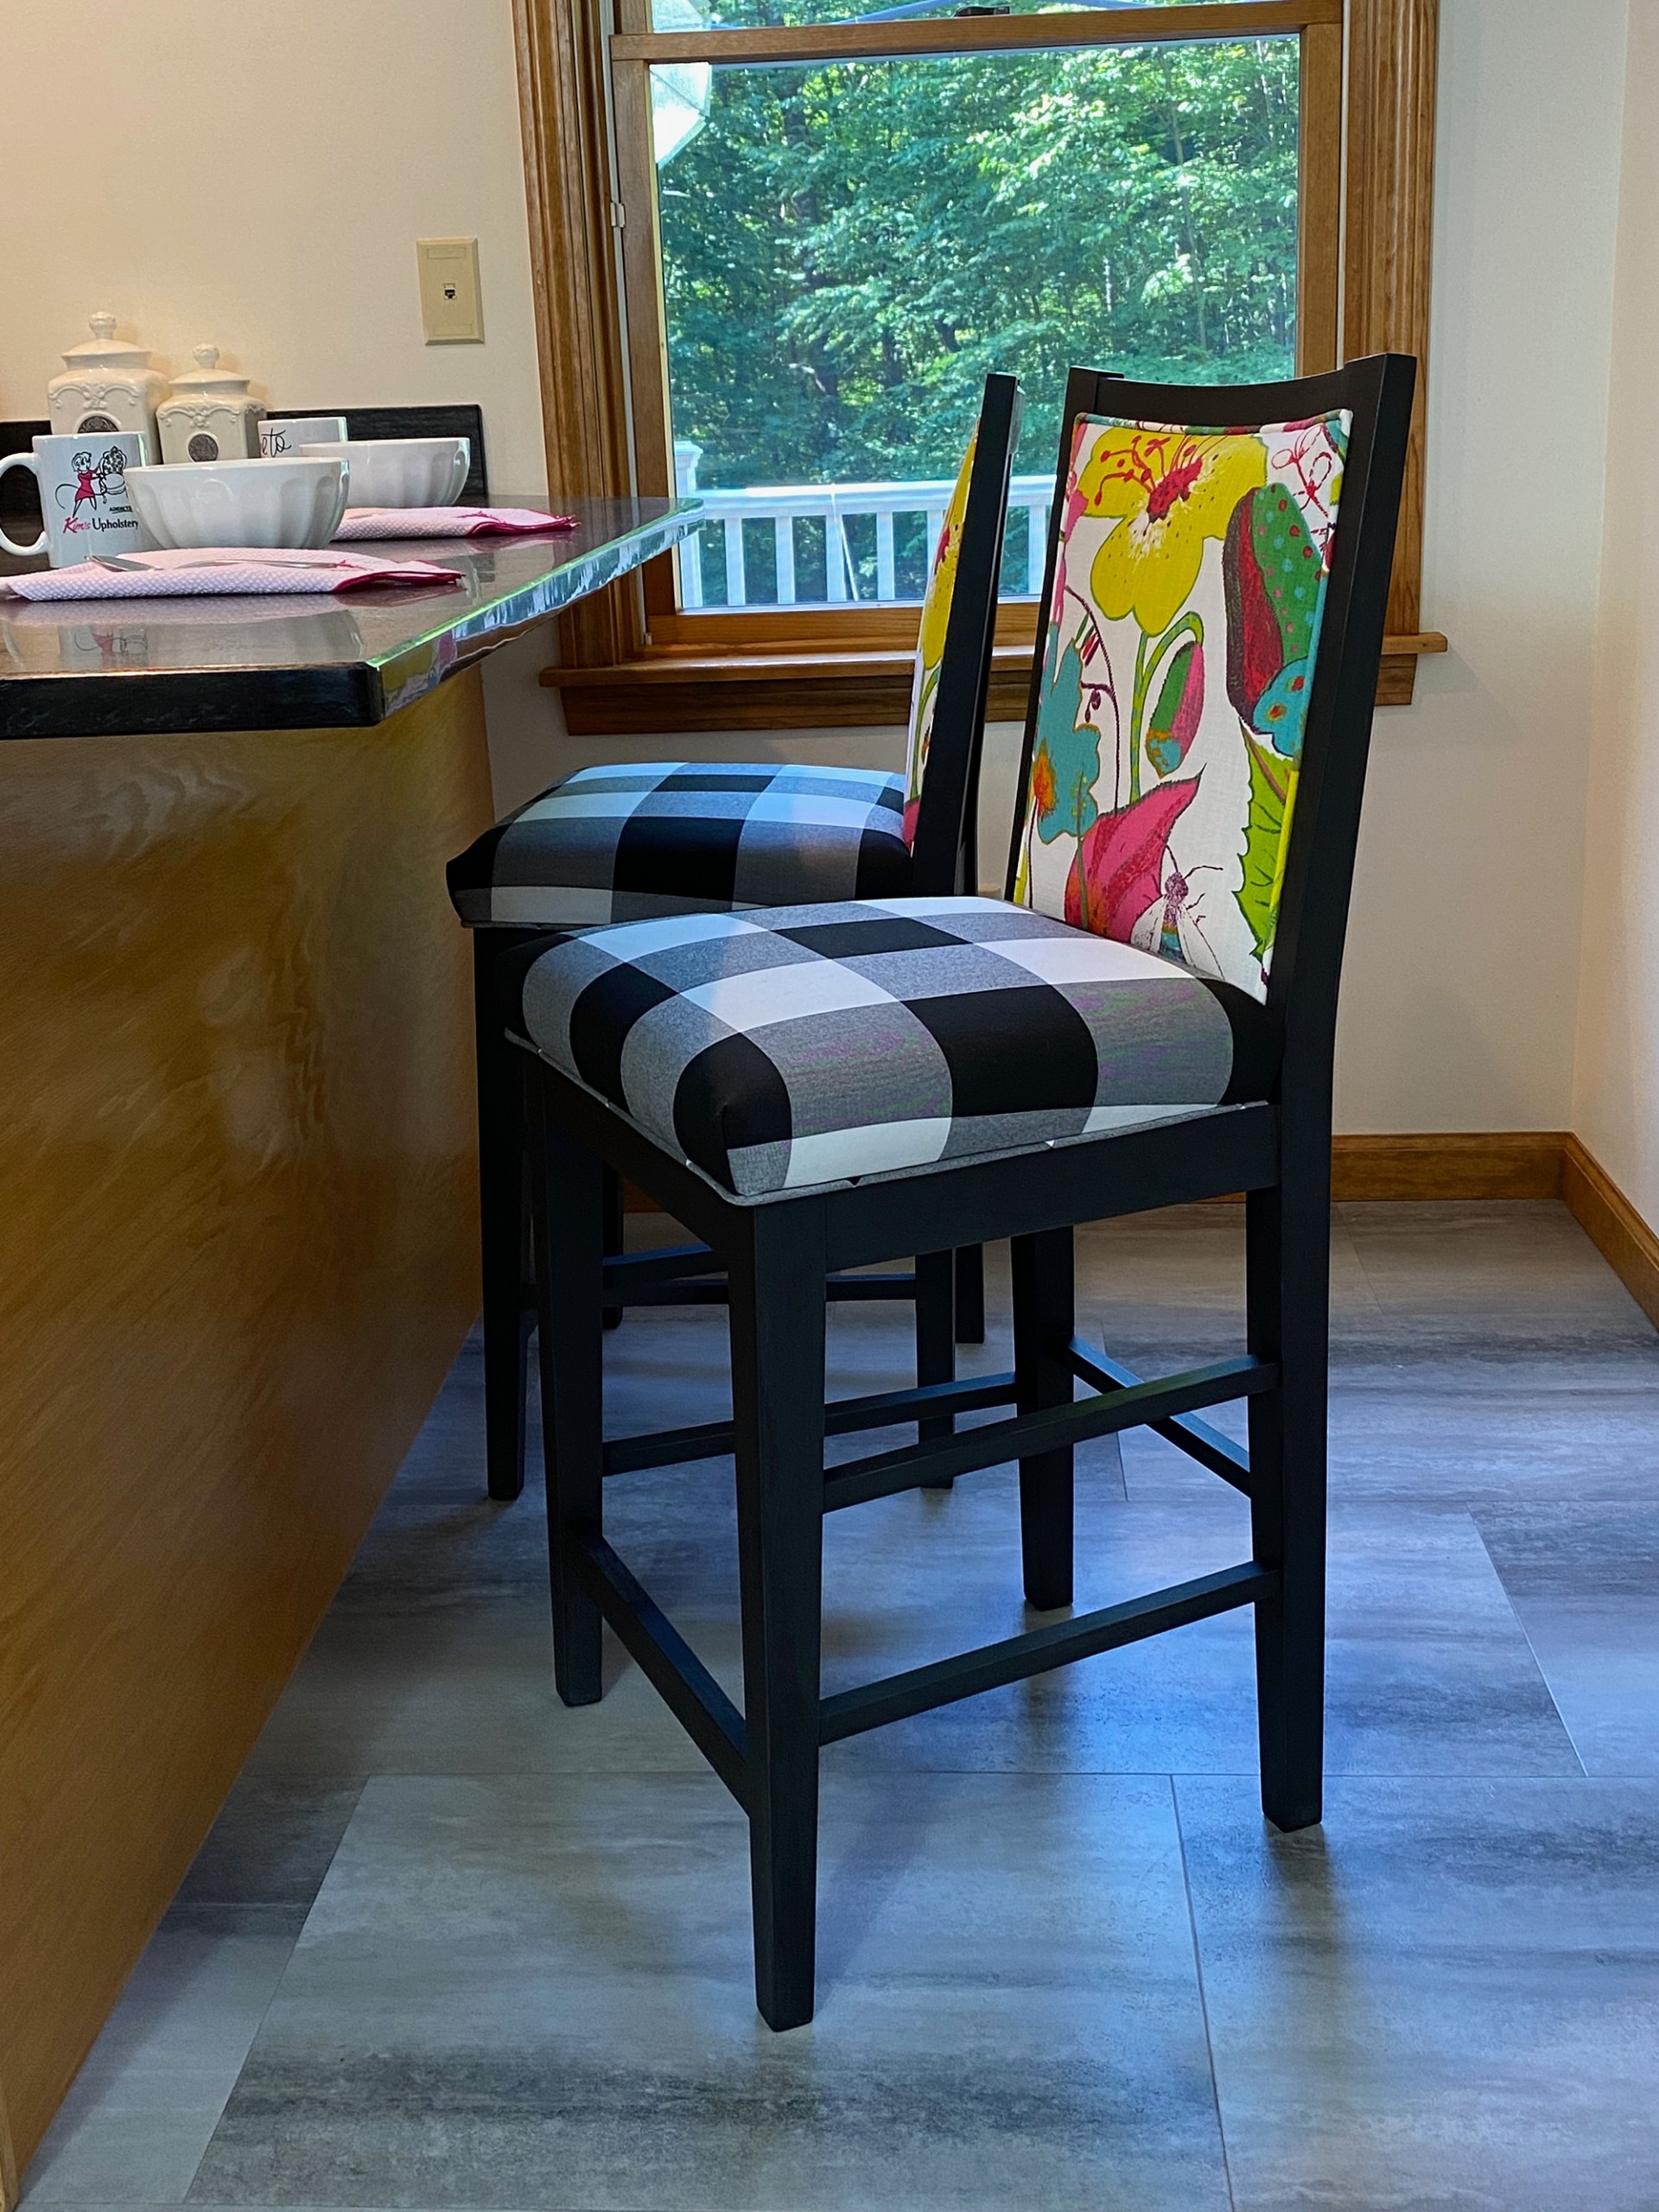
To learn more about upholstering chairs with slip seats, check out this video: How To Reupholster Kitchen Counter Stools
Reupholstering a Dining Chair With a Fully Upholstered Non-Removable Seat
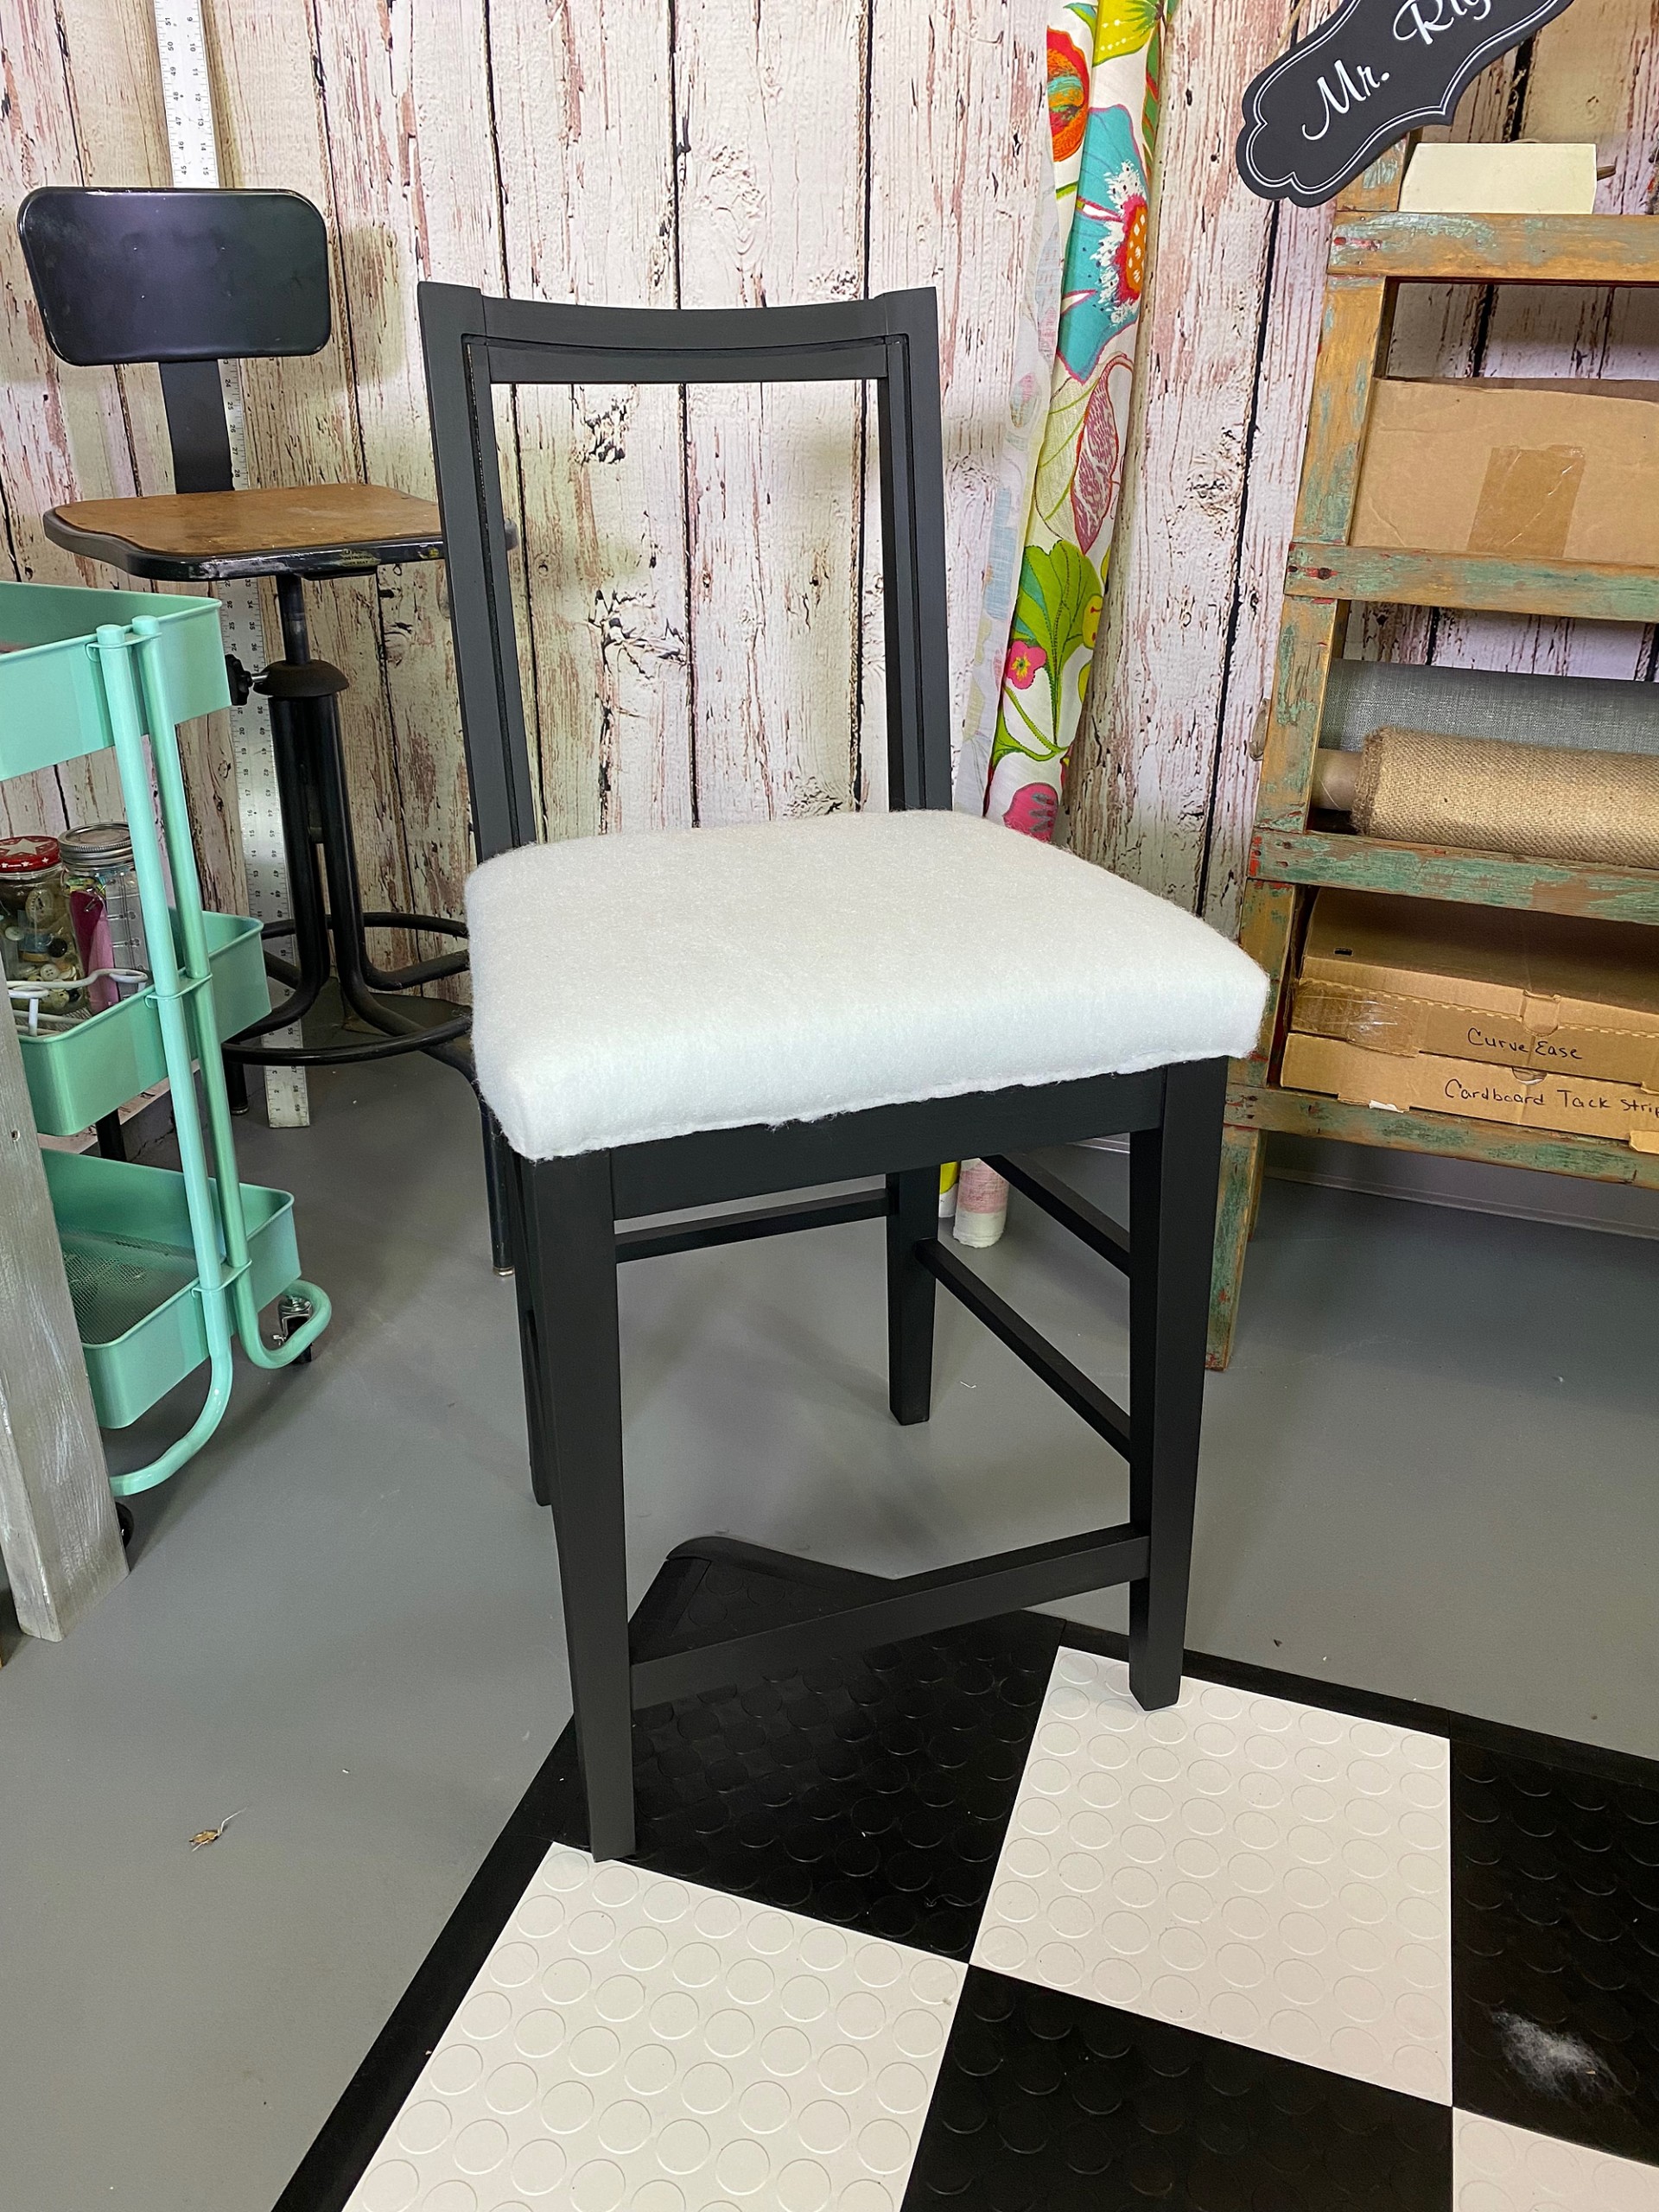
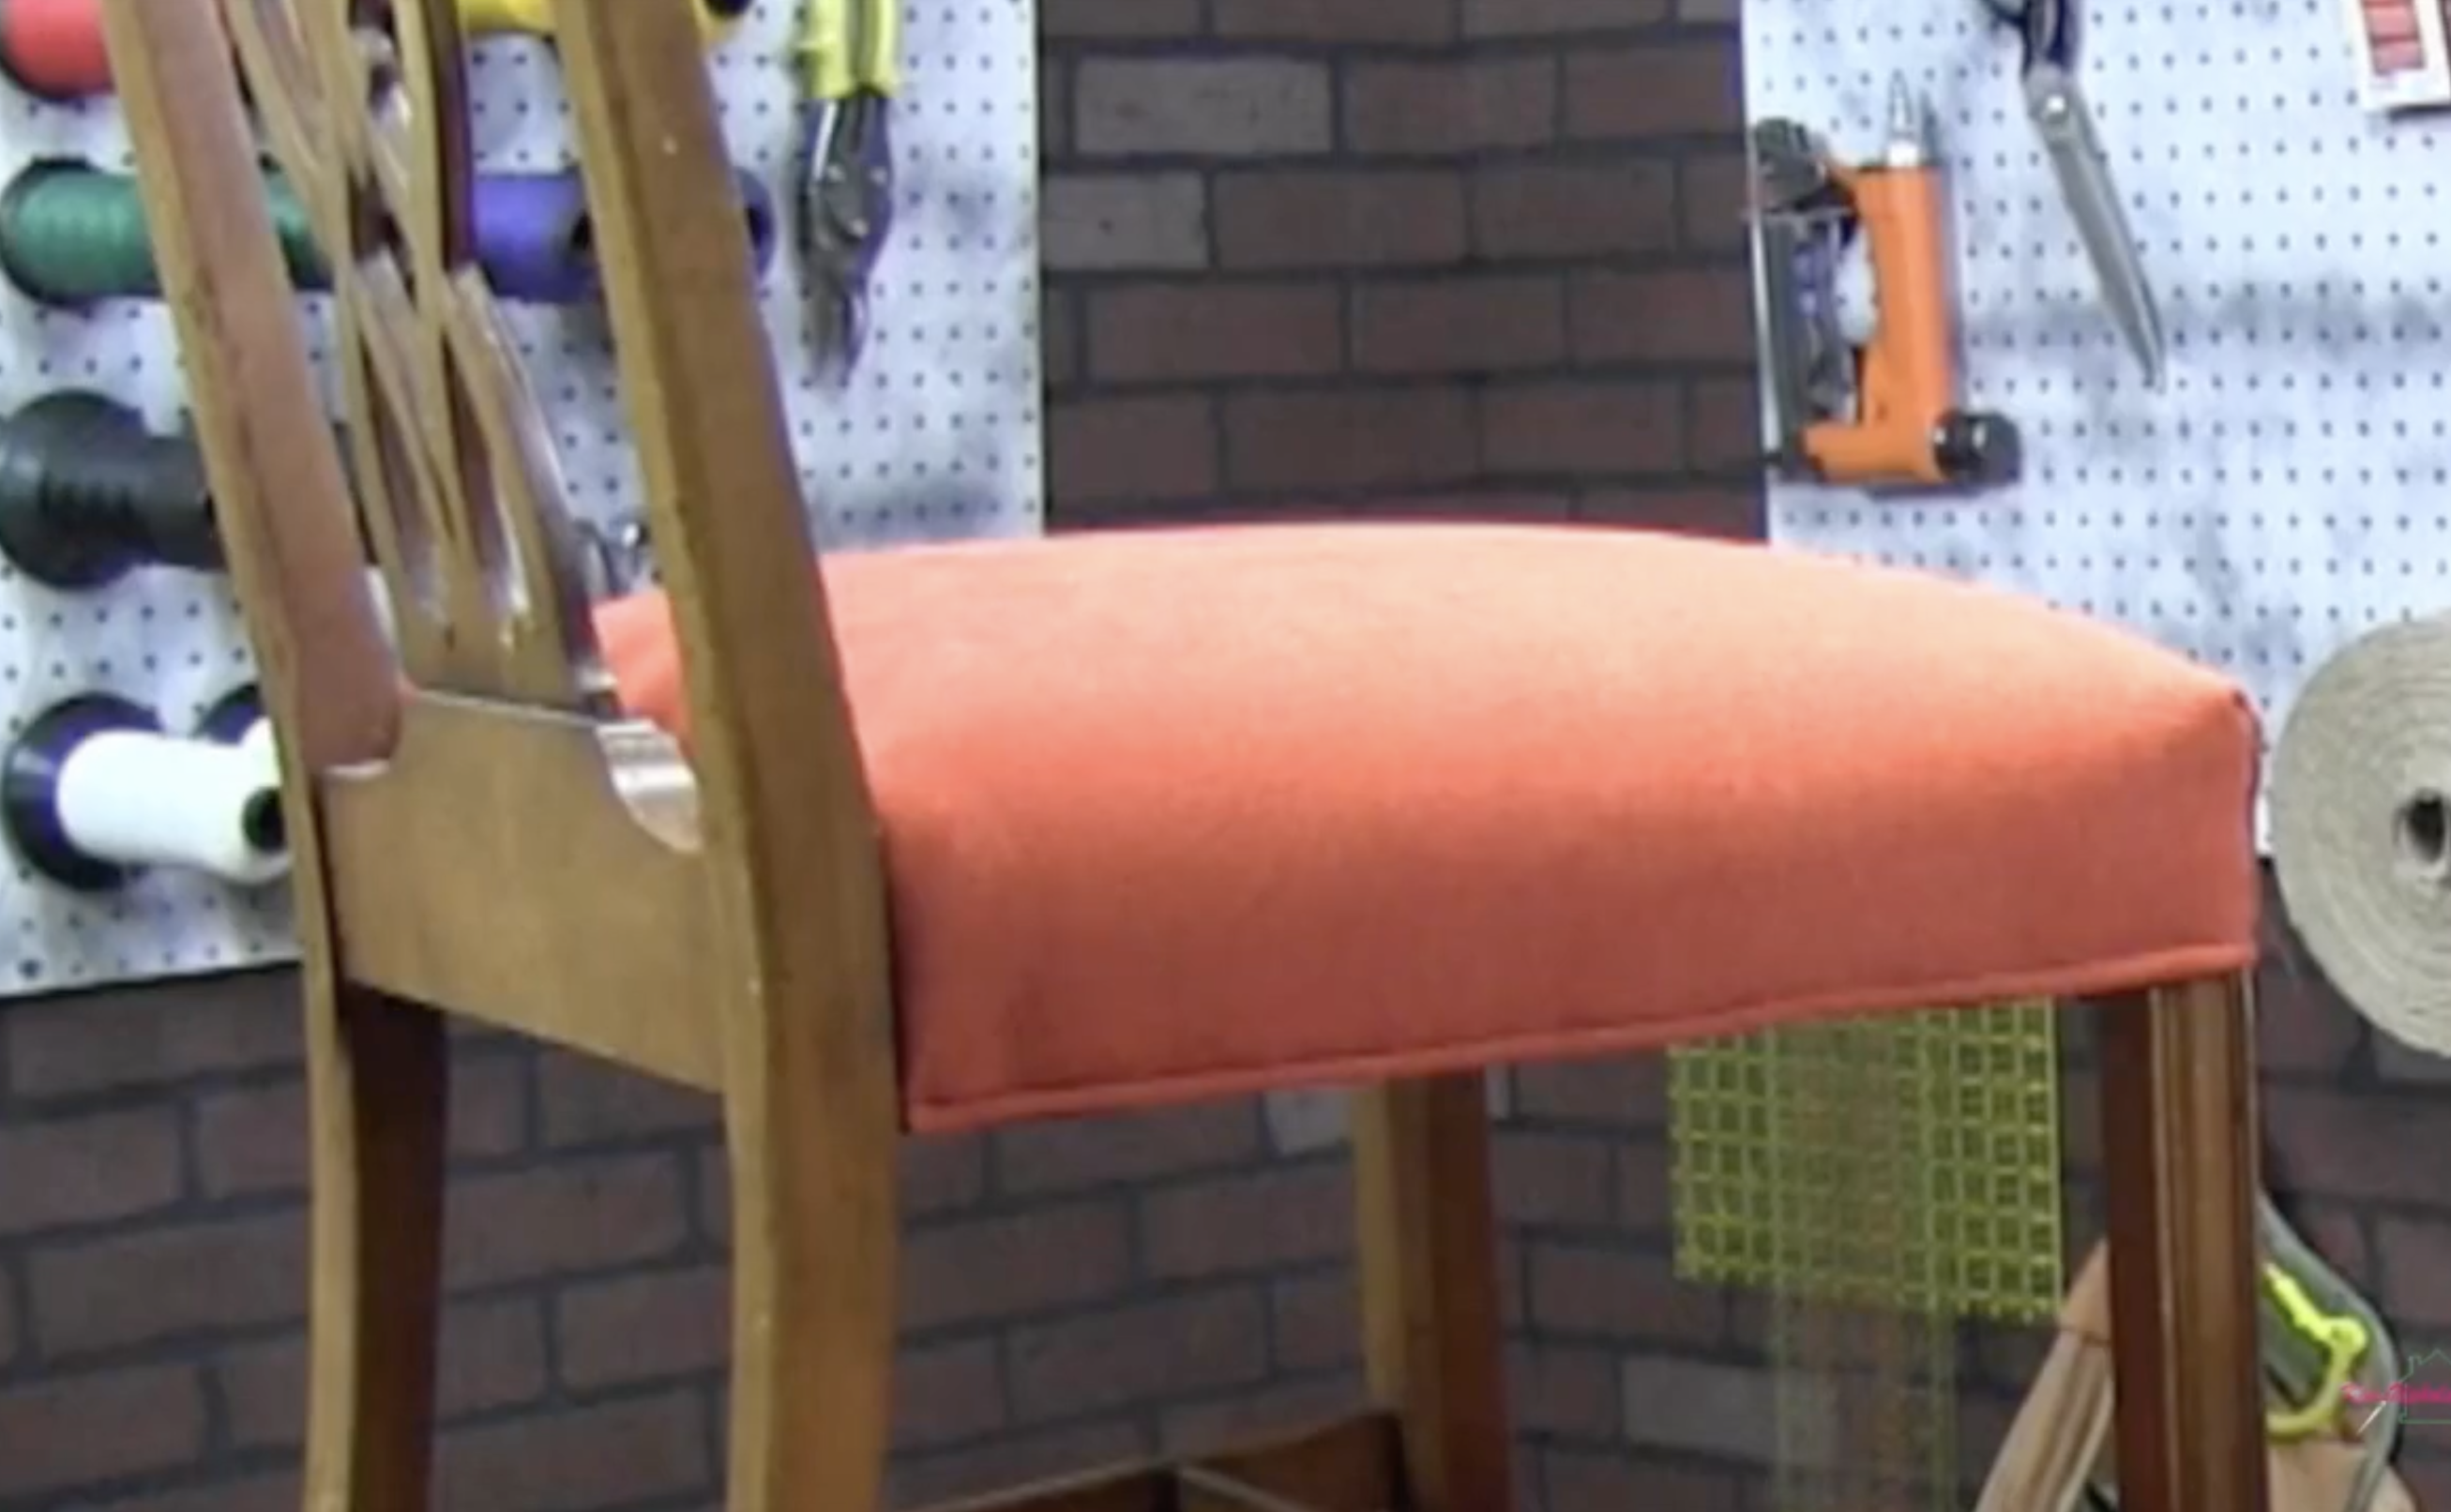
If you have a chair where the seat cannot be removed, it is still possible to reupholster it! Obviously, you will not remove the seat, like a slip seat but instead attaching the material to the chair frame.
STEP ONE:
Before you start, you will need to first remove any previous fabric and staples from the chair frame.
STEP TWO:
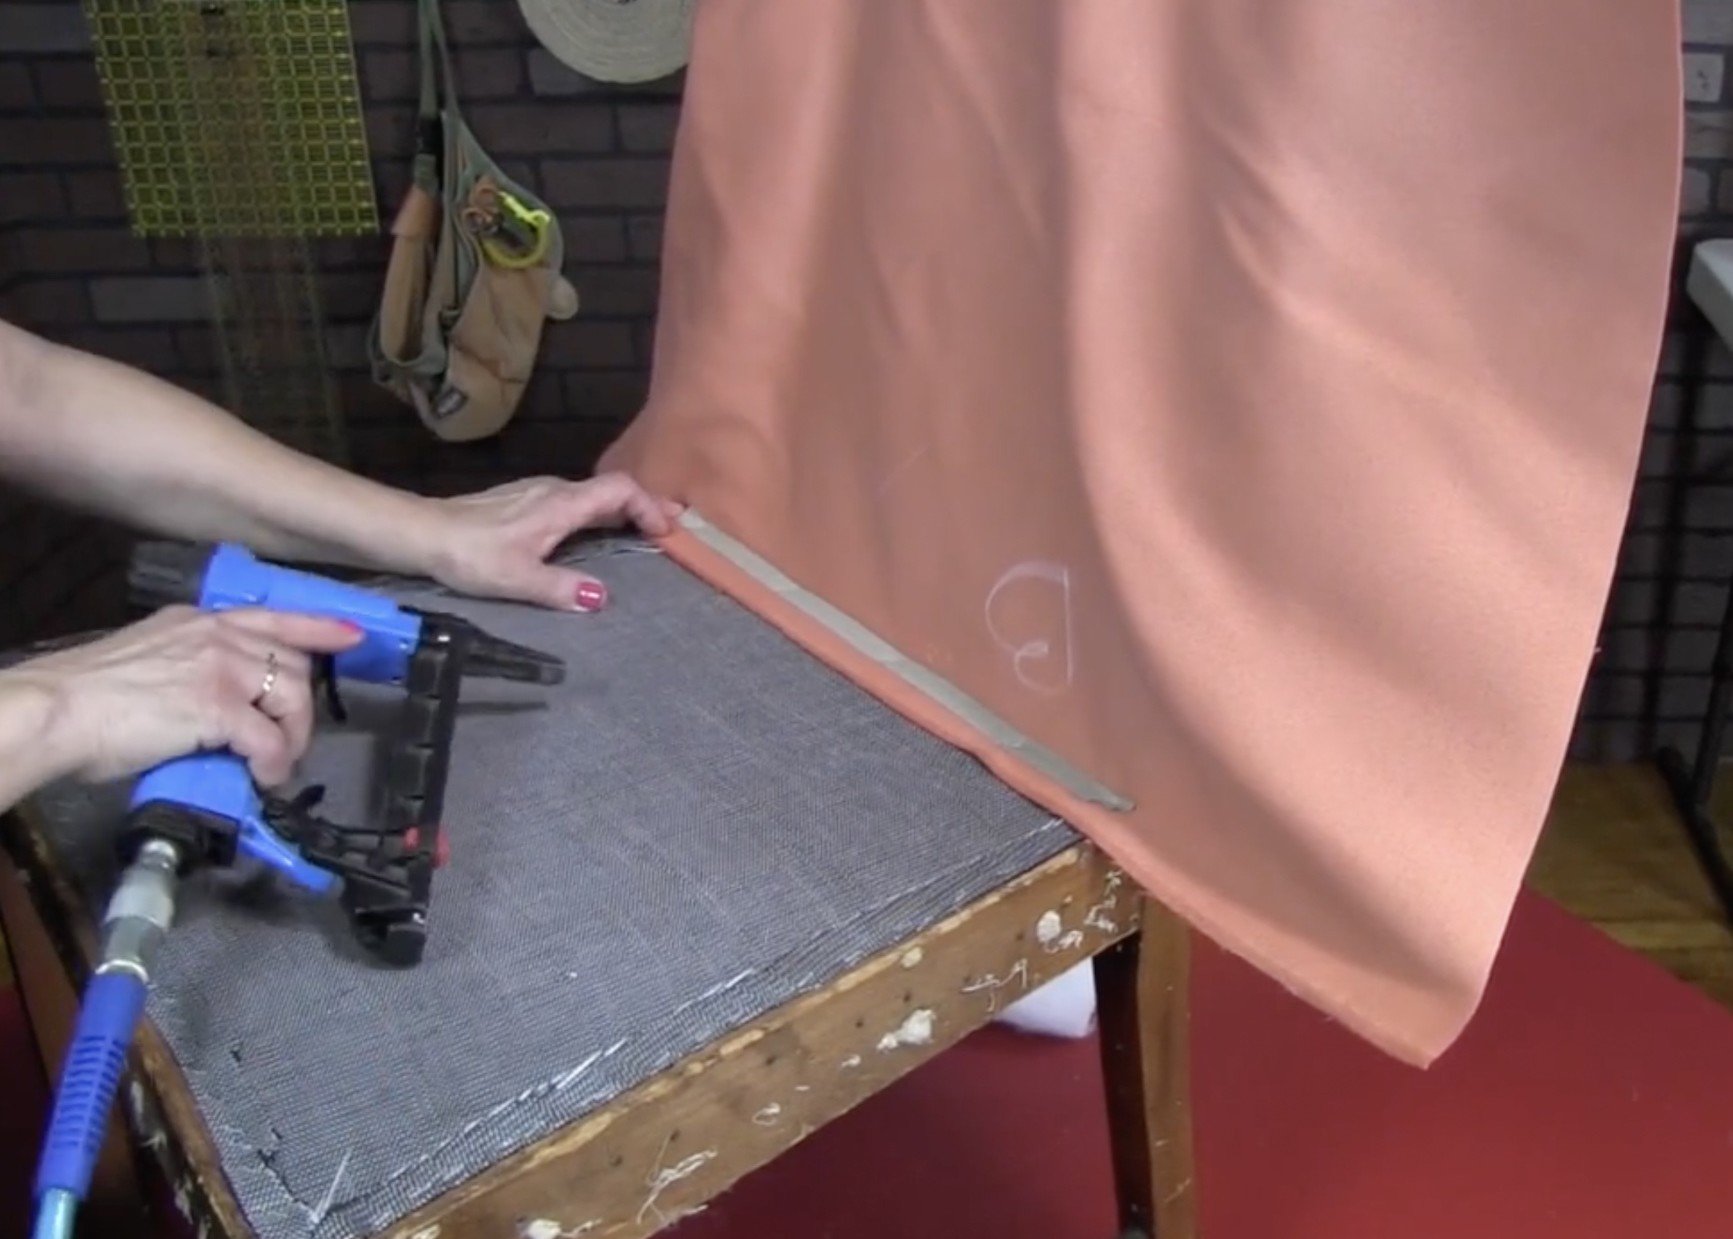
Once that is completed, you can then focus on the seat’s support system. You will use sagless or jute webbing for your support system as this style chair doesn’t have springs. Once you’ve attached your sagless or jute webbing to the top of the seat, you’ll start attaching the fabric. To do this, you will use a cardboard tack strip, which goes on before the padding. Using a cardboard tack strip is not common when reupholstering chairs, but is a technique used for this frame style.
Once you have the fabric positioned at the back of the seat, ensuring the backside of the fabric is facing down towards the sagless, you’ll place the tack strip over the fabric against the back edge of the seat and staple it down.
STEP THREE:
The next step will be to focus on the seat’s padding before attaching the finished fabric.
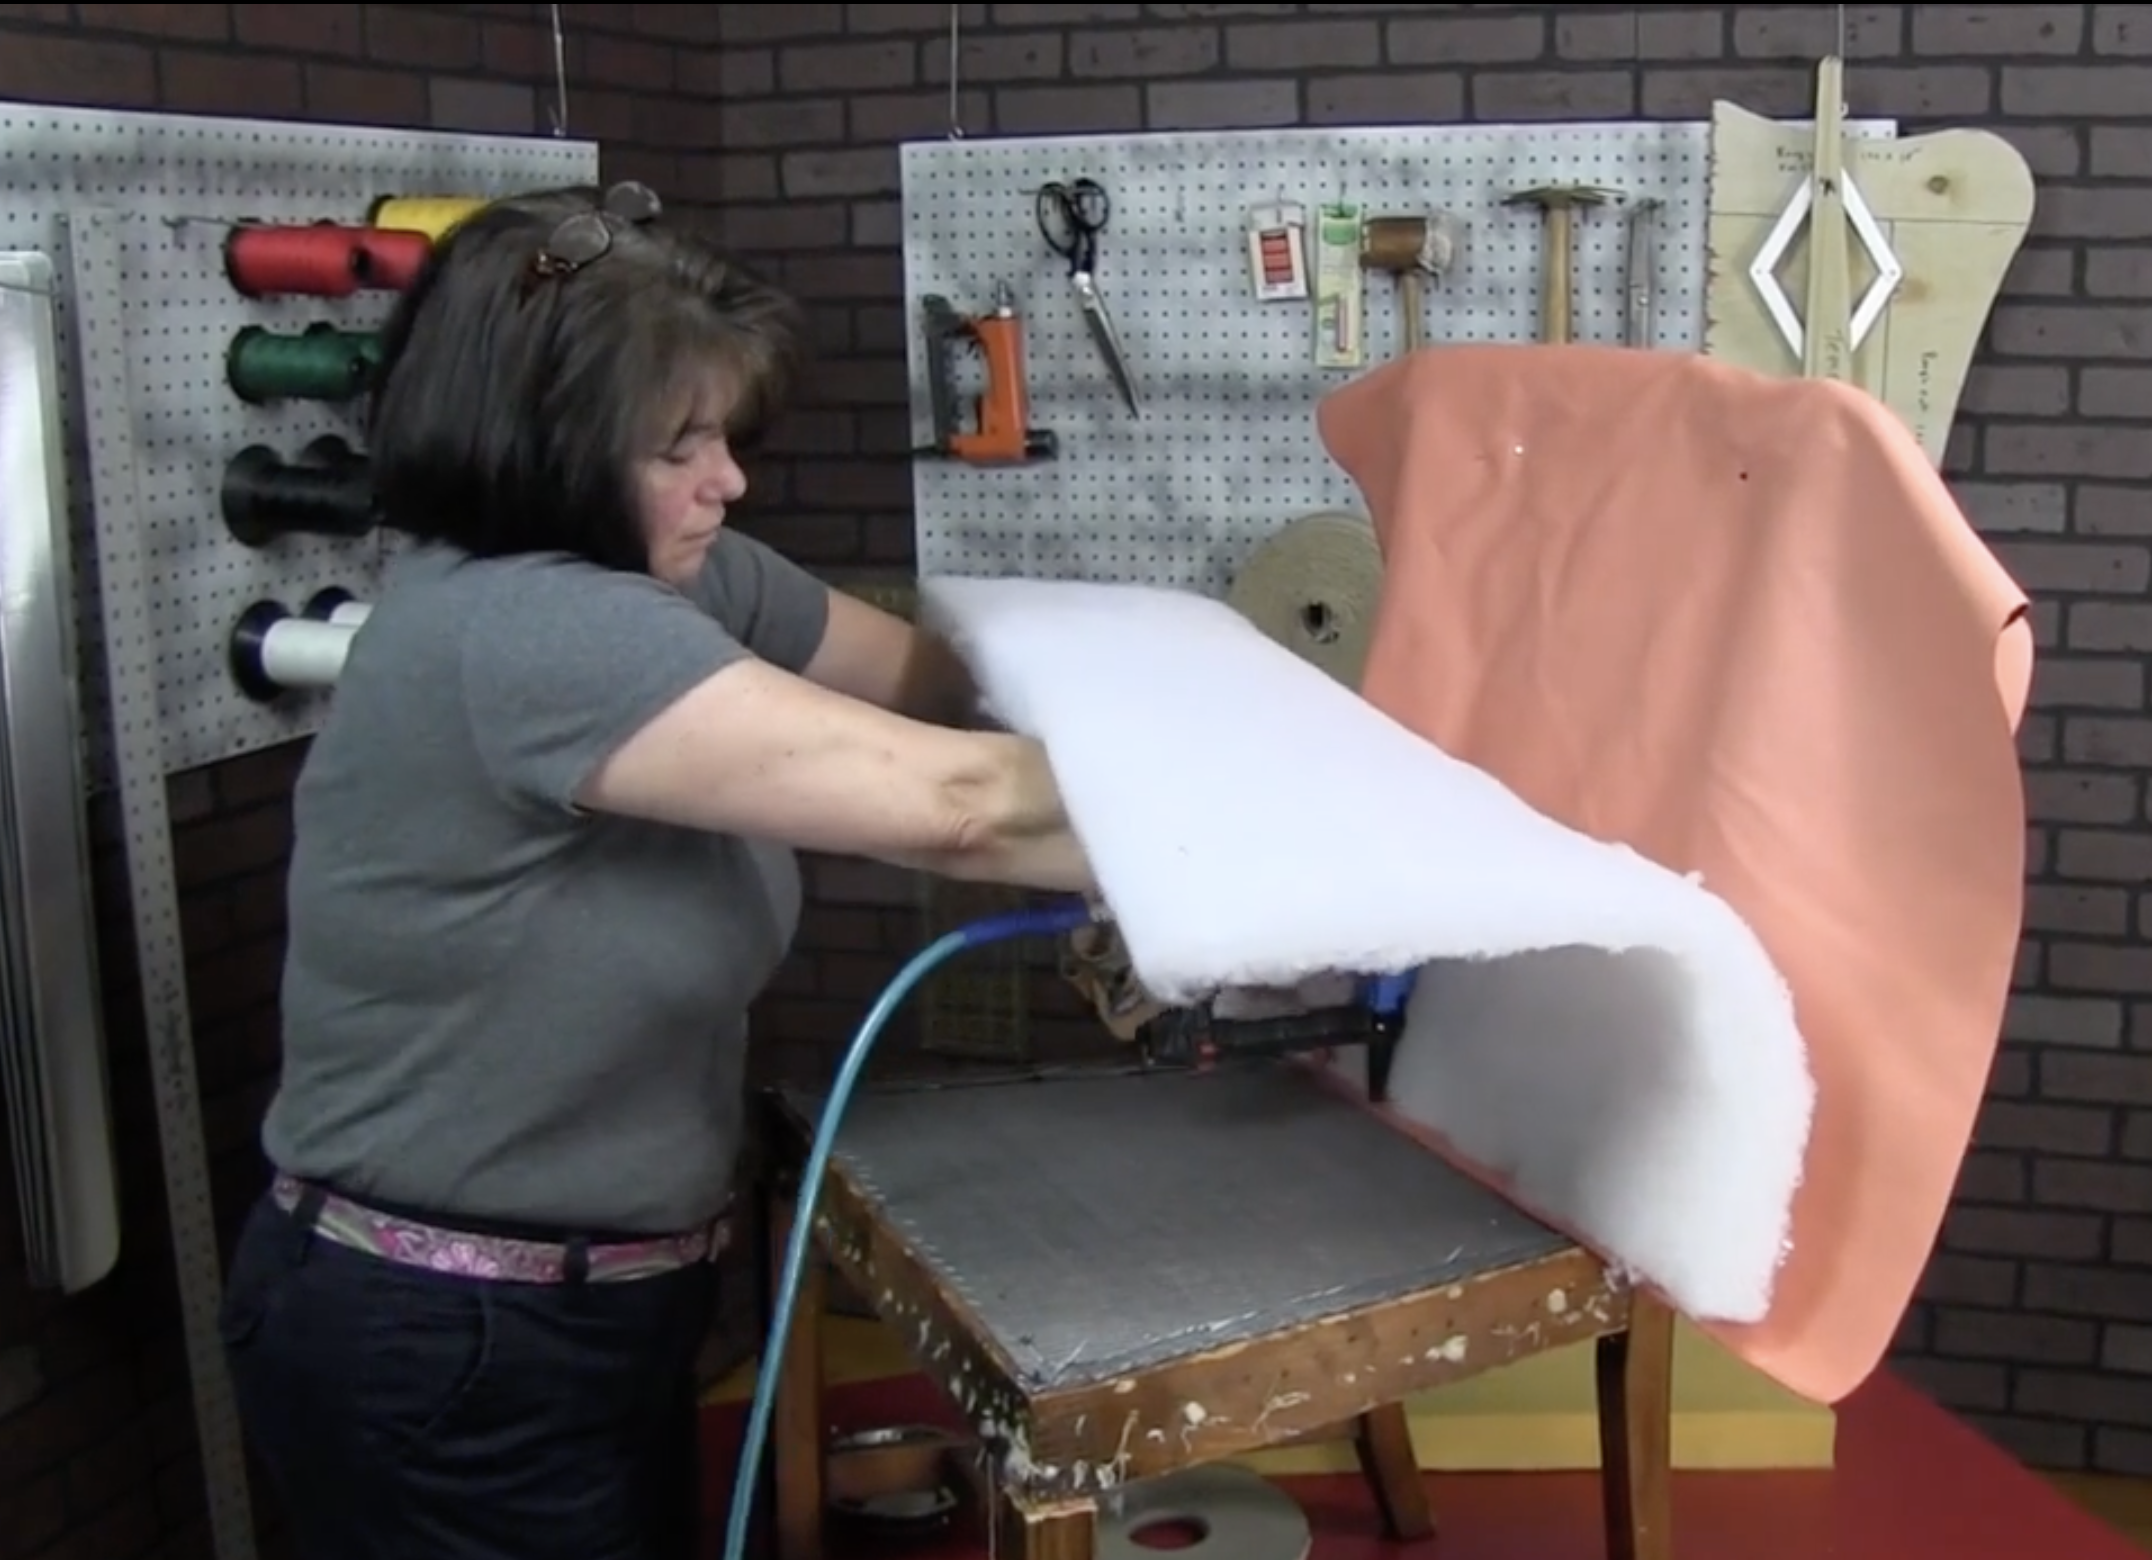
To pad the chair you’ll use 2 inch foam and 1 oz. bonded Dacron. First you will take the dacron and staple it to the back edge of the seat over the edge of fabric already secured.
Then position the foam where you need it on the chair and pull the dacron down over the foam. Staple it in place along the edge of the chair. For the corners, pull the dacron from the side around the front corner and cut off any excess. Then pull the front dacron around to the side and secure it.
STEP FOUR:
Now you are ready to attach the fabric. The key to adding fabric to a non removable seat is making the necessary cuts in the fabric that will allow you to wrap the fabric to the underside of the frame. Pull the fabric down and pull it tight, holding in the center of the chair and securing it with a staple. Do the same on each side, securing it in the middle and then go back and add staples to the bottom of the frame starting at the center and moving towards the back corners making necessary cuts near the chair legs to get the fabric to lay appropriately around the corners.
STEP FIVE:
After you are done attaching the fabric, you can add an optional piece of cording to the bottom of the chair, but it is not necessary. The final step is to add the dust cover to the bottom of your chair starting with the back of the chair. I like to fold the edge to give it a clean look.
Our membership features this full training video on fully upholstered seats. This tutorial covers how to reupholster seats that are not removable.
Reupholstering Dining Room Chairs With a Back
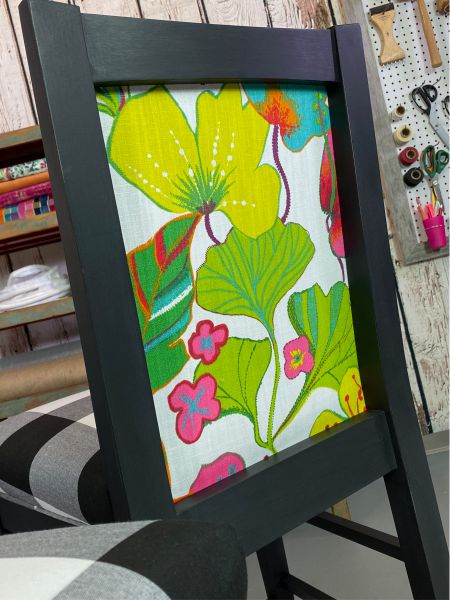
For dining room chairs with a back, you’ll start with attaching fabric to the outside back. In this example, the outside back fabric attaches to the front of the frame, but not all chairs are like this.
Therefore, you should first look and see if the back fabric attaches to the front of the chair or the back. You should be able to tell if there is an attachment area on the outside back. If the chair is all decorative wood, that would indicate it attaches from the front, as shown here.
It is important to note that you only have about a 1/2″ wide area to attach your outside back fabric, support system, and padding. Pay careful attention not to attach any of these materials to the groove or channel where you will attach your final layer of inside back fabric.
STEP ONE:
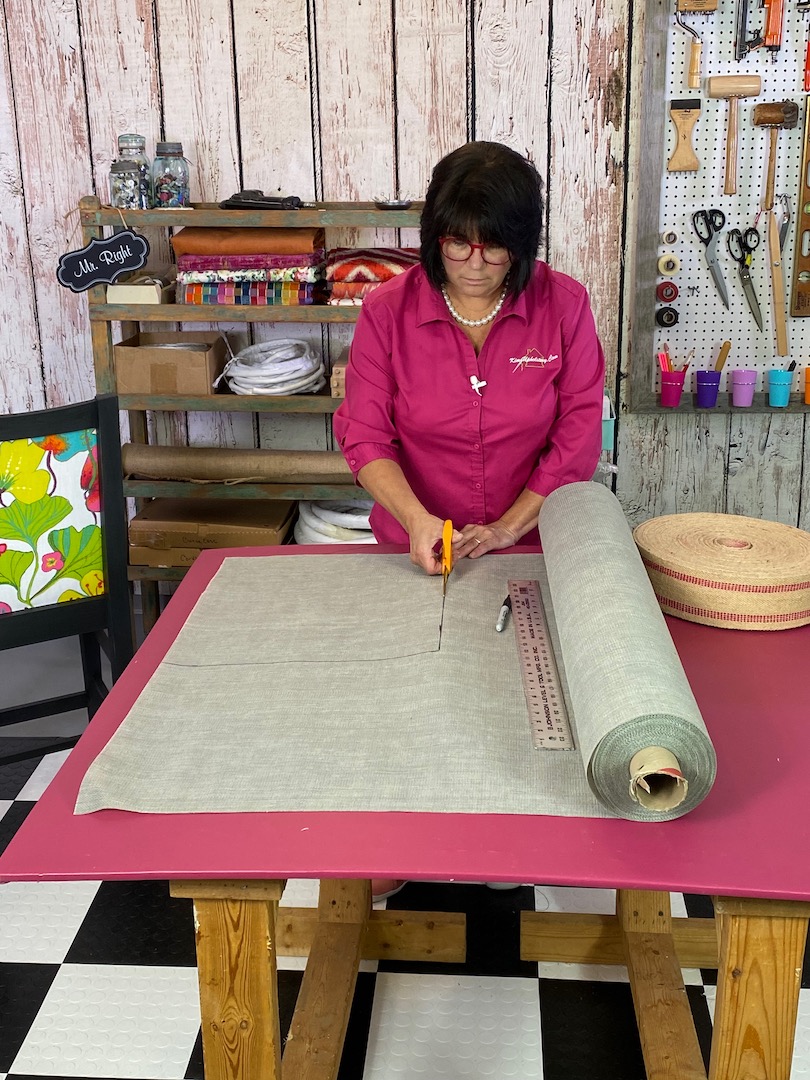
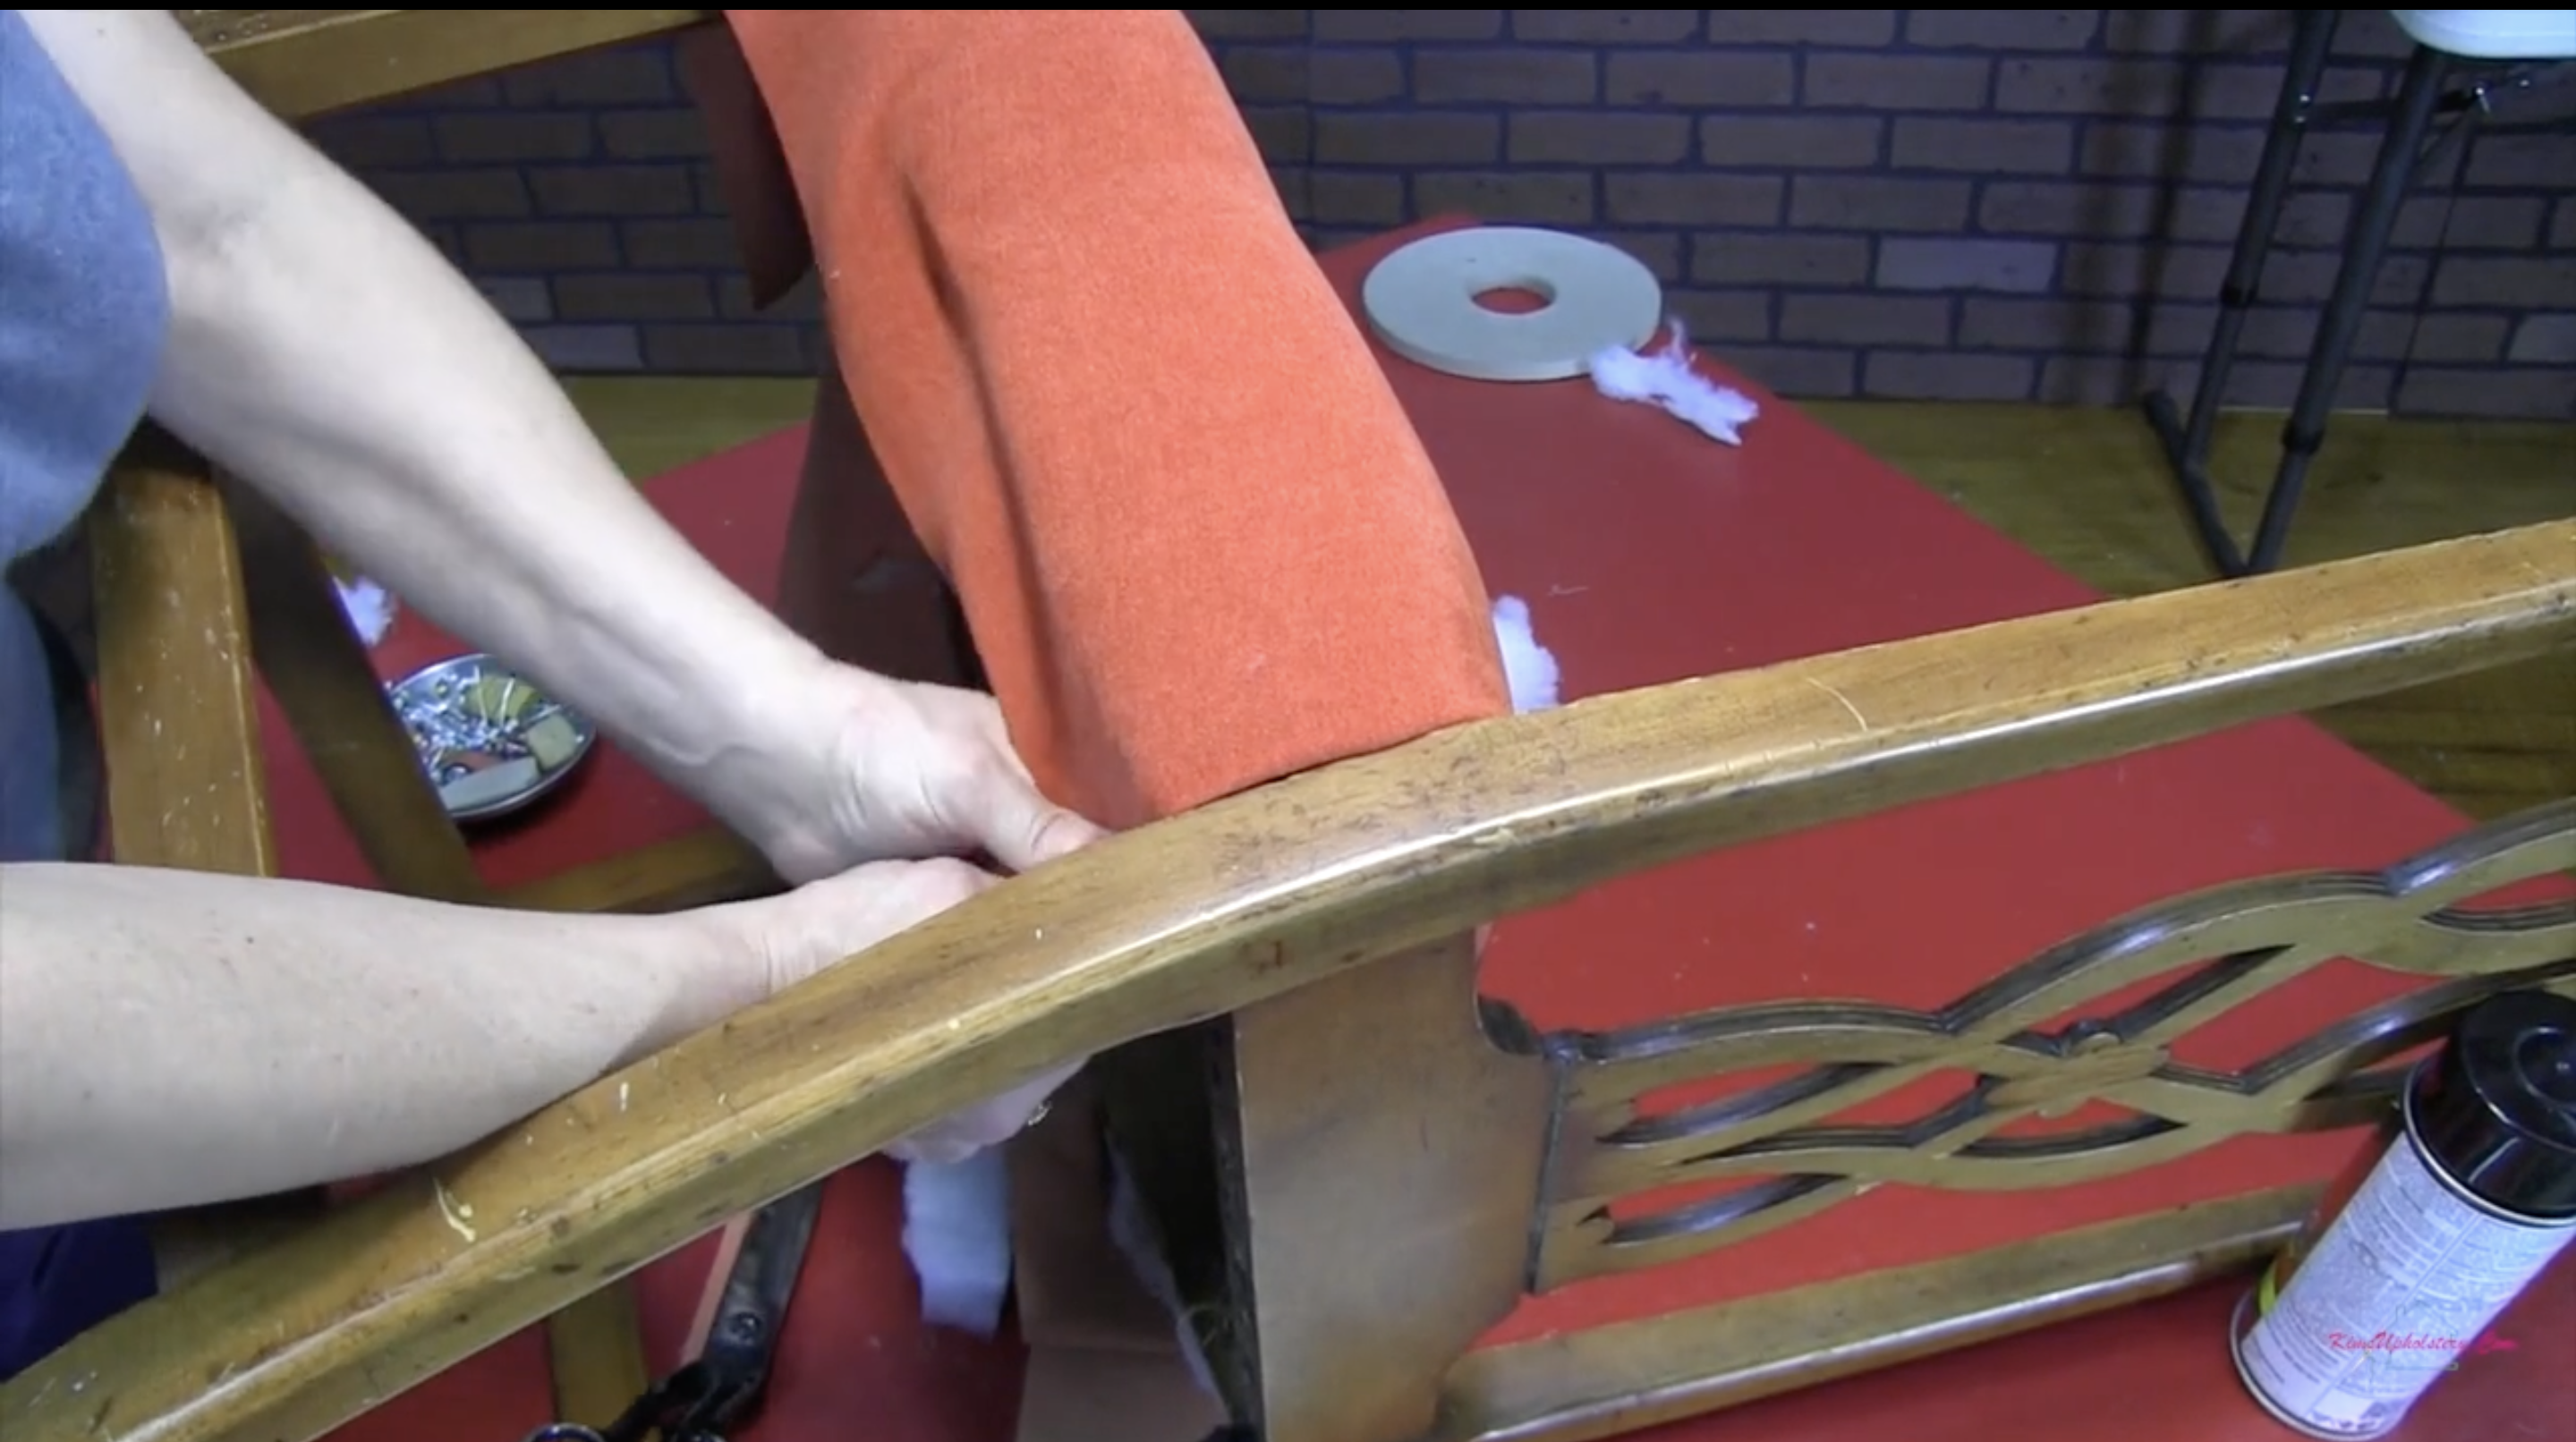
Once you have the frame torn down and all the previous fabric and staples removed, you will get your new fabric cut and ready. Once cut, lay your chair on its back and place the fabric over the front of your chair frame with the print or front of your fabric facing the back. Then, start securing the fabric to the front of the chair frame.
STEP TWO:
Next you’ll add your inside back support using sagless to the inside front of the frame where you secured the outside back fabric, again making sure you don’t go into the channel where your inside fabric will go. If you don’t have sagless you can use jute webbing instead.
STEP THREE:
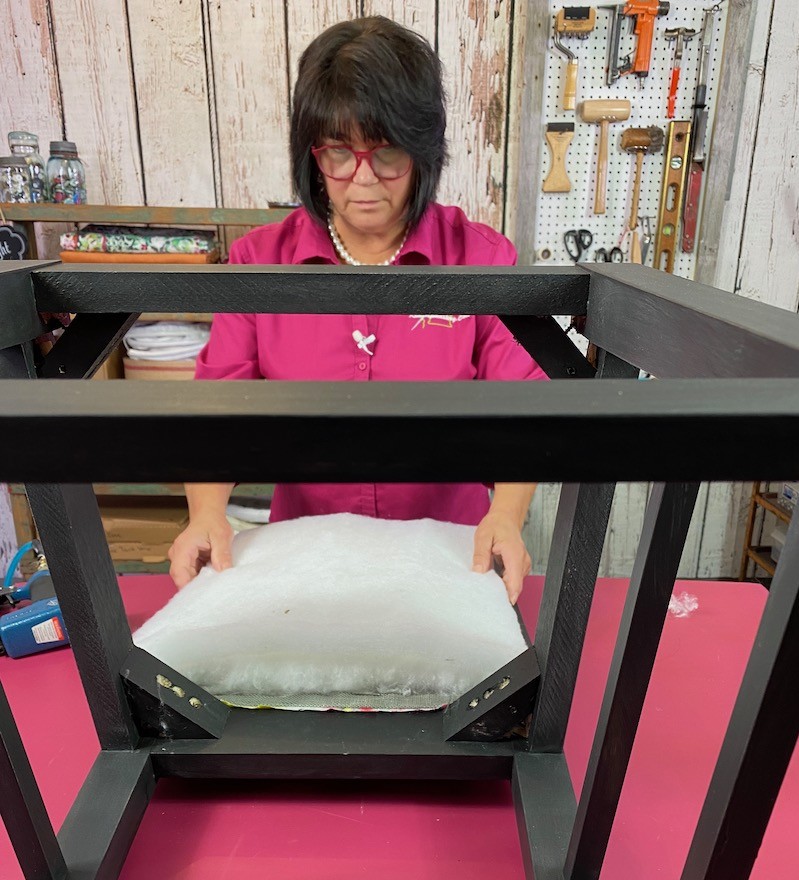
Next, you will pad the inside back using cotton and dacron. I prefer to use two layers of cotton. Take your cotton and lay it over the sagless and tear it to the appropriate size. Lay your second piece of the first and tear it down to size. Once you have the correct size and placement, anchor it with staples.
Now you are ready to add your layer of dacron. You’ll stretch the dacron over the cotton and secure it above the ridge of the frame. After you have stapled the dacron, go back and remove any excess from the edges.
STEP FOUR:
Next, you’ll add the inside back fabric! Position the fabric how you like it and staple the fabric inside the groove on the frame of your chair. You will remove any excess fabric from the chair using a razor blade angled towards the edge of the chair, giving you a nice clean edge.
STEP FIVE:
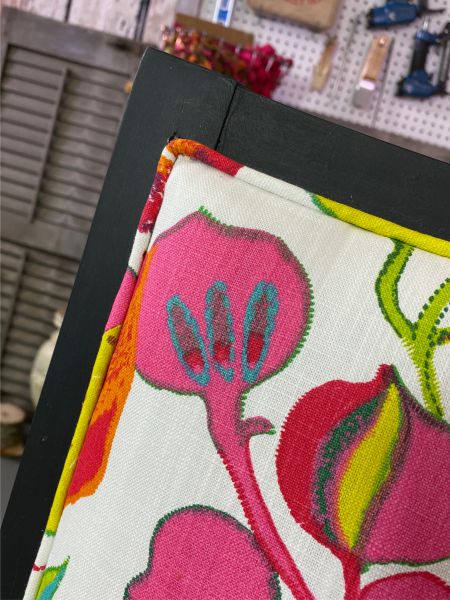
Finally, you’ll add a single or double welt cord to the inside back of the chair, depending on the width of the channel on the chair’s frame. You’ll secure the welt cord with a hot glue gun. This takes a lot of patience but is worth it for the finished look!
For a more detailed look at reupholstering your dining chairs that have backs, our membership offers a full tutorial. You can view the introductory material to this video here.
I hope this step-by-step guide helps you as your work on reupholstering your dining chairs. Join our membership today to see the full training videos listed in this post, as well as thousands more, and get access to our online training experts.

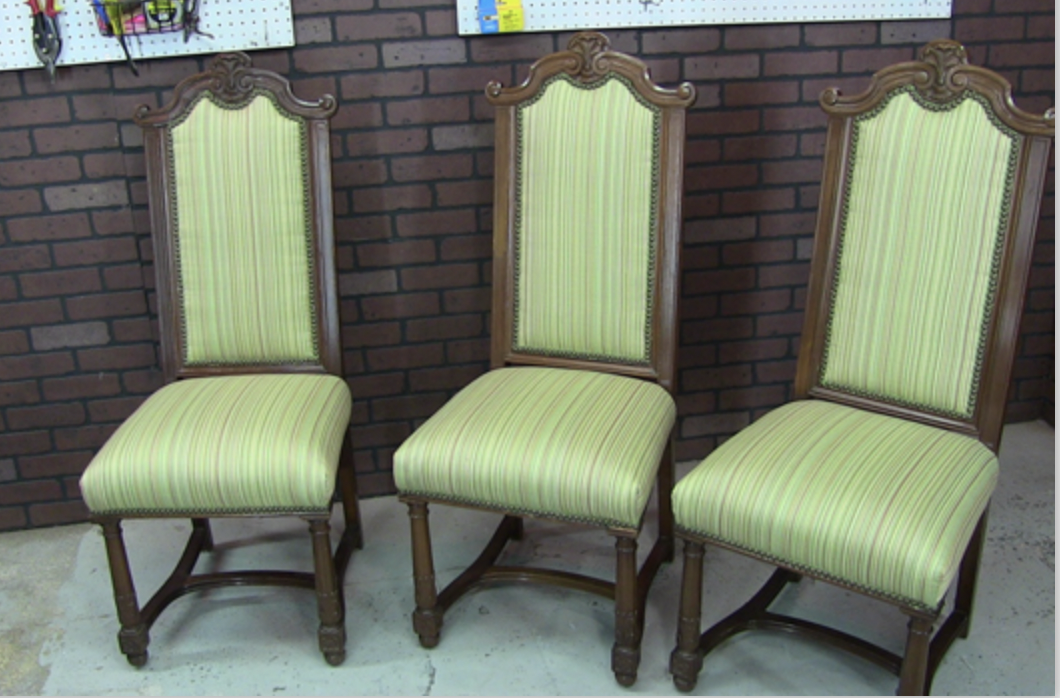



[…] your dining chairs yourself. Websites like Lovely Etc. 2 and Kim’s Upholstery4 offer step-by-step guides on how to reupholster dining chairs. You can also find instructional […]
Thank you for these instructions! Our dining room chairs are from the 1920s (I think) and they have a metal plate in the seat instead of jute webbing. Should I just leave that in the chair?