You’re finally ready to dive in and start on your upholstery project! Yes! Now that you have decided to start and you have your piece picked out, we will go over preparing furniture for reupholstery. The first phase in upholstery preparation is teardown!
Preparing Furniture For Reupholstery Phase One: Teardown Process
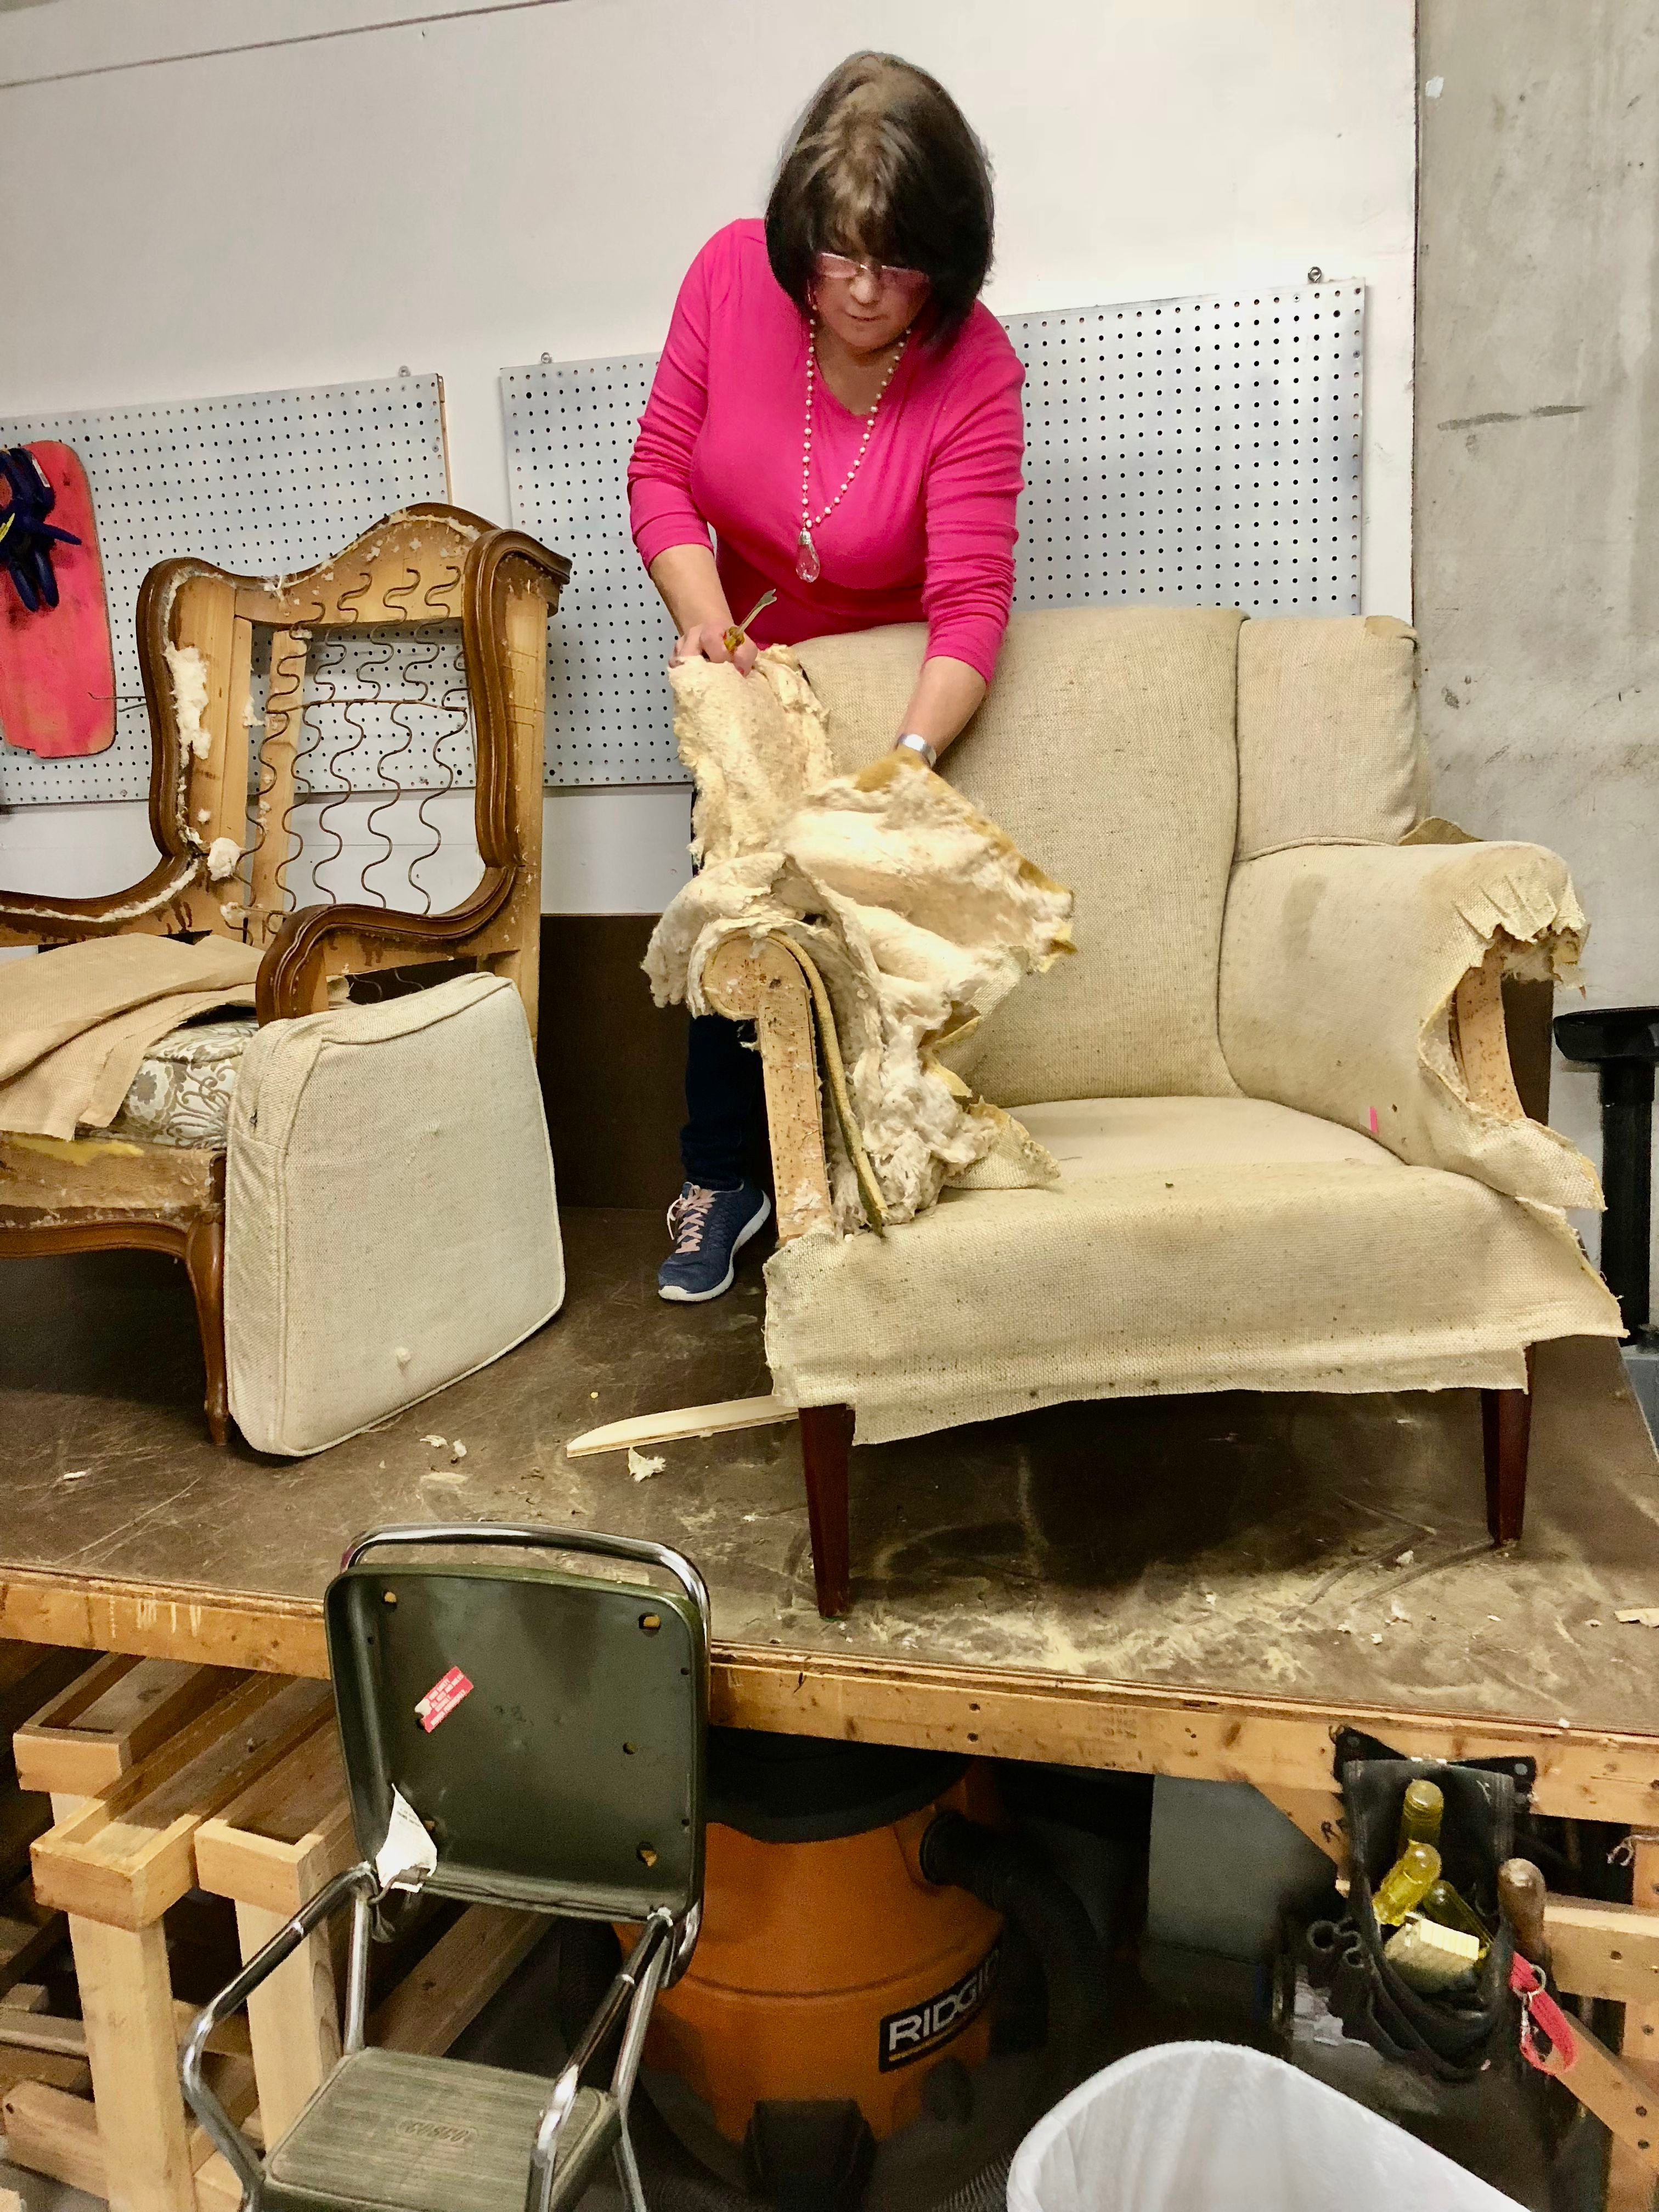
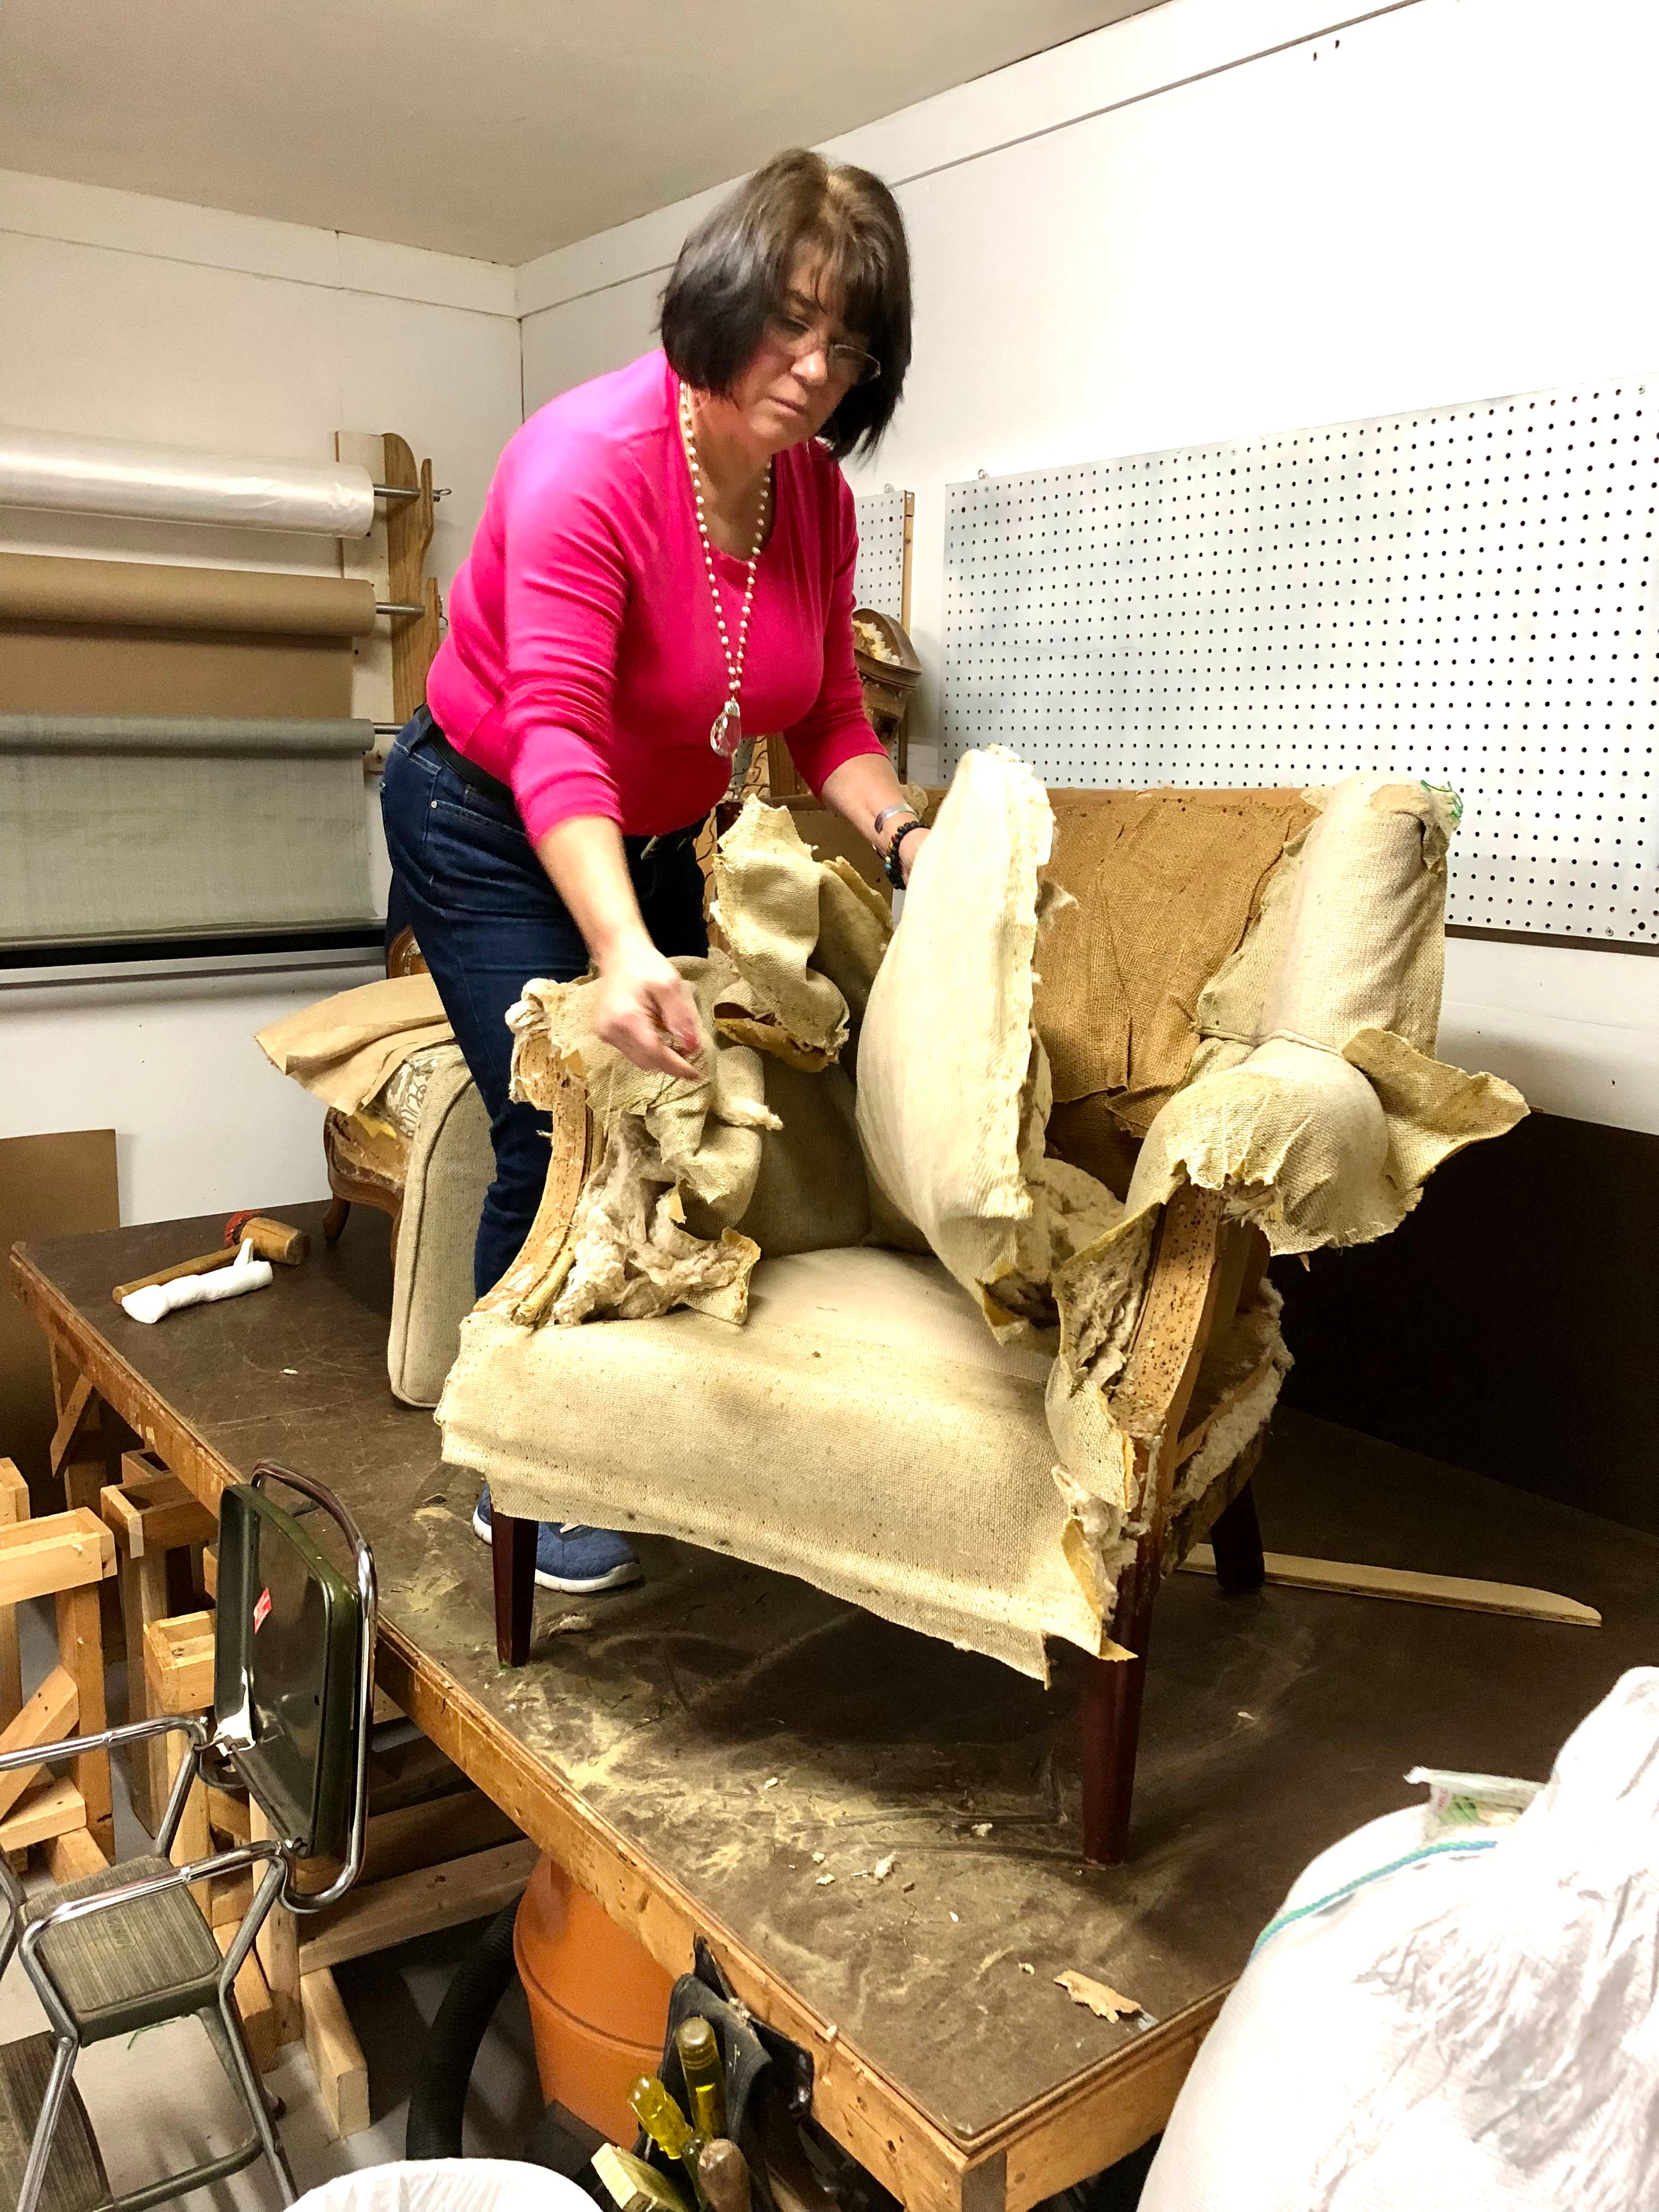
Teardown is an important process and not one that should be rushed. You might think you can just rip off old fabric and be done with it, but special care must be taken during this process as you don’t want to damage any of the exposed wood or compromise the frame. Depending on the size and condition of your furniture that you want to reupholster, tear down can take a couple hours to a couple days. I always recommend you tear down a project to the bare frame. Don’t take shortcuts here! Upholstering over old fabric leads to inconsistency and lower quality in the final product.
Gather Your Tools
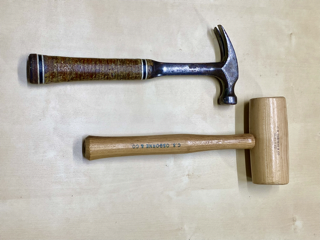
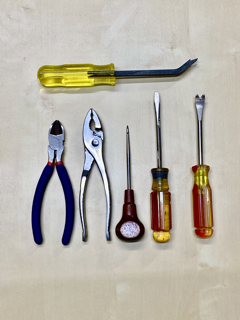
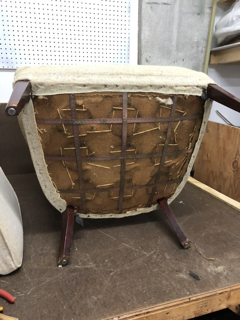
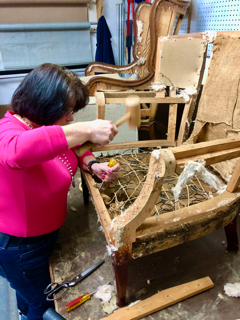
To start, gather all the tools you will need for the teardown process. Tools like wire cutters, an Osborne 120 1/2 Staple Lifter, an Osborne Ripping Chisel, and a small wooden mallet or hammer, will make this job go much faster and smoother. After making sure you have all the necessary tools within reach, flip your chair or sofa over so you are looking at the bottom.
Take Pictures
Next, pull out your phone and start taking pictures! Throughout the entire teardown process and as you move on to other steps in reupholstering, taking pictures is crucial! Pictures serve as a great reminder for things such as how much padding was used, or to refer back to where or how something was attached. Make sure you don’t skip this step!
Watch this video on taking before pictures of your upholstery project!
When you begin to remove the fabric and materials, keep in mind that you will be removing items in the reverse order of how you will reupholster. For example, the first thing you remove on your piece of furniture is the dust cover on the bottom. However, when you are reupholstering it will be the last thing you attach to the seat.
You can see the teardown process in more detail in this upholstery life teardown video
Starting with the Bottom – Remove Dustcover
As I mentioned, start with your dust cover on the bottom. Use the tools of your choice to carefully begin removing the staples or tacks that are securing the material to the frame. Once the dust cover is off, move on to the outside back fabric and outside arms. Remove the staples and remember to take pictures as you do so. I prefer using a pair of bent needle nose pliers for this task.
Once you’ve successfully removed the fabric from the outside back and arms, inspect the frame and remove any staples you see attached to the back of the chair frame. Usually the inside back, inside arms, and the seat or deck are all attached to the back and bottom of the chair/furniture frame. Once you remove the staples from the outside back, do the same thing with the outside arm. Remove all the staples you can see! You should be able to easily pull down the fabric and remove the padding.
Next, Move on to the Inside Back, Inside Arm, and Seat
Now, turn your chair upright and start to remove the inside back, inside arm, and seat fabric. Depending on the piece of furniture you are reupholstering this might look different depending on how things were originally attached. Just remember to take plenty of pictures in case you forget how something was attached or in what order. Also keep in mind that we are removing items in the reverse order of how they will go back on.
As a recap, at this point you should have removed the dust cover from the bottom, and the staples and fabric attached to the outside back and outside arms. As well as any staples underneath that outside layer attaching the inside layers to the frame. Now, you have just removed the fabric from the inside back, arms, and seat.
Remove Burlap
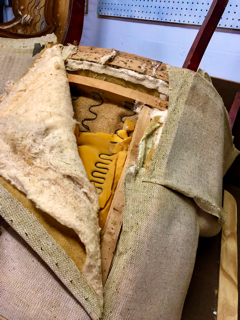
Removing the outer layer of fabric should reveal the support system of the chair. Once you have exposed the inside of the seat, you will see burlap covering the springs and webbing. Depending on the type of furniture piece you are reupholstering, this may vary.
A spring system may also be on the inside back of the chair. If this is the case, focus on the back of the chair first, removing the Burlap and edge roll. Before removing the piece of burlap edge roll, I always recommend marking the frame where the edge roll ends on the sides.
As you begin to remove the burlap, take pictures of the layout of webbing and springs. Remove any staples or tacks from the chair frame holding the spring system and webbing place.
Remove Deck Support System
Once you have removed the springs and webbing support system from inside back, move on to your deck. Repeat the same steps as above, removing the burlap edge roll and burlap from the seat to reveal the spring support system underneath, ensuring sure all the staples in the chair frame are removed. Now that the burlap is gone, you can see the seat’s springs. This is another good stopping point to take pictures!
To remove the springs and support webbing, begin releasing the tacks holding the ties in place. Once that is done, turn your chair back upside down to remove the tacks or staples holding the webbing in place. Before removing the springs, it is a good idea to make reference marks on the frame of the spring layout. Now you can cut the Springs loose and remove the remaining fasteners.
YOU DID IT!
Great work! You have successfully completed the tear down process! However, there is one last thing you should do. Now that you have your bare furniture frame, you should make any necessary frame repairs and touch up any exposed wood. If you see any frame weakness or damaged areas, take care of those first. Then move on to wood touch up.
A wonderful product I like to use for this is Old English Scratch Cover, which comes in two colors for light and dark wood. All you do is put a little on a rag, wipe it on to the wood, let it dry a bit and wipe off the excess. This will cover any scratches in the wood and blend it nicely. It is always a good idea to test any product on the wood in an inconspicuous place on the piece you are working on.
Congratulations, you are done preparing furniture for reupholstery, and now your piece of furniture is ready to go on to the next phase!
As always, our online training experts are ready to help you learn and succeed. Join our online membership and start learning when and where you like with the support of our amazing online upholstery experts!



Leave A Comment