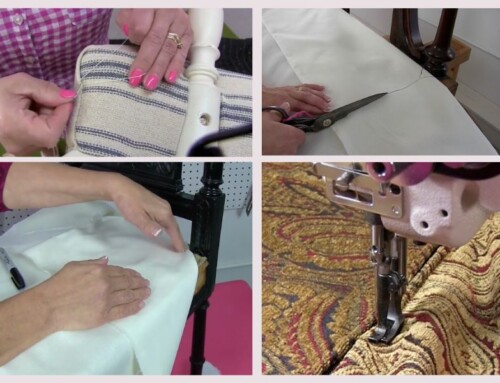
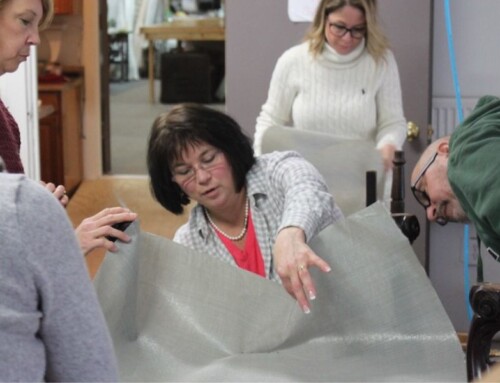
I remember the first days of tearing down furniture for re-upholstery. I would grab the piece and start ripping and tearing untill I had no strength left to do any more. I’d stand back and look to see that all I had done was to make a mess and I still had a lot of stuff attached to the frame. After a while I began to realize that there was a process to follow during teardown and I found a few short cuts along the way. Let me share them with you.
If this is your first project get a camera and take pictures of the chair from many angles before you pry anything off. You may also want to take pictures of all the pieces you remove, as a reminder of how to put the new pieces back on.
Choose the right tools.
I use a Osborne & Co staple puller, Osborne chisel, dull wire cutter, awl, and bent nose pliers. These are not the only tools that will do the job, but they are the tools I use most often.
- lay the chair on it’s back
- begin by removing the dust cover
- pull all staples from fabric on the bottom of the chair frame – (I generally leave the webbing and springs to remove last)
- stand the chair up
- if you think you may need to copy patterns or you just want a reference, mark all panels , out side arm panel left = oal, inside back = ib, inside arm panel right = iar, and so on
- remove the outside back
- now you will see where the inside back, deck, and inside arms are attached – remove all staples
- remove out side arms
- remove inside arms, back and the deck
- remove all burlap
-
inspect spring system, remove or replace
Visit the Tickeo’s Channel on YouTube to see a short video of this sequence.
Tickeo’s Channel


Nice information, are you going to continue this, like a series. I am just starting in upholstery and love learning new things.
Thanks for your comment Chrystal. If there is a particular topic you would like to see, let me know and I will try to do a video for that topic.
Thank you for such an informative blog! Can you write about cutting angles??
Thanks Gail. What angles are you referring to?