Overview
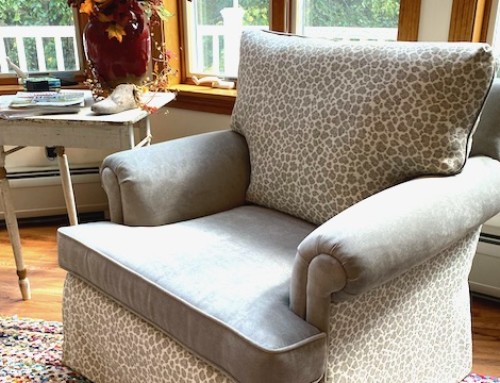
In this video we will go through the necessary steps to get a custom fitted slipcover. The skills I teach in this class can be used on any symmetrical piece. These skills will not work on furniture that has one arm such as sectionals and some chaise lounges.
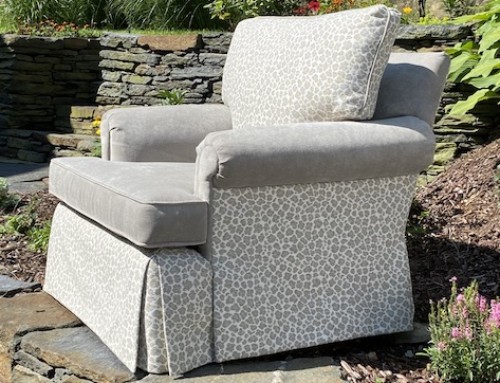
We will go through the process of measuring your furniture piece to determine the required fabric yardage, how to plan for pattern matching, the techniques I use for pinfitting to the actual furniture, sewing your slipcover and installing a zipper, making and attaching a skirt and last but not least I will walk you through the process of making a boxed cushion with a pattern match.
Note: Sewing a slipcover takes skill and patience and is not a good beginner sewing project.
- Part 1 – Measuring Your Chair for Fabric Cuts
- Part 2 – Cutting Your Fabric and Pattern Matching
- Part 3 – Sewing Cording
- Part 4 – Pin Fitting the Chair
- Part 5 – Sewing The Slipcover Body
- Part 6 – Creating The Skirt
- Part 7 – Cushion Cover
Run Time: 5 hours
Supplies:
- Decorator fabric – you will want to choose a fabric that is not to heavy, upholstery fabrics do not make the best slipcovers
- 5/32” Cotton welt cord
- Lining fabric for your skirt
- #5 Nylon Zipper and slides (one for slipcover body and one for the cushion)
Tools:
- Sewing machine – Make sure your sewing machine will sew through 6 to 8 layers of your chosen fabric
- Glass head straight pins – I prefer long pins roughly 2” in length
- Magnetic pin dish
- Sharp Scissors
- Magnetic wrist band for holding pins
- ¼” Cording foot for your sewing machine
- Zipper foot for your sewing machine
- Serger – Optional
- Straight edge- 60” metal ruler works well
- Soft Cloth Tape Measure
- DISCLOSURE – Some of these items have affiliate links to the products I use for your convenience. If purchased, we do make a commission on these items but it does not cost you any more as the commission is paid by the seller.