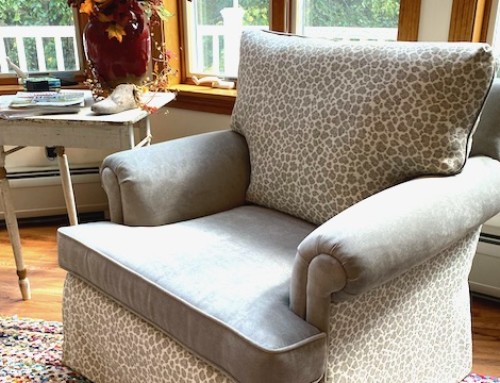

How To Reupholster A Mid Century Modern Rocking Chair
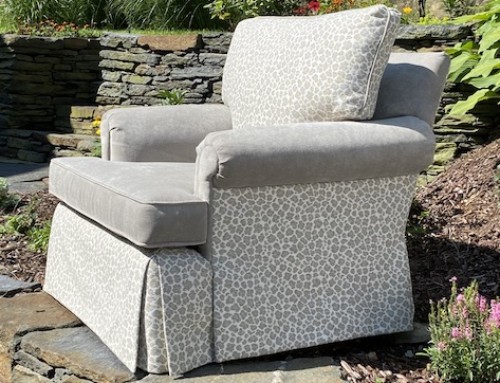
Here is a tutorial for those of you who love the MCM style furniture. In this upholstery tutorial, you will learn the techniques I used to reupholster a Retro Swivel Rocker.
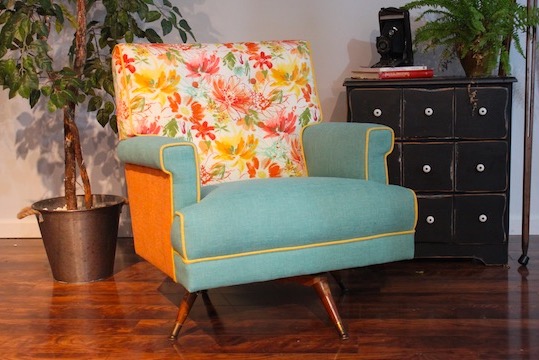
Our project begins with the tight seat of this MCM chair and its sinuous spring system. You will see how I have padded the seat and measured to fabricate the new seat covering, with contrast cording and boxing.
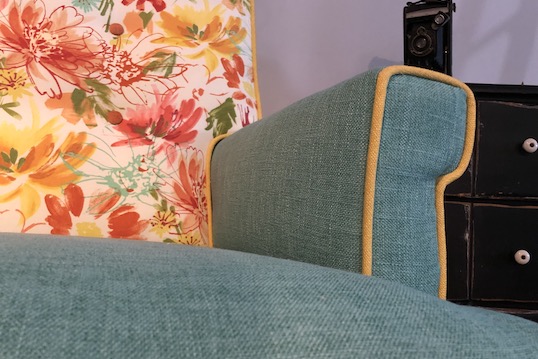
The inside arms of this project have sewn-in panels and also use a contrast welt cord to emphasize the shape and scale of the arms. A boxing strip on the front of the deck highlights more of the chair’s features.
For the inside back of this piece, we showcase a modern floral design fabric and again highlight the details with our yellow welt cord.
I show you how I patterned the inside back with a rounded boxed detail in keeping with the chair’s original design.
Using a button machine I will show you how I fabricated the buttons and then planned out their placement on the inside back.
We close up the outsides of the chair by bringing in another color from our modern floral fabric and you’ll see how cardboard tack strips and metal tack strips were used.
This tutorial consists of 16 chapters and is 6.5 hours long. Breaking the tutorial into multiple chapters allows you to easily find just what you need when working on your MCM upholstery project.
- Part 1 – Adding Burlap To The Seat
- Part 2 – Padding The Seat
- Part 3 – Cutting The Seat Fabric
- Part 4 – Sewing The Seat Fabric
- Part 5 – Attaching The Seat Fabric
- Part 6 – Support System For The Inside Back
- Part 7 – Padding The Inside Arms
- Part 8 – Sewing The Inside Arm Fabric
- Part 9 – Attaching The Inside Arm Fabric
- Part 10 – Add The Boxing Strip to the Chair Front
- Part 11 – Padding The Inside Back
- Part 12 – Planning, Cutting and Sewing The Inside Back
- Part 13 – Attaching The Fabric To The Inside Back
- Part 14 – Adding Buttons To The Inside back
- Part 15 – Putting Fabric On the Outside Arms
- Part 16 – Putting Fabric On The Outside Back
Run Time: 398 minutes
Supplies List
- 3 yards Burlap
- 1 – 16lb. Roll of upholstery cotton
- 6 yards of 1” X 54” wide bonded Dacron
- 3 yards of red striped jute webbing
- 6/32” fiber flex welt cord
- 2 yards of muslin
- 3 yards of cardboard tack strip
- 3 – 27” long metal tack strips
- 1 box ⅜” Staples
- 3 strips of 9/16” staples
- 8 ½” X 11” paper
- Calculating Fabric Yardage Worksheet
Tools
- Sailrite Pneumatic Long Nose Upholstery Staple Gun
- Air compressor
- 25” air hose
- Wooden Mallet
- Wire cutters
- 120 ½ Osborne Staple puller
- 12” Wiss Fabric Scissors
- Upholstery Regulator
- Tin Snips
- Juki DNU 1541s Industrial Walking Foot Sewing Machine
- ¼” Welt foot
- 60” Metal Ruler
- Metal Square
- Soft Tape Measure
- Chalk
- Clover Rotary Chalk
- Straight pins