Now that you removed all the old stuff from your chair, you might be stuck on what to do next and where to start. I get it! When you are learning things for the first time and trying new things, it can often lead to a bit of paralysis. It feels like there are so many steps and choices to make all at once. On top of that, fear of making the wrong choice keeps us from moving forward. However, let me reassure you that taking steps to complete your project even if they aren’t “correct” is better than having an unfinished project rot in your basement! The best advice I can give the novices out there is to go for it – just start! Today, I will walk you through the next reupholstering steps after teardown.
Read all about the first phase of reupholstering furniture here!
Get ready to dust off that torn down project and start on the next reupholstering steps after teardown!
It can be confusing to know what comes first or what is the best choice for your support system. What kind of support system should I use? Do I use burlap before and after? What kind of springs should I use? These are common questions and hold ups when starting the next phase of reupholstering. Now that you have a blank canvas in the form of a bare frame, you will start first with new webbing and/or springs.
Webbing will be used first if you plan to use coil springs. In the alternative, sinuous or zigzag springs will not use webbing. Since this choice dictates the first step of this process, you must decide upfront what type of springs you will use.
Coil Springs v. Sinuous Springs aka Zig Zag Springs
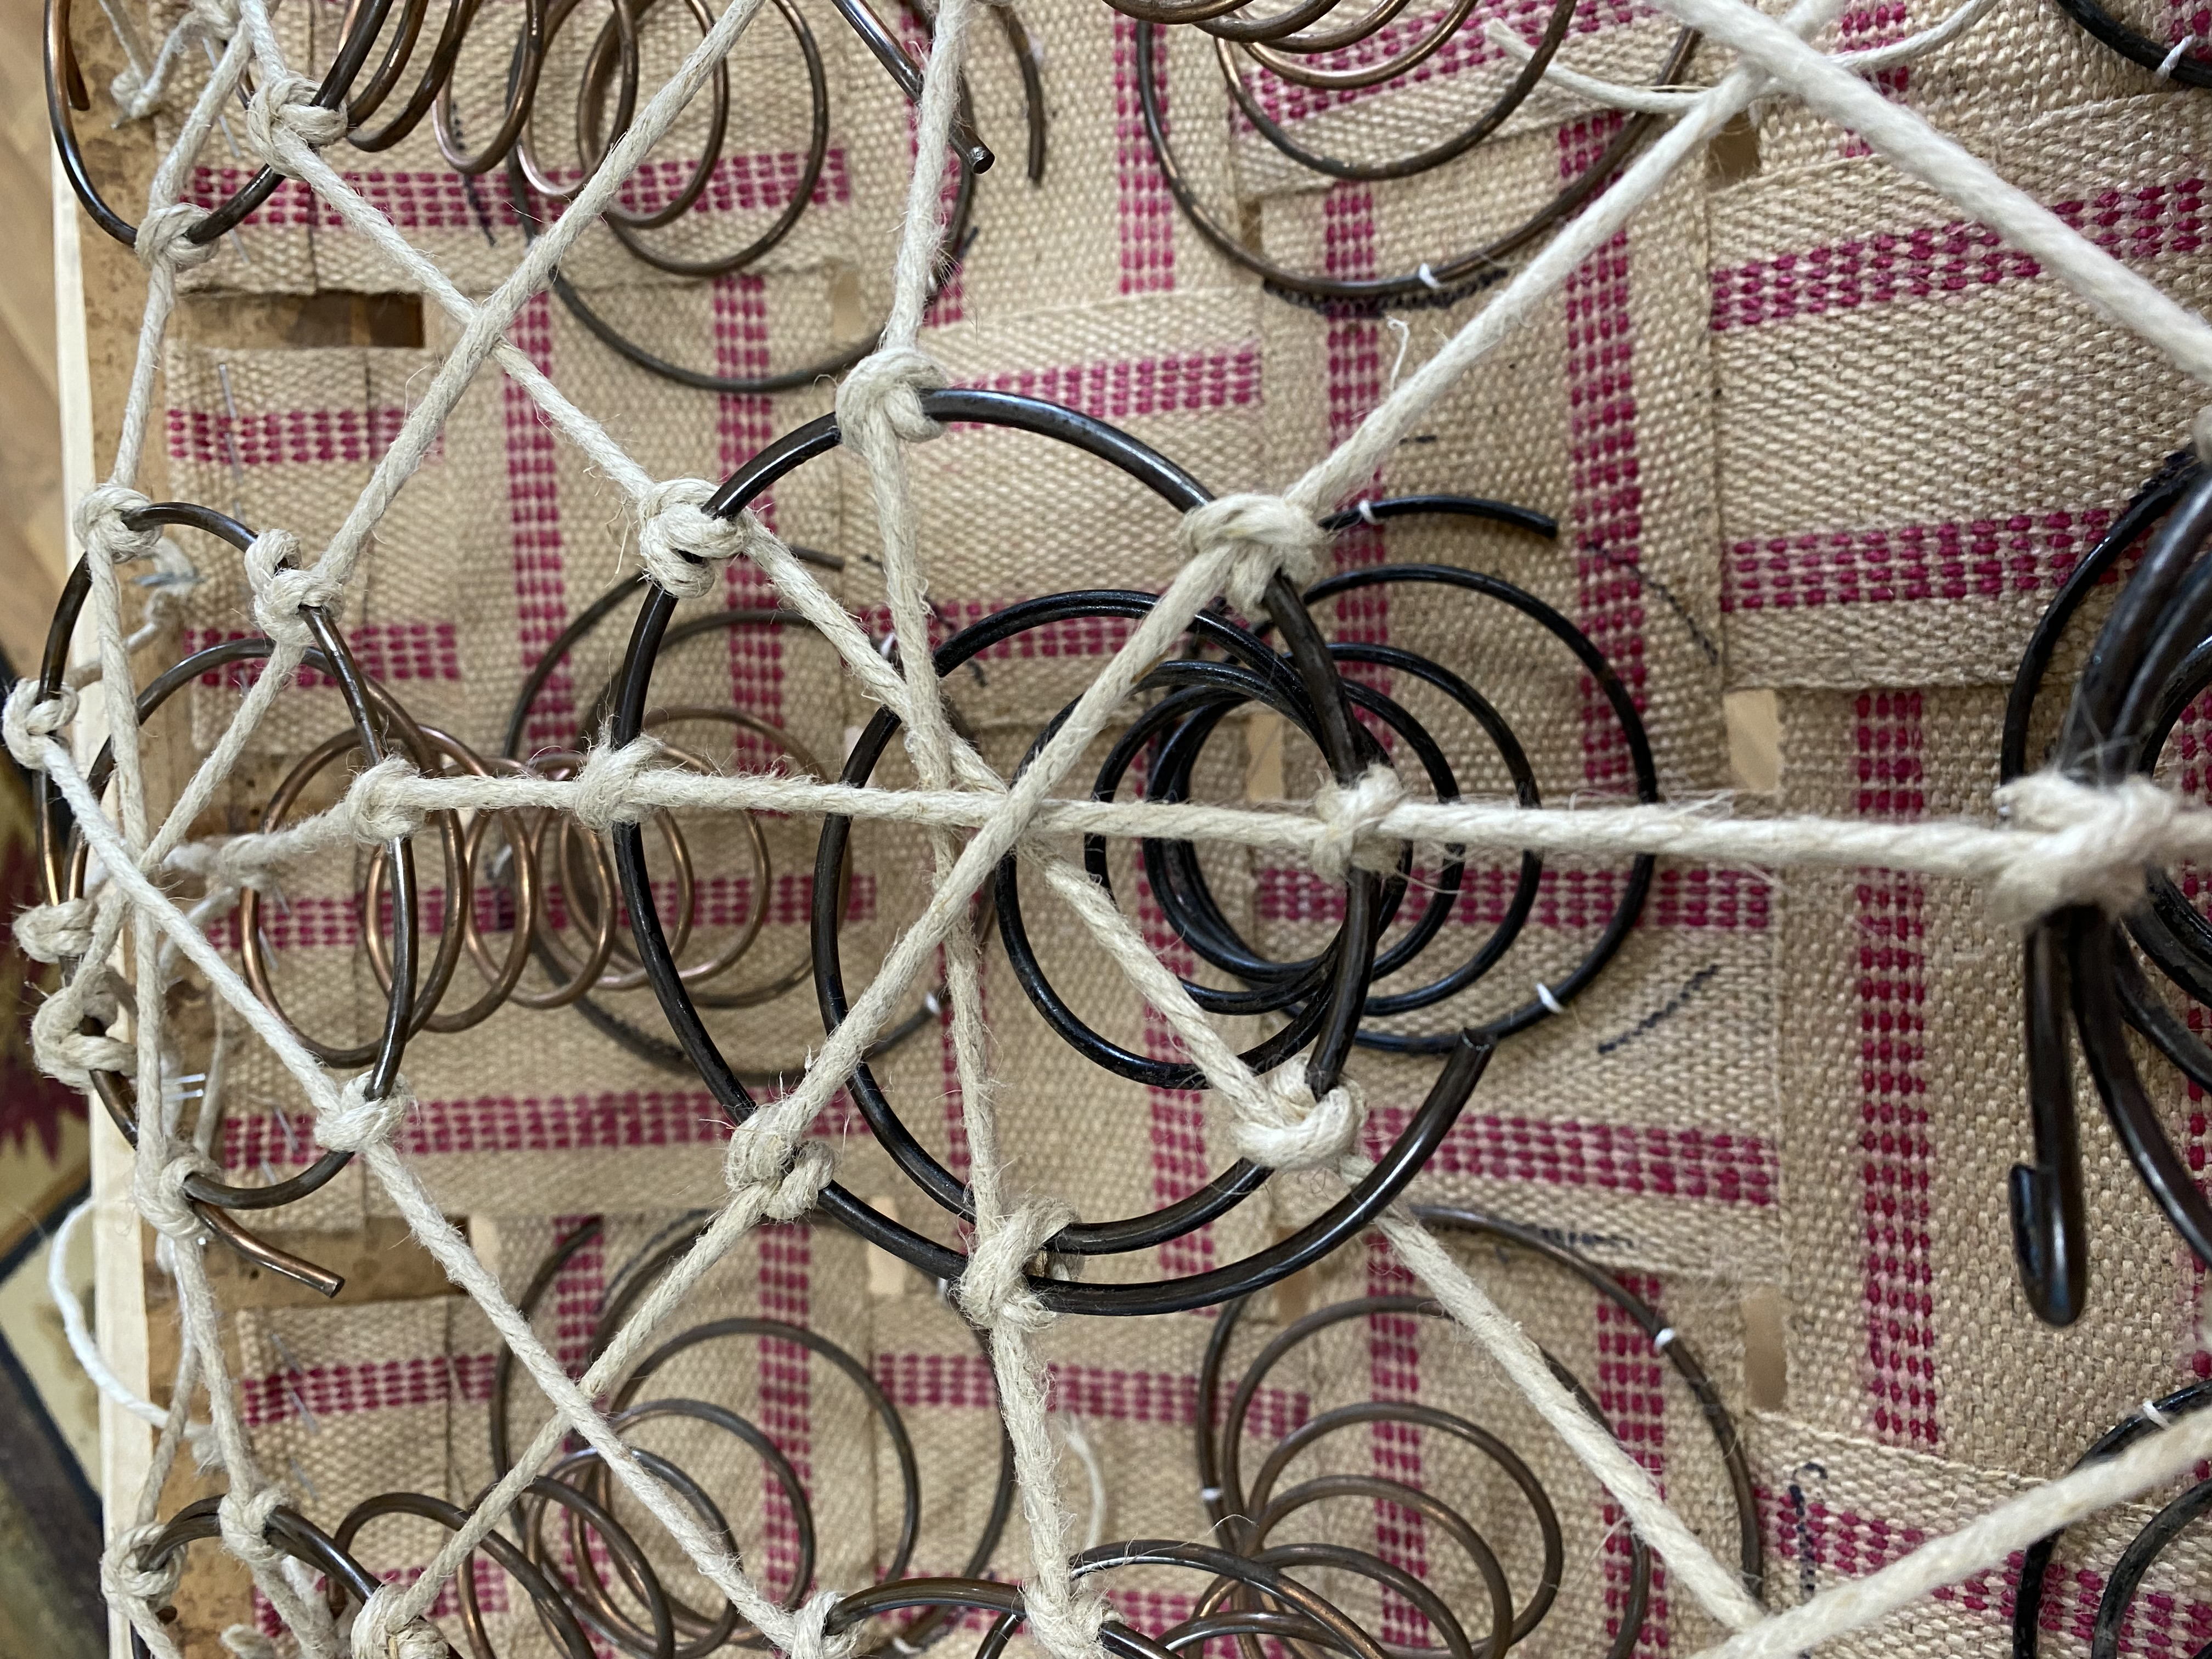
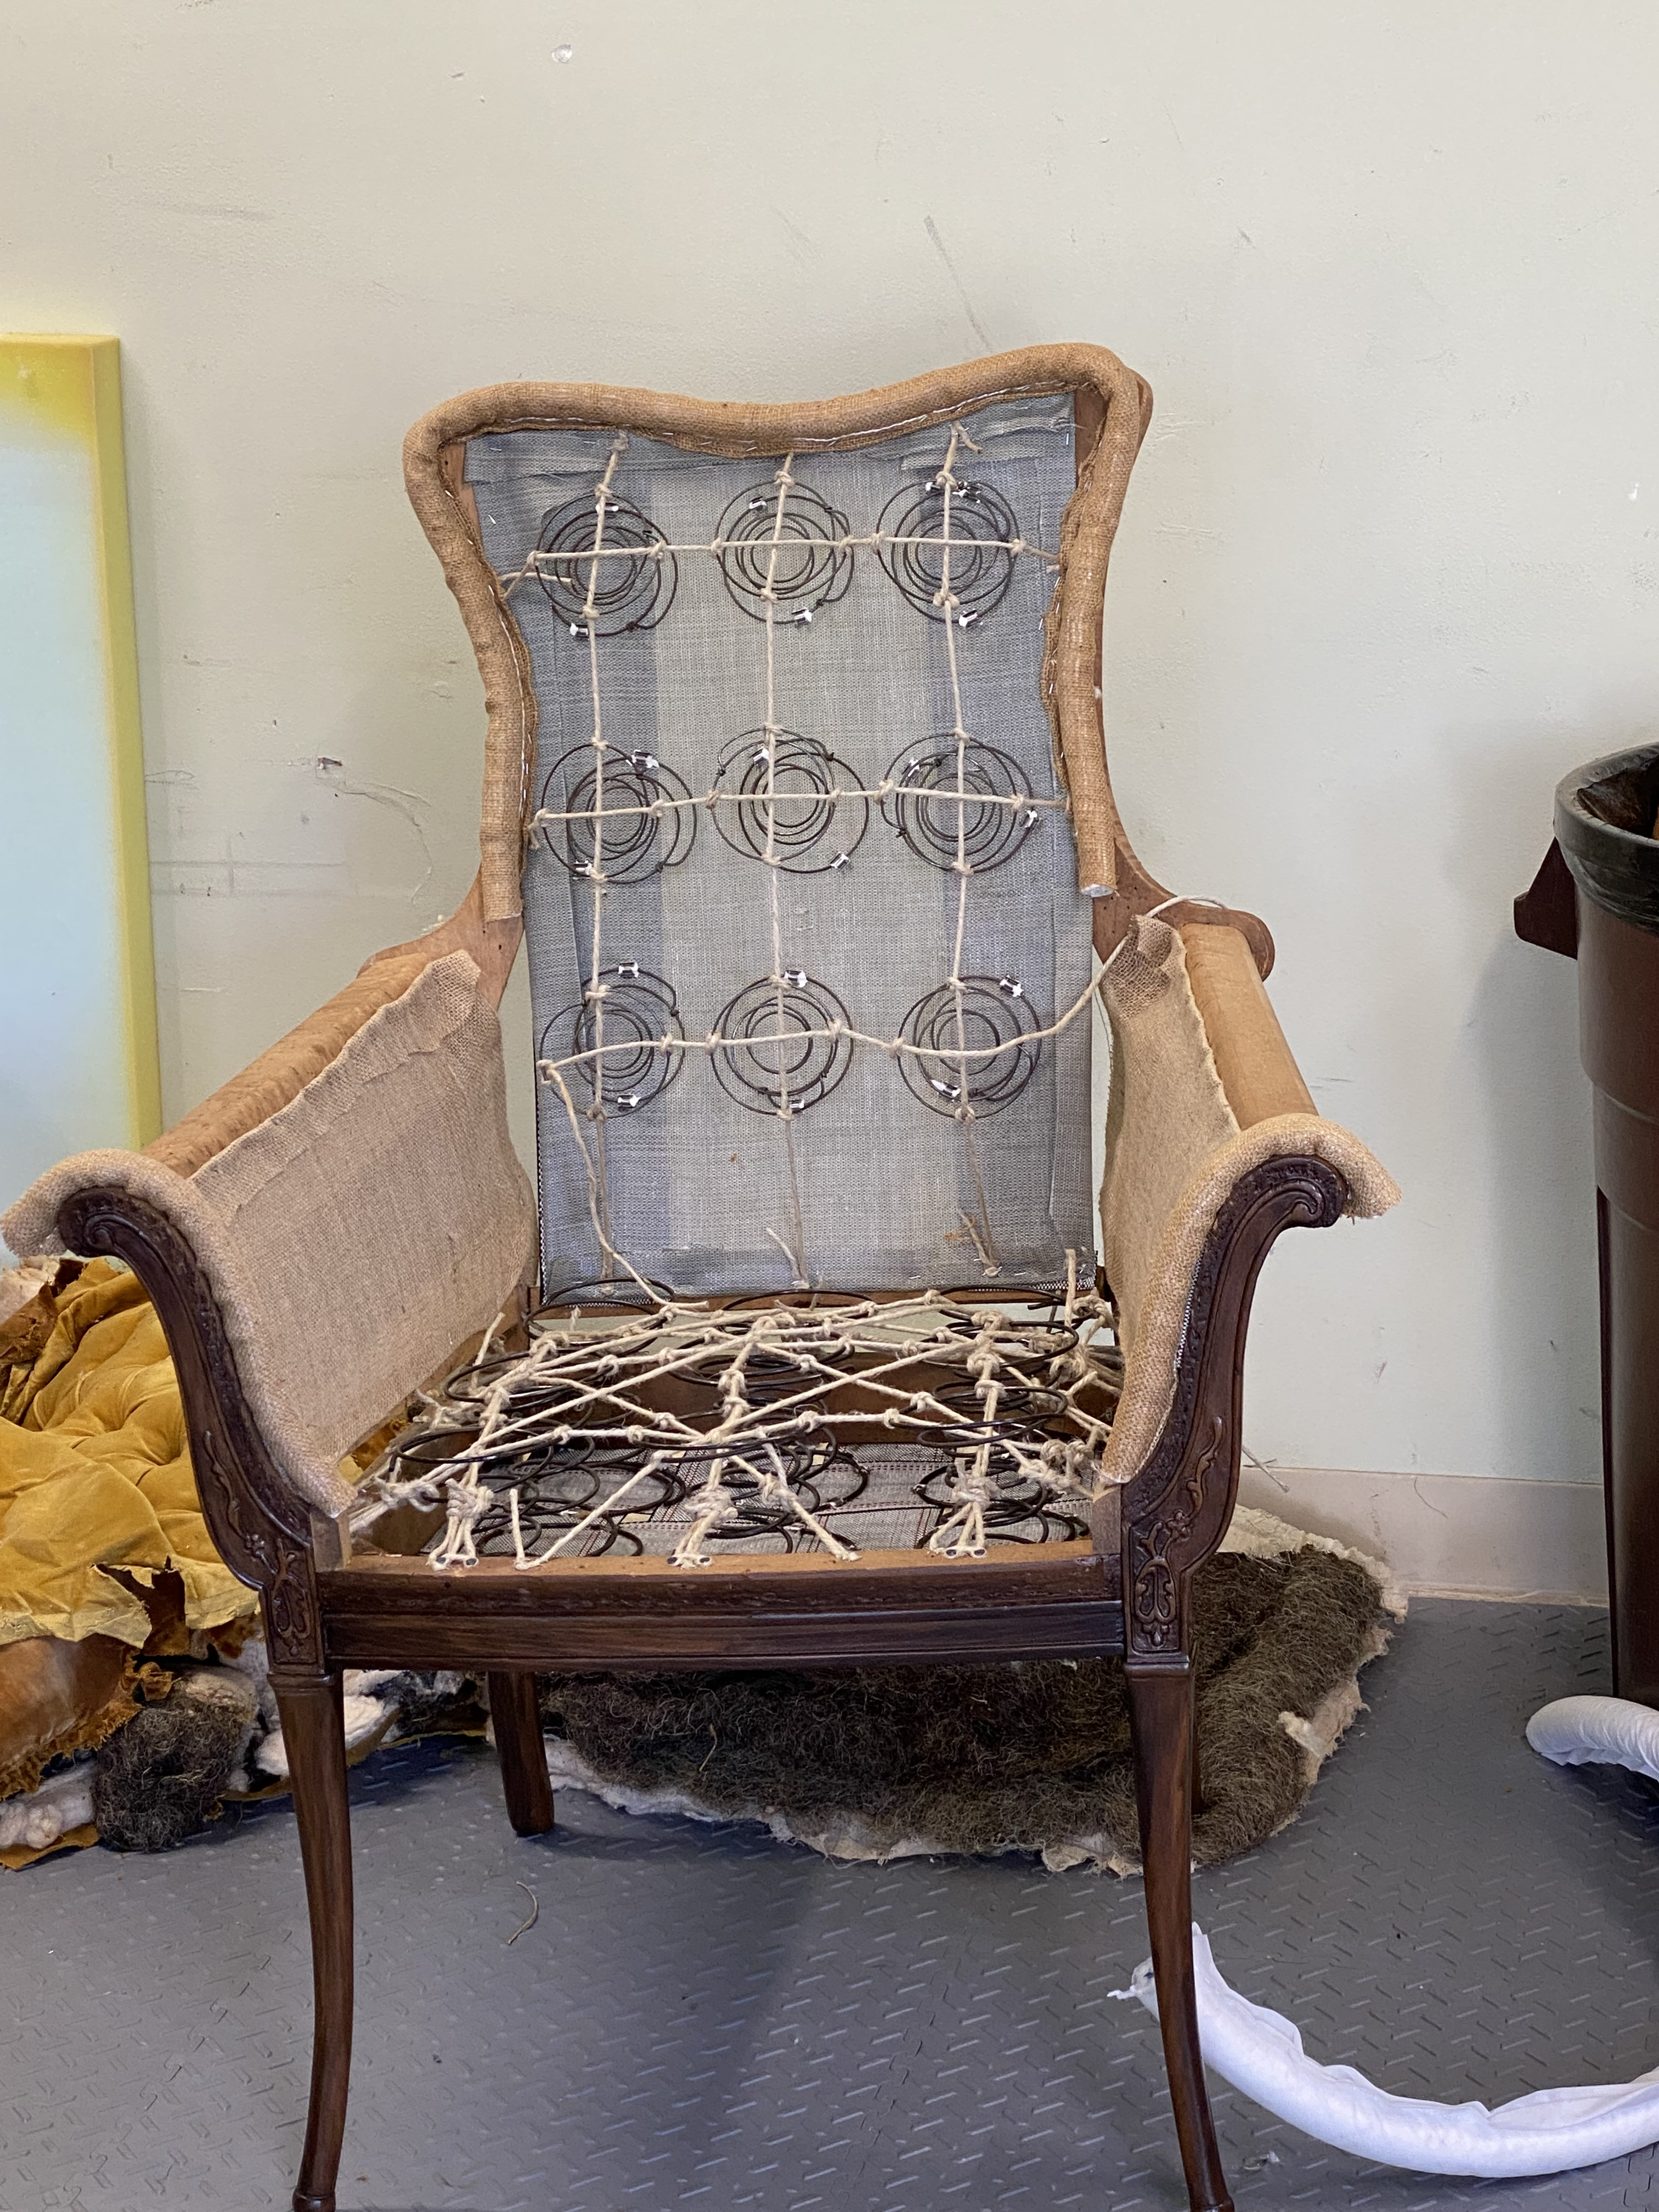
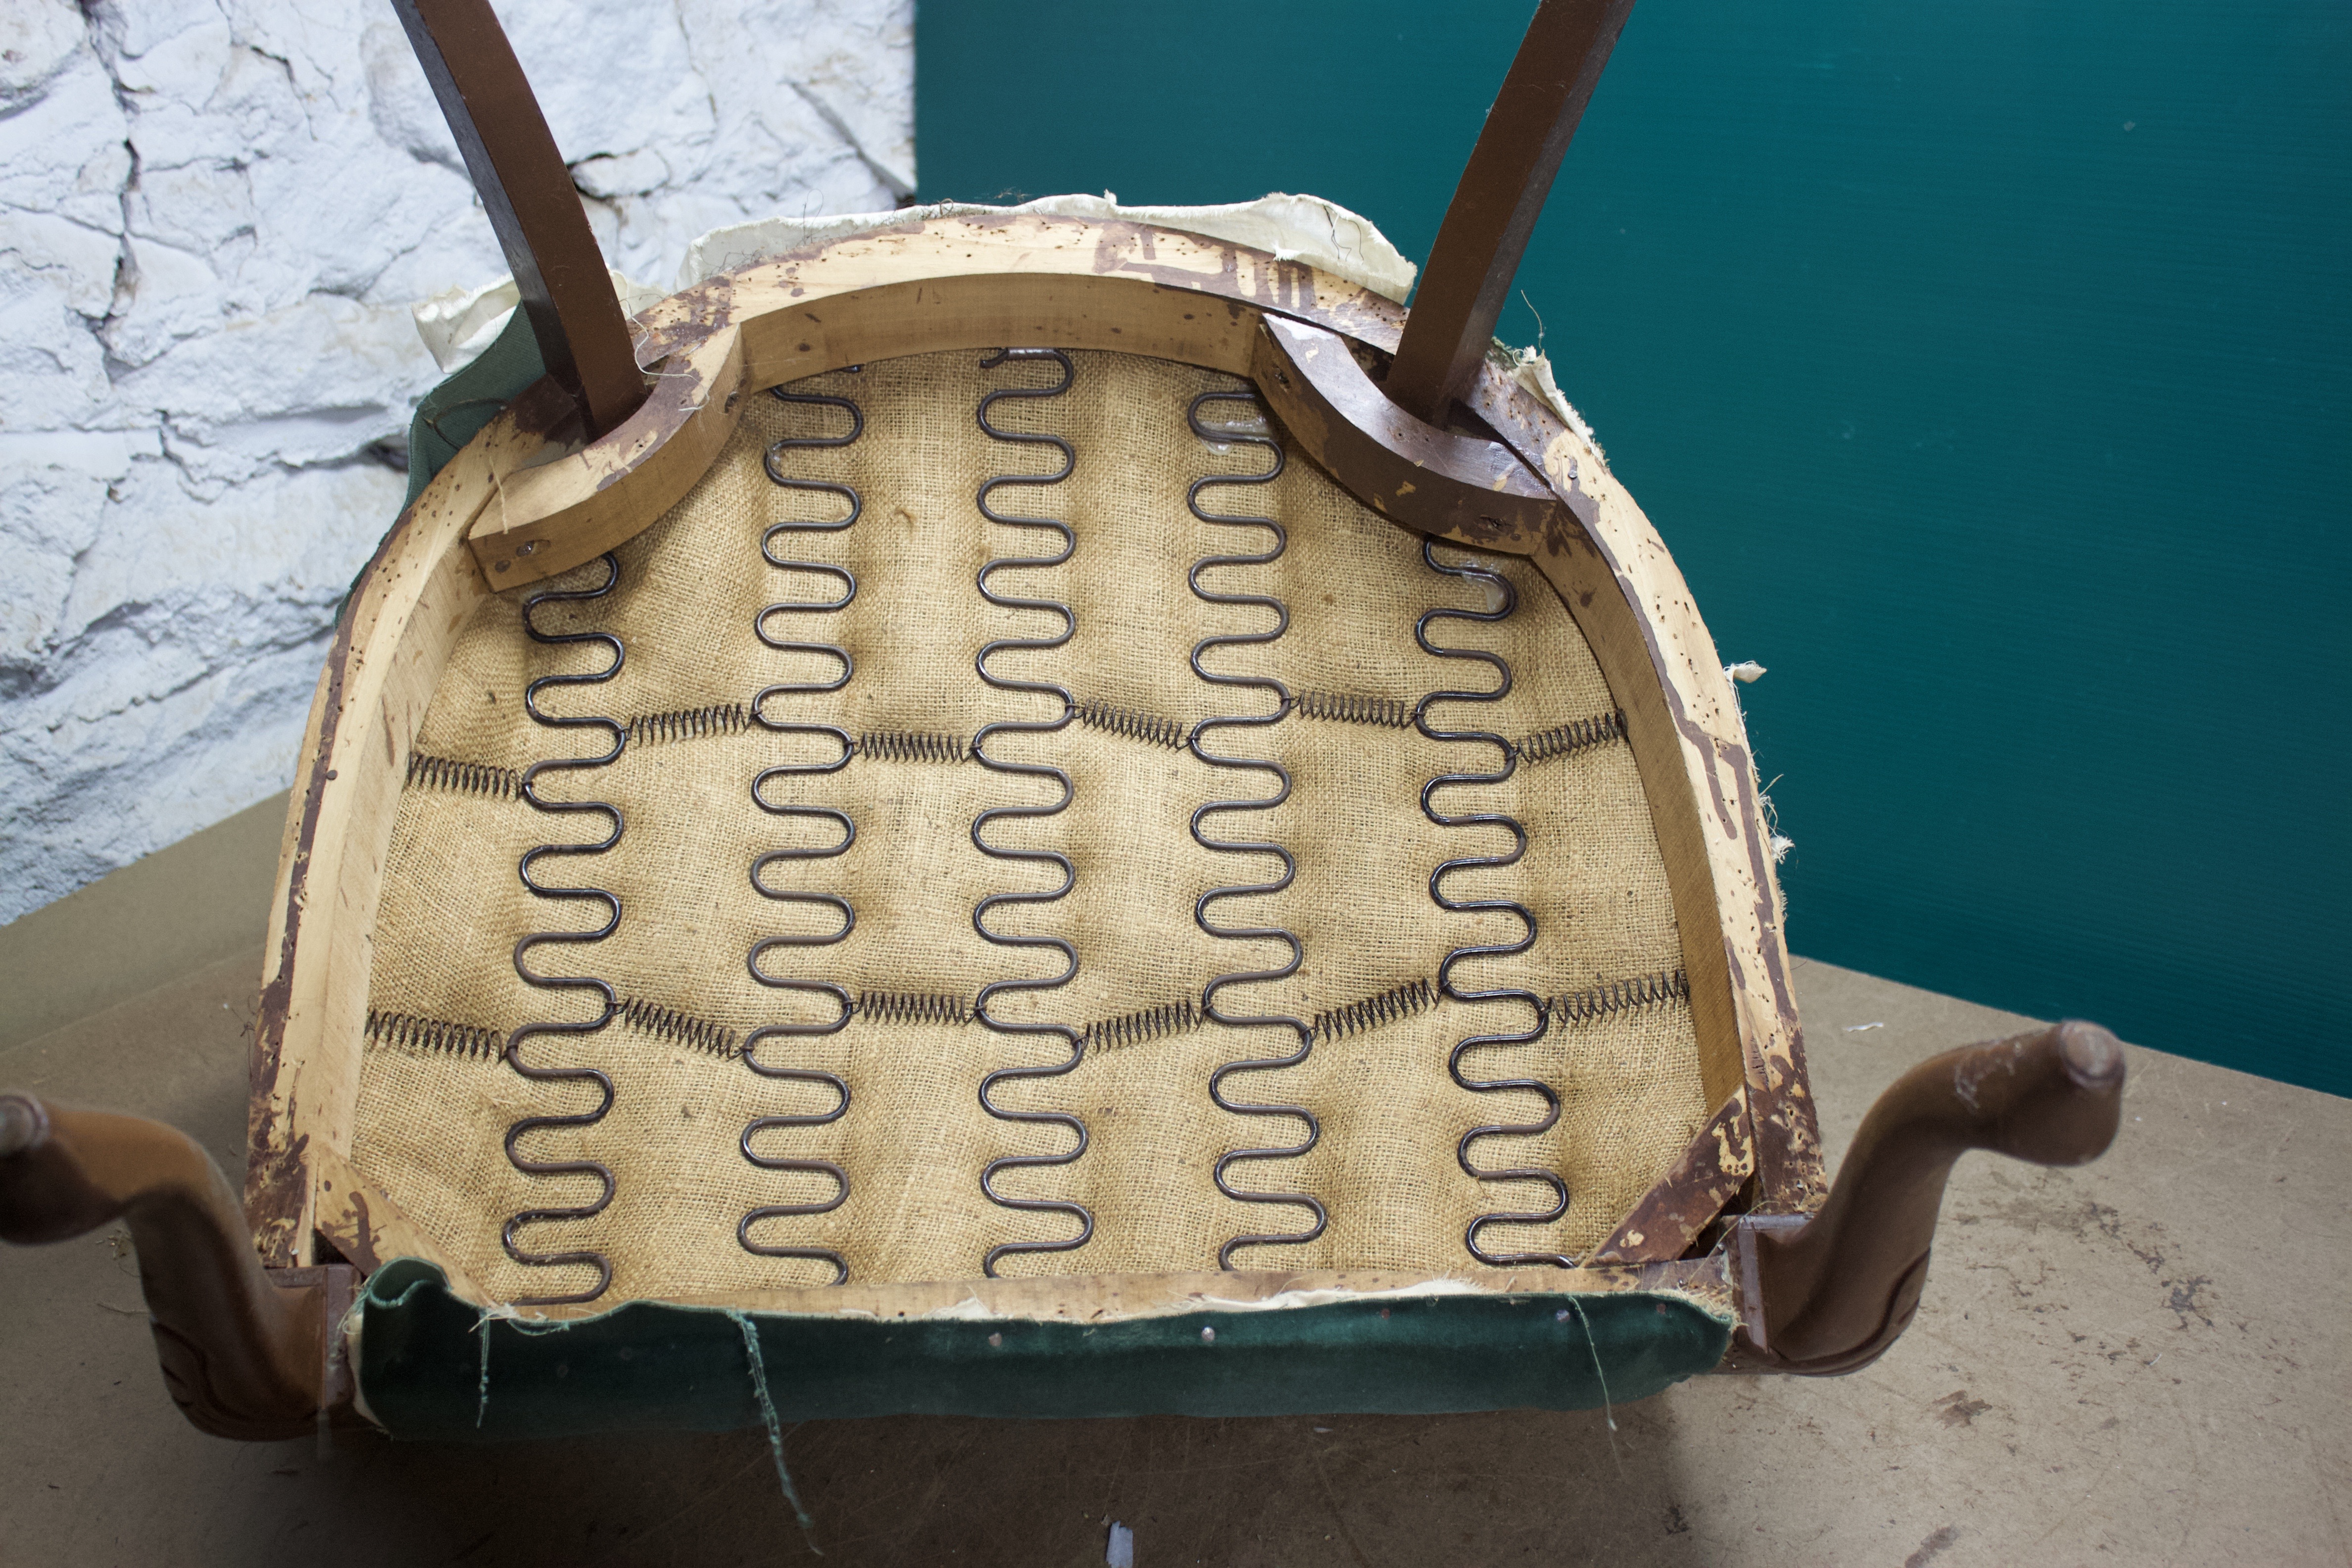
The benefit of coil springs is that they create greater stability and are more durable. They evenly distribute body weight compared to sinuous or zig-zag springs. However, sinuous springs are lighter than coil springs and are much quicker to install. Sinuous springs use a clip to attach the spring to the frame. Whereas coil springs use ties to secure the support system, usually an 8-way tie system. This makes the coil springs much more labor intensive, as it requires you to hand tie the springs in place. This creates a web overtop of the springs supported by the webbing underneath, preventing them from shifting.
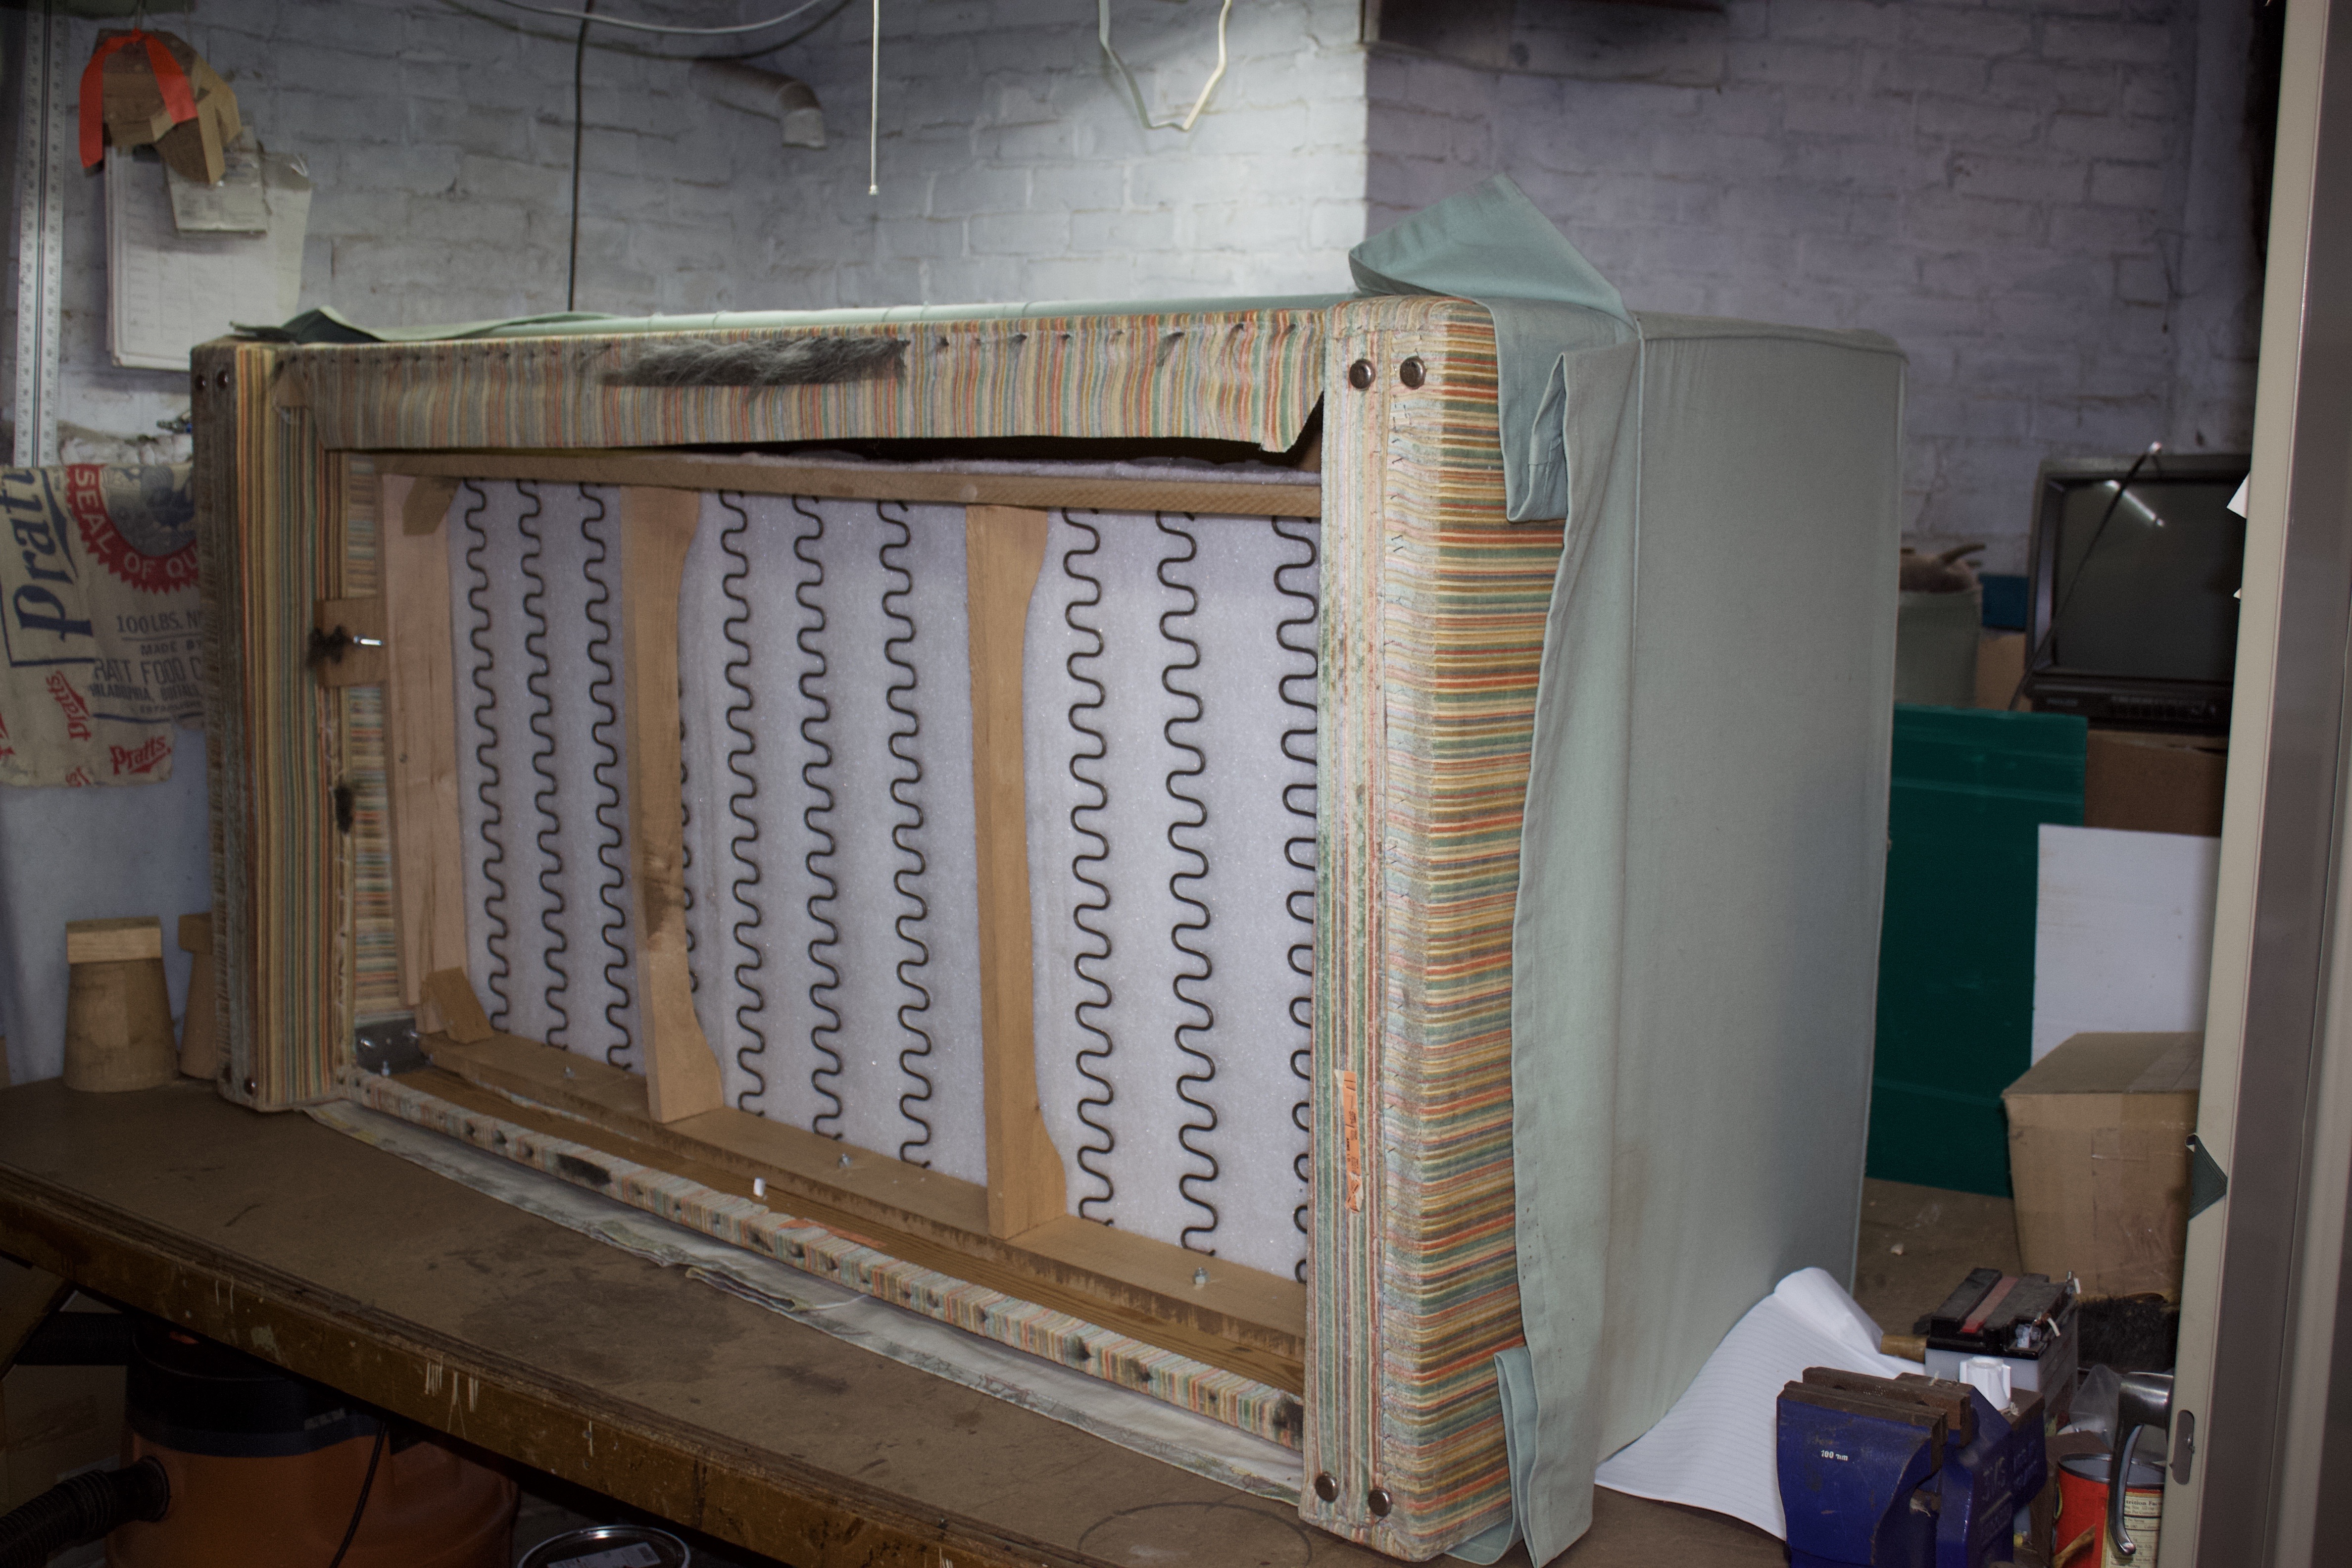
Sinuous springs will be in an s shape and will lay flat, whereas coil springs have cylinder or hourglass shapes. While sinuous springs aren’t known for being as supportive as coil springs, they can provide similar long-lasting support if the correct wire gauge and proper installation are used.
Remember, just because you took out a certain spring support system from the original piece of furniture doesn’t mean you have to replace it with the exact same spring system. It comes down to what you think will be best for the project. Bear in mind, however, that whichever spring support system you choose, determines the muscles of the chair.
Now that you know the pros and cons of using each spring system let’s go over the steps for using each one!
Coil Spring System
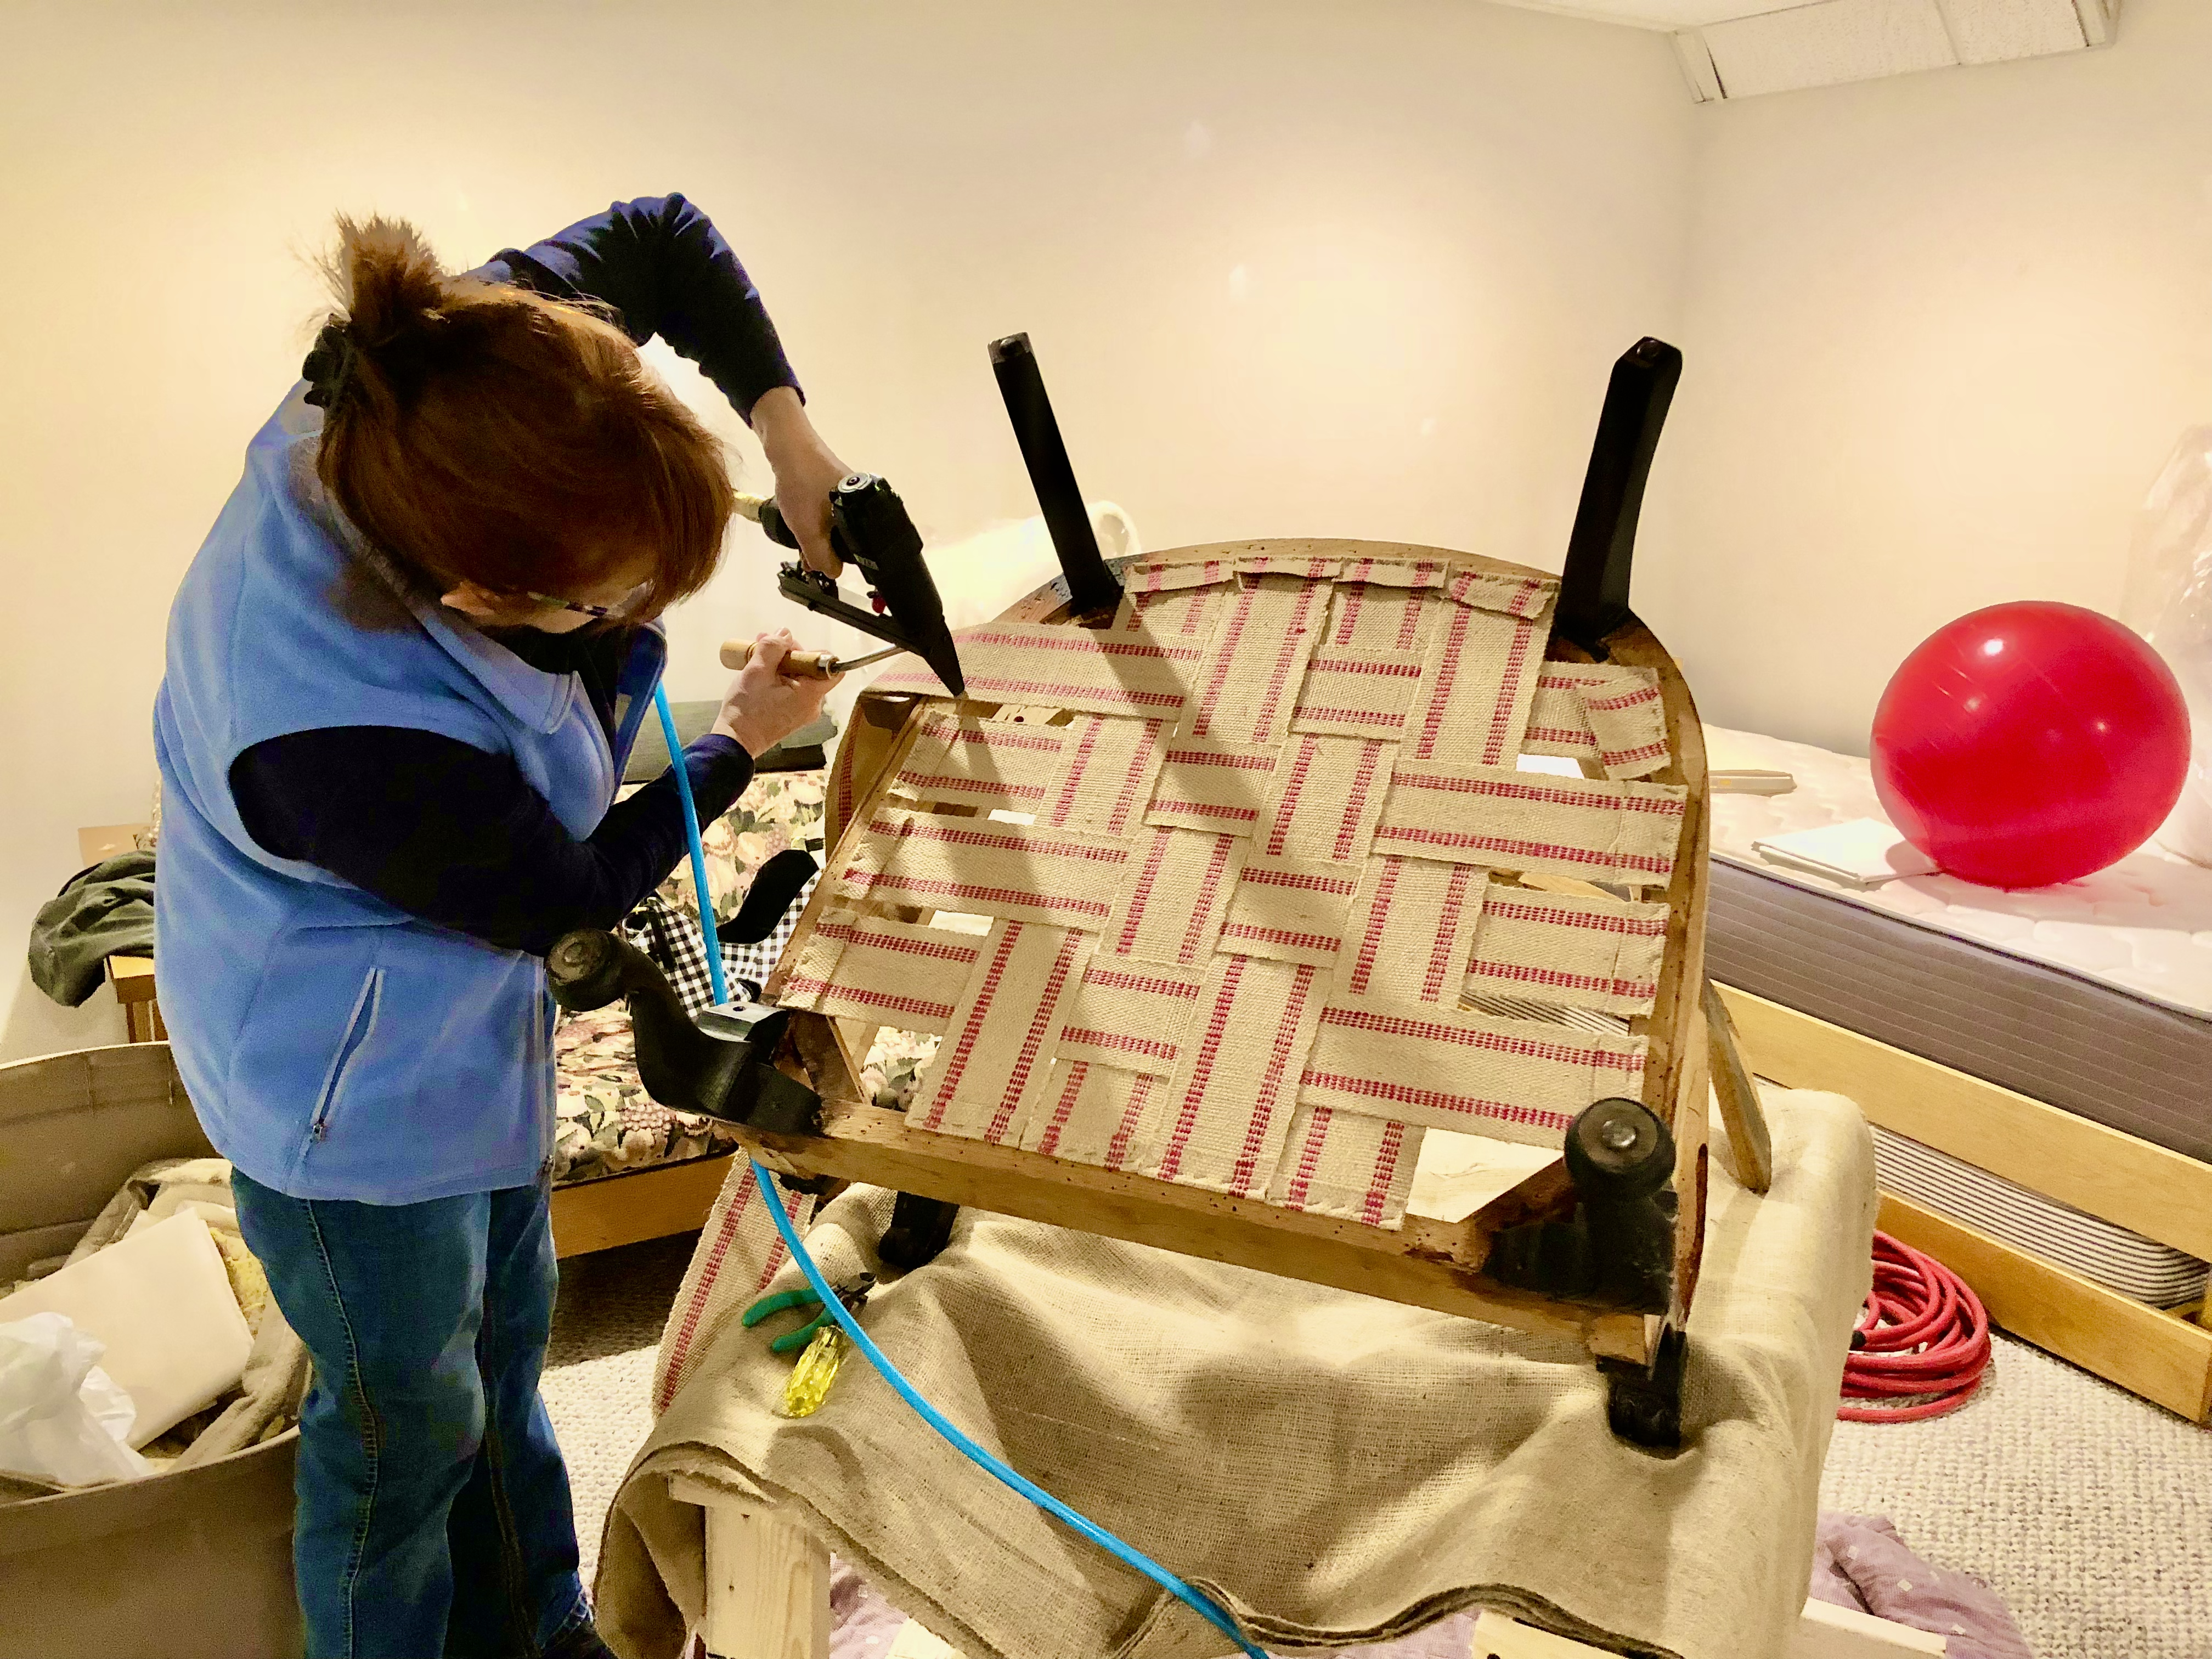
If you select to use the coil spring system, you will first attach new webbing to your chair frame. You will use jute webbing to create a base to your spring support system. To start attaching your webbing, flip your furniture over to access the bottom. Then cut strips of your jute webbing. Start at the front, bottom of the chair and secure a strip of your jute webbing in the center of the frame with your pneumatic staple gun. Then you fold that strip back on itself towards the center of the chair and put another row of staples to secure the webbing in that direction.
Continue this process, by starting in the corner of the chair next to the leg of the chair/sofa. You will then go back and fill in the gaps on your frame. The length of your frame will determine the amount of strips needed.
Now, to attach the strips to the opposite side of the frame you will use a gooseneck webbing stretcher. Take the center strip of webbing attached to the chair frame and stretch it across the frame to the other side, securing the edge onto your tool to stretch it and maintain the tension. Secure the webbing with your staple gun. Once secure, fold it back on itself as you did on the first set and put a second set of staples over the webbing. Repeat this process with the other strips of webbing, again starting with the corner pieces. Try to keep an even amount of tension in each strip.
Repeat the Process
Once all the strips are secured, you can go back around and remove the excess webbing from each strip. Now we will attach the cross weave pieces. This process will be the same as the first layer, except when you go to attach the strips to the other side of the frame, you will weave the webbing over-under the existing strips of webbing to create a basket weave pattern. Make sure each strip of webbing is woven opposite of the strip next to it.
After you have woven each strip to the other side, you will attach them to the frame the same way you did the first layer, using your gooseneck webbing stretcher tool.
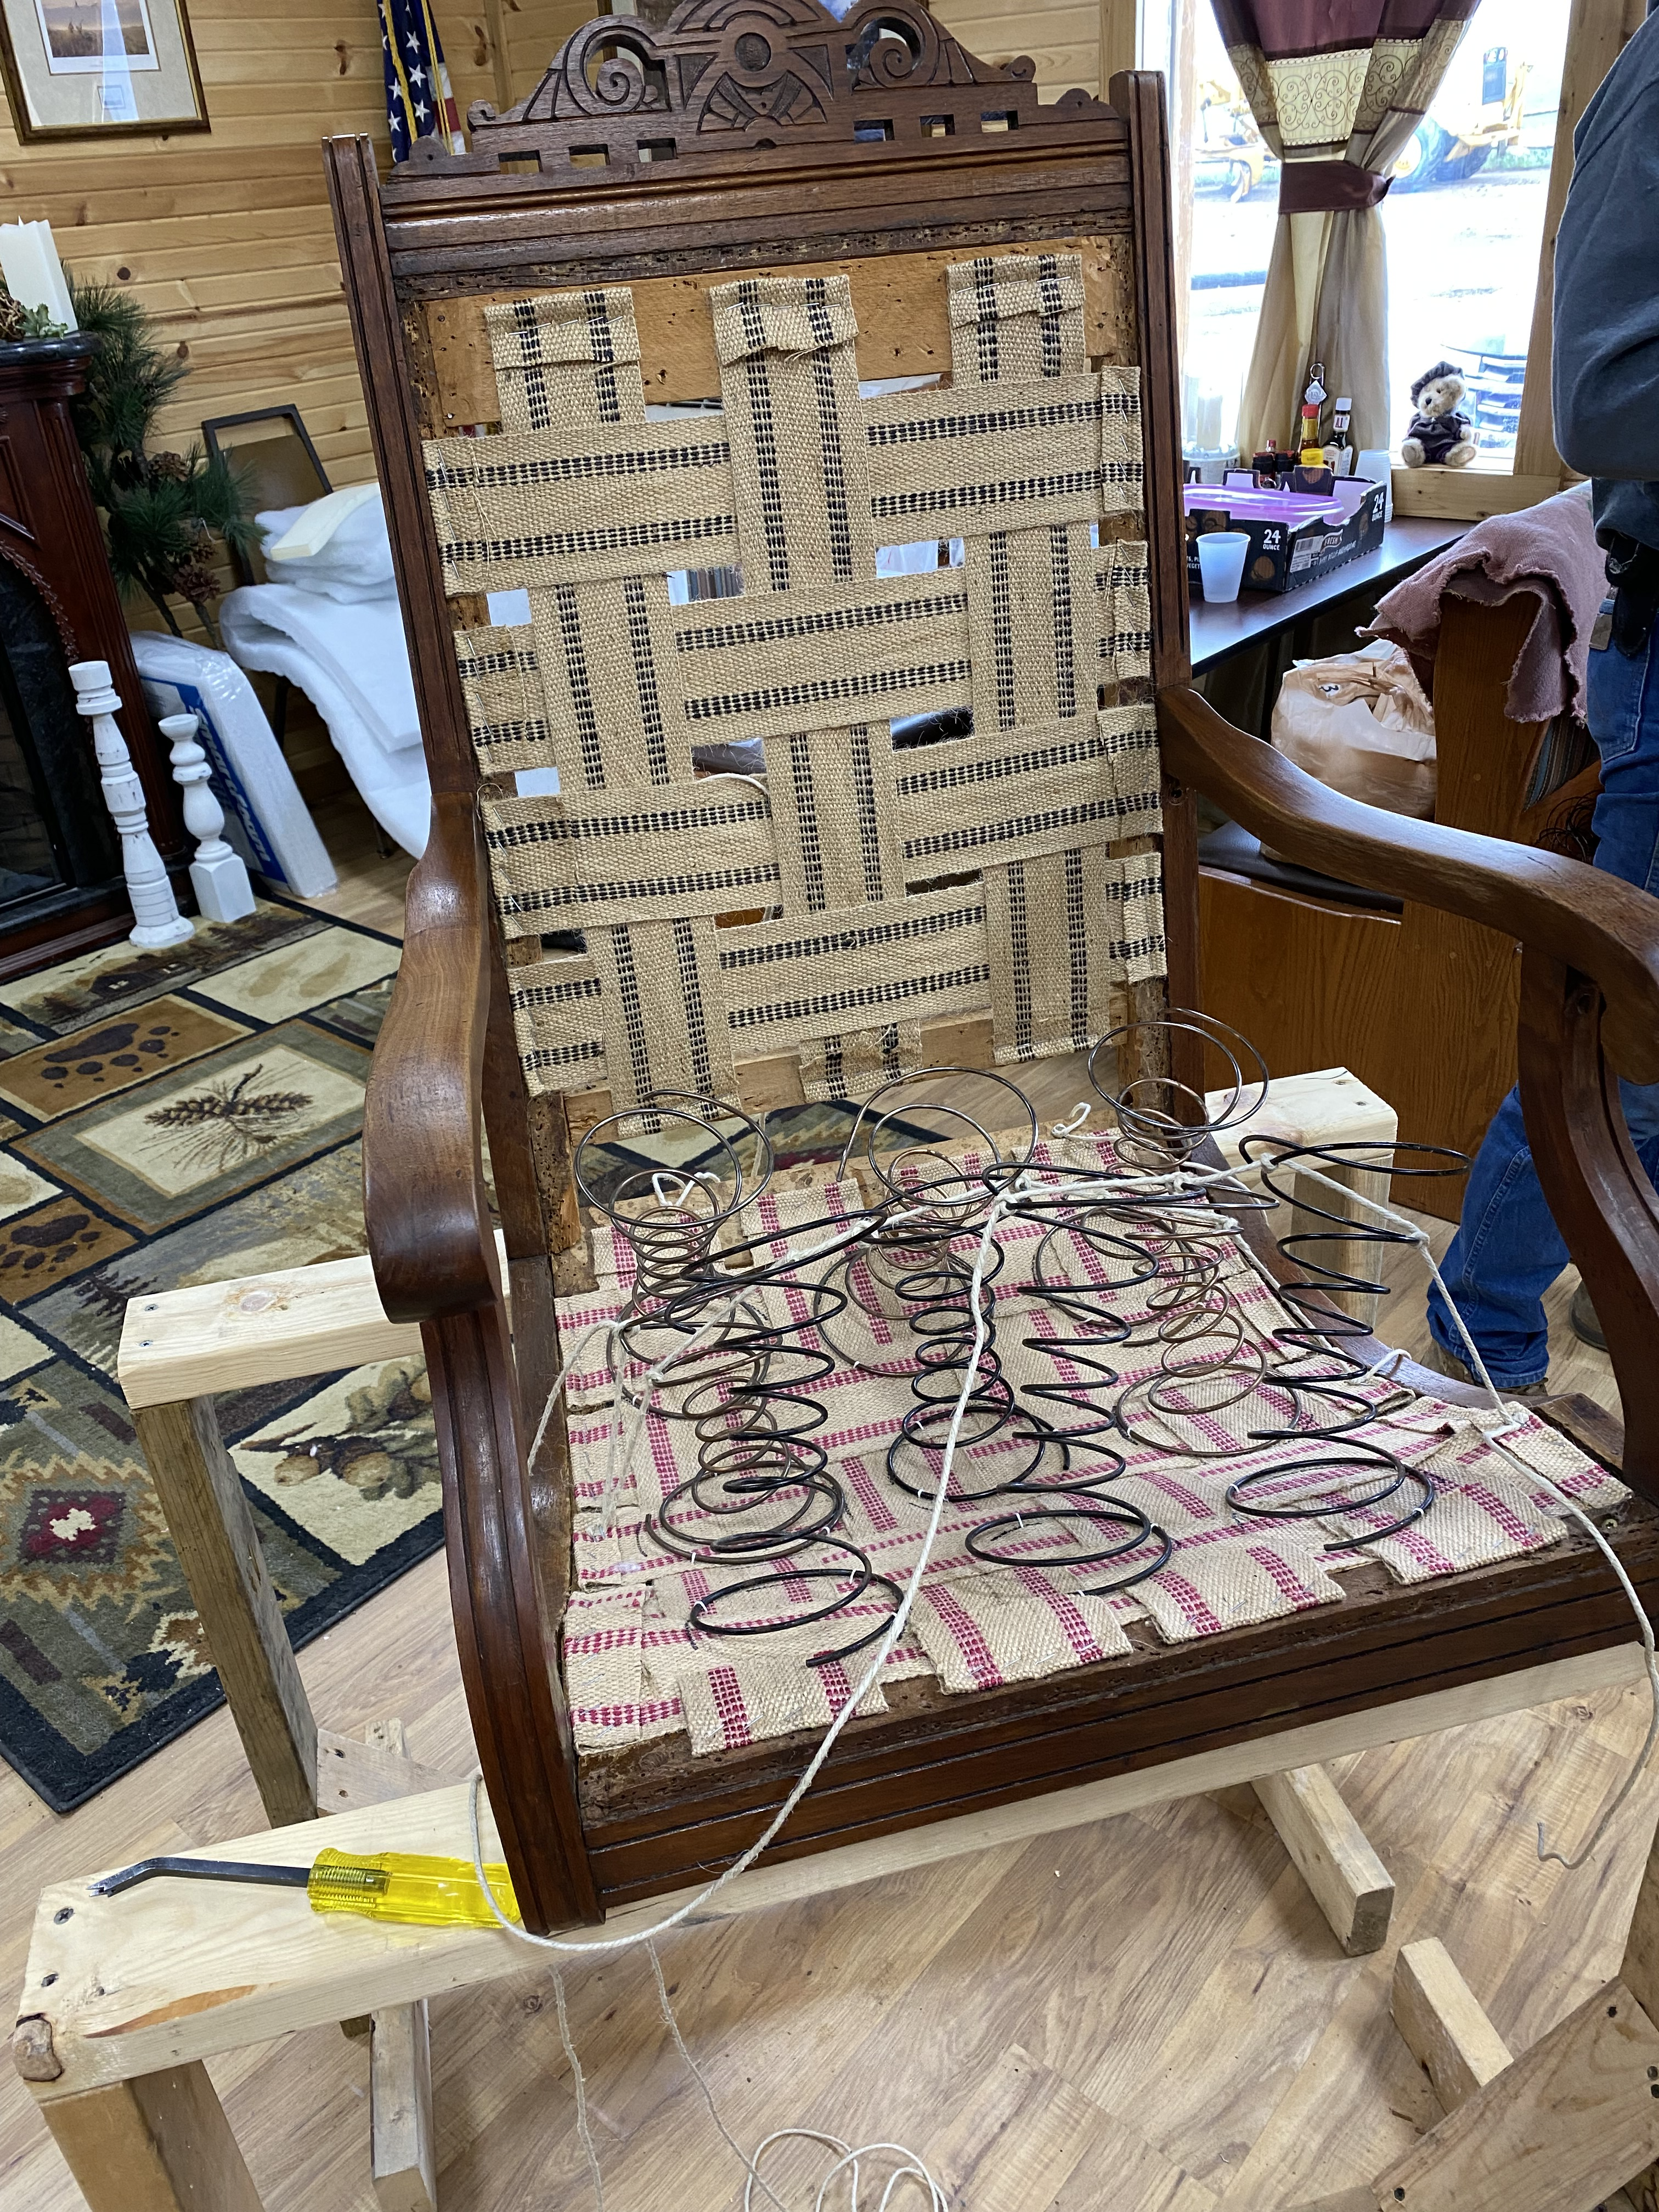
Now that the bottom webbing is complete you can flip your chair back upright. You can see and feel how tight the webbing is and what a great base support it provides to the coils springs you will attach. Before attaching the springs, it is important to note that the coils have a top and a bottom. The bottom end of the spring is completely straight, while the top is bent down.
Adding the Coil Springs
The number of coil springs used will depend on the piece of furniture you are reupholstering. On the furniture frame, you should have marked reference points of where the springs were originally located. This provides a guide as you place the springs.
Begin by laying out the back row of springs over the layer webbing, centering them with the marks on the frame. Next, grab your 6-inch sewing needle and button twine for sewing the springs to the webbing.
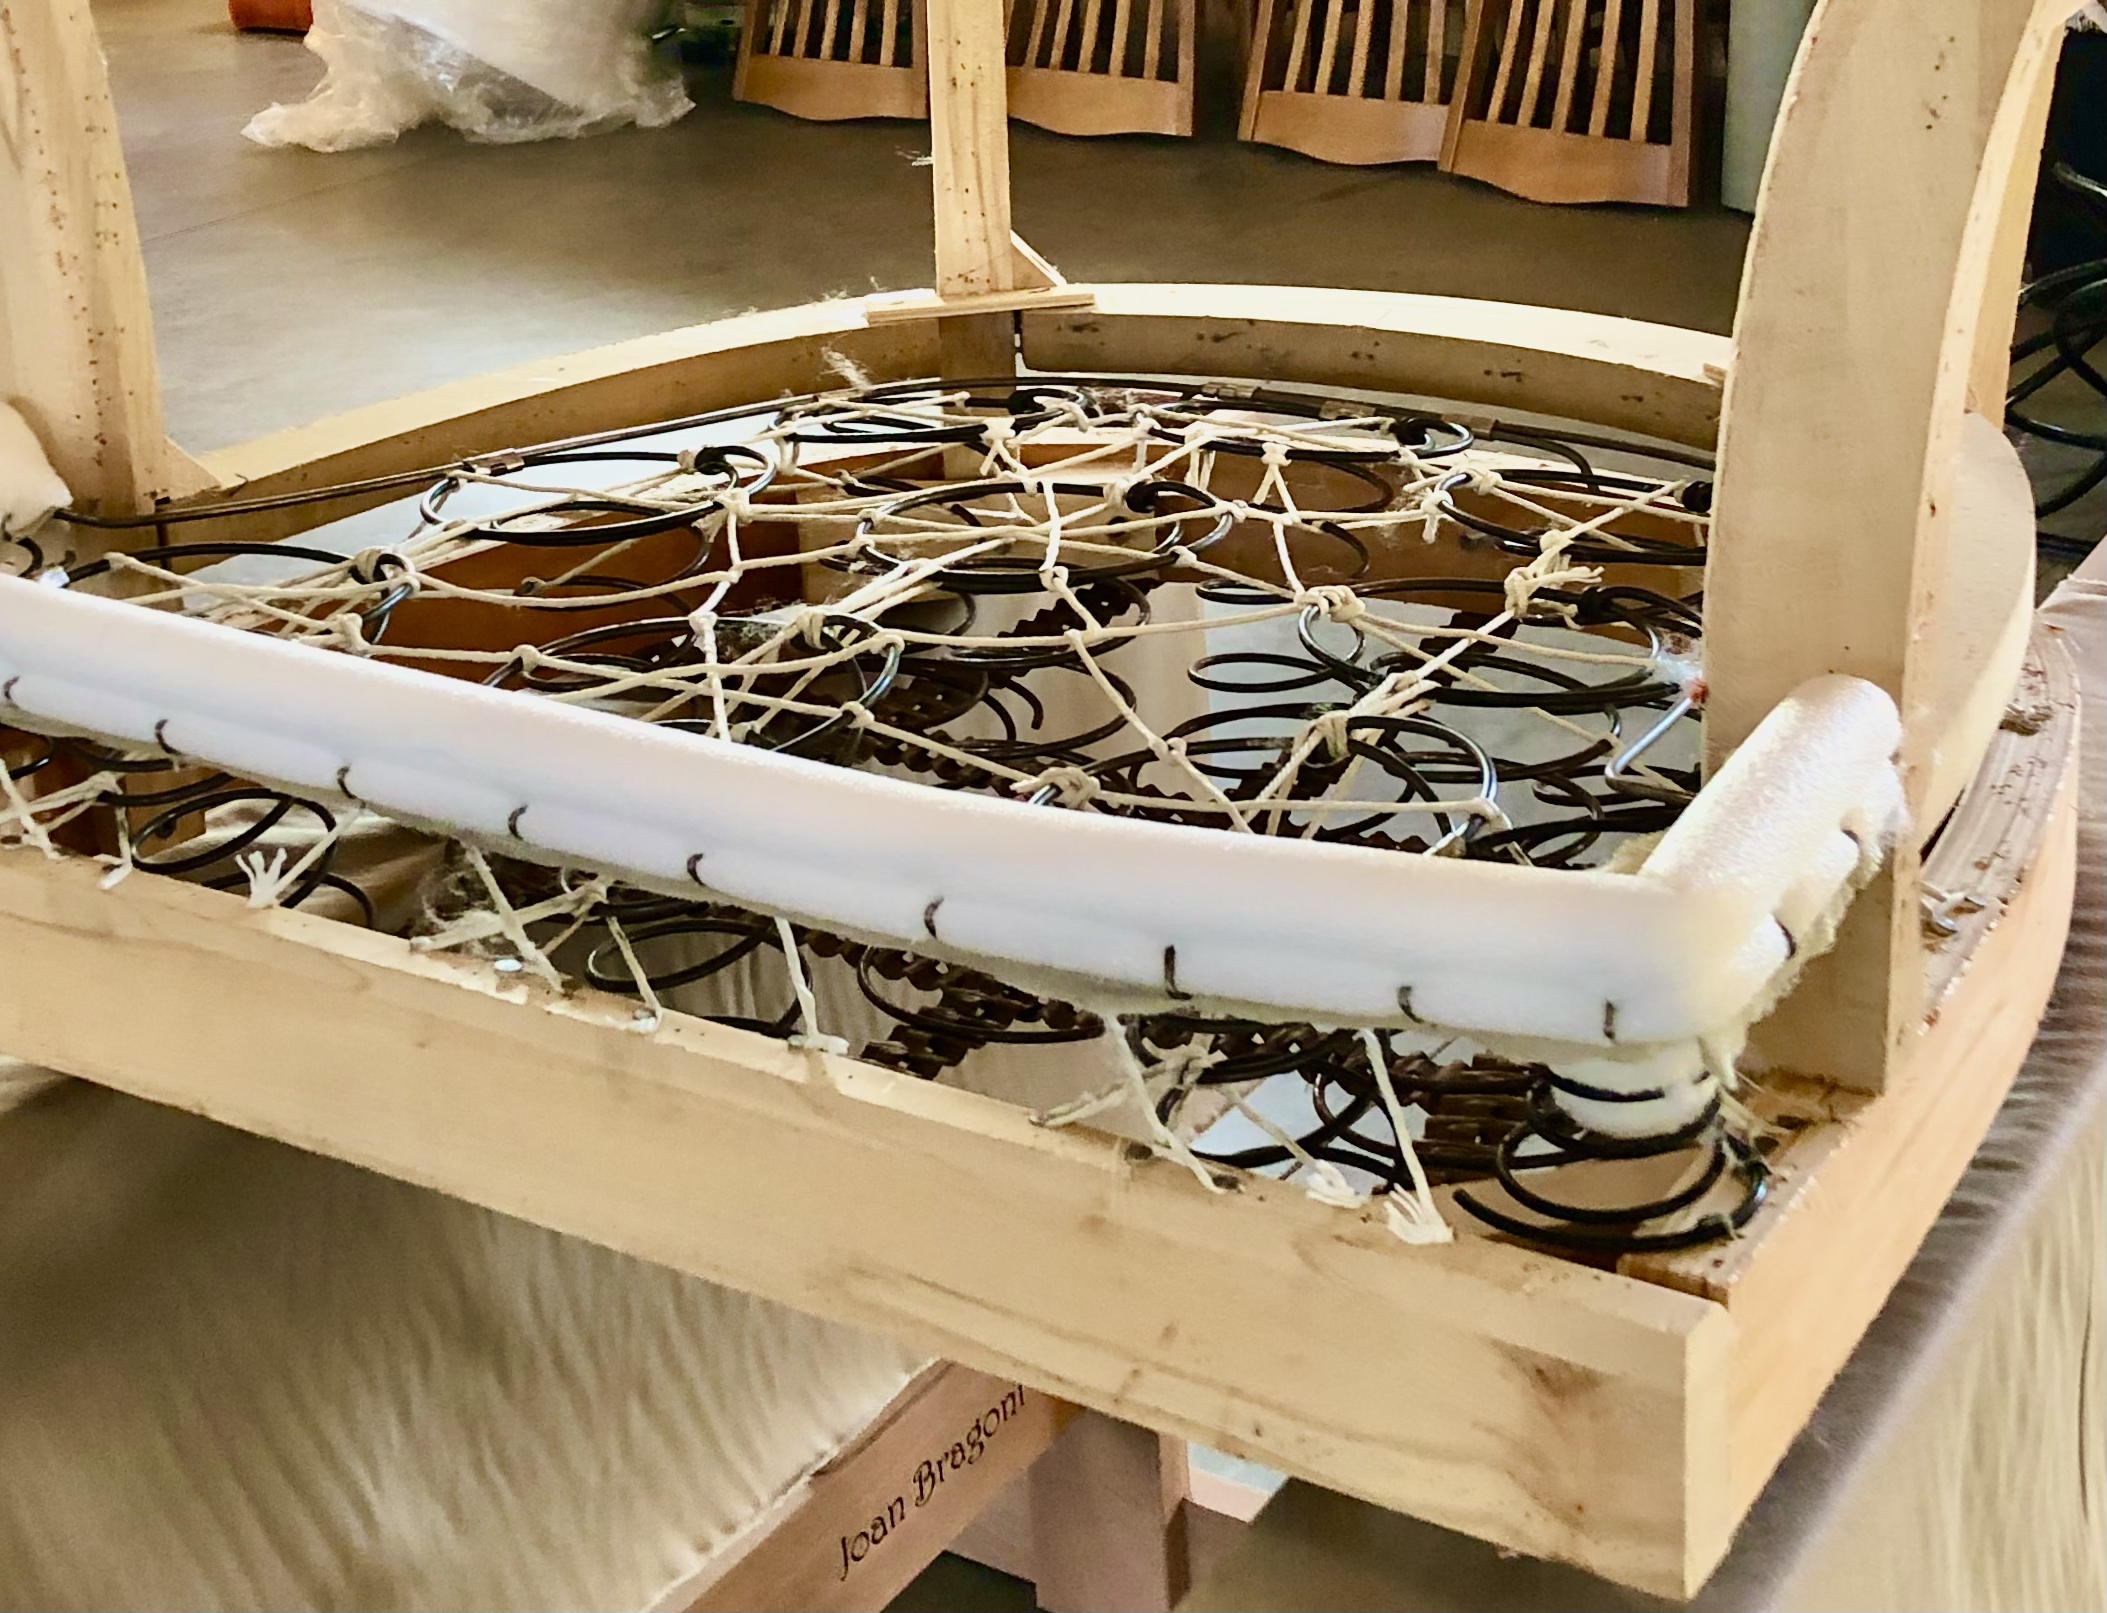
While this is a tedious process, it is a crucial phase. Remember this support system provides all the structural support of your seat! Once you have successfully anchored your springs down to your webbing, by hand sewing them, you will do the ties on top of the springs. For this step, you will need to use either Ruby Italian Jute or Polyester Tying twine for giving your springs an 8-way tie.
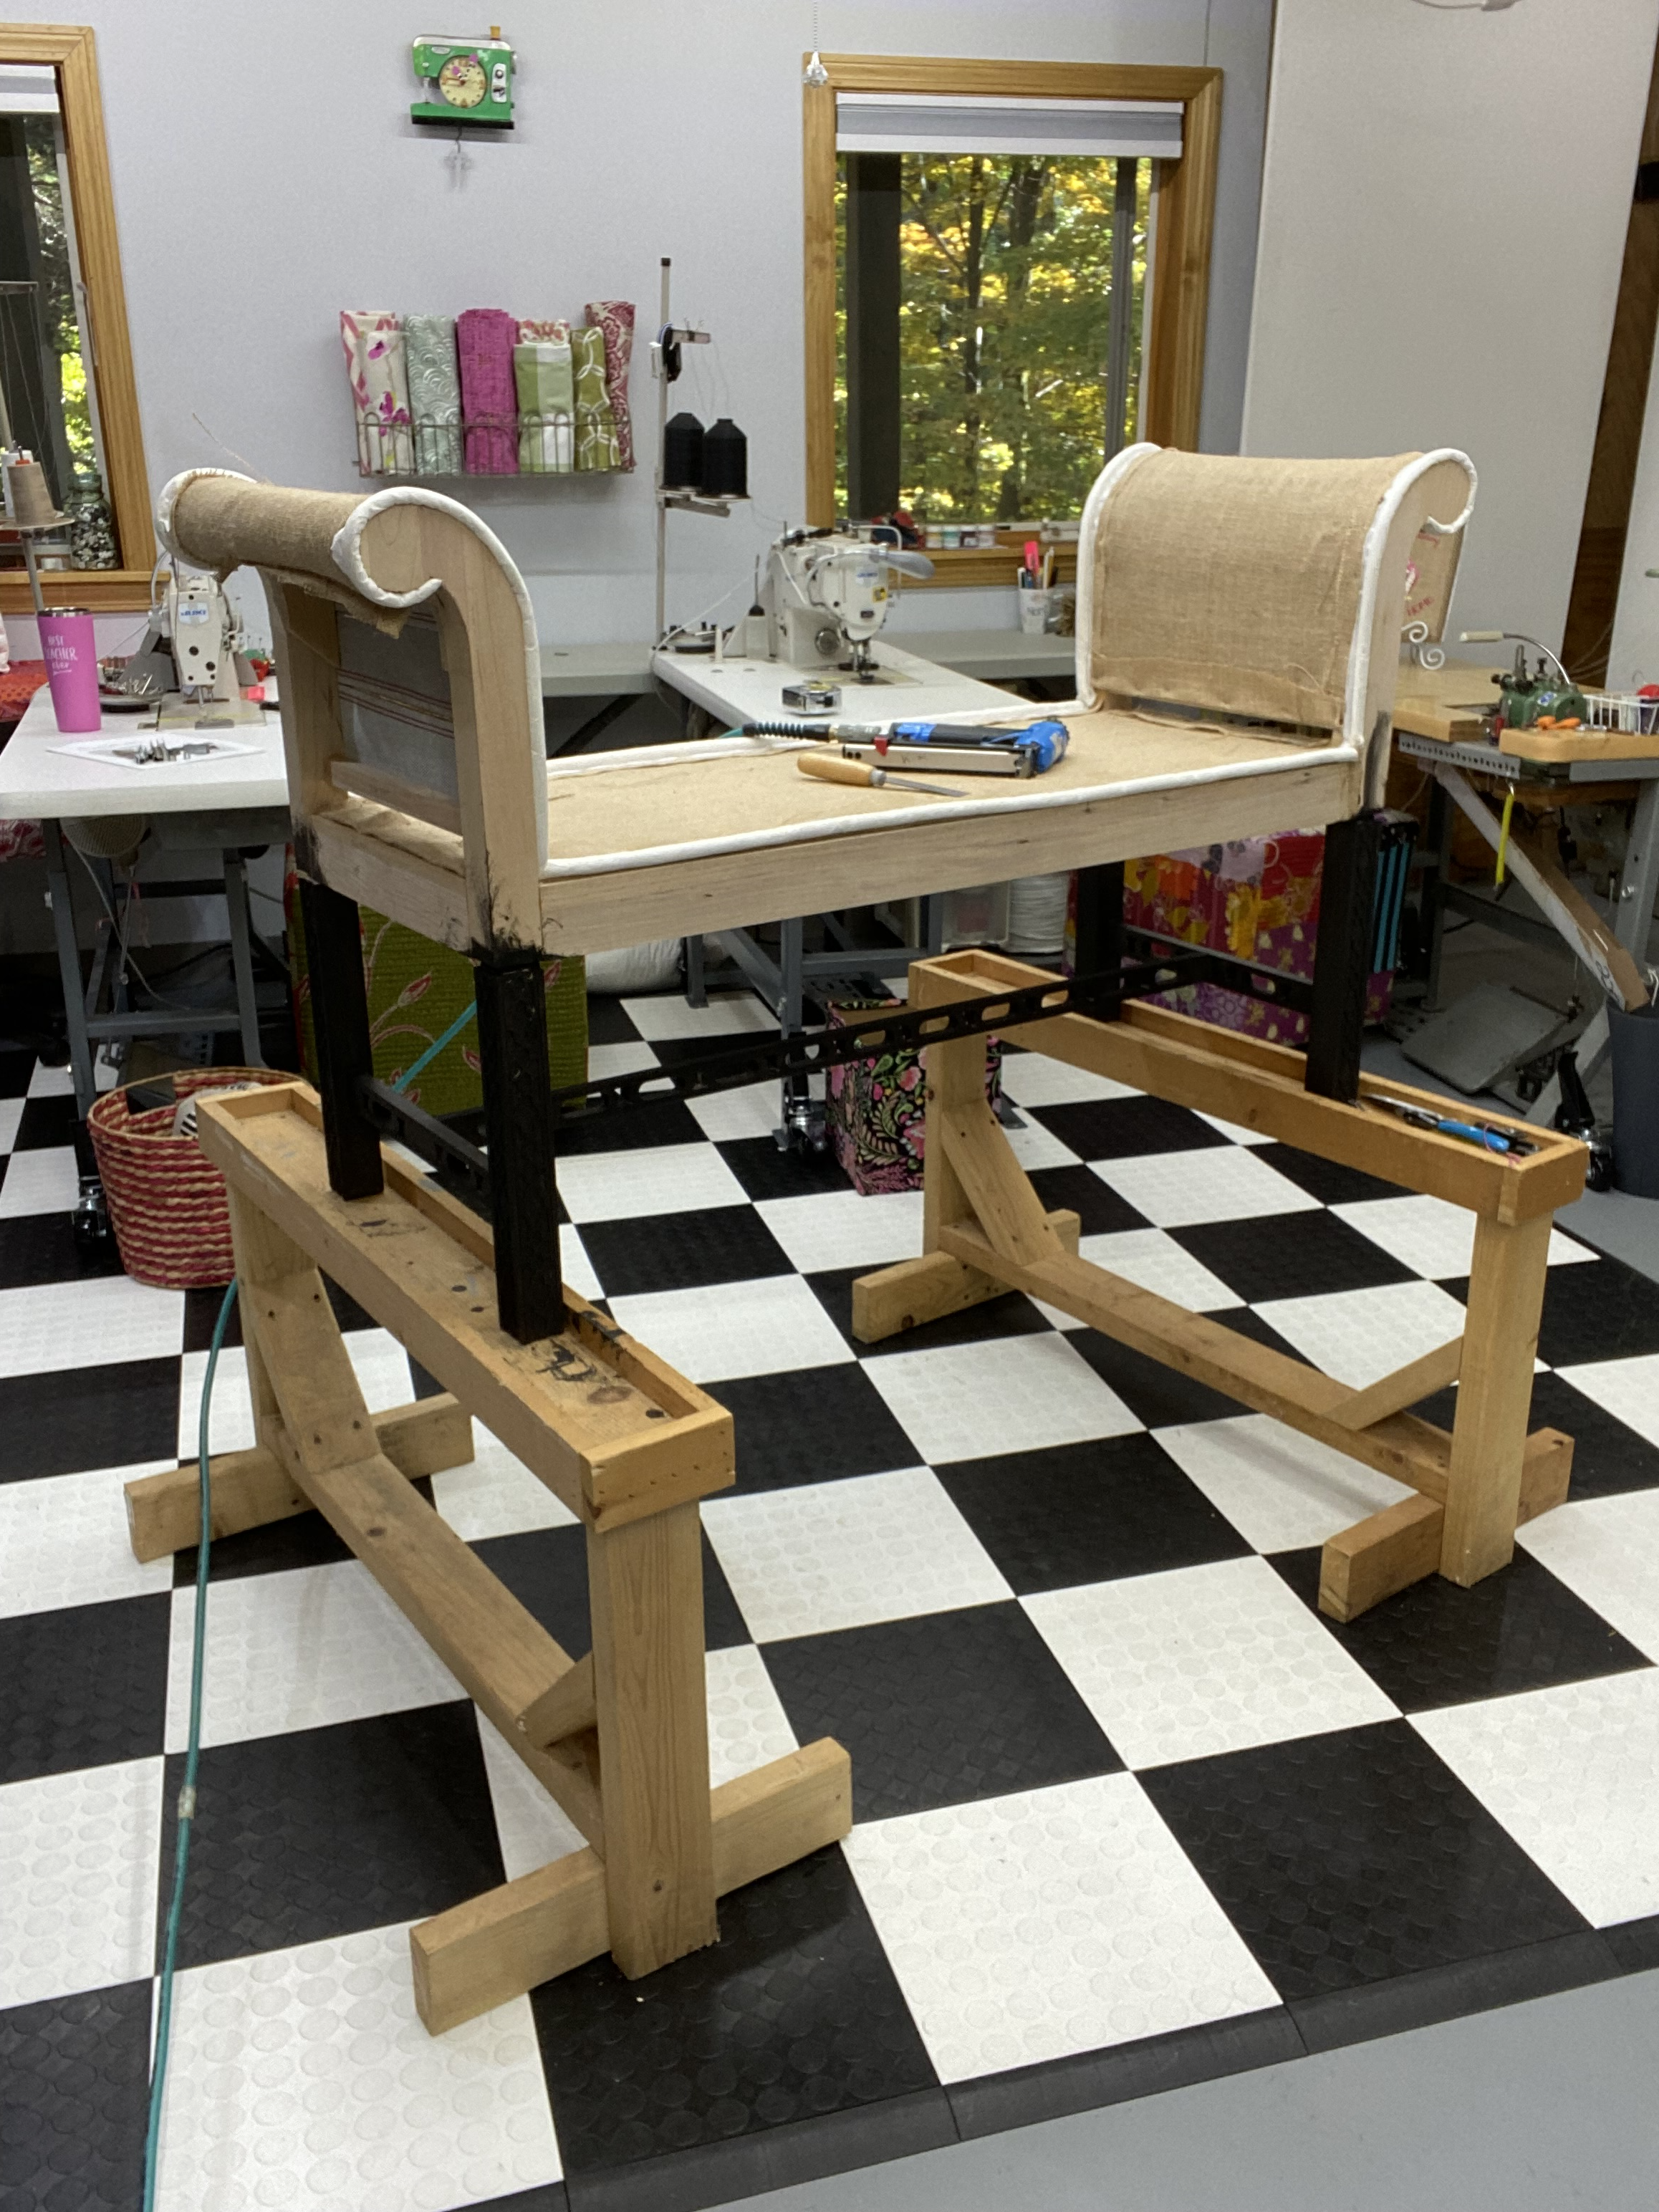
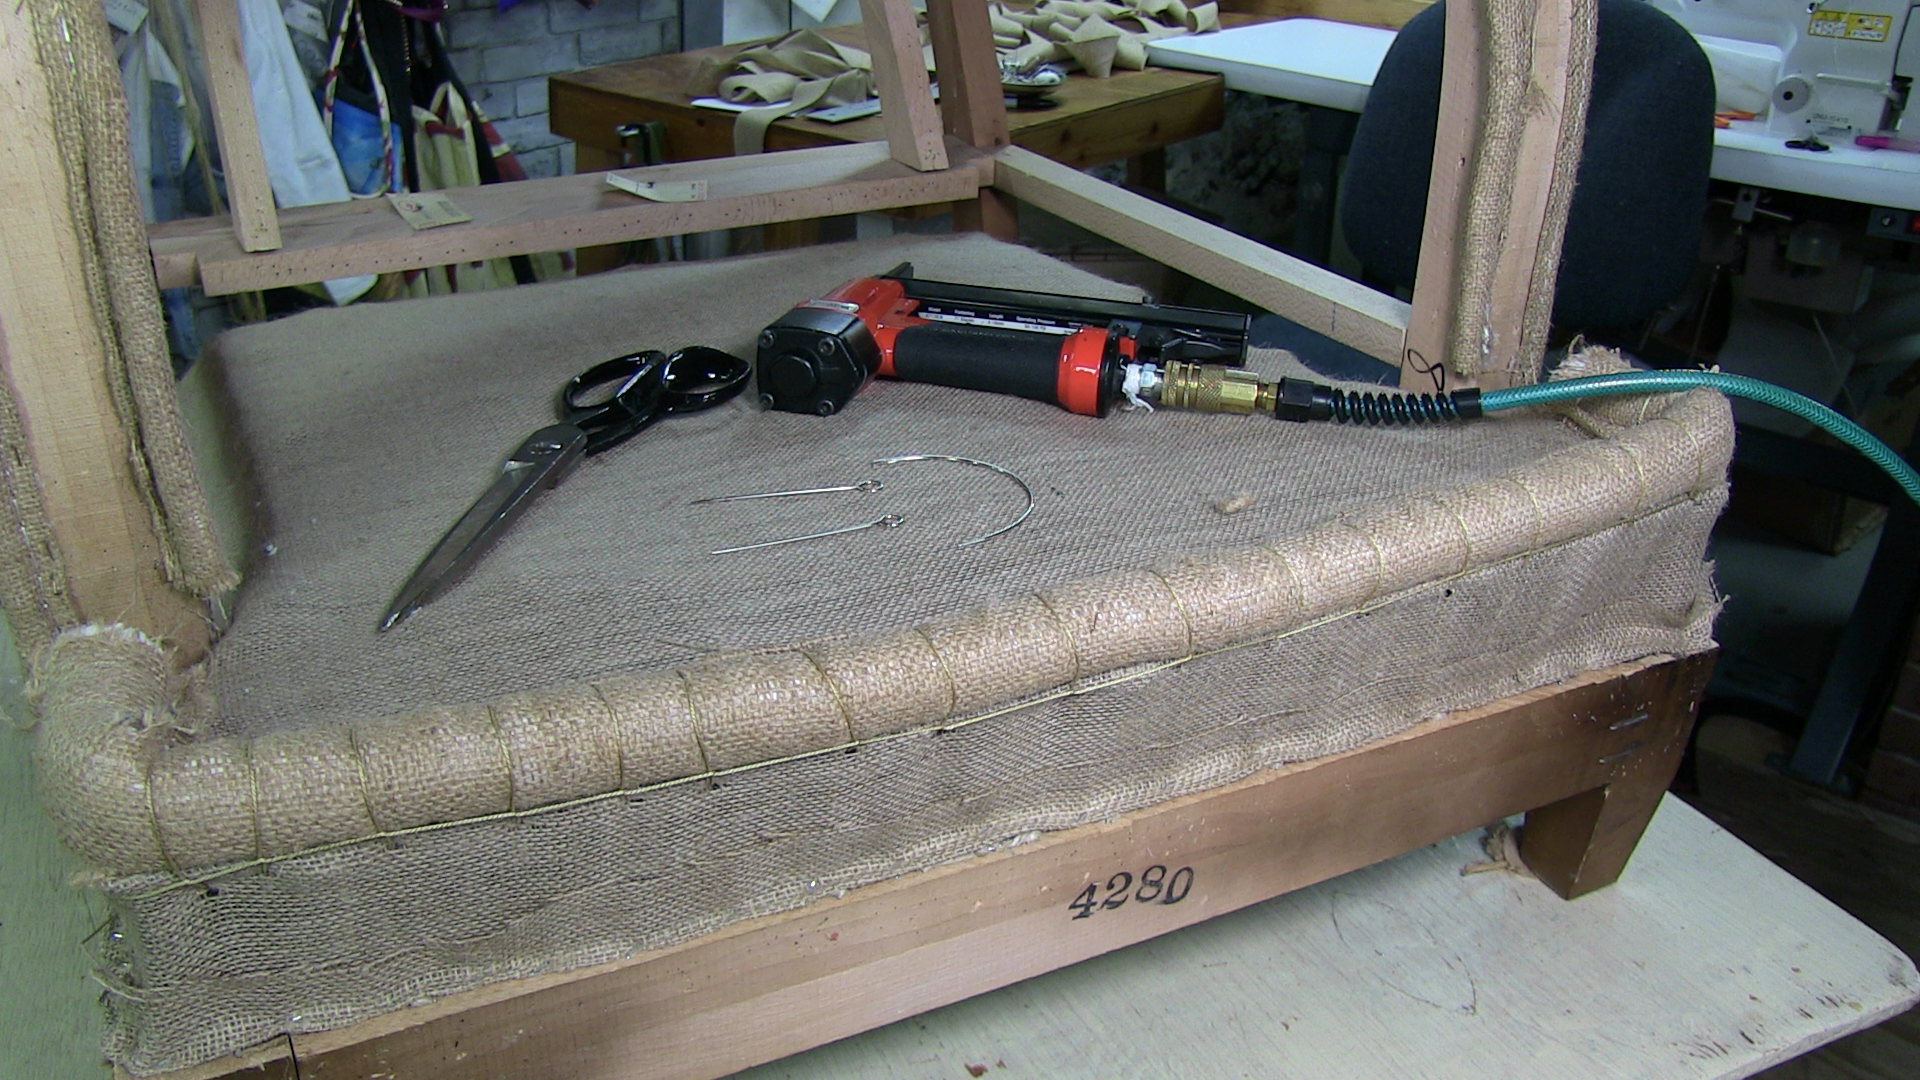
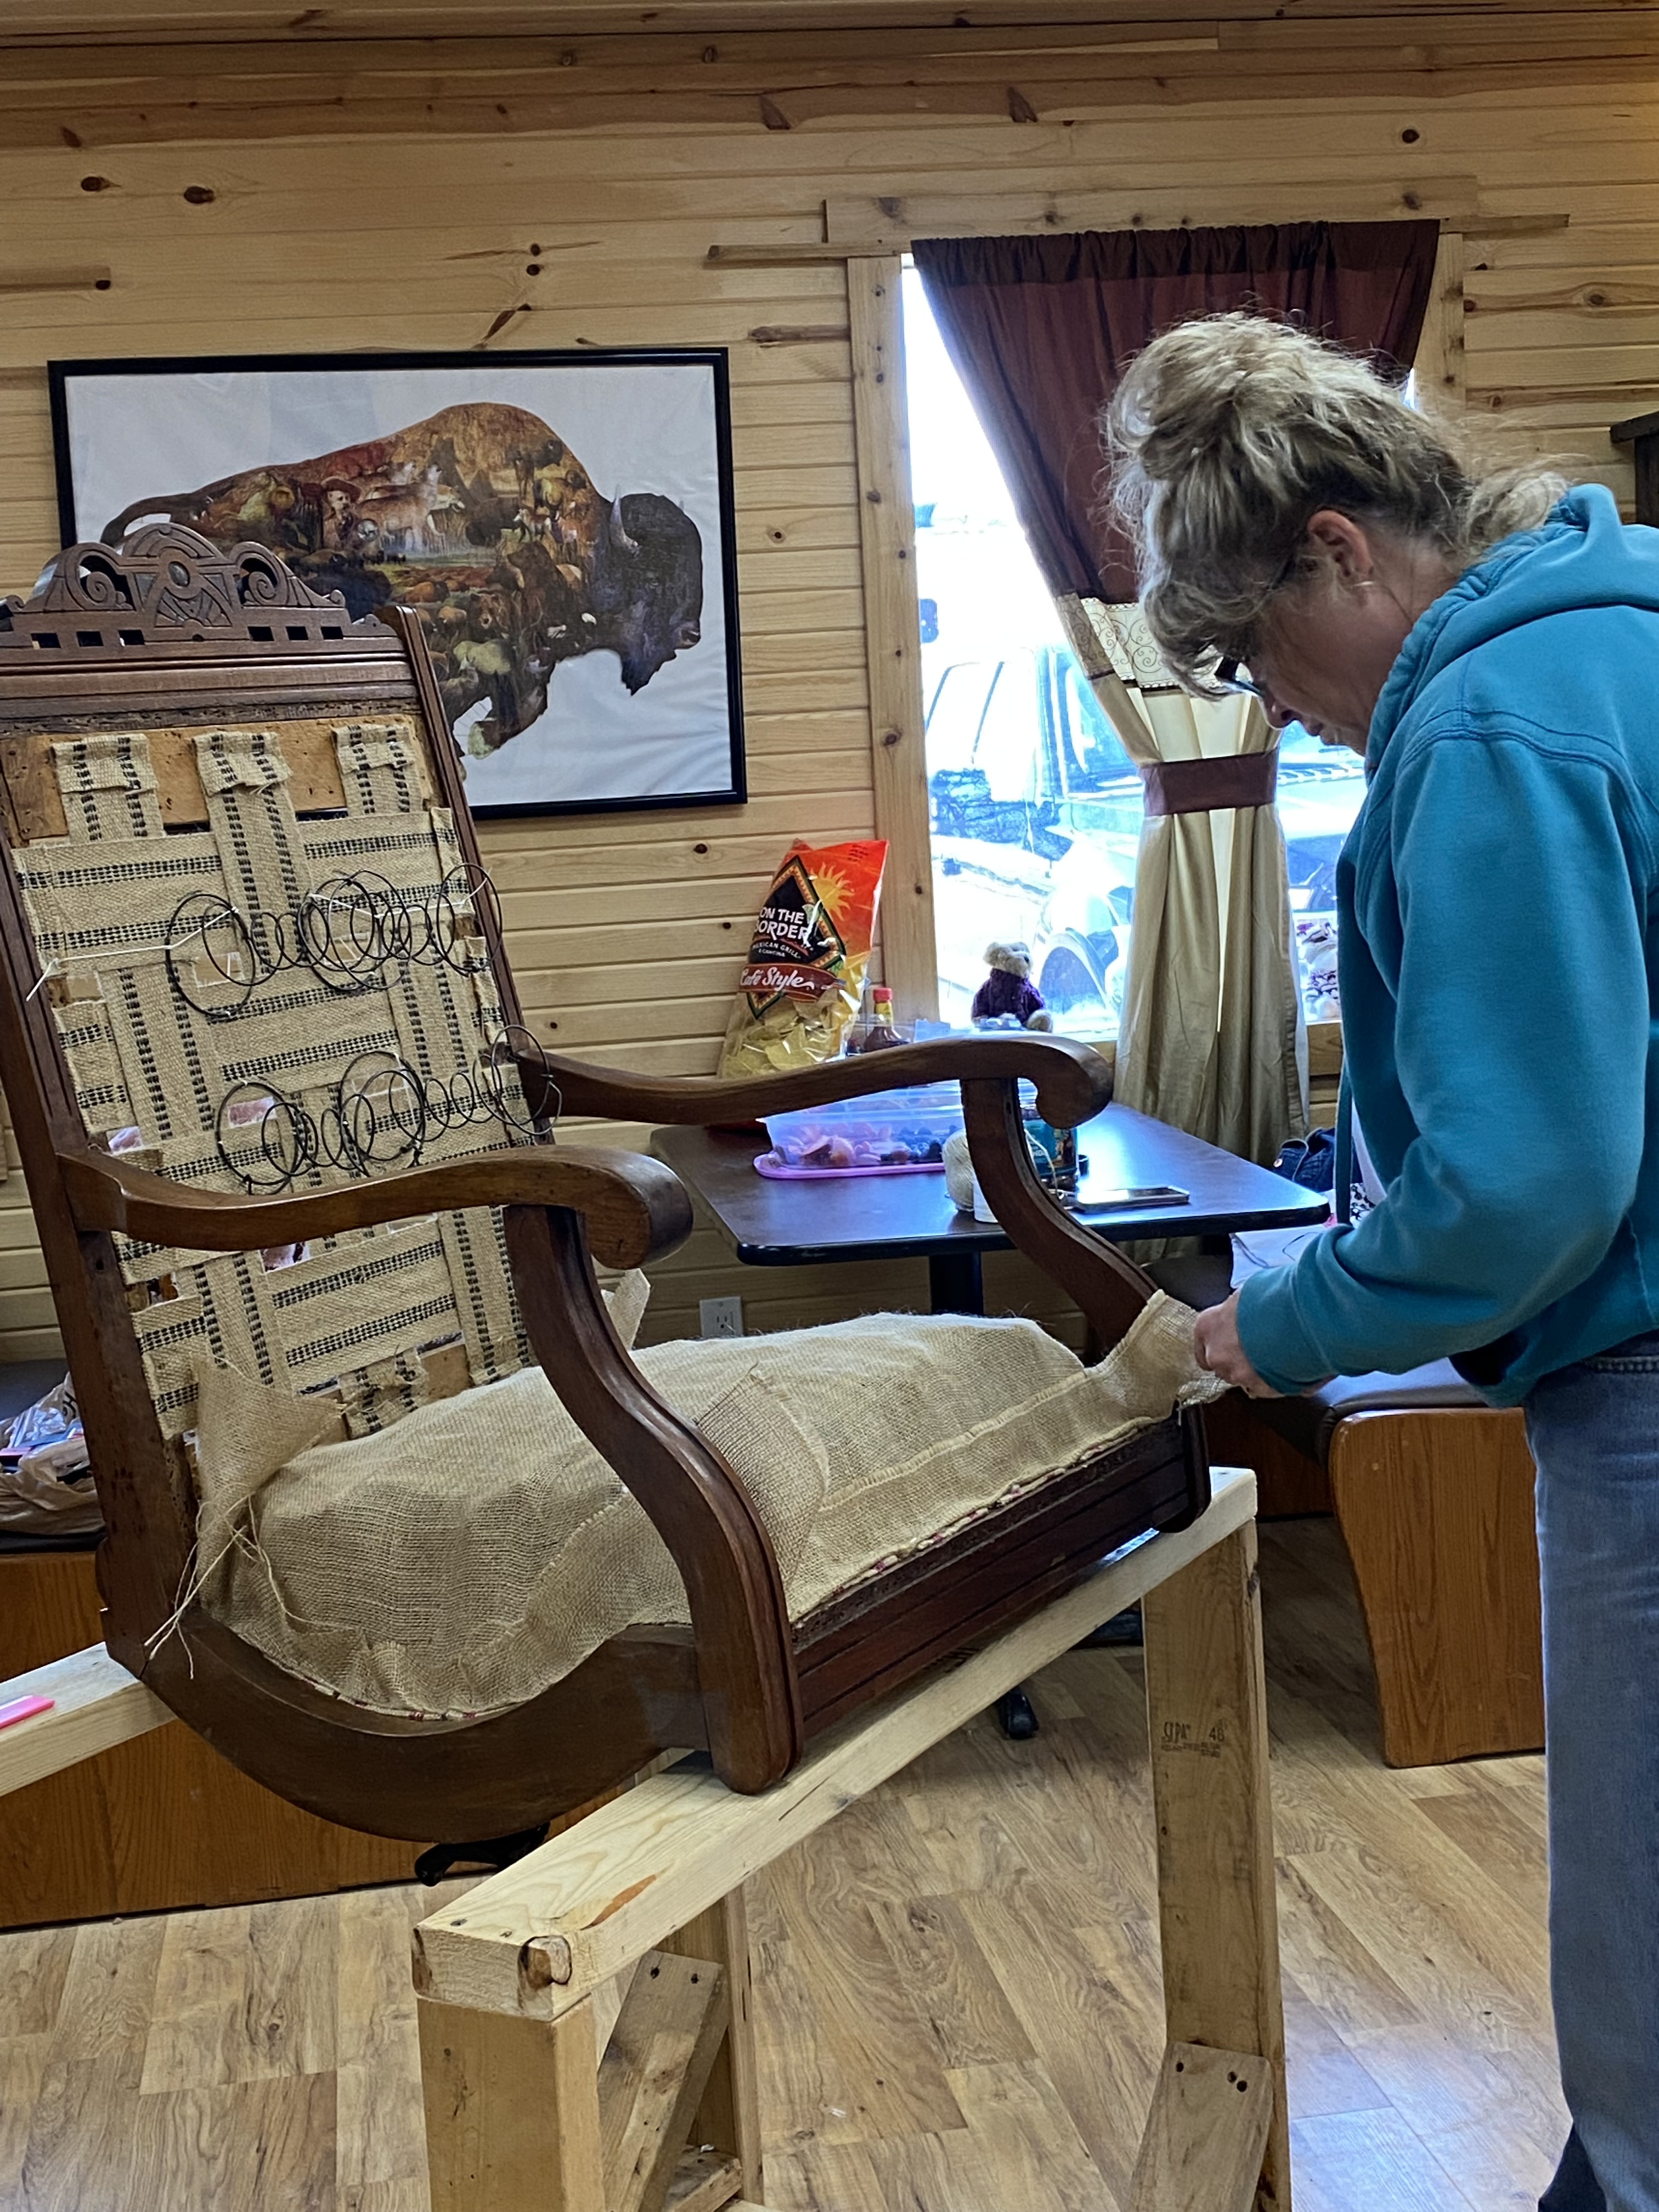
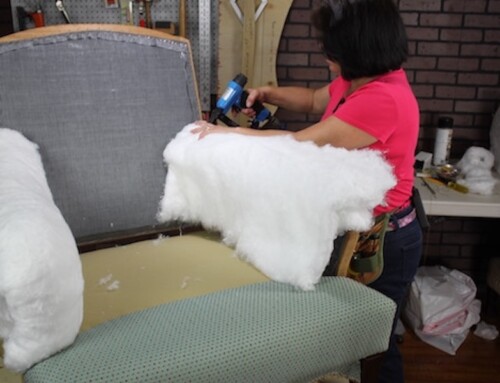
YAY! You finished the tying process! You are ready for the next step which is attaching the burlap overtop your spring system to the chair frame. The burlap provides extra support for the padding that goes on next and prevents it from falling between your springs. Attach the burlap to the side rail of your chair frame using a staple gun, cutting off any excess when you are done to remove any bulk.
Installing Sinuous or Zig Zag Springs
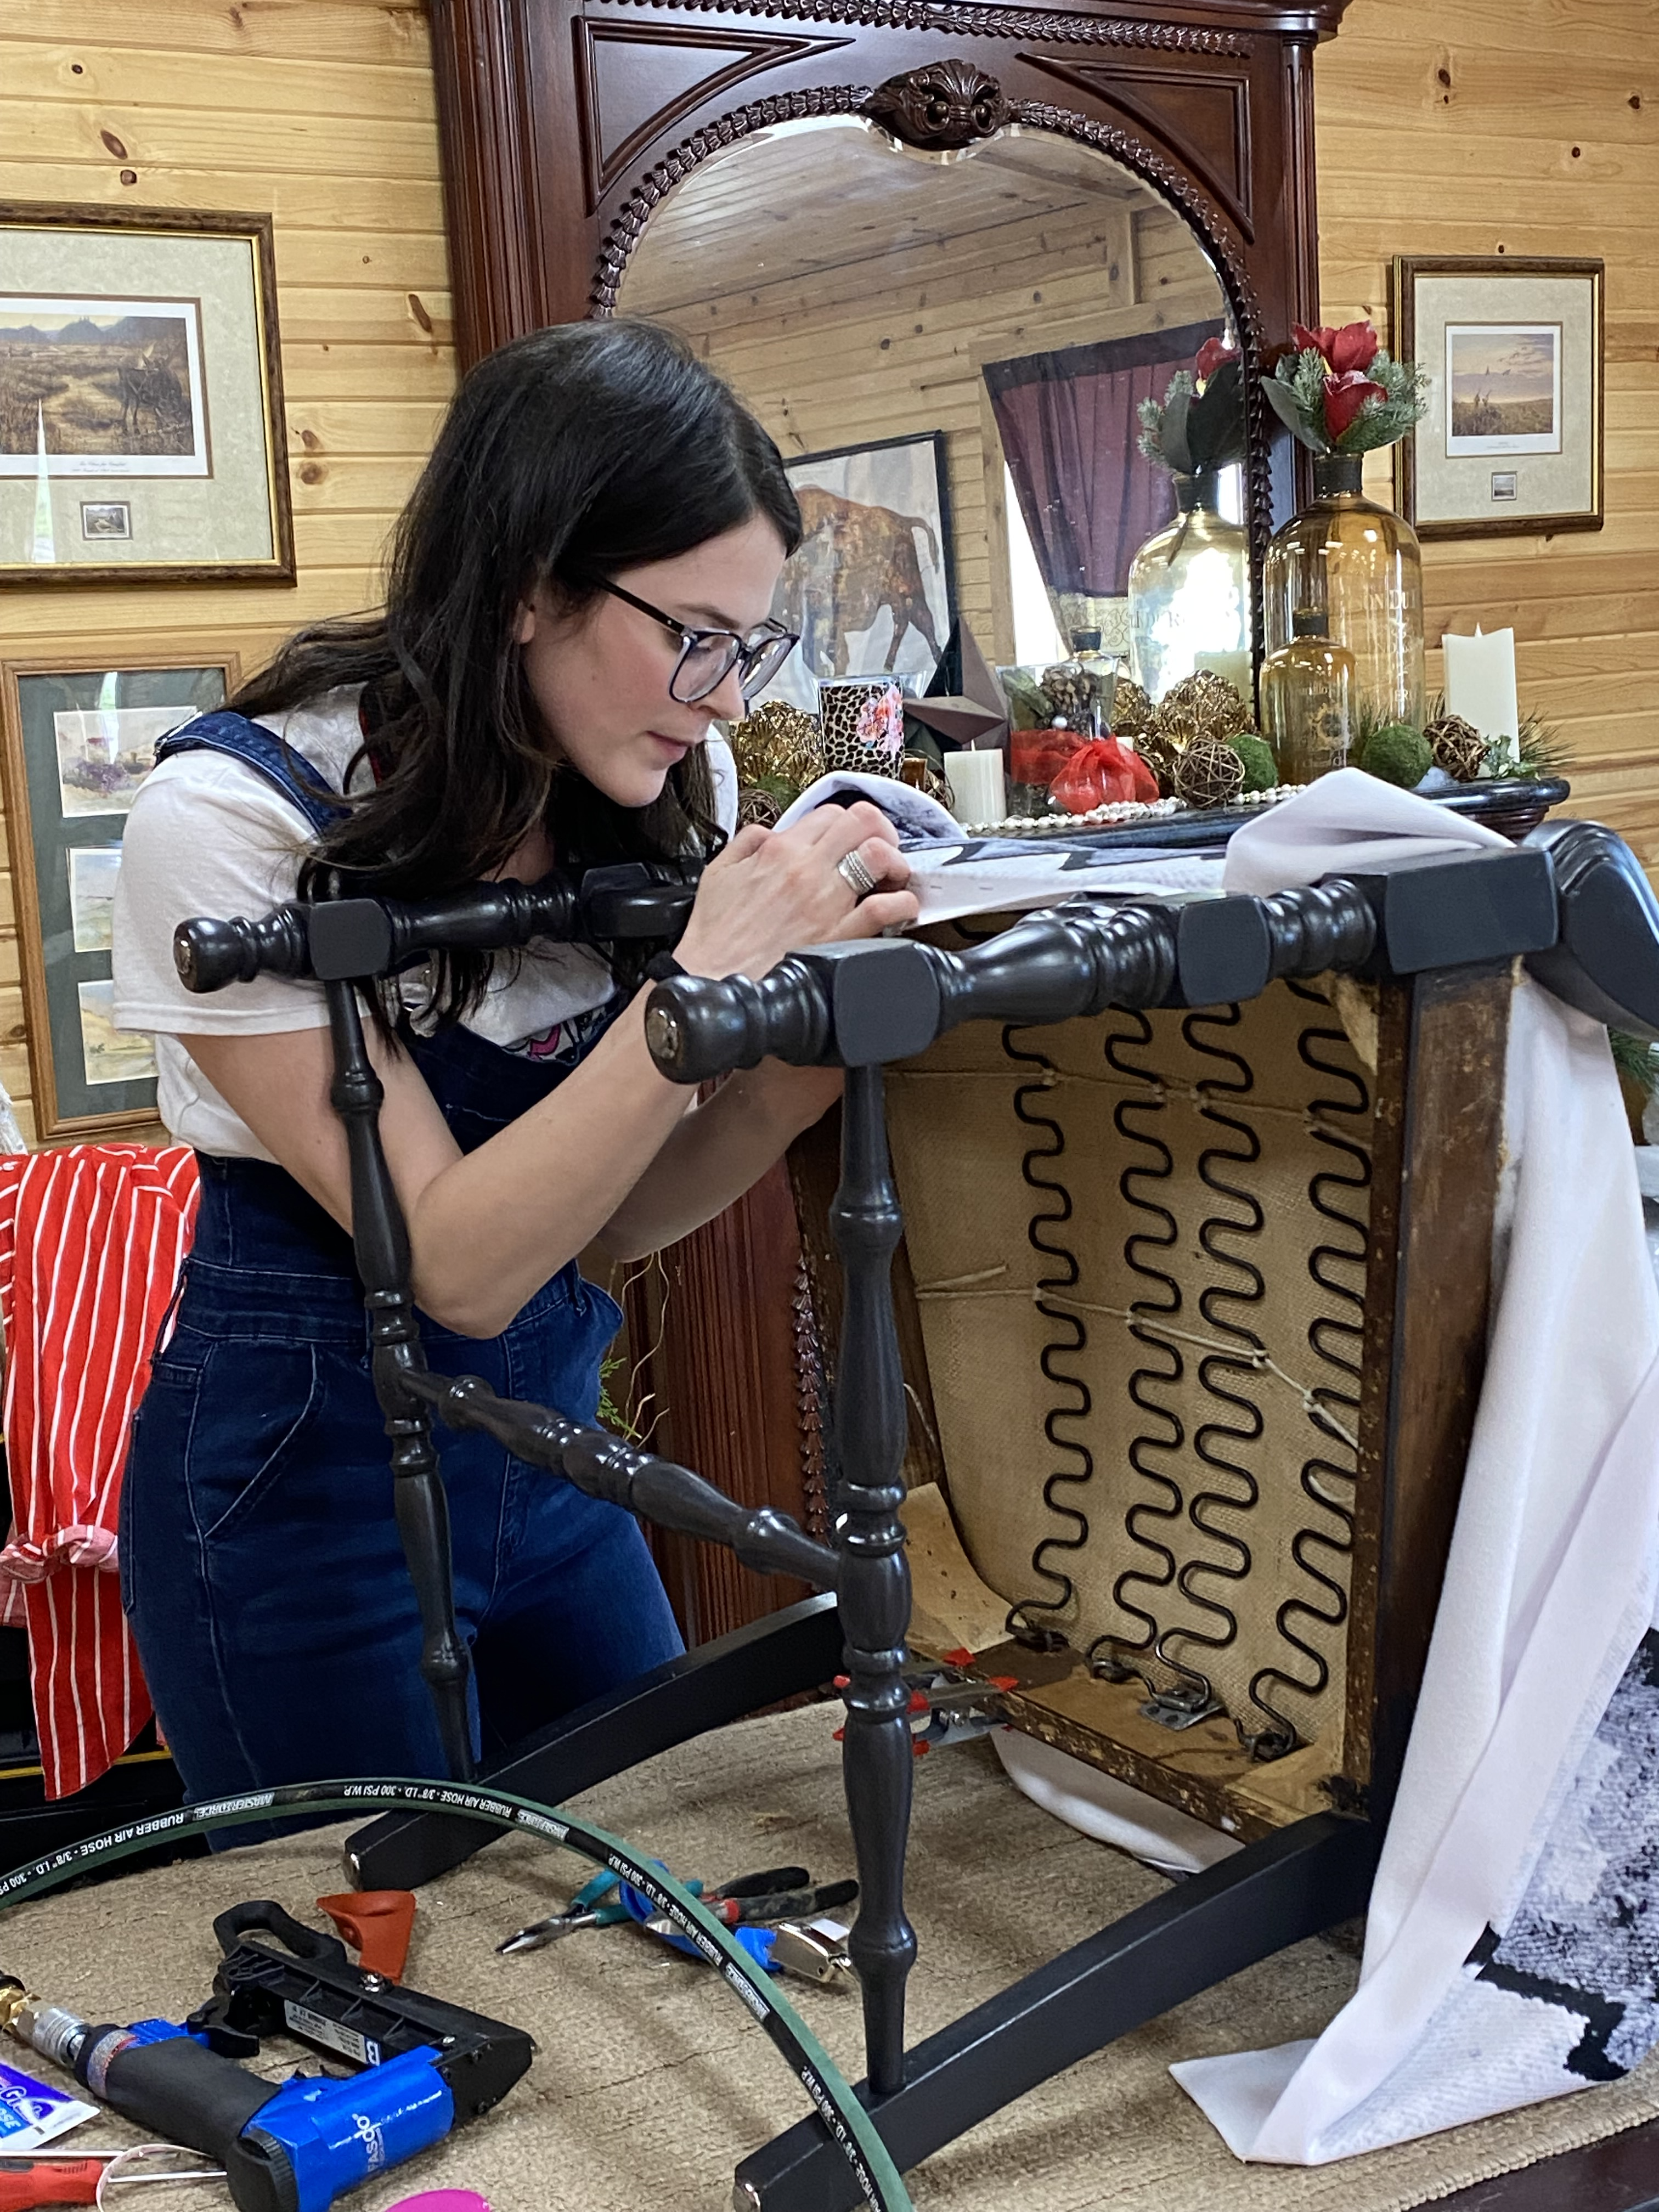
Remember these springs don’t use webbing. Accordingly, the first step will be to start with the springs themselves and attach them to the chair frame. You will use special e-clips to secure the springs to the back of the frame. Tacks hold the clip in place while also attaching to the spring. After nailing the clip and spring in place on the back of the frame, you will secure a clip to the front and attach the spring stretching it across. Repeat this process using the spring reference marks.
After the sinuous springs are all in place, you will use some twine to tie them to one another so that they move as a unit. The twine attaches to the side of the chair frame and ties onto each spring next to it. When all the springs are connected you will anchor the twine to the other side of the frame as you did on the first side. Now you will cover them with burlap just as you did with the coil spring system.
Edge Roll
After your burlap is covering the support system of your furniture, you will add an edge roll. Edge roll comes in many different types and sizes. The one you choose depends on your project. Edge roll is used on furniture to provide comfort and enhance the look.
Edge Roll: Types + Sizes
The different sizes of edge roll are 1/2 inch, 1 inch, and 1 ¼ inch. The ½ inch edge roll is perfect to go around the front edge of your arms to define the shape. Edge roll can be burlap or woven nylon filled with paper. You’ll also find firm foam-type edge rolls.
Next, we have the 1-inch edge roll. I This edge roll is often used on the front edge of your deck or can be used around the arms for a more full look.
Lastly, we have a 1 ¼ inch roll. This edge roll is the most common edge roll used for the front edge of your deck area or around the perimeter of the seat on an open-arm chai. It provides height and prevents wear on the fabric. It also adds a lot of comfort under the knees when sitting. The edge roll is very flexible allowing you to easily bend it to go around curves and corners on your furniture.
Attaching Edge Roll to Reupholstered Furniture Project
Now that you know the different types of edge roll and where to use them, you can start attaching them to your piece of furniture. Each type of edge roll has a flange with stitching, which is where you attach it to the frame. Starting with the front of your chair/sofa, attach the edge roll to the top edge rail of the deck area of the frame. I recommend the 1 in or 1 ¼ inch. When attaching it to the frame, have the edge roll come just a hair over the edge of your frame so that there is a slight overhang. Use your staple gun to secure the flange of the edge roll to the frame.
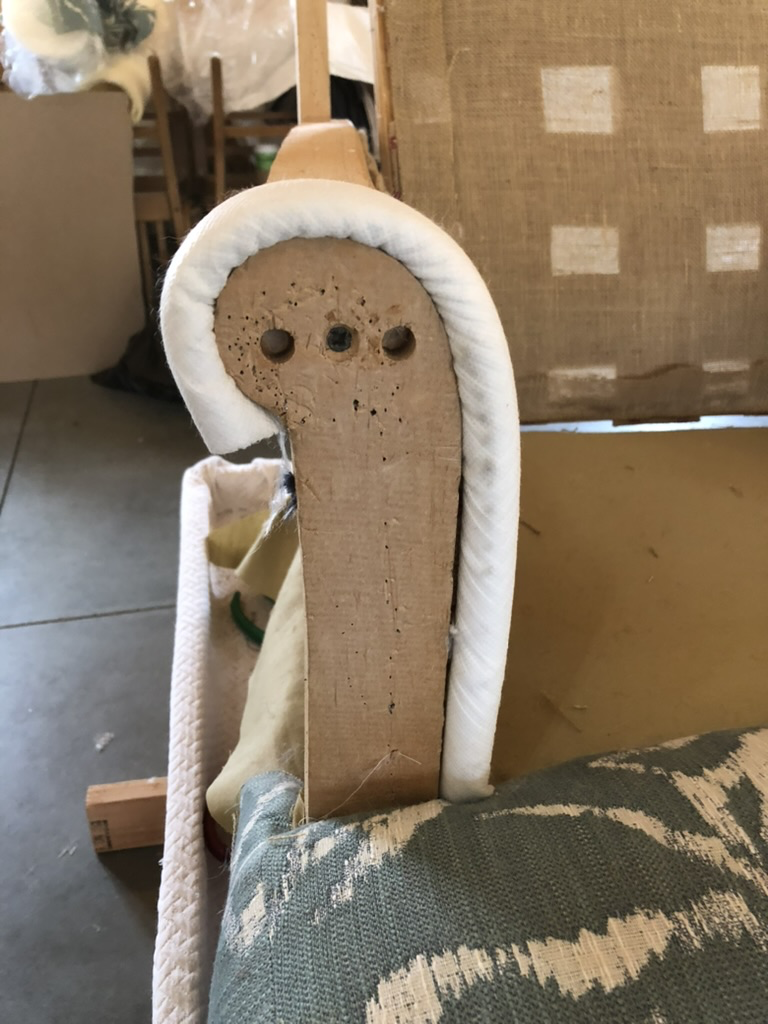
You can continue to apply edge roll to the inside arm area, as well as the wingback area if your furniture has that, to add height and thickness. Here you could use either the ½ inch edge roll for more decorative application, or the 1 inch edge roll if you want/need a bigger look.
Depending on the piece of furniture, you can add the ½ inch burlap edge roll to the top inside of the arm frame to help soften the shape and provide comfort where arms typically rest on the chair.
Important Note:
In some cases, your piece of furniture may not have a piece of wood frame in the front deck area if you have an edge wire on your coil spring support system. If this is the case, you will use your 1 ¼ inch Burlap edge roll and hand-sew it into the edge wire over the burlap cover on the front deck. To do this, I recommend using a curved needle, but a straight needle can be used. You will start at one end and sew the edge roll to the edge wire across the front of the deck.
Phase Two of the Reupholstering Process Complete
You did it! You completed the final steps in the reupholstering process after teardown! This phase can be the most overwhelming and tedious, but don’t let it stop you from finishing your project! Once you add your fabric to the furniture, you will see the edge roll come to life, and see why it’s important. The first time you sit in your newly upholstered furniture you will be glad you took your time securing the spring support system. These sometimes tedious and laborious steps are worthwhile and will create a long standing piece of furniture to be enjoyed.
To see phase one of preparing your furniture for reupholstery, visit our blog here!
Our online training experts are ready to help you learn and succeed. If you want to see further detailed instruction and more DIY tips, join our online membership and start learning when and where you like, while enjoying the support of our amazing online upholstery experts!
Kim’s Upholstery is all about helping and equipping others to learn the art of upholstery for pleasure, and if they want, enabling them to create an income for themselves – all on their own schedule!


