Are There Rules For Upholstery? This is one of the many questions I get when it comes to upholstery. Maybe you are a rule follower and maybe you’re not, but I would venture to say that if you are not, upholstery may be easier for you to learn. While there are guidelines and recommended practices, there are no rules set in stone that one must follow. At the end of the day, upholstery is a creative expression! I want everyone starting out to know that you don’t have to do things exactly how everyone else does them.
There might be surprises hidden under the fabric, as you tear down a project, but rest assured you don’t have to replicate what you find. Inject your own creativity into a project if you don’t like how someone else did it.
As you prepare to start a project, you are often flooded with questions: Should I use webbing or sagless? My Frame had tacks. Does that mean I can’t use staples? There was cotton on the insides, can I use foam? What should I do? However, if you are in need of medical friendly upholstery repairs, you can look for a home upholstery repair and restoration service near you.
This is just one example of questions that might surface as you begin the tear down process. In upholstery you can use a variety of different supplies to accomplish the same result.
Here are a few other common concerns and questions that might arise during your project.
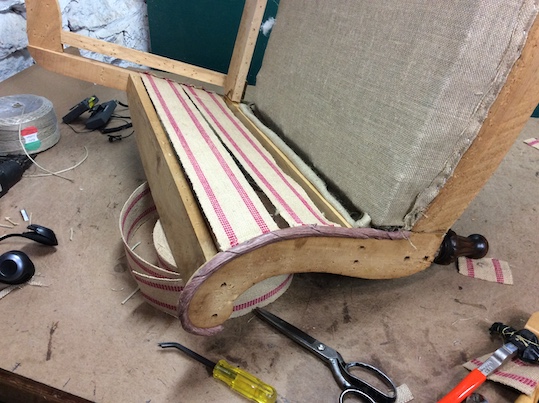
When it comes to a support system for a chair, you have the option of Sagless, jute webbing, or sagless burlap. Each of these will provide adequate support. If you were planning to use one of these options, but find something different in tear down- IT’S OKAY! You can pick something different! The goal is to provide support to your chair and there are multiple ways to achieve this!
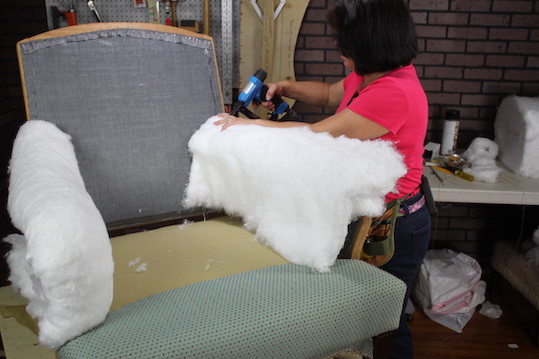
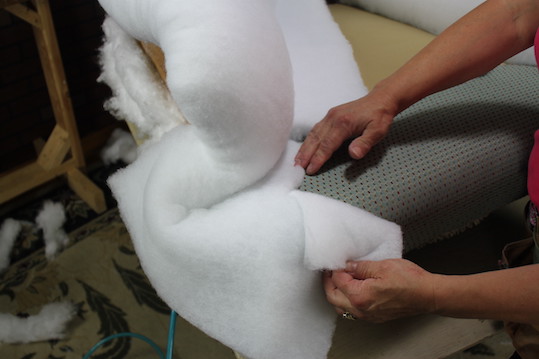
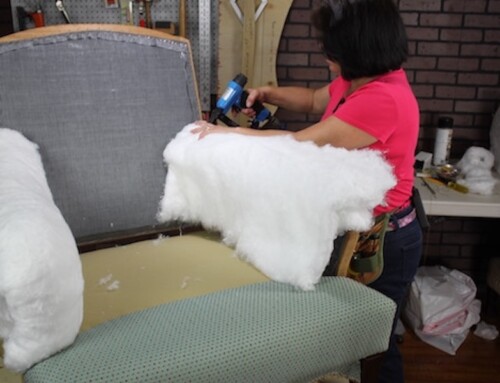
The same can be said for padding of your project. You can use cotton, foam, horsehair, etc., as they all do the same thing by giving your piece comfort and shape. It comes down to what you want the end project to feel like, as they all have a different feel. Choose what is best for you and your project.
Staples or upholstery tacks?
Both options will hold your materials to the frame of your upholstery project.
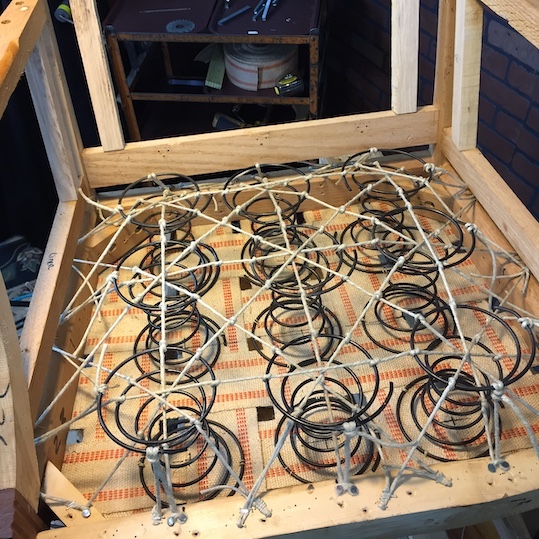
How many springs do I need? Can I use a different number than what I found during tear down?
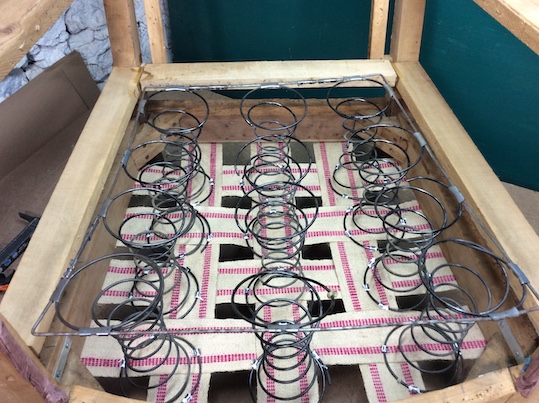
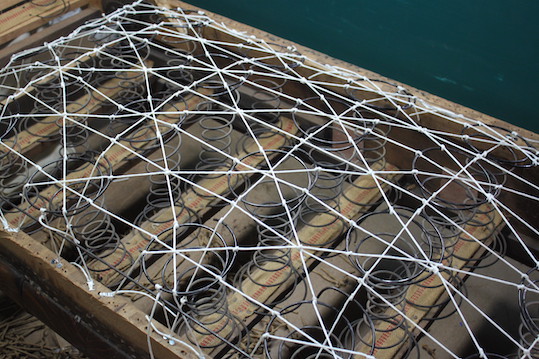
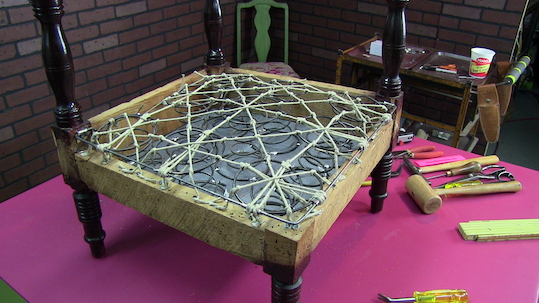
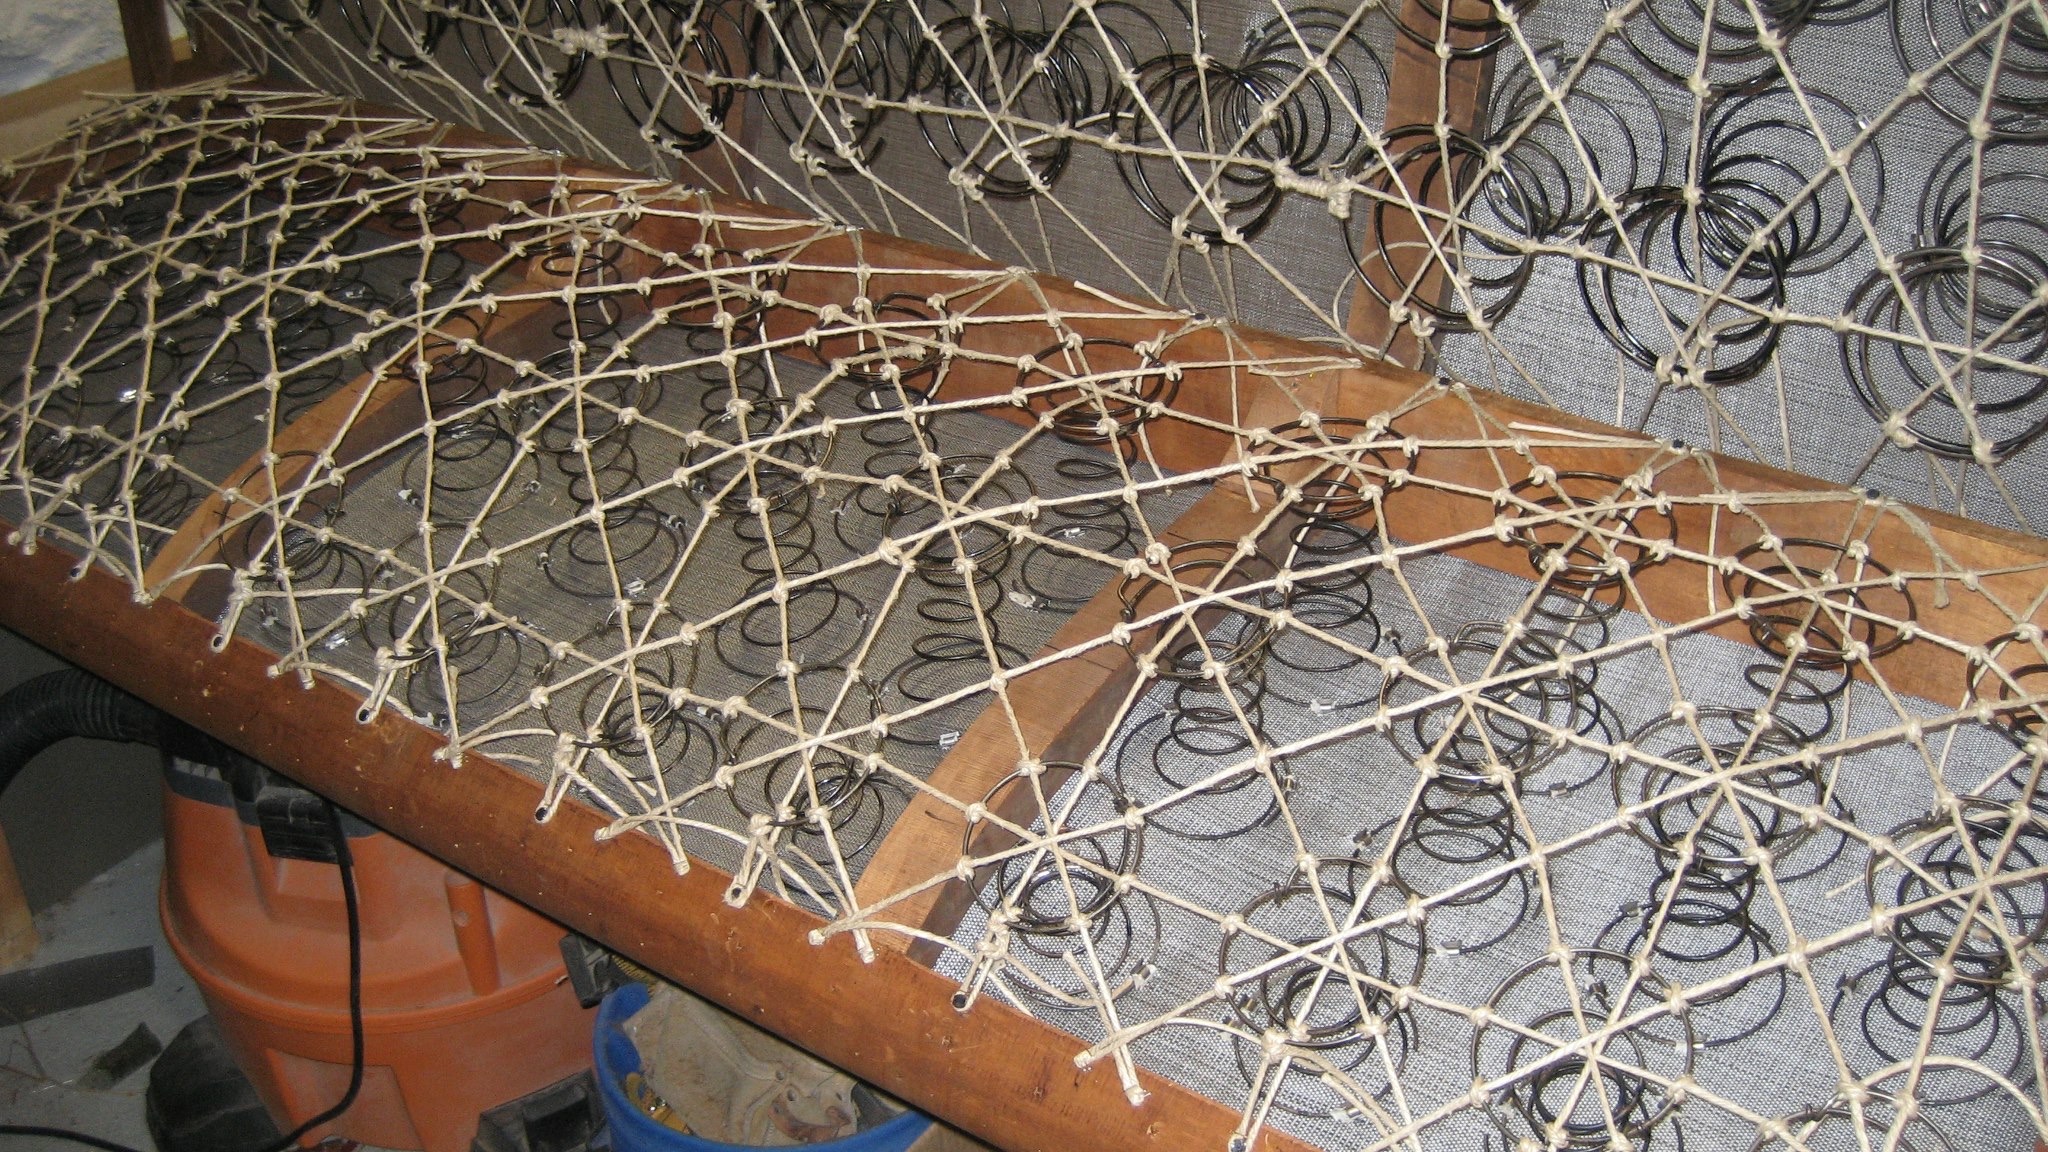
Don’t worry about the number of springs, as there is no set number. The important thing to remember is that you want enough springs to give support to the person sitting on the furniture. I find the best practice is to add as many springs as you can fit in the seat space so that they are equally distributed over the surface. Typically this averages out to about 9 – 12 springs, but there is no set number!
When spring tying twine I recommend using Ruby Italian Jute or Polyester spring tying twine. Either option will get the job done and hold up. There are other twines out there that may not be strong enough. Some use an 8-way tie to secure the twine, others use a 4-way tie. Both are good, but an 8-way tie may hold up better long term.
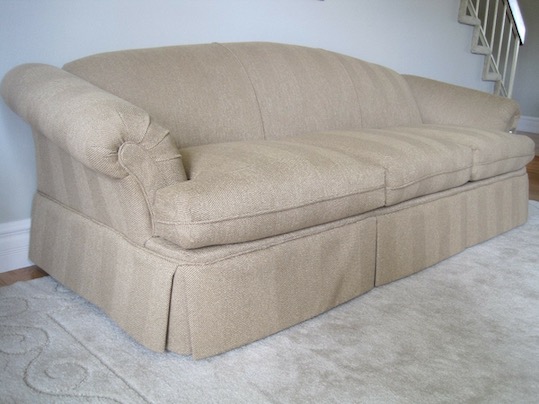
Wait! My chair had a skirt. Do I have to add a skirt?
To add a chair skirt or not, it all comes down to personal preference. What do you like? If you like the look without a skirt, then leave it off. If you like it, then absolutely add it back on! Here again arises more choices and decisions: boxed skirt, gathered skirt, skirt with extra pleats in the corners? There are so many options! Sprinkle in your own creative design here. Which do you like best, or what do you want to try out?
Here is another resource on Adding A Skirt To Your Upholstery Project, should you decide to add it back to your chair!
Maybe you are working on a bigger project, like a living room sofa. Bigger projects might be more intimidating, but don’t let it stop you! Two cushions, one cushion, three cushions? Can I change the number? This is your couch! You decide on what look you want. There is no right or wrong choice.
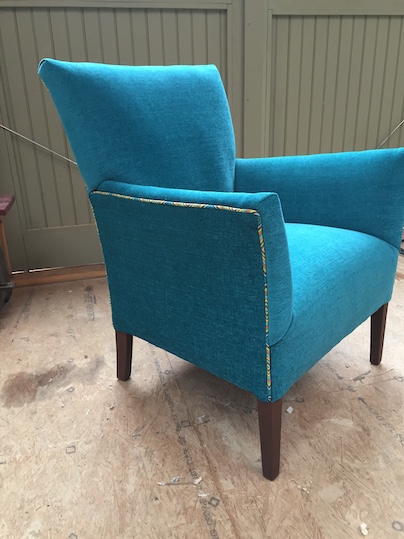
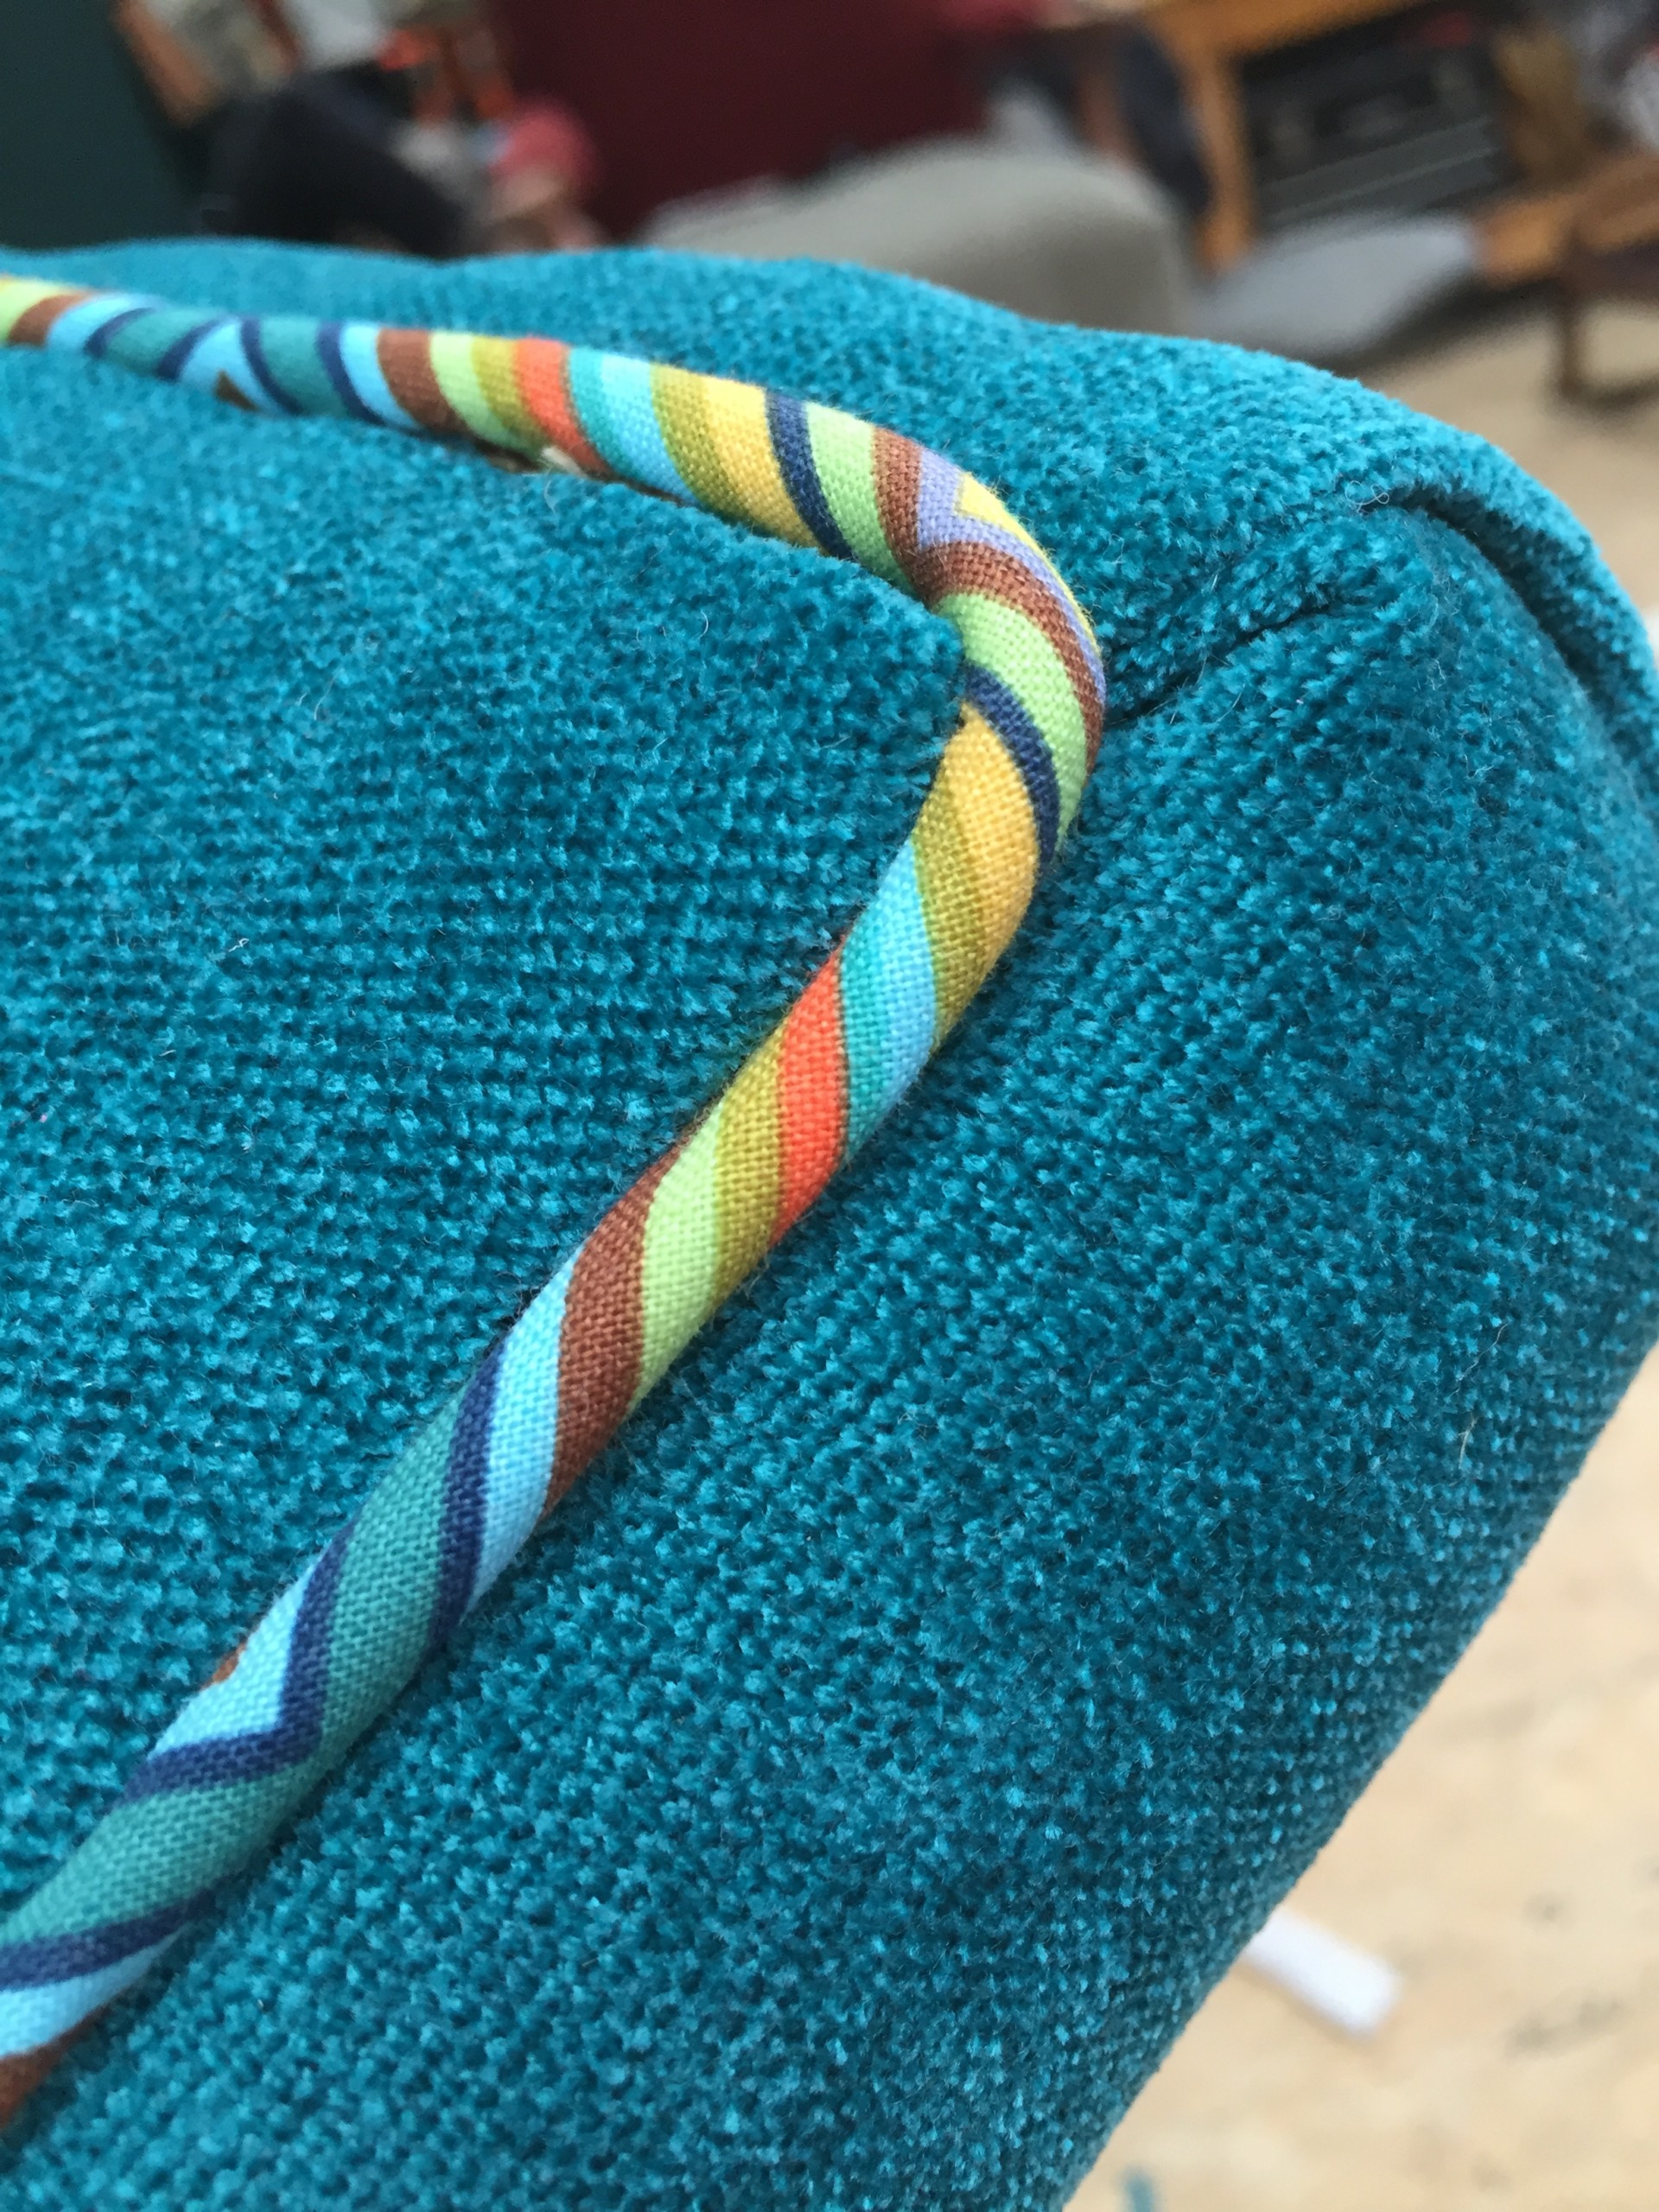
What about cording? Do I need cording? NOPE. Cording doesn’t add strength, so if you want to leave it off your project, do it! Cording does add a different look and can nicely outline the details of a frame but really only serves a decorative purpose.
I finished my teardown, now what? Is there an order to follow when upholstering?
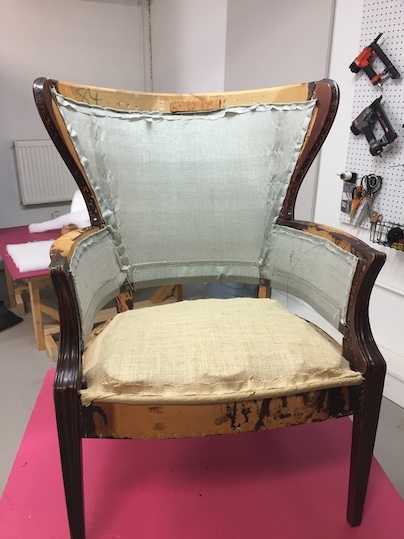
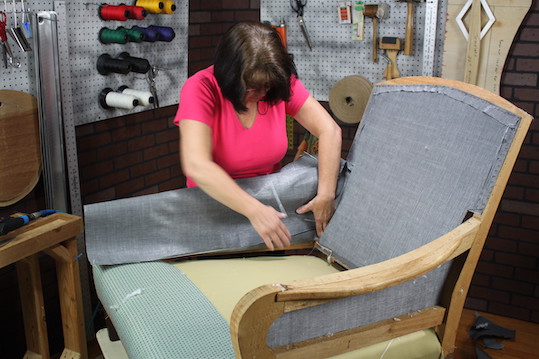
This is tricky as some steps will depend on your project, but there are recommended guidelines. I suggest starting with the layers of material that attach to the frame first. For example, the deck is the first thing attached to the bottom rails of a chair. After the deck, you will see the inside arms and inside back fabrics are stapled on top of the previously attached deck fabric. You can’t close up the outsides of your furniture piece until all the insides are finished.
In situations like this, there is somewhat of an order to follow, but not for every step. Remember, you are still in control and have freedom to make choices and inject your own creative spin wherever you see fit!
I understand though, sometimes you just want a rule to live by to make projects easier. Guidelines are helpful to know that you are at least headed in the right direction. To help, I have some gentle suggestions to help you on your upholstery journey. It is important to reiterate that upholstery is meant to be a creative endeavor- use your imagination and discretion and follow your instincts!
Upholstery Suggestions:
Take Lots of Pictures
Take pictures before and during the tear-down of your upholstery project. As you tear down, pay close attention to the order in which the fabrics come off, as this is the opposite of how they went on! Trust me, taking pictures can be a lifesaver. As an added bonus, you will have pictures of your project at every stage that you can refer back to in the future, which is super helpful and fun to look back on!
Here is a video about the importance of taking before pictures of your upholstery project.
Use Quality Foams
High-density foams will wear better and last longer than lower-density foams. The foams you find in some of your local fabric and craft stores may not be your best choice. I suggest 2.5 or higher density for furniture upholstery and cushions. The compression rate of foam is related to comfort and feel.
Cut Cording According to a Direction Diagonal to the Weave of a Fabric (the Bias).
Cut cording on the bias will look better and behave the way you need it to, making it easier overall!
Make Any Necessary Frame Repairs Before You Start Reupholstering Your Project
You want a solid structure to start with and it will be easier to make repairs once all the material is removed. This is the perfect time to make any necessary repairs!
Protect Any Show Wood from Being Damaged During Teardown
In addition to making repairs to the frame, you also want to ensure that no further damage occurs to your project during teardown. Use caution during tear down, and be gentle when working with any wood that will be exposed.
In addition to these gentle guidelines and for all my rule followers out there, there are three rules that I do think everyone should follow when it comes to upholstery.
Rules for Upholstery
01. If a product is NOT intended for upholstery, PLEASE DON’T USE IT FOR UPHOLSTERY!
This is important! A fabric that isn’t intended for upholstery will not only be harder to work with, but it likely won’t hold up. You want to select the materials that will last and reflect all the time, effort, and money put into the project. Good upholstery fabric will be durable and have a tighter weave. Fabrics that are specifically designed for quilting or dressmaking or another specific purpose are what you should stay away from. These products will not hold up and are designed with different purposes in mind.
Here is a great blog on choosing the right upholstery fabric!
02. Don’t upholster over old fabric, padding, or support systems
Your project will be bulky and the padding can be uneven, as you don’t know how old the padding and materials are underneath. It is always best to start fresh. Upholstering over old fabric would be taking a shortcut, which leads me to the third rule:
03. Don’t take shortcuts
Shortcuts seem great. They get you to the end result or destination quicker, right? It might appear that way, but often taking shortcuts results in greater loss of time, energy, and money later. Taking shortcuts can hinder the end result and leave you with a substandard project, which we definitely don’t want.
While there are not set rules for upholstery projects, these are three rules that I do recommend people follow. These three rules are meant to guide you and help you with any upholstery project you may be working on.
I think you will find that as you start and continue to work on upholstery projects you will build more and more confidence and trust yourself to make those calls. Just rest assured that you have creative freedom to make a project your own and there are many materials out there that will get the job done.
As always, our online training experts are ready to help you learn and succeed. Join our online membership and start learning when and where you like with the support of our amazing online upholstery experts!




Excellent information. Sometimes we just need “permission” to break the rules but we have to know the rules first. I was so glad you added the three hard and fast rules at the end. Thank you, Kim!
Hi Lisa, Thanks for reading our blog. And yes we all need that “permission” to feel like it’s ok!
I recall the words of an upholsterer who wrote, “Fix mistakes as soon as you are aware of them, otherwise, you are teaching yourself to overlook them.” That stuck with me. I can imagine taking shortcuts is similar to not fixing mistakes and I would assume customers (not to mention ourselves) would know it. Best quality is the right quality!
That is so important to do!