How To Make A Slipcover

How To Make A Slipcover

Original price was: $297.00.Current price is: $247.00.

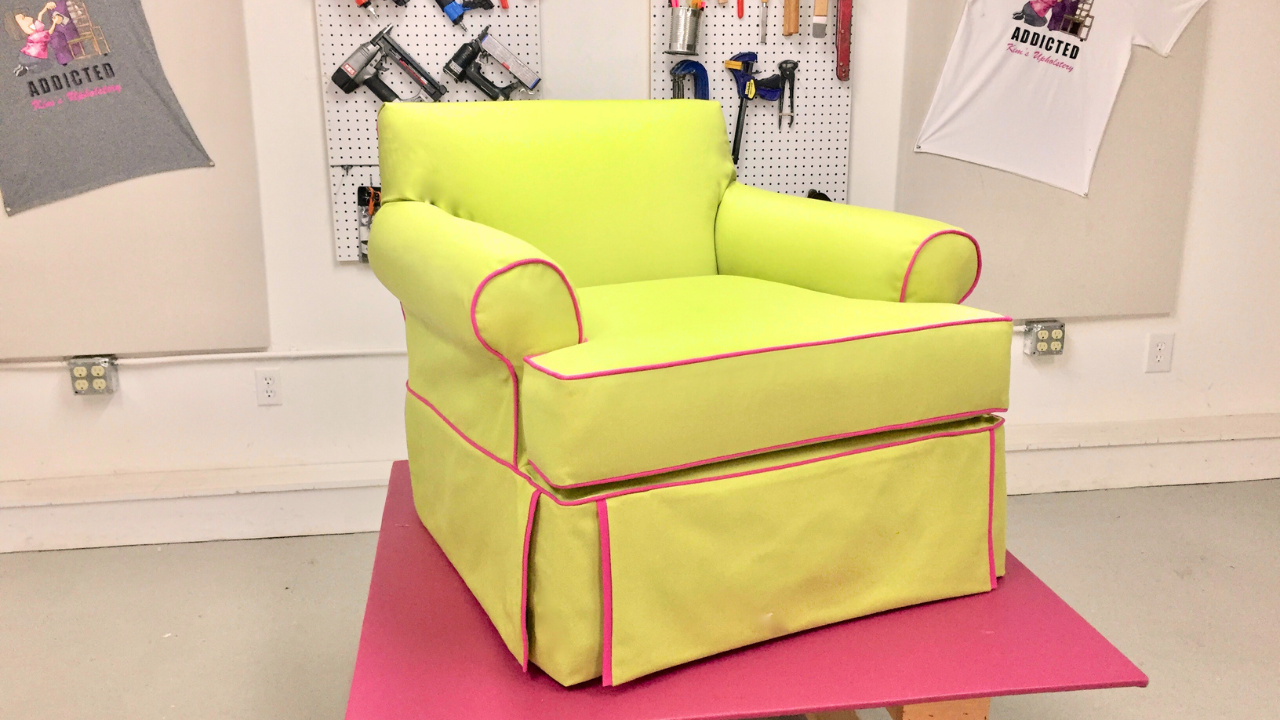
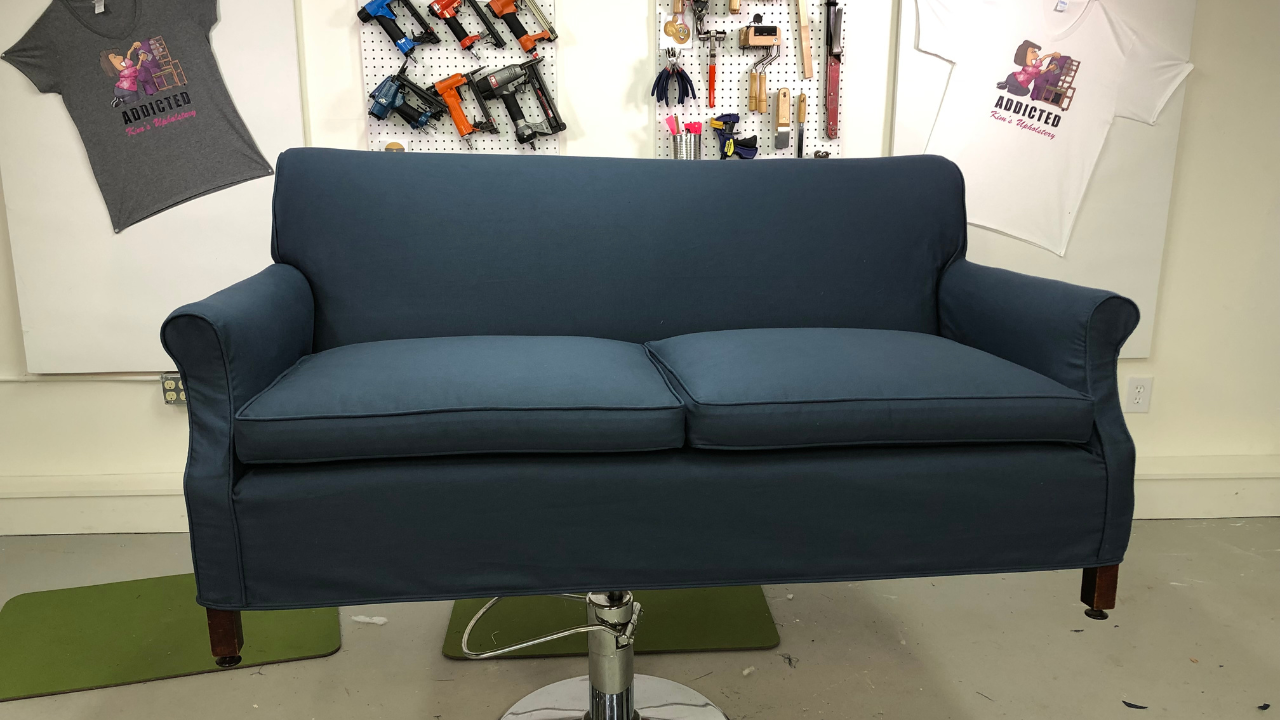
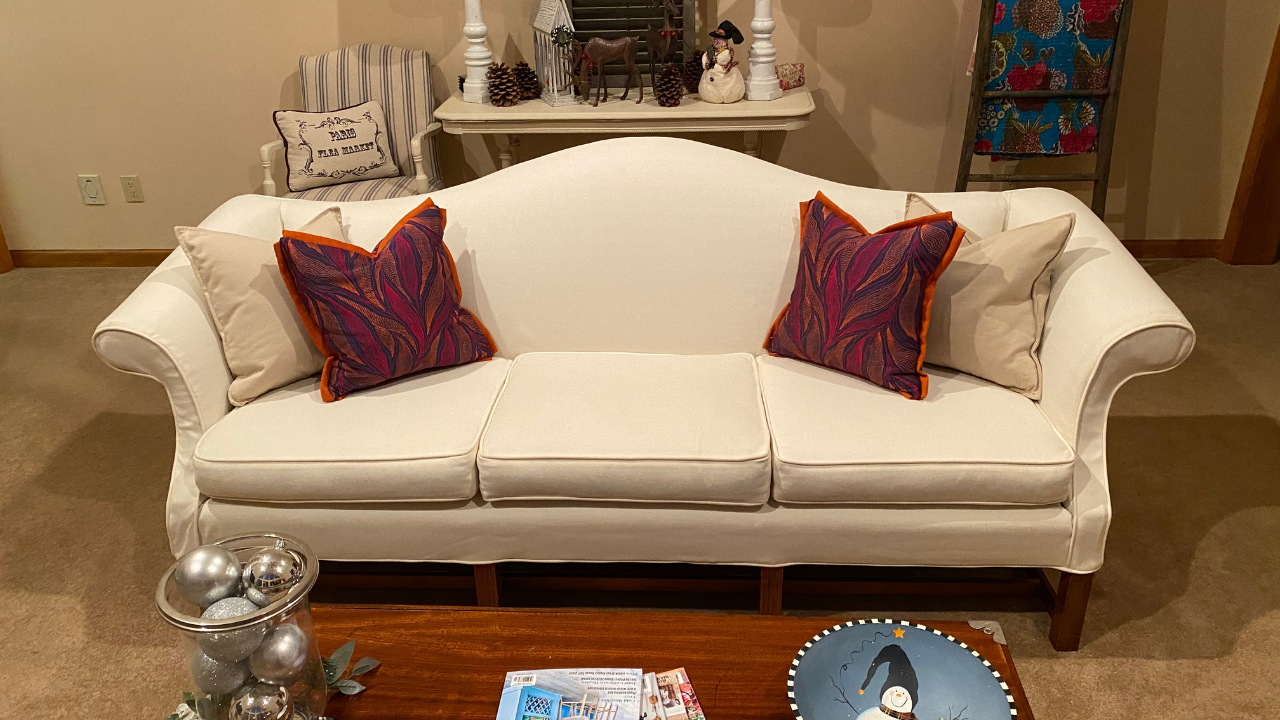
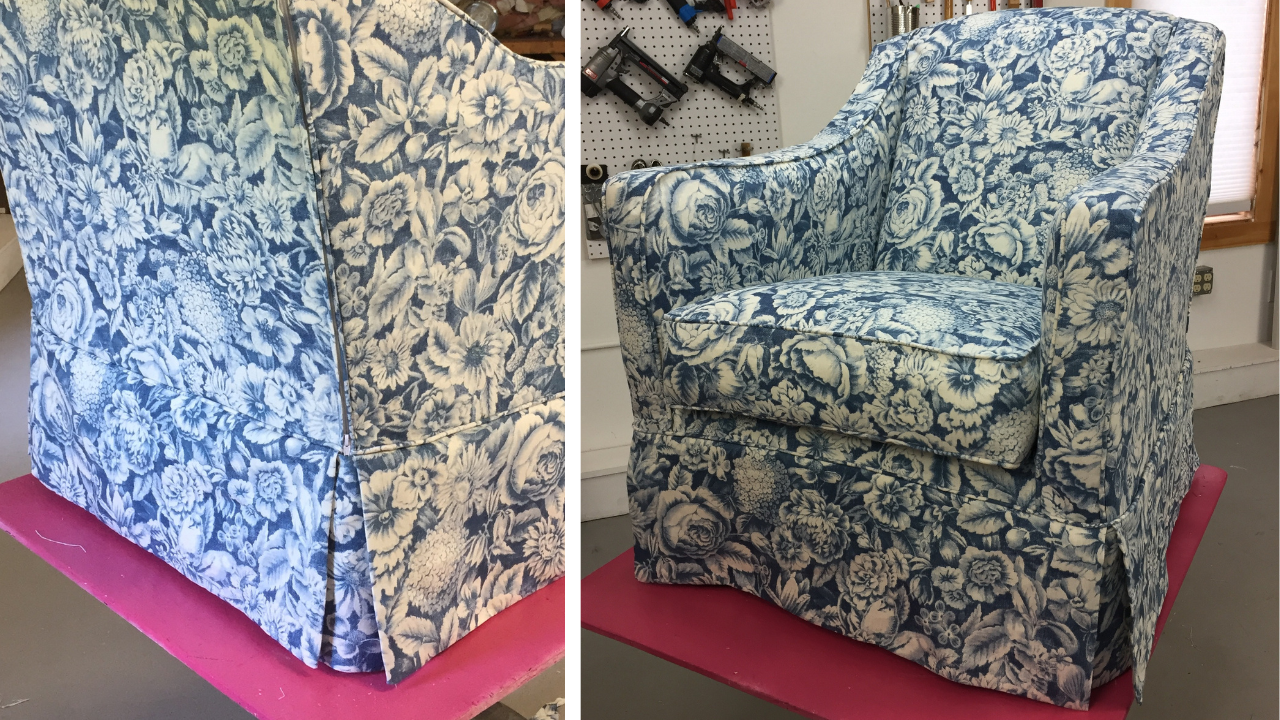
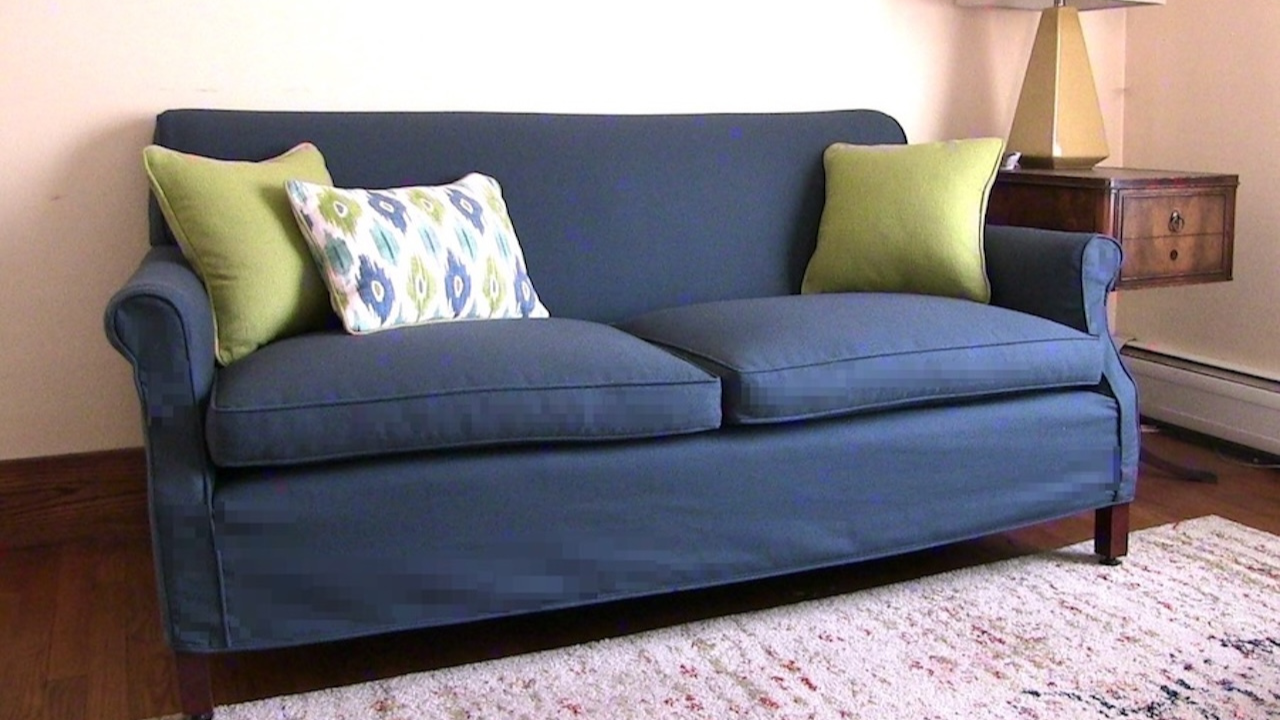
A Bundle of Three DIY Slipcover Tutorials – Transform Your Home with Elegance and Style!

Discover the art of creating stunning, custom-fitted slipcovers with my exclusive video tutorials!

Learn step-by-step how to slipcover your furniture; no more drab-looking faded fabrics.

For those wanting to create a one-of-a-kind design and add personality to their living spaces, I share a few custom details you can add to your slipcover. With your advanced sewing skills, you, too, can craft something truly beautiful for your home.

Unleash your creativity and bring timeless charm into your home, and make your own DIY Slipcover today!

Description

Introduction Video

&rel=0

What You Get

  • Streaming HD video lesson with anytime, anywhere access

  • Watch on any device

  • Close-up instruction from an expert

  • Answers to student questions from Kimberley Chagnon, instructor and owner of Kim’s Upholstery
  • Discussions with other members in the DIY FB Group

Class Overview

These three slipcover tutorials will provide 13 hours of step-by-step instructions to help you create one-of-a-kind fitted slipcovers for your furniture. You’ll find these to be intuitive and easy to follow. With close-up camera shots, so you can see exactly what’s happening.  Stop and rewind if you need another peek at any step.

  • What You’ll Learn:
    • Calculate Fabric Yardage: Take the guesswork out of fabric requirements and ensure you have exactly what you need—no more costly mistakes and running out of fabric.
    • Pattern Matching:  If you’re working with a print fabric, you can learn how to create a seamless flow of the pattern that’s your slipcover apart from ready-mades.
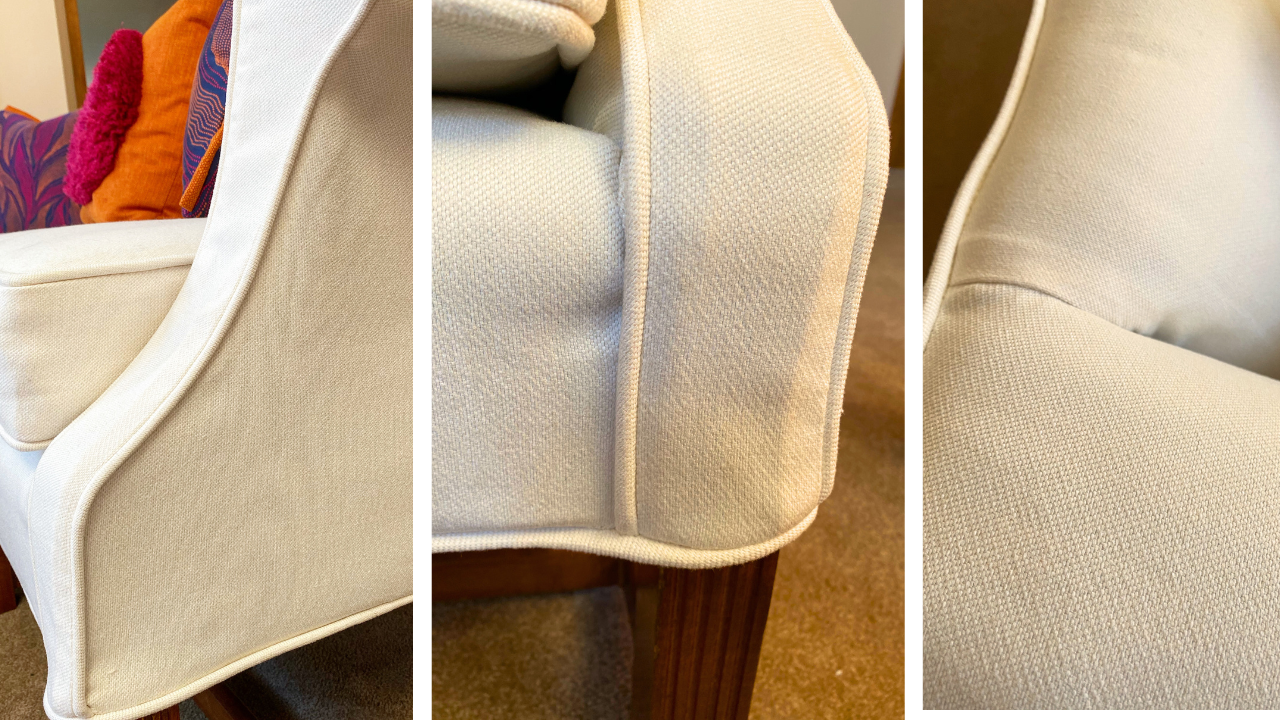
    • Craft Professional Cording: Add a polished, custom detail that elevates your slipcover’s look and defines the silhouette of your piece.
    • Pin Fit for a Custom Look: Master the art of draping and pinning, ensuring every cover fits snugly and beautifully.
    • Sew for a Perfect Fit: Acquire the confidence and techniques to achieve flawless-looking slipcovers.
    • Add Zipper Closures: Streamline removing and washing slipcovers with easy-to-use zippers that maintain a tailored appearance.
    • Incorporate a Skirt (or Skip It): Learn how to add a skirt for classic charm or finish the bottom neatly if a skirtless style suits your piece better.
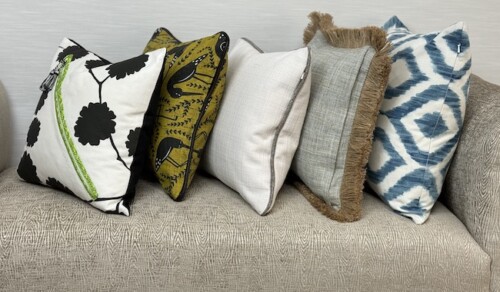
    • Sew Perfect Cushions: Create impeccably fitted cushions that complement your slipcover and complete the professional look.
  • Tools and Supplies:
    • Tools
      • 1 ⅞” Glass Head Straight Pins
      • Soft Cloth Tape Measure
      • Sewing Machine
      • Serger (optional)
      • Fabric Scissors
      • 60” Straight Edge Roller
      • Square
      • Magnetic Wristband (Harbor Freight)
      • Magnetic Pin Dish
    • Supplies
      • Fabric ( I like a preshrunk washable material such as a 12 oz. Bull Denim)
      • 5/32” Cotton Welt Cord
      • 69 bonded nylon thread to match your fabric
      • #5 Nylon Zippers for your cushions  and the body of your slipcover if needed

Taught By

Kimberley Chagnon
Kimberley ChagnonWith over 20 years of experience, Kimberley Chagnon has become a trusted name in both upholstery and instruction. In 1996, she started her own business, Kim’s Upholstery, which continues to thrive and give clients the custom upholstery they truly want. When she’s not busy in the workroom, Kim is busy teaching. For the past six years, she’s led classes for the Window Coverings Association of America group as well as popular trade shows, workshops and conferences.
Skill Level

Beginner

How it Works

Once you purchase find your class in your classes list.

Instant and unlimited access.

Watch on any device anytime.

Monthly Membership

This class is also available as part of the monthly membership, where you receive unlimited access to all of our classes!

Join Now

You may also like…

Go to Top